How to Prep Greasy Kitchen Walls for Painting: Expert Tips Revealed
Greasy kitchen walls are the top cause of premature paint peeling, bubbling, and discoloration in residential kitchens, with DIYers who skip proper prep often repainting in 1–2 years instead of the 5–7 year lifespan of a correctly installed coat. Even invisible, thin layers of cooking oil and grease prevent paint from bonding to drywall or plaster, leading to costly, frustrating touch-ups down the line. This expert guide covers every step of prepping greasy kitchen walls for painting, from identifying hidden grease and damage to applying a stain-blocking primer that ensures your new paint adheres flawlessly for years. We’ll share practical, field-tested tips to avoid common mistakes, save you time, and get a professional-grade finish without hiring a contractor. You can also read our guide on how to clean oil grease from kitchen wall.
1. Initial Wall Assessment: Identify Grease, Damage, and Hidden Risks
Before you grab a scrub brush, a thorough wall assessment saves you hours of extra work later. Grease often hides in plain sight, and it can mask underlying wall damage that will ruin your paint job if left unaddressed. You can also read our guide on how to clean oily kitchen walls.
Spotting Grease Buildup (Even When It’s Invisible)
Grease on kitchen walls doesn’t always look obvious: light, years-old buildup may appear as a subtle dull patch rather than a shiny, sticky spot, especially on white or off-white walls. The easiest way to detect hidden grease is the paper towel test: press a plain white paper towel firmly against the wall, then lift it. If it comes away yellowed, translucent, or slightly oily, that area has embedded grease that needs extra attention. High-grease zones to prioritize include the 2-foot area above your stovetop, the space behind your range hood, along the backsplash edge, and behind any wall-mounted appliances. For heavily soiled tiled kitchen walls, see our guide to deep-cleaning tiled surfaces to remove grease without damaging grout. You can also read our guide on piece dinnerware set service for.
 Heavy, baked-on grease above a stovetop is the most common cause of premature paint peeling if not properly removed.
Checking for Underlying Damage and Moisture Issues
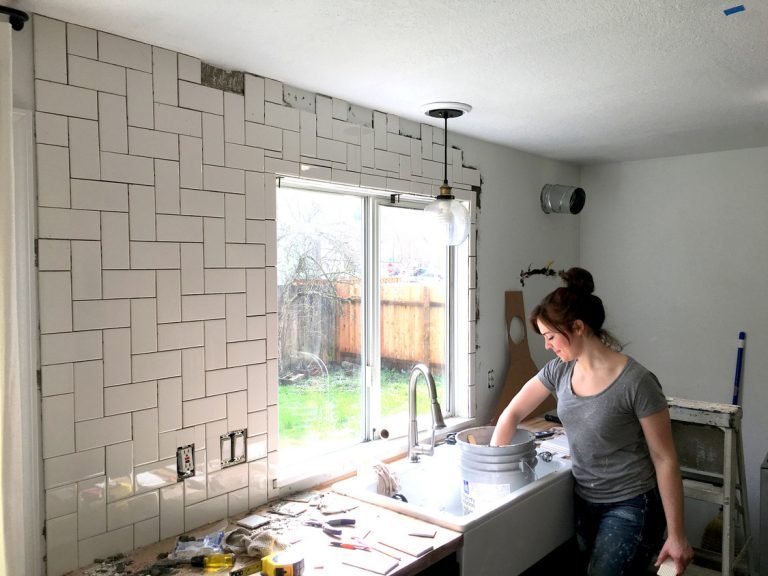
Grease paired with kitchen steam can seep into drywall paper, causing it to delaminate, or seep into plaster, causing it to soften. Start by pressing your palm firmly against the wall in greasy zones: if it feels soft, spongy, or damp, you have water damage that needs to be repaired before cleaning. Tap the wall gently with your knuckles: a hollow sound indicates loose plaster or drywall that needs to be reattached or replaced. Use a putty knife to gently scrape painted areas: if paint chips off easily, the underlying surface is damaged and will need patching before priming. If you have a wall-mounted faucet, temporarily remove the fixture to clean grease buildup behind it that would otherwise be impossible to reach. Also inspect for mold in damp, greasy corners, especially behind appliances, as mold will continue to grow under new paint if not removed first. You can also read our guide on how to clean sticky kitchen walls.
2. Gather Your Supplies: Degreasers, Tools, and Safety Gear
Having all your supplies on hand before you start cleaning eliminates interruptions and ensures you don’t skip critical steps. The right products will cut through grease without damaging your walls, while proper safety gear protects you from harsh chemical fumes and irritation. You can also read our guide on how to fix wall tiles in kitchen.
Choosing the Right Degreaser for Your Wall Type
Not all degreasers work for kitchen walls: avoid all-purpose cleaners, as they often leave behind a soapy residue that interferes with paint adhesion. For light to moderate grease, a mix of warm water, 2 tablespoons of dish soap, and 1 cup of white vinegar works well, or a citrus-based degreaser for a low-chemical option. For heavy, baked-on grease that has built up over years, trisodium phosphate (TSP) is the most effective option, though low-VOC TSP alternatives are available for homes with kids, pets, or respiratory sensitivities. Never use ammonia-based cleaners on painted walls, as they can discolor latex paint and leave invisible residue that causes primer to bubble. When using heavy-duty degreasers like TSP, follow CDC safety guidelines for household cleaning chemicals to avoid skin irritation, respiratory issues, and accidental exposure for kids or pets. You can also read our guide on what finish paint for kitchen walls.
Essential Tools and Non-Negotiable Safety Gear
You’ll need the following tools to clean effectively and protect yourself:
- Nitrile gloves (avoid latex, as it degrades when exposed to strong degreasers)
- Safety goggles to prevent degreaser splashes from getting in your eyes
- An N95 respirator if you’re using TSP or heavy-duty degreasers in a poorly ventilated space
- Soft sponges for delicate walls and stiff-bristled scrub brushes for heavy grease spots
- Two 5-gallon buckets (one for cleaning solution, one for rinse water)
- Lint-free microfiber cloths for drying and rinsing
- Painter’s tape to protect baseboards, trim, and countertops from splashes
- A step stool or ladder for reaching upper wall areas
- Drop cloths or plastic sheeting to protect floors from drips
3. Step-by-Step Grease Removal and Wall Cleaning
Skipping or rushing this step is the most common cause of paint failure on greasy kitchen walls. Follow these steps to remove all grease and residue without damaging your walls. You can also read our guide on what paint is good for kitchen walls.
Pre-Treat Heavy, Baked-On Grease Spots
For grease that has been left untouched for years (such as behind a stove that hasn’t been moved in a decade), pre-treating is non-negotiable. Spray or brush your chosen degreaser directly onto the spot, let it sit for 5–10 minutes to break down the oil (do not let it dry, as this will leave residue), then scrub gently with a stiff-bristled brush. For extra tough spots, make a paste of baking soda and water, apply it to the grease, let it sit for 15 minutes, then scrub and rinse. You can also read our guide on how to clean kitchen grease off painted walls.
Clean the Full Wall Surface Without Spreading Grime
Start by dry-dusting the entire wall with a microfiber cloth to remove loose dust and debris. Work in 3×3 foot sections to avoid letting cleaning solution dry on the wall: apply your degreaser solution to the section, scrub gently in circular motions with a soft sponge, then immediately rinse with a clean damp cloth from your rinse bucket. Change your rinse water frequently to avoid spreading grease around the wall. Avoid soaking the wall, as excess water can damage drywall and cause mold growth. You can also read our guide on how to remove grease stains from painted kitchen walls.
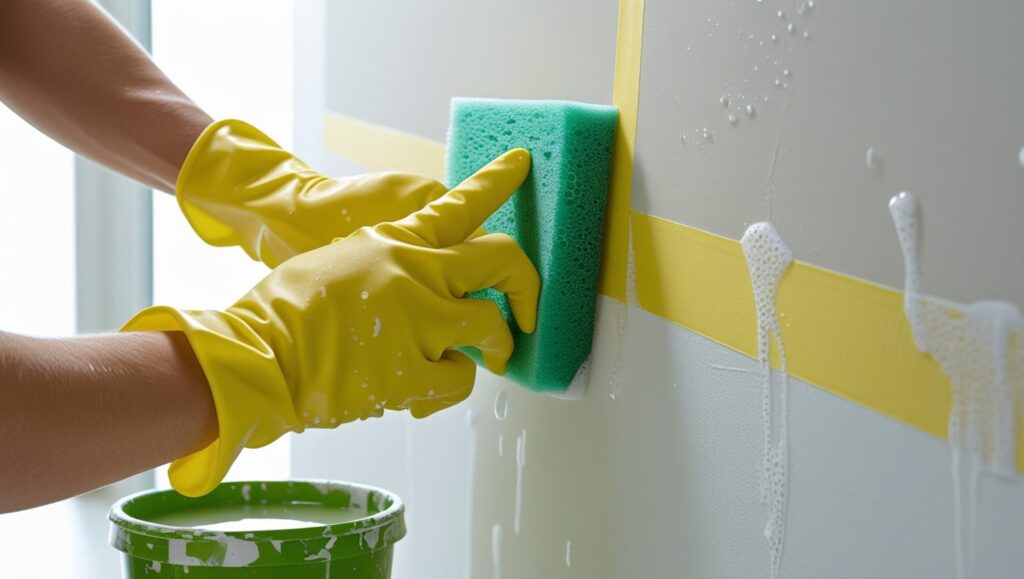 Scrubbing in small, overlapping sections prevents degreaser from drying on the wall and leaving residue.
Image source: adonicollege.com
Scrubbing in small, overlapping sections prevents degreaser from drying on the wall and leaving residue.
Image source: adonicollege.com
 A soft sponge and warm soapy water work for light to moderate grease buildup.
Rinse and Dry: The Step Most DIYers Rush
Even a thin layer of soap or degreaser residue will cause primer to bubble and peel within 24 hours of application. After cleaning the entire wall, go over it with a clean, damp microfiber cloth to remove all traces of cleaning solution. Follow up with a dry microfiber cloth to remove as much moisture as possible, then set up a fan to blow air across the wall to speed drying. Wait at least 24 hours before moving to primer, or 48 hours if you live in a humid climate or used an oil-based degreaser. Test the wall with the back of your hand: if it feels cool or damp, it is not fully dry. You can also read our guide on how to remove kitchen tiles from wall.
4. Repair and Sand for a Smooth, Paint-Ready Surface
Grease often hides or causes cracks, holes, and rough patches that will show through new paint if left unrepaired. This step ensures a smooth, even finish that looks professional. You can also read our guide on beige kitchen cabinets what color walls.
Fix Cracks, Holes, and Delaminated Drywall
Start by scraping away any loose, peeling paint or drywall paper around damaged areas. For small nail holes and cracks, apply a lightweight spackle with a putty knife, pressing firmly to fill the gap completely, then let it dry for 2–4 hours. For larger holes or areas where drywall paper has peeled away from grease damage, use a drywall repair compound for a stronger, more durable fix. If you have soft, water-damaged drywall from grease and steam exposure, cut out the damaged section and replace it with new drywall before patching, as spackle will not adhere to soft, compromised material. You can also read our guide on how to clean kitchen wall grease.
Sanding for Optimal Adhesion
Once all patched areas are fully dry, sand them with 120-grit sandpaper until they are perfectly flush with the surrounding wall. Next, scuff-sand the entire wall with 220-grit sandpaper to rough up any glossy spots from old paint or residual grease, which helps primer and paint bond to the surface. Wipe the entire wall with a tack cloth after sanding to remove all dust, as even a thin layer of dust will prevent primer from adhering properly. In practice, the most common mistake DIYers make here is skipping the tack cloth wipe-down, leading to a bumpy, uneven paint finish. You can also read our guide on how to remove wall tile in kitchen.
5. Priming: The Non-Negotiable Step for Greasy Kitchen Walls
Skipping primer on greasy kitchen walls is a guaranteed way to ruin your paint job. Primer seals in residual grease and stains, creates a uniform surface for paint to bond to, and reduces the number of topcoats you need for full coverage. You can also read our guide on how to clean greasy kitchen walls.
Selecting the Right Primer for Grease-Prone Surfaces
Not all primers work for greasy walls: avoid regular latex primer, as it will bubble and peel when it comes into contact with residual grease. For light to moderate grease, a water-based stain-blocking primer works well and has low VOC fumes. For heavy, old, or baked-on grease, an oil-based shellac primer is the gold standard, as it completely seals in grease, stains, and odors, and adheres to almost any surface. A common tradeoff: shellac primer has strong fumes and requires mineral spirits for cleanup, so it is only recommended for unoccupied homes or spaces with excellent ventilation. If you’re painting above kitchen cabinets in a low-ventilation space, opt for a low-VOC water-based stain-blocking primer instead. You can also read our guide on what type of paint to use on kitchen walls.
Proper Primer Application Techniques
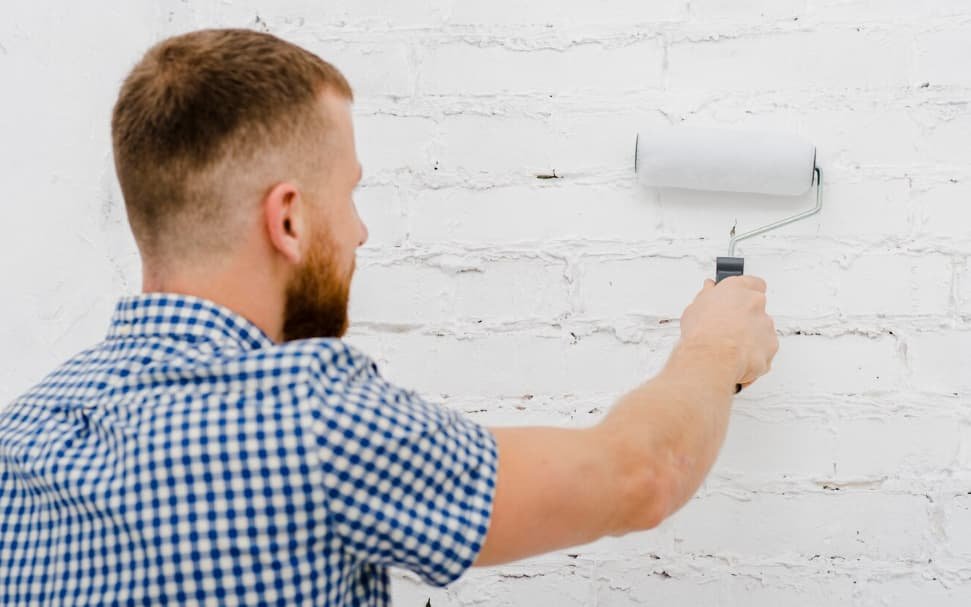
Stir your primer thoroughly before use, then apply it with a 9-inch roller with a 3/8-inch nap for large areas, and a 2-inch angled brush for edges, corners, and areas around fixtures. Apply one thin, even coat, working from the top of the wall down to avoid drips. Let the primer dry for 2 hours for water-based formulas, or 4 hours for oil-based shellac, then inspect for any grease stains bleeding through. If you see stains, apply a second thin coat of primer and let it dry fully before moving to paint. For a full kitchen wall refresh beyond grease removal, our complete kitchen wall prep guide covers patching, sanding, and priming for all wall types. You can also read our guide on how to remove kitchen cabinets without damaging wall.
6. Final Painting Tips for Long-Lasting Results
With your wall fully prepped, the right paint and application techniques will ensure your finish lasts for years, even with daily cooking splatters and steam. You can also read our guide on how much to paint a kitchen walls and ceiling.
Choosing Paint Formulated for High-Traffic Kitchens
Avoid flat or matte paint for kitchen walls, as it absorbs grease and is impossible to clean without damaging the finish. Opt for satin or semi-gloss latex paint, which is scrubbable, moisture-resistant, and repels grease splatters. If your kitchen has a recirculating range hood rather than a vented one, choose semi-gloss for maximum durability. Look for paint labeled “washable” or “scrubbable” to ensure it holds up to regular cleaning. For a finish that resists grease and holds up to scrubbing, refer to our guide to kitchen wall paint finishes to match your lifestyle and traffic level. If you’re matching your new wall color to green cabinetry refresh, satin paint offers the same low-maintenance finish as your cabinet coating. You can also read our guide on stains on kitchen walls what to use.
Application Best Practices for a Flawless Finish
Use a high-quality 3/8-inch nap roller for large wall areas to avoid lap marks, and a 2-inch angled brush for edges and corners. Apply thin, even coats, working from the top of the wall down in 3×3 foot sections to avoid drips. Let each coat dry for 2–4 hours (follow the paint can’s instructions for exact timing), then lightly sand with 220-grit sandpaper between coats to remove any bumps or dust. Wipe the wall with a tack cloth after sanding to remove dust before applying the next coat. Most kitchens require two coats of paint for full coverage, especially if you’re painting over a dark color or heavy stains. If you’re updating your kitchen alongside brown cabinetry updates, test your paint color on a small section of the wall first to ensure it coordinates with your cabinet finish in different lighting conditions. You can also read our guide on how to stop kitchen cabinet door from hitting wall.
Common Mistakes to Avoid When Prepping Greasy Kitchen Walls
Even small oversights can ruin hours of prep work. Avoid these common errors to get a long-lasting, professional finish:
- Skipping the paper towel grease test: Invisible grease is just as damaging as visible buildup, so always test for hidden oil before assuming your walls are clean.
- Using all-purpose cleaners: These leave behind soapy residue that interferes with primer adhesion, even after rinsing.
- Rushing the drying process: Painting over even slightly damp drywall will cause primer to bubble and paint to peel within months.
- Using regular latex primer: It will bubble and peel on greasy surfaces, no matter how well you clean the wall.
- Skipping the tack cloth after sanding: Even a thin layer of drywall dust will create a bumpy, uneven paint finish.
- Applying paint in thick coats: Thick coats drip, dry unevenly, and take far longer to cure, leading to a messy, unprofessional look.
Frequently Asked Questions
How do I clean greasy kitchen walls before painting?
Pre-treat heavy grease spots with a dedicated degreaser, letting it sit 5–10 minutes to break down oil, then scrub the full wall with a sponge and warm soapy water. Rinse thoroughly with a clean damp cloth to remove all soap residue, then let the wall dry completely for at least 24 hours (48 hours in humid climates) before moving to primer. You can also read our guide on best material for cloth napkins.
What products work best for removing kitchen grease?
For light to moderate grease, citrus-based degreasers or a mix of warm water, dish soap, and white vinegar work well. For heavy, baked-on grease, trisodium phosphate (TSP) is the most effective option, though low-VOC TSP alternatives are available for homes with kids or pets. Avoid ammonia-based cleaners, as they can discolor latex paint and leave invisible residue that interferes with adhesion. You can also read our guide on how to install kitchen cabinets on uneven walls.
Can I paint over greasy kitchen walls directly?
No. Even invisible, thin layers of grease will prevent paint from bonding to the wall, leading to peeling, bubbling, and discoloration within 1–2 years of application. Always remove all grease, repair any damage, and apply a stain-blocking primer before painting for a finish that lasts 5–7 years or longer. You can also read our guide on how to clean kitchen walls without removing paint.
How long should greasy walls dry before painting?
Wait at least 24 hours after cleaning and rinsing before applying primer or paint. In humid kitchens or if you used an oil-based degreaser, wait 48 hours to ensure no moisture is trapped in the drywall. Test the wall with the back of your hand: if it feels cool or damp, it is not fully dry. You can also read our guide on what do you put on commercial kitchen walls.
Conclusion
Properly prepping greasy kitchen walls before painting takes 4–6 hours of work, but it eliminates the frustration of peeling paint and premature repainting that costs hundreds of dollars down the line. By assessing for hidden grease and damage, using the right degreaser and tools, repairing flaws, and applying a stain-blocking primer, you’ll get a smooth, durable finish that holds up to cooking splatters, steam, and daily cleaning for years. You can also read our guide on how to remove a kitchen wall cabinet.
If you’re planning a full kitchen refresh beyond wall painting, check out our guides to coordinating with green cabinets and fixture removal steps to complete your space with ease. Happy painting! You can also read our guide on how to clean kitchen walls for painting.