How to Paint Wall Tiles in Kitchen: Easy Steps for Stunning Results
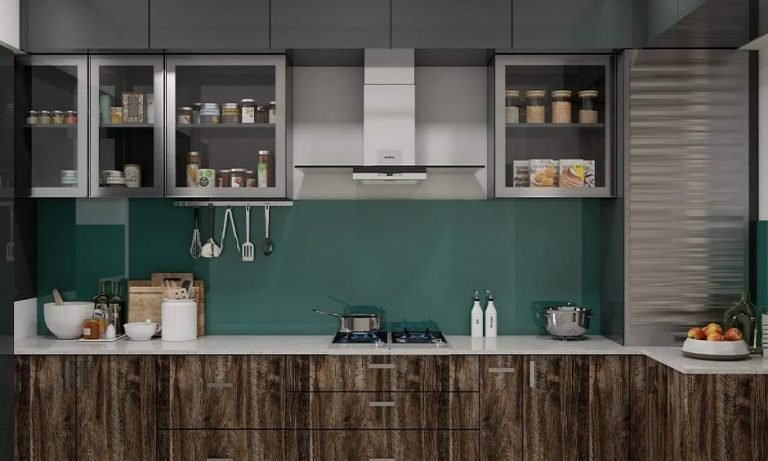
Outdated, grimy kitchen wall tiles can make even high-end cabinetry feel drab, but full tile replacement is a costly, multi-day project with demolition, disposal fees, and professional installation averaging $15–$30 per square foot as of 2026. Painting your wall tiles is a budget-friendly weekend alternative that delivers a high-end, refreshed look without the mess and expense of a full renovation. When done correctly, a painted tile job can last 3–7 years before needing a touch-up or repaint, standing up to daily splashes, grease, and cleaning when you use the right supplies and follow proper prep steps. This guide walks you through every step of the process, from surface prep to sealing, plus common mistakes to avoid for a durable, professional-grade finish. If you’re coordinating your new tile color with existing or new cabinetry, our guide to wall colors for green kitchen cabinets offers tailored palette ideas for a cohesive space.
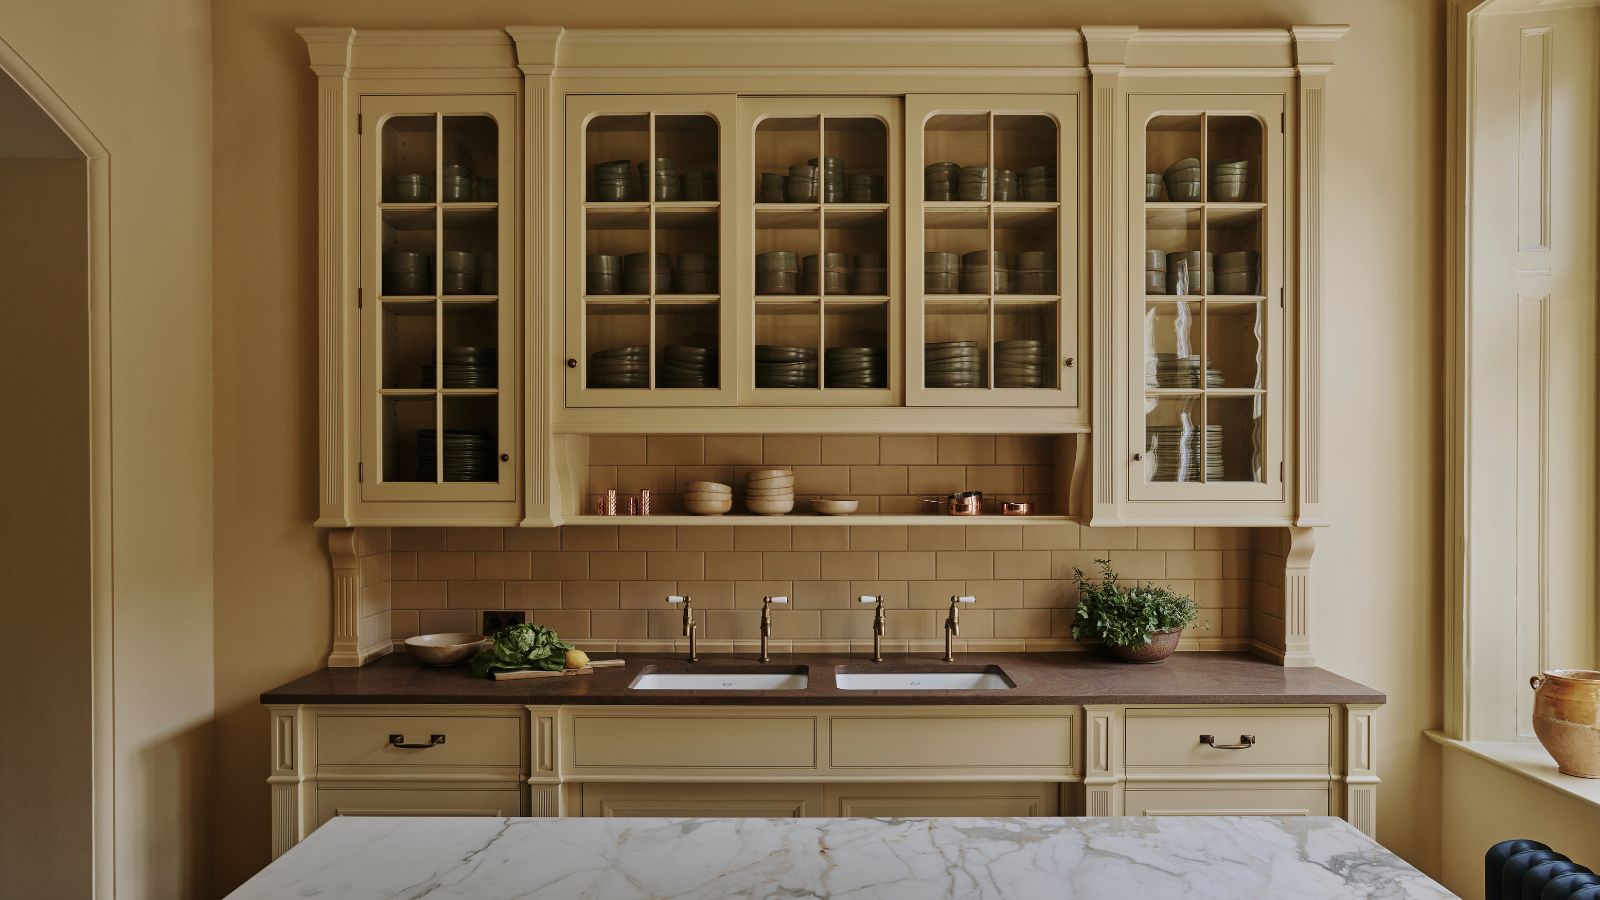 Painted kitchen wall tiles can mimic the look of expensive ceramic or porcelain for a fraction of the renovation cost.
Image source: www.homesandgardens.com
Painted kitchen wall tiles can mimic the look of expensive ceramic or porcelain for a fraction of the renovation cost.
Image source: www.homesandgardens.com
When Painting Kitchen Tiles Is (and Isn’t) the Right Choice
Not all kitchen tile projects are good candidates for painting. Wall tiles in low-to-moderate splash zones (like above countertops, between upper cabinets) are ideal for painting, as they see minimal direct water exposure. Avoid painting floor tiles, which endure heavy foot traffic that will wear through paint and sealant quickly, or tiles directly behind a cooktop or sink without extra layers of high-durability sealant. Tiles with deep cracks, chips larger than 1/8 inch, or loose grout should be repaired or replaced first, as paint will not adhere to unstable surfaces. If you’re a renter, confirm with your landlord that painting tiles is allowed, and opt for paint and primer combos that can be removed with a heat gun if needed when you move out.
Supplies and Tools You’ll Need
Having all your supplies on hand before you start will cut down on project time and avoid messy mid-project trips to the hardware store. Skip regular interior paint and generic tools — tile requires specialized supplies built to resist moisture, grease, and daily wear.
Paint, Primer, and Sealant
- 100% acrylic latex or two-part epoxy paint formulated specifically for ceramic, porcelain, or glass tile: These bond to smooth, non-porous surfaces and resist chipping, fading, and moisture far better than standard wall paint. Avoid oil-based paint, which takes longer to dry and can yellow over time.
- Bonding primer labeled for glossy, non-porous surfaces (tile, glass, laminate): This creates a rough texture for paint to grip, preventing peeling and bubbling.
- Clear water-based polyurethane sealant rated for high-moisture areas: This is the final protective barrier that keeps grease, water, and scratches from damaging your paint job. Skip oil-based sealant for light paint colors, as it will yellow within 1–2 years.
Painting Tools
- 3/8” nap foam roller: Applies thin, even coats to flat tile surfaces without leaving brush strokes or roller nap texture.
- Small angled synthetic brush: Perfect for cutting in edges, corners, and grout lines.
- 120–150 grit fine sandpaper and 220-grit sandpaper: For dulling glossy tile and smoothing between coats.
- Tile filler or two-part epoxy putty: To repair chips and cracks before painting.
Safety and Prep Gear
- Trisodium phosphate (TSP) or heavy-duty kitchen degreaser: For removing invisible grease buildup from tile surfaces.
- Painter’s tape and drop cloths: To protect countertops, cabinets, and floors from paint and primer splatters.
- Nitrile gloves, N95 mask, and safety goggles: To protect your skin, lungs, and eyes from fumes, dust, and chemicals.
- Tack cloth or damp microfiber cloths: For wiping away sanding dust and cleaning surfaces between steps.
Choosing Your Paint Color and Finish
The right color and finish will ensure your painted tiles look intentional and hold up to daily use.
Color Considerations for Your Kitchen
Light colors (white, soft gray, pale sage) reflect light and make small kitchens feel larger and brighter, while dark shades (navy, charcoal, warm terracotta) add depth and warmth but can make compact spaces feel cramped. Always test paint samples on a small, inconspicuous section of tile and view them in both morning and evening light to avoid unexpected tone shifts. If you’re matching your wall color to new or existing cabinetry, our guides to wall colors for brown kitchen cabinets and wall colors for green kitchen cabinets break down complementary palettes for every design style, from modern farmhouse to industrial.
Best Finish for Kitchen Tiles
Opt for a satin or semi-gloss paint finish: these are easy to wipe clean, resist moisture and grease, and hide minor surface imperfections better than high-gloss finishes. Flat or matte finishes are not recommended for kitchen tiles, as they absorb grease and are difficult to clean.
Step 1: Prep the Tile Surface (80% of Your Project’s Success)
Proper surface prep is the single most important factor in a long-lasting painted tile job. Skipping or rushing this step is the top cause of peeling, bubbling, and chipped paint within months of application. In practice, most DIYers find that spending an extra 30 minutes on prep cuts their touch-up work by 90%.
Deep Clean and Degrease
Kitchen tiles accumulate invisible layers of cooking grease, food splatter, and dust even if they look clean to the naked eye. Mix TSP with warm water per package instructions (wear gloves and ensure good ventilation, and refer to the EPA’s household chemical safety guidelines for safe handling), then scrub every tile surface with a non-abrasive sponge. Rinse thoroughly with clean water and let the surface dry completely for at least 24 hours. Even a small, missed greasy spot will cause paint to bubble later, so don’t skip this step.
Sand the Glossy Finish
Ceramic and porcelain tiles have a smooth, glossy glaze that prevents paint from sticking. Use 120–150 grit sandpaper to lightly sand every tile surface, either by hand or with a low-speed random orbital sander. Your goal is to dull the glossy shine, not scratch through the tile glaze — you should be able to run your finger over the surface and feel a slight roughness. Wipe away all sanding dust with a tack cloth or damp microfiber cloth, then let the surface dry fully.
Repair Chips and Cracks
Inspect tiles for any chips, cracks, or deep grout gaps. Use a two-part epoxy tile filler for damage deeper than 1/16 inch, smoothing it with a putty knife so it sits flush with the tile surface. Let the filler cure fully per package instructions, then sand it lightly with 220-grit sandpaper to blend it with the surrounding tile. For tiles with deep structural cracks that can’t be filled, check out our guide to fixing damaged kitchen tiles for repair or replacement options before moving forward. If you need to move small appliances or your faucet to access hard-to-reach tile areas, our guide to removing a wall-mounted kitchen faucet walks through the process without damaging plumbing.
 Sanding glossy tile dulls the surface to create a rough texture for paint adhesion, a non-negotiable prep step.
Image source: thediynuts.com
Sanding glossy tile dulls the surface to create a rough texture for paint adhesion, a non-negotiable prep step.
Image source: thediynuts.com
Step 2: Apply the Bonding Primer
Primer creates a mechanical bond between the smooth tile surface and your paint, which is non-negotiable for preventing peeling and ensuring even color coverage. A common mistake DIYers make is skipping primer or applying it too thick, both of which lead to premature paint failure.
Application Tips
Use a foam roller to apply primer to large, flat tile areas, and an angled brush for edges, corners, and grout lines. Apply one thin, even coat, avoiding pooling in grout lines or thick spots that will bubble as they dry. Let the primer dry fully per the product label (most tile primers are ready for paint in 2–4 hours, though some fast-drying formulas cure in 1 hour). Once dry, lightly sand the entire surface with 220-grit sandpaper to smooth any raised roller nap, then wipe away dust with a tack cloth before moving to paint.
Step 3: Paint the Tile
For a smooth, professional finish, apply paint in thin, even coats rather than one thick layer. Thick paint takes longer to dry, drips easily, and leads to a bumpy, uneven surface.
First Coat Application
Use a foam roller for large flat surfaces and an angled brush for edges and grout lines. Work in 2×2 foot sections to avoid lap marks, applying thin, even strokes that follow the direction of the tile. Let the first coat dry fully per the paint label (most tile paint dries to the touch in 2–4 hours), then lightly sand with 220-grit sandpaper to smooth any imperfections, and wipe away dust.
Second (and Final) Coat
Apply the second coat using the same technique as the first. Most tile paint requires 2–3 coats for full, even opacity, especially if you’re painting over dark tile with a light color. If you want to add a decorative touch, use a small detail brush to paint grout lines a contrasting shade after your base coats are fully dry.
Avoiding Drips and Streaks
Never overload your roller or brush with paint — dip only the tip of the roller into the paint, then roll it back and forth on the paint tray’s sloped side to remove excess. If you notice a drip or streak while the paint is still wet, smooth it out immediately with a clean, dry brush before it dries.
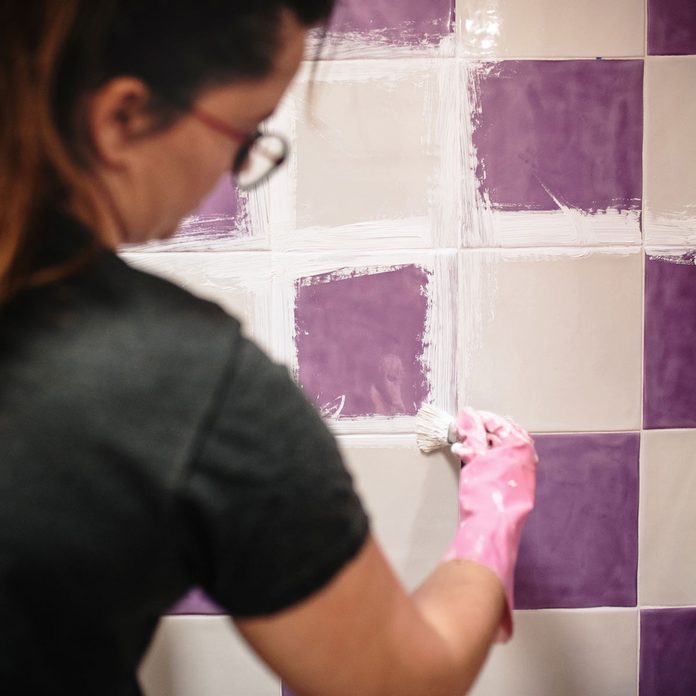 Using a foam roller applies thin, even coats of paint to avoid drips and lap marks on smooth tile surfaces.
Image source: www.familyhandyman.com
Using a foam roller applies thin, even coats of paint to avoid drips and lap marks on smooth tile surfaces.
Image source: www.familyhandyman.com
Step 4: Seal the Painted Tile
Sealant is the final protective barrier that keeps moisture, grease, and scratches from damaging your paint job. Skipping this step is the top reason DIY painted tile jobs peel within a year, even with perfect prep.
Application and Curing
Use a clean foam roller or soft brush to apply a thin, even coat of water-based polyurethane sealant to the entire painted surface, including grout lines. Avoid brushing back and forth too much, as this can create bubbles. Let the first coat dry for 2–4 hours, then lightly sand with 220-grit sandpaper and wipe away dust before applying a second coat. For high-splash zones (like behind a sink), apply a third coat for extra protection. Let the sealant cure fully for 72 hours before using the area — do not clean, splash, or touch the tiles during this time to avoid damaging the finish.
Maintaining Painted Kitchen Tiles for Long-Lasting Results
With proper care, your painted tiles will stay vibrant and durable for years. Avoid harsh cleaning products and address small chips quickly to extend the life of your paint job.
Cleaning Do’s and Don’ts
Wait 7 days after the final sealant coat before cleaning to let it fully cure. For regular cleaning, use a soft sponge or microfiber cloth with mild dish soap and warm water — avoid abrasive scrubbers (steel wool, scouring pads), bleach, ammonia-based cleaners, or acidic products like vinegar, which can degrade the sealant over time. Wipe up spills as soon as they happen to prevent staining, and dry the tiles with a soft towel after cleaning to avoid water spots.
Touch-Up Tips
Keep a small sealed container of leftover paint and sealant for quick touch-ups. For small chips or peeling areas, lightly sand the damaged spot with 220-grit sandpaper, apply a thin coat of paint with a small detail brush, let it dry fully, then apply a thin coat of sealant. For larger peeling areas, you may need to sand the entire section and repaint to avoid noticeable patchiness. If you’re repairing damage to the wall behind tiles after removal, our kitchen wall tile repair tips will help you fix flaws for a seamless finish.
Common Mistakes That Ruin Painted Tile Jobs
Even small oversights can lead to a paint job that peels, chips, or looks uneven within months. Avoid these frequent pitfalls for a professional-grade finish:
- Skipping degreasing: Invisible grease buildup is the top cause of paint bubbling and peeling. Always use a heavy-duty degreaser like TSP before prepping tiles.
- Using regular interior paint: Standard wall paint is not formulated to adhere to smooth, non-porous tile or resist moisture, and will chip within weeks in a kitchen.
- Applying thick coats of paint or primer: Thick layers dry slowly, drip easily, and lead to a bumpy finish. Always apply thin, even coats and build up coverage gradually.
- Rushing drying and curing times: Touching or using the tiles before paint and sealant are fully dry will damage the finish and lead to peeling. Stick to the recommended drying times on product labels.
- Using oil-based sealant on light paint: Oil-based polyurethane yellows over time, turning white or light paint a dingy yellow. Always opt for water-based sealant for light color schemes.
- Forgetting to sand between coats: Sanding between primer and paint coats smooths raised roller nap and creates a better bond between layers, leading to a smoother final finish.
Frequently Asked Questions
Got questions about painting your kitchen wall tiles? We’ve answered the most common queries below to help you avoid costly mistakes.
Can you paint over glossy ceramic kitchen tiles?
Yes, as long as you properly sand the glossy finish to dull it, use a bonding primer formulated for non-porous surfaces, and apply a durable sealant after painting. Skipping sanding or primer will lead to peeling paint within months.
How long does painted kitchen tile last?
With proper prep, high-quality supplies, and regular maintenance, painted kitchen wall tiles last 3–7 years before needing a full repaint. Tiles in low-splash zones (like between upper cabinets) will last longer than those directly behind a sink or cooktop.
Do I need to seal painted kitchen tiles?
Yes, sealing is non-negotiable for kitchen tiles. A clear polyurethane sealant protects the paint from moisture, grease, and daily wear, and is the main factor that determines how long your paint job will last.
Can renters paint kitchen wall tiles?
Yes, but opt for paint and primer combos that are easy to remove with a heat gun if needed, and confirm with your landlord that painting is allowed. Avoid permanent epoxy paint if you think you may need to revert the tiles to their original finish when you move out.
Can I paint tile grout lines?
Yes, you can paint grout lines a matching or contrasting shade using a small detail brush after your base paint coats are fully dry. For best results, use paint formulated for grout, and seal the grout along with the tile surface to prevent staining.
Conclusion
Painting your kitchen wall tiles is a low-cost, high-impact DIY project that can transform your space over a single weekend, no demolition or professional help required. The key to stunning, long-lasting results is prioritizing prep: deep cleaning, sanding, and using a bonding primer will ensure your paint adheres properly and holds up to daily kitchen wear. Choose high-quality, tile-specific paint and sealant, apply thin even coats, and let each layer dry fully before moving to the next step. With proper maintenance, your freshly painted tiles will look fresh and vibrant for years to come.
If you’re planning other kitchen upgrades after your tile makeover, our guide to prepping kitchen walls for painting will help you refresh the rest of your space for a fully cohesive, updated look, and help you achieve that stunning kitchen you’ve been dreaming of.