Cheese Board Mistakes (and How to Fix Them)
You know the drill. You spend time arranging a gorgeous spread, and then something goes wrong. Maybe your brie turned into soup, the crackers went stale, or your board looks like a messy art project instead of a classy grazing setup.
These cheese board problems and solutions are actually pretty common, and they usually come down to a few predictable fixes.
The biggest culprit is often simple temperature control. Per USDA food safety guidelines, perishable foods like cheese and cured meats shouldn't sit in the "danger zone" above 40°F for more than two hours. That window shrinks fast in warm rooms or outdoor settings, which is why timing matters.
Let's walk through exactly what goes wrong and how to stop it.
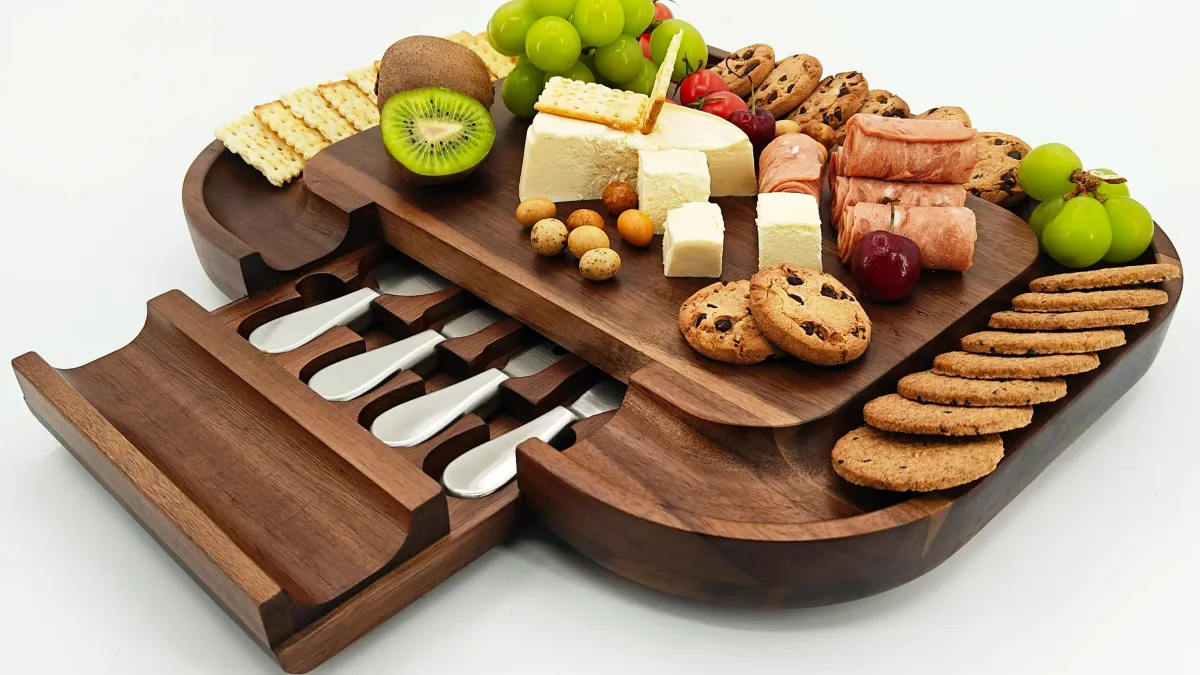
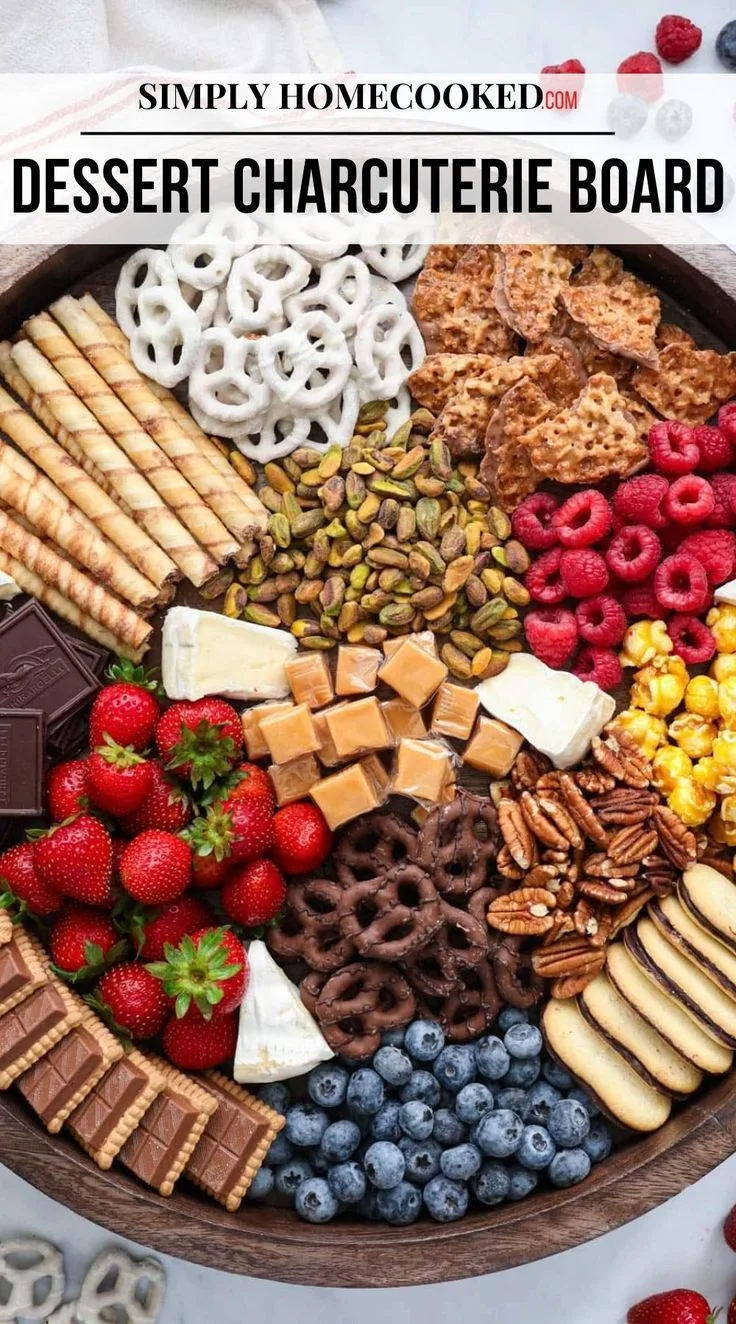
Image source: Web (Bing) / alibaba.com (Web image (fair-use with source credit))
Why Your Cheese Board Keeps Falling Apart
When a cheese board falls apart, it's rarely one thing. It's usually a chain reaction of small mistakes. You might notice your soft cheeses sweating, your hard cheeses crumbling too dryly, or your crackers turning tough overnight.
Each symptom points to a different root cause, but they all share the same fixable patterns.
Most failures happen because we skip the prep. Pull cheese straight from the fridge and slap it on the board, and you get condensation and flavor loss. Pile crackers before the guests arrive, and humidity ruins the crunch.
Use the wrong knife on a dense cheddar, and you end up with crumbled messes instead of clean slices.
Other common triggers include overcrowding the board (which makes everything look tangled), skipping variety in texture, or choosing the wrong wood that absorbs flavors and smells. Even placing strong blue cheese next to mild brie can ruin the whole balance.
Understanding these patterns helps you fix them before they ruin your spread.
Quick Fix Checklist
- Let cheeses come to room temperature before serving. About 30 minutes works best.
- Assemble the board just before guests arrive.
- Use the right knife for each cheese type.
- Keep strong cheeses away from delicate ones.
- Choose a board finish that won't soak up oils or odors.
Diagnose the Problem Before You Fix It
Before you start swapping ingredients or buying new gear, take a minute to figure out what's actually going wrong. Cheese board issues usually fall into three buckets: texture problems, temperature failures, or layout chaos. Once you pinpoint which one hit your board, the fix becomes obvious.
Texture issues show up as cheese that's too dry, too wet, or oddly rubbery. Temperature problems reveal themselves as sweating beads, melted edges, or crackers that went soft. Layout chaos looks like cramped ingredients, missing visual breaks, or utensils that don't match the board style.
| Symptom | Likely Cause | Quick Fix |
|---|---|---|
| Sweaty cheese beads | Too cold when served | Let cheese warm up 20 minutes |
| Dry, crumbly cheddar | Over-aged or poorly stored | Wrap properly before storing |
| Soggy crackers | Moisture from wet cheeses | Use barrier or separate bowls |
| Overcrowded board | Poor planning or wrong board size | Use a larger board or negative space |
| Rubbery brie | Wrong knife or sawing motion | Switch to a wire or soft cheese knife |
Once you spot the pattern, you can move straight to the solution instead of guessing. Think of it like troubleshooting your outdoor dining setup. You check the basics first, then fix what's actually broken.
This diagnostic step saves time and stops you from wasting good ingredients on unnecessary swaps.
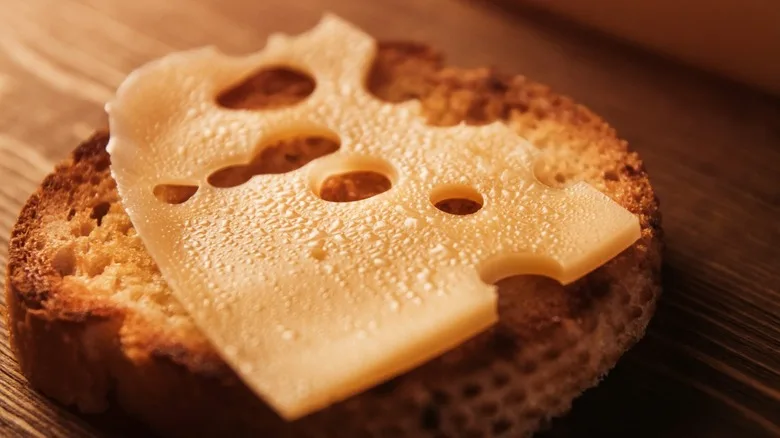
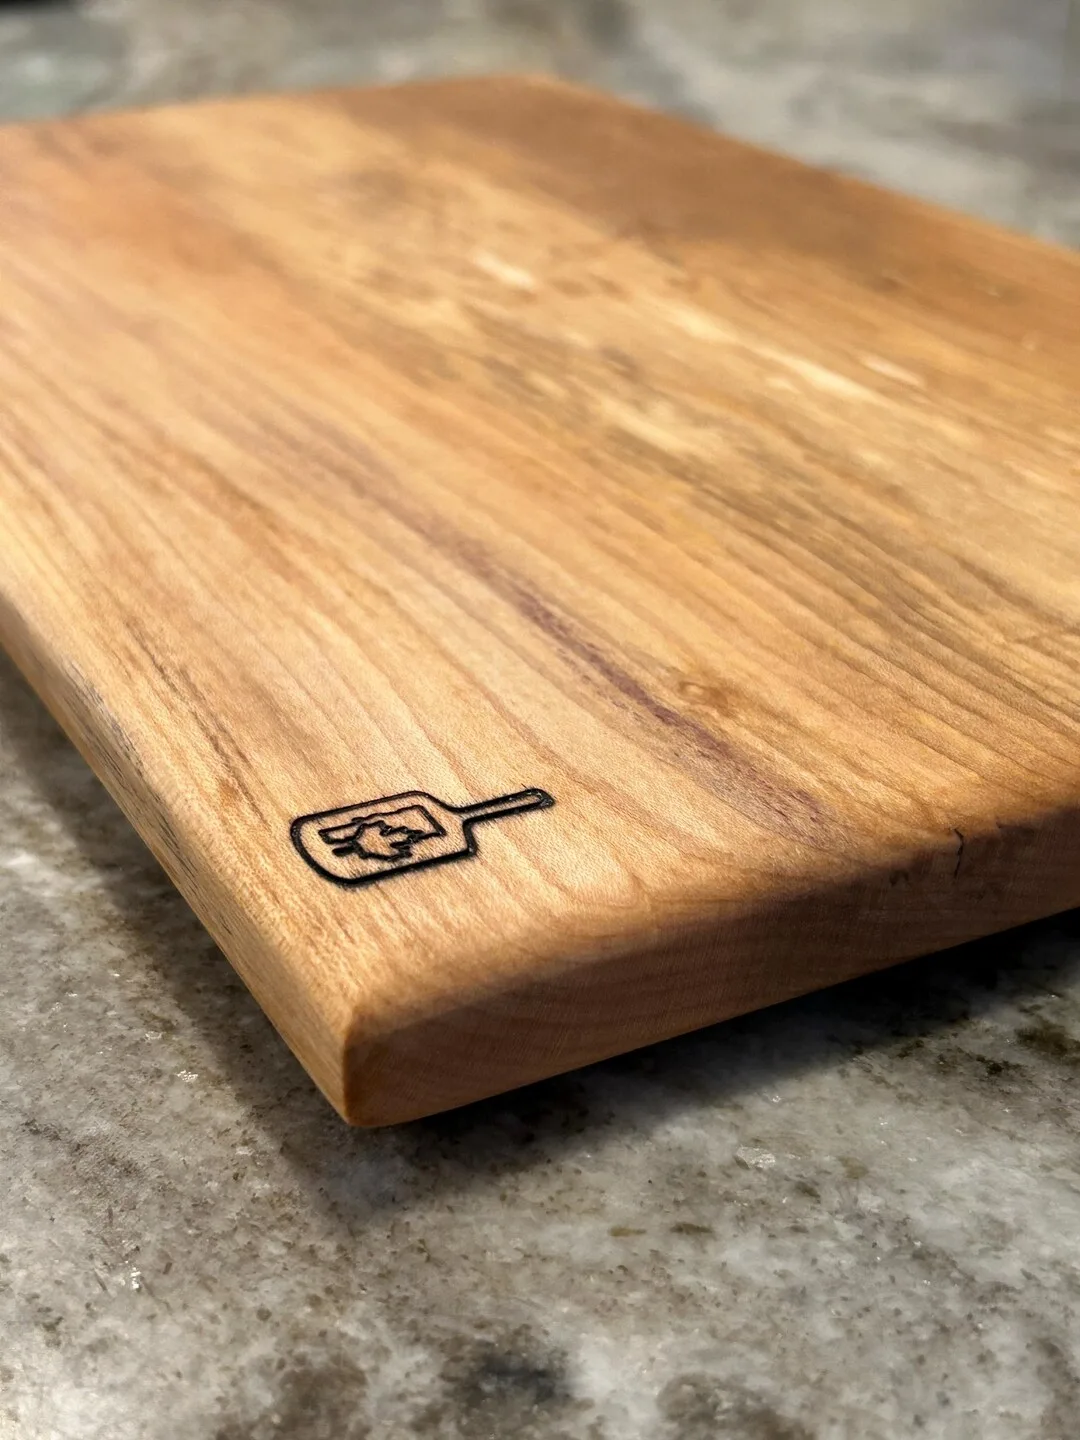
Image source: Web (Bing) / tastingtable.com (Web image (fair-use with source credit))
Solutions for Every Common Cheese Board Issue
Now that you can ID the problem, let's tackle the most frequent issues head-on. Each one has a practical workaround that doesn't require fancy equipment or expensive upgrades.
Sweaty or Weeping Cheese means it came out of the fridge too early or was wrapped tightly while still cold. The fix is simple: let the cheese rest unwrapped for 20 to 30 minutes before serving. Pat any surface moisture gently with a paper towel.
This keeps textures intact without losing flavor.
Dry or Crumbly Cheeses often result from poor storage or overexposure to air. Wrap hard cheeses in wax paper first, then place them in an airtight container or loose plastic bag. This balances moisture retention without suffocating the cheese.
Store them in the warmest part of your fridge, usually the door, where temperature swings are smaller.
Stale or Soft Crackers happen when humidity creeps in before serving. Keep them sealed until the last possible moment. If they do go soft, refresh them in a low oven for a few minutes, or swap to sturdy breadsticks that hold up better.
Pair your setup with durable outdoor serving trays that protect against damp surfaces.
Overpowering Flavors Clashing is usually a spacing problem. Place strong blue cheeses, pungent washed-rind wheels, or salty cured meats away from mild bries and delicate nuts. Use small bowls or spoons to let guests sample without crossing flavors.
Watch the food safety window. The USDA recommends keeping perishable items below 40°F or above 140°F. Don't leave cheese out longer than two hours, especially outdoors. When hosting outside, keep a cooler nearby and rotate trays.
Missing the right tools? Use proper cheese knives. A spade knife works for hard cheeses, a wire cutter handles soft ones, and a flat spreader tackles creamy varieties. Using the wrong tool ruins texture faster than almost anything else.
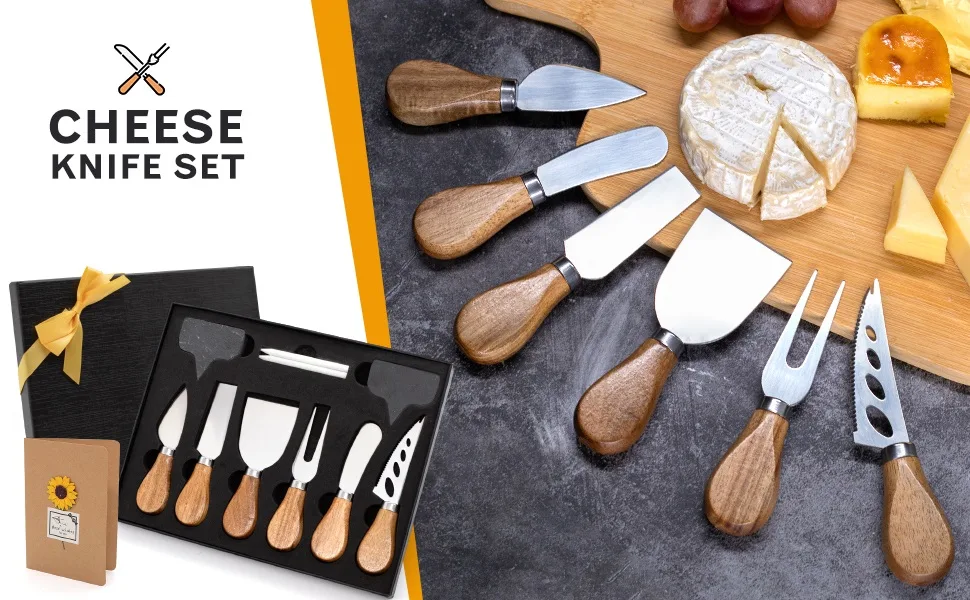
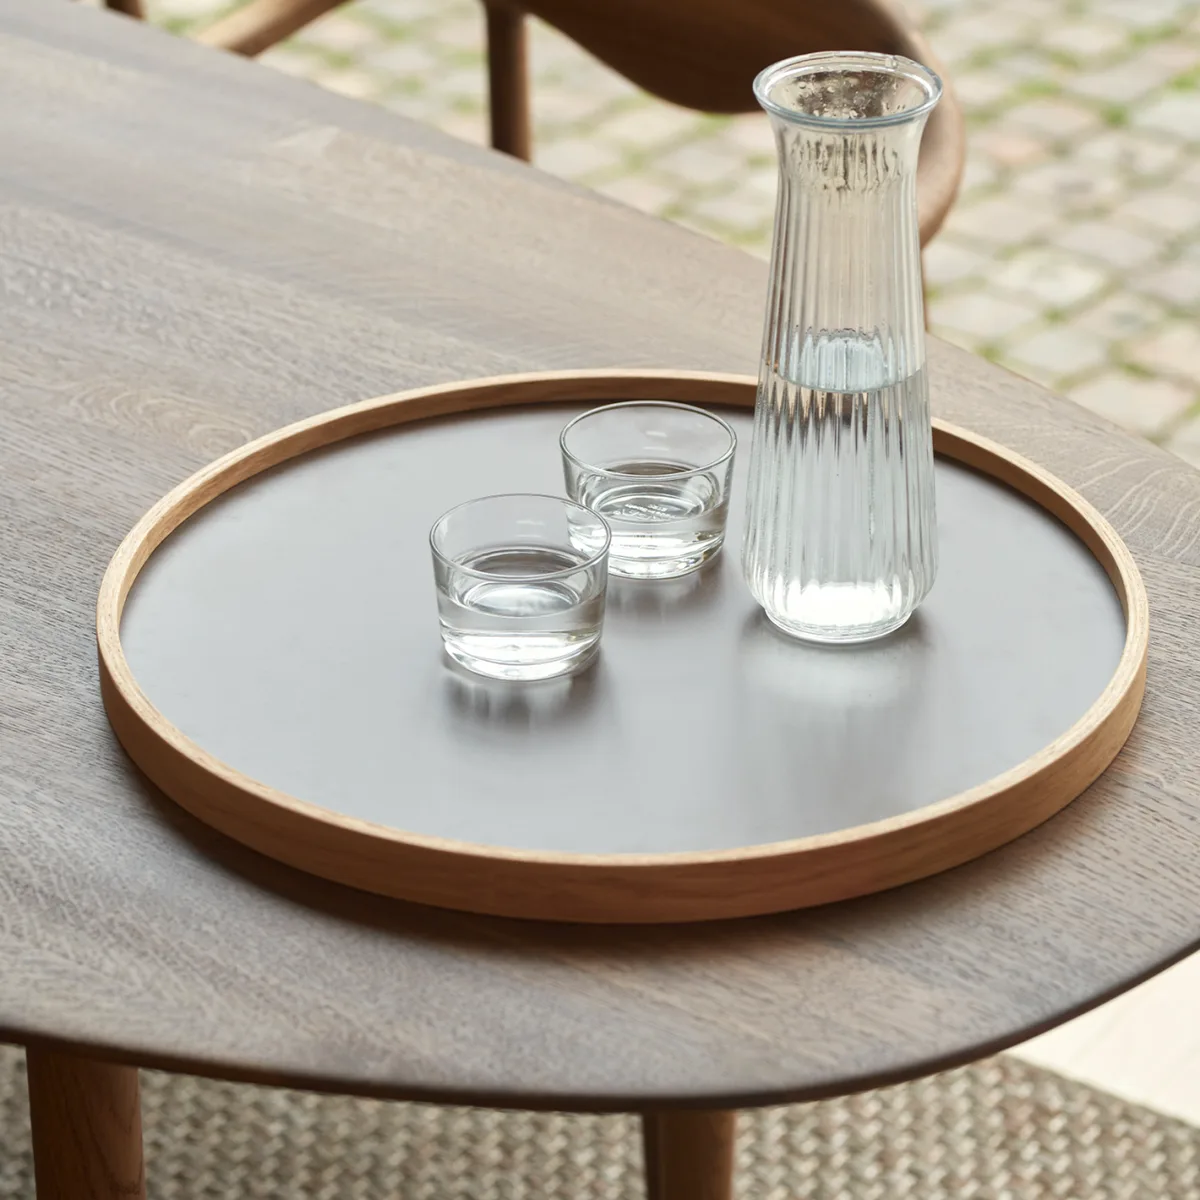
Image source: Web (Bing) / amazon.com (Web image (fair-use with source credit))
A Step-by-Step Workflow for Trouble-Free Boards
Building a reliable cheese board follows a repeatable sequence. Nail the workflow, and most problems disappear before they start.
Start by gathering everything you'll need: cheeses, accompaniments, knives, serving utensils, napkins, and labels if needed. Check that your board is clean, dry, and stable. Avoid wooden boards with deep grooves if you're serving wet fruits or juicy meats.
Those traps harbor bacteria and ruin cleanup.
Next, prep your cheeses. Take them out of the fridge about 30 minutes before guests arrive. This gives them time to lose that sharp cold edge without reaching room temperature fully.
Hard cheeses like aged gouda or parmesan benefit most from this step.
Now arrange the board using this order:
- Place large cheese wedges or blocks first. They anchor the layout.
- Add sliced meats folded neatly in small piles.
- Fill gaps with crackers, nuts, and dried fruit.
- Tuck in fresh fruit, olives, and preserves last.
- Distribute knives and small forks near matching items.
- Sprinkle edible flowers or herbs for color if desired.
Keep spacing open. You want guests to grab without digging. Think of it like setting up an outdoor dining set.
Flow matters as much as appearance.
Leftovers? Re-wrap each cheese type separately in wax paper, then place in a breathable bag. Store crackers and nuts in airtight containers.
Assemble any fresh cuts or sliced items only when ready to serve again.
Following this routine turns guesswork into a calm, repeatable process.

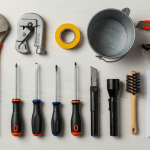
Image source: Web (Bing) / stockcake.com (Web image (fair-use with source credit))
Mistakes That Ruin Cheese Boards (And How to Avoid Them)
Even experienced hosts trip over the same pitfalls. Avoiding these mistakes keeps your board looking sharp and tasting great.
Pulling cheese straight from the fridge. Cold cheese mutes flavor and texture. Let it warm up for at least 20 minutes before slicing.
Using one knife for everything. Sawing through brie with a hard cheese knife creates mush. Assign knives by cheese type. Use a blade for hard cheeses, a wire cutter for soft ones, and a spatula for creamy varieties.
Wrapping cheese in plastic wrap only. Plastic suffocates cheese and traps moisture. Try wax paper first, then a loose bag, to let it breathe while staying protected.
Overcrowding the board. Stuffing every inch leaves no room for utensils or visual breathing space. Negative space makes arrangements look intentional, not panicked.
Ignoring food safety windows. Leaving cheese and meat out past two hours, especially in warm weather, invites bacteria. When hosting outdoors, keep a cooler nearby and rotate trays.
Choosing the wrong board material. Porous woods absorb odors and stains. Sealed hardwoods, slate, or marble hold up better and are easier to sanitize between uses.
Serving overly strong cheeses near delicate ones. A sharp blue next to a mild goat cheese confuses the palate. Group similar intensity levels together.
Forgetting to label allergens. Nuts, gluten, and dairy are common triggers. Small cards or placement hints help guests avoid reactions.
These errors are easy to spot once you know what to watch for. A little foresight prevents most headaches before they reach the table.
FAQs
How long can cheese stay out before it's unsafe?
Per USDA guidelines, perishable cheeses and cured meats should not sit between 40°F and 140°F for more than two hours. In hot weather above 90°F, that drops to one hour. When in doubt, throw it out.
What's the best way to store leftover cheese?
Wrap hard cheeses in wax paper first, then place them loosely in a zip bag or airtight container. Soft and blue cheeses need slightly more moisture control. Store them in original packaging or wrap loosely in parchment.
Keep everything in the warmest part of your fridge.
Can I reuse cheese boards day after day?
Yes, but clean them thoroughly after each use. Hand-wash wooden boards with mild soap and warm water. Dry completely, and oil periodically to prevent cracking.
Avoid dishwashers, which warp wood and break seals.
What knives should I buy for a basic board?
Start with three. A spade or flat blade works for hard cheeses. A wire cutter handles soft cheeses.
A small spreading knife tackles creamy or blue varieties. Add cheese forks or small skewers for tasting without cross-contamination.
How do I keep crackers crunchy until serving?
Store them sealed in an airtight container until moments before plating. If your board includes wet ingredients like tomatoes or olives, place those in small bowls rather than directly on the board to block moisture transfer.
What's the difference between a cheese board and a charcuterie board?
A cheese board focuses mainly on cheeses and pairings like fruit, nuts, and crackers. A charcuterie board emphasizes cured meats alongside cheeses and accompaniments. Both follow the same planning principles, but emphasis shifts based on your guests' preferences.
Ethan Cole is a kitchen innovation enthusiast and food technology writer at DiningGadgets.com. With over 8 years of experience reviewing cookware, smart kitchen tools, and design trends, he helps readers discover gadgets that make cooking easier and dining more enjoyable. When he’s not testing the latest kitchen appliances, Ethan enjoys experimenting with recipes and sharing practical tips for modern homes.
Similar Posts