How to Clean Kitchen Walls And Ceiling: Easy Steps for a Sparkling Home
Grime, grease splatters, and steam buildup don’t just make your kitchen look dull—they can harbor bacteria, trigger allergies, and even cause permanent paint damage if left unaddressed for months. Whether you have painted drywall, washable wallpaper, textured ceilings, or tile backsplashes, restoring your kitchen walls and ceiling to a sparkling clean state doesn’t require harsh chemicals or hours of scrubbing. This guide walks you through safe, effective, step-by-step methods tailored to every common kitchen surface, plus simple habits to keep your space looking fresh between deep cleans.
Prep Your Kitchen for Safe, Effective Cleaning
Skipping prep work will slow you down and increase the risk of accidental damage to your kitchen surfaces. Taking 10 minutes to set up your space before you start scrubbing will make the entire process faster, safer, and more effective. For more on this, see our guide on how to regrout kitchen wall tiles easy steps.
Clear Clutter and Remove Hardware
Start by removing all items from countertops, walls, and shelves: take down wall art, clocks, hanging utensil racks, and small appliances. Don’t forget to unscrew switch plates, outlet covers, and vent covers—these accumulate hidden grease and dust that are easy to miss during cleaning. If you have a wall-mounted faucet, taking off a wall-mounted faucet temporarily will let you clean the wall behind it fully without damaging the fixture. Clear the floor of all rugs and mats to give yourself full range of motion with a ladder or step stool.
Gather the Right Supplies
Collect all your tools before you start to avoid interruptions mid-clean. You’ll need:
- An extendable microfiber duster or vacuum with a soft brush attachment
- Non-abrasive sponges and soft microfiber cloths
- pH-neutral dish soap, white vinegar, baking soda, and 3% hydrogen peroxide
- A non-abrasive kitchen degreaser for heavy baked-on grease
- A stable step ladder with non-slip feet
- Painter’s tape, drop cloths or old sheets, and plastic bags for covering fixtures
- Rubber gloves and an N95 mask if you’re treating mold
A common mistake many people make is grabbing random cleaners under the sink; harsh all-purpose cleaners can strip paint or damage wallpaper, so stick to the gentle, surface-tested options listed above. For more on this, see our guide on how to clean kitchen walls.
Protect Floors and Fixtures
Lay drop cloths or old sheets over all countertops, floors, and cabinet fronts, securing them with painter’s tape to prevent slipping. Cover light fixtures, pendant lights, and exhaust fans with plastic bags to avoid water damage or cleaner drips. Tape painter’s tape along the edges of trim, baseboards, and cabinet frames to keep cleaner from seeping into cracks and causing discoloration. If using a ladder, place it on a flat, stable surface and never lean over the side to reach far corners—reposition the ladder instead to avoid falls.
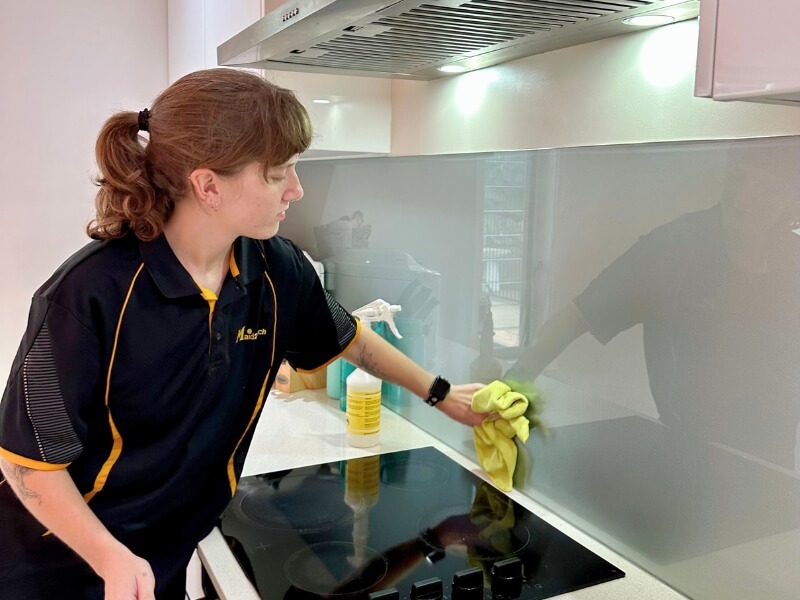 Wiping down the wall behind your stovetop first cuts down on baked-on grease buildup
Image source: www.maid2match.com.au
Wiping down the wall behind your stovetop first cuts down on baked-on grease buildup
Image source: www.maid2match.com.au
Choose the Right Cleaner for Your Surfaces
The wrong cleaning product can leave streaks, discolor paint, or even damage porous surfaces like drywall. Pick a cleaner matched to your stain type and surface material for the best results, and always test any new product in an inconspicuous spot (like behind the refrigerator) first to check for discoloration or peeling. For more on this, see our guide on how to clean kitchen grease off painted walls.
Mild, Paint-Safe Options for Light Grime
For routine cleaning of light dust, dirt, and fresh grease splatters, mix 1 teaspoon of unscented, pH-neutral dish soap per gallon of warm water. This gentle solution won’t strip paint finishes or damage wallpaper, and it rinses away cleanly without leaving residue. It works for all painted surfaces, including matte, eggshell, and satin finishes, as well as washable tile and glass backsplashes.
Natural Cleaners for Eco-Friendly Grease Removal
For non-toxic, affordable cleaning, a 1:1 mix of white vinegar and warm water cuts through light grease and neutralizes cooking odors effectively. Avoid using vinegar on unsealed natural stone tile, unsealed grout, or waxed surfaces, as its acidic content can etch or damage these materials. For tougher stuck-on stains, mix baking soda and warm water into a thick paste, apply it to the spot, let sit for 5 minutes, then gently wipe away with a soft sponge. Baking soda acts as a mild abrasive that won’t scratch most surfaces, but avoid scrubbing too hard on matte paint to prevent visible wear. For more on this, see our guide on how to clean kitchen walls without removing paint.
Heavy-Duty Solutions for Stubborn Stains and Mold
For baked-on grease near stovetops or heavily soiled areas, use a kitchen-specific degreaser labeled safe for painted surfaces. Let the degreaser sit for 2 to 3 minutes to break down grease before wiping, and wear rubber gloves to avoid skin irritation. For mold and mildew spots, a 3% hydrogen peroxide solution is safer than bleach for porous drywall, as bleach does not kill mold spores below the surface and can cause discoloration. Spray the solution on the affected area, let sit for 10 minutes, then scrub gently with a soft brush and rinse thoroughly.
The American Cleaning Institute notes that pH-neutral cleaners are safest for painted kitchen surfaces, as harsh acidic or alkaline products can strip paint finishes over time American Cleaning Institute. For more on this, see our guide on how to clean kitchen grease off walls.
| Stain Type | Best Cleaner to Use | Surface Compatibility |
|---|---|---|
| Light dust and dirt | pH-neutral dish soap + warm water | All painted, tile, and wallpaper surfaces |
| Light grease and splatters | 1:1 white vinegar + water solution | Painted drywall, sealed tile, glass |
| Baked-on grease | Non-abrasive kitchen degreaser or baking soda paste | Painted drywall, sealed tile (test first) |
| Mold and mildew | 3% hydrogen peroxide solution or vinegar | Painted drywall, sealed tile (avoid unsealed surfaces) |
| Textured ceiling stains | Soft-bristled brush + mild soapy water | Popcorn, knockdown, or orange peel ceilings |
Step-by-Step Kitchen Wall Cleaning
Kitchen walls take on more abuse than almost any other surface in your home, catching grease splatters, food splashes, dust, and steam residue on a daily basis. Cleaning them properly will make your entire kitchen feel brighter and more hygienic with minimal effort.
Dust First to Avoid Smearing Grime
Start by removing loose dust and cobwebs from the walls using a microfiber cloth or vacuum with a brush attachment. Work from the top of the wall down to the baseboards, so falling dust lands on areas you haven’t cleaned yet, and you can vacuum it up in one pass at the end. This step prevents dust from turning into muddy streaks when you add moisture during cleaning.
Lift Baked-On Grease and Food Splatters
Focus extra attention on the 2-foot radius around your stovetop, range hood, and sink, where grease and water splatters accumulate most. Spray your chosen cleaner onto a soft sponge (not directly onto the wall, to avoid excess moisture seeping into drywall) and scrub gently in circular motions. For stuck-on food or baked-on grease, let the cleaner sit for 2 to 3 minutes to break down the residue before wiping. Rinse your sponge frequently in clean water to avoid spreading grease around.
Treat Mold and Mildew Safely
Mold and mildew grow in damp, poorly ventilated kitchen corners, especially near windows, sinks, and ceiling edges. For small spots (less than 1 square foot), spray hydrogen peroxide or vinegar directly on the growth, let sit for 10 minutes, then scrub with a soft brush and rinse. For mold covering more than 10 square feet, the U.S. Environmental Protection Agency recommends wearing an N95 mask and consulting a professional to avoid spreading spores, as improper removal can worsen indoor air quality EPA mold cleanup guide. If you notice mold recurring in the same spot even after cleaning, address the root cause by improving ventilation or fixing leaky plumbing to reduce excess moisture. For wallpaper, only use a barely damp cloth—never soak it, as moisture can cause peeling.
Step-by-Step Kitchen Ceiling Cleaning
Ceilings are often overlooked during routine cleaning, but they collect just as much grease, dust, and cooking residue as walls, especially if you don’t run your exhaust fan while cooking. Cleaning your ceiling regularly will brighten your entire kitchen and reduce the amount of dust that falls onto countertops and appliances.
Dust High Surfaces Without Strain
Start by removing loose dust and cobwebs from the ceiling using an extendable microfiber duster or a vacuum with a soft brush attachment. Work in 2×2 foot sections to avoid missing spots, and avoid rubbing textured popcorn or knockdown ceilings aggressively, as this can break off pieces of the texture. For high or vaulted ceilings, use a stabilized step ladder rather than standing on a chair or counter to avoid falls.
Spot-Clean Stains Without Water Damage
Identify any greasy or yellowed stains from cooking fumes, and dampen a soft sponge or microfiber cloth with your chosen cleaner. Wring the cloth out until it is almost completely dry—excess water can drip onto your floors, countertops, or light fixtures, and seep into porous drywall to cause mold growth. Gently rub the stained area in small circular motions, then wipe away any cleaner residue with a clean dry cloth. For stubborn stains on textured ceilings, use a soft-bristled brush to avoid damaging the texture.
Reach Corners and Vents Easily
Use a cleaning wand with a microfiber cover, or attach a sponge to a broom handle, to reach corners, edges, and areas near ceiling vents without overextending yourself from a ladder. Remove ceiling vent covers and soak them in warm soapy water to remove built-up grease, then wipe down the interior of the vent with a damp cloth before reattaching. Focus extra attention on corners near upper cabinets, as grease tends to accumulate in these hidden, hard-to-reach spots.
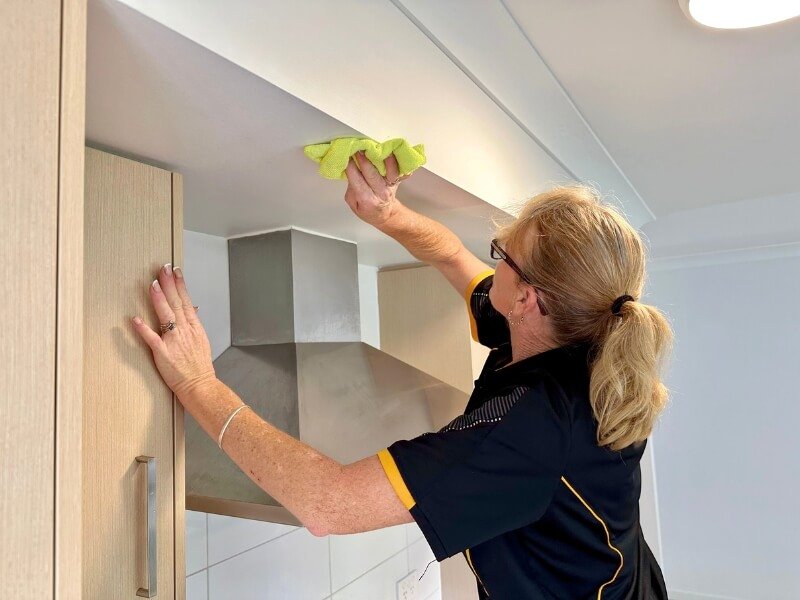
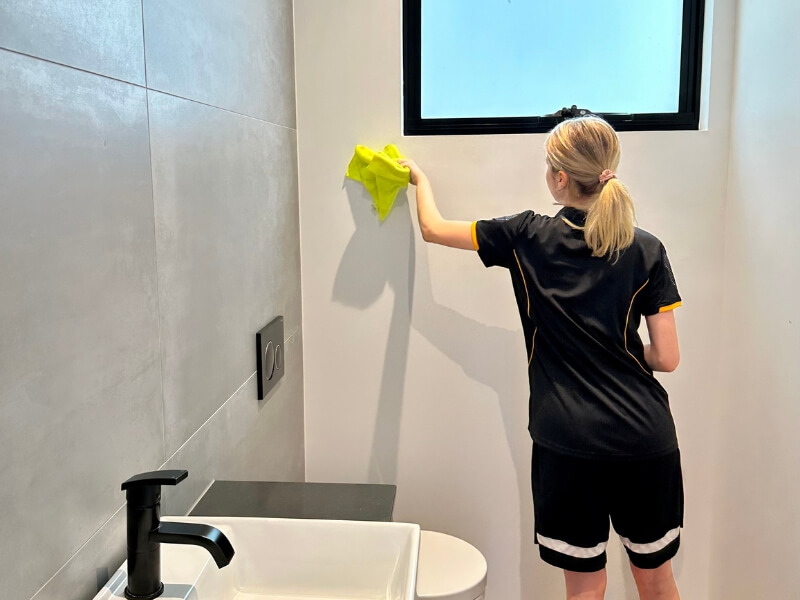 Using a soft microfiber cloth prevents scratches on painted wall surfaces
Image source: www.maid2match.com.au
Using a soft microfiber cloth prevents scratches on painted wall surfaces
Image source: www.maid2match.com.au
Dry, Inspect, and Prevent Future Buildup
Proper drying and follow-up care will ensure your cleaning efforts last longer, and prevent moisture damage or mold growth that can undo all your hard work.
Dry Surfaces Fully to Avoid Mold
Wipe down all cleaned walls and ceilings with a clean, dry microfiber cloth to remove any excess moisture. Turn on your exhaust fan, open windows, or run a fan to increase air circulation and speed up drying. If you live in a humid climate, run a dehumidifier in the kitchen for a few hours after cleaning to reduce moisture levels and prevent mold from forming behind paint.
Check for Missed Spots Under Bright Light
Inspect all cleaned areas under bright, angled lighting (a handheld flashlight works well) to spot greasy residue, dust, or missed stains that are hard to see in normal light. Pay extra attention to corners, edges, and areas behind appliances, and re-clean any spots you find before they set into the surface.
Simple Habits to Keep Walls and Ceilings Clean Longer
The easiest way to cut down on deep cleaning time is to stop grease and grime from building up in the first place. Wipe down the wall behind your stovetop and the area under your range hood weekly with a damp cloth to catch fresh splatters before they harden. Run your exhaust fan every time you cook, even for short tasks like boiling water, to pull grease and steam out of the air before they settle on surfaces. If you’re planning to refresh your kitchen’s look after deep cleaning, you may want to explore complementary wall shades for green cabinetry if you have green kitchen fixtures, or coordinating wall hues for brown cabinets for warmer, neutral kitchen designs.
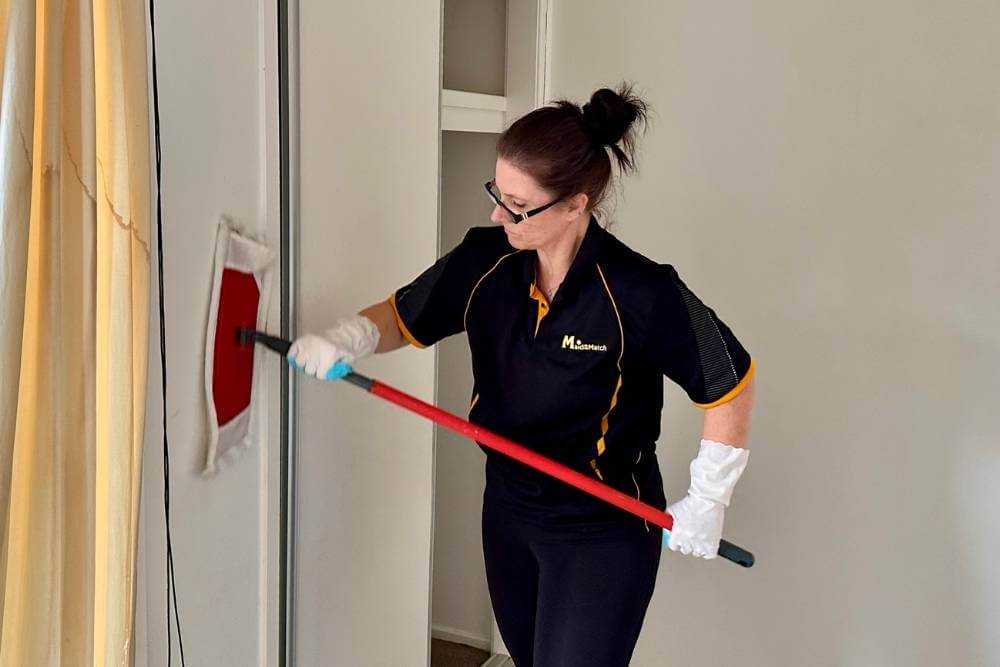 Working in small sections ensures even cleaning and no missed spots
Image source: www.maid2match.com.au
Working in small sections ensures even cleaning and no missed spots
Image source: www.maid2match.com.au
Maintain Clean Walls and Ceilings Long-Term
Consistent, small efforts will keep your kitchen walls and ceilings looking fresh between deep cleans, and reduce the need for harsh scrubbing or heavy-duty cleaners.
Regular Cleaning Schedule
Add a 5-minute wall and ceiling wipe-down to your weekly kitchen cleaning routine: use a damp microfiber cloth to spot-clean areas near the stovetop, sink, and range hood. Schedule a full deep clean every 3 to 4 months; if you fry food often or cook multiple meals a day, increase this to every 6 to 8 weeks to avoid permanent grease stains.
Use Protective Coatings
If you’re repainting your kitchen, choose a satin or semi-gloss paint labeled “scrubbable” for walls and ceilings, as these finishes resist grease and are easy to wipe clean. For existing painted surfaces, you can apply a clear, matte protective sealant to make them more stain-resistant, but test the product in a hidden spot first to ensure it doesn’t yellow over time.
Ventilation Tips to Reduce Grease Buildup
Clean your range hood filter and exhaust fan monthly to keep airflow strong and effective. If you don’t have a built-in range hood, use a portable HEPA air purifier while cooking to catch grease particles before they settle on walls and ceilings. Placing a splatter guard on your stovetop while frying or sautéing can also reduce grease splatters by a significant margin, cutting down on cleaning time drastically.
Frequently Asked Questions
How do I clean kitchen walls without damaging paint?
Use a pH-neutral dish soap mixed with warm water (1 teaspoon per gallon) and a soft non-abrasive sponge. Work in small sections, rinsing your cloth frequently to avoid soap residue. Always test the cleaner in an inconspicuous spot first, and avoid scrubbing matte or eggshell paint too hard, as it can leave visible scrub marks. Never use steel wool, harsh degreasers, or undiluted vinegar on painted surfaces, as these can strip paint or cause discoloration.
What is the best way to remove grease from kitchen ceilings?
For light grease, use a barely damp microfiber cloth with a drop of dish soap, wringing the cloth out completely to avoid drips. For baked-on grease, make a paste of baking soda and warm water, apply it to the stain, let sit for 5 minutes, then gently wipe away with a soft sponge. For textured popcorn ceilings, use a soft-bristled brush instead of a sponge to avoid damaging the texture.
How often should I clean my kitchen walls and ceilings?
Do a quick wipe-down of walls and ceilings near cooking areas weekly with a damp cloth to prevent grease buildup. Schedule a full deep clean every 3 to 4 months; if you fry food often or cook multiple meals a day, increase this to every 6 to 8 weeks to avoid permanent stains.
Can I use vinegar to clean kitchen walls and ceilings?
Yes, a 1:1 mix of white vinegar and warm water works well for light grease and deodorizing, but avoid using it on unsealed natural stone tile, unsealed grout, or waxed surfaces, as the acid can etch or damage these materials. Always rinse the surface with a clean damp cloth after using vinegar to avoid lingering smell.
Can I use a steam cleaner on my kitchen walls and ceiling?
Steam cleaners are safe for most sealed tile, washable painted surfaces, and glass tile backsplashes, but avoid using them on unsealed drywall, wallpaper, or popcorn ceilings, as excess moisture can cause warping, peeling, or texture damage. Always test a small hidden area first if you’re unsure of how your surface will react to heat and moisture.
Final Thoughts
Cleaning your kitchen walls and ceiling regularly does more than just make your space look brighter—it reduces indoor allergens, prevents mold growth, and protects your paint and finishes from permanent damage. By using the right gentle cleaners for your surface type, working safely with a ladder, and adopting small daily habits to reduce grease buildup, you can keep your kitchen looking sparkling clean with minimal effort over time.
Ready to tackle other kitchen deep cleaning tasks? Check out our guide to removing a wall-mounted kitchen faucet to clean behind hard-to-reach fixture areas for a truly spotless space.