How to Get Kitchen Tiles off Wall: Easy Steps for Quick Removal
Tired of dated, cracked, or grimy kitchen wall tiles? Whether you’re prepping for a full backsplash upgrade, fixing a hidden leak, or just refreshing your space, removing old tiles is a manageable DIY project that saves you hundreds in contractor fees — as long as you follow the right steps to avoid damaging your drywall or plaster underneath. This guide covers every detail you need, from pre-removal safety checks to post-removal wall prep, to get the job done quickly and without costly mistakes.
Is DIY Tile Removal Right for You?
Tile removal is a feasible project for most beginner DIYers, but there are cases where hiring a professional is the safer, more cost-effective choice. Call a pro if you confirm asbestos is present in your tile or adhesive, if your underlying plaster is already severely cracked, or if you’re uncomfortable using power tools like heat guns or oscillating multi-tools. You should also hire help if you suspect extensive water damage behind the tiles, which can indicate hidden mold or structural issues that require professional remediation. For most standard ceramic tile installations over drywall or cement backer board, DIY removal is a realistic weekend project. For more on this, see our guide on how to regrout kitchen wall tiles easy steps.
Pre-Removal Checks You Can’t Skip
Skipping these pre-work checks can lead to costly wall damage, health hazards, or unexpected delays. Take 15 minutes to complete these steps before you pick up a tool:
Check for Asbestos and Lead
If your home was built before 1990, there’s a small chance your tile adhesive or the tiles themselves contain asbestos. Disturbing these materials releases hazardous fibers that can cause long-term health issues. Hire a certified testing lab to sample a small section of adhesive before you start; if asbestos is present, hire a licensed abatement professional rather than removing it yourself. For homes built before 1978, also test for lead paint on the wall under the tiles, and use a HEPA-filtered dust mask and containment sheeting if lead is detected.
Locate Hidden Plumbing and Wiring
Use a stud finder with a wire-detection setting to map out electrical runs behind the tiled area, and turn off power to the kitchen at your breaker panel before starting. If your tiled wall is adjacent to a sink or dishwasher, shut off the water supply to those fixtures first — a stray chisel can easily puncture a water line. Take off any adjacent fixtures first, including taking off a wall-mounted kitchen faucet if your sink sits next to the tiled area, to give yourself full clearance to work. For more on this, see our guide on how to take tiles off kitchen wall.
Identify Your Wall Type and Adhesive
Run a small putty knife along an inconspicuous edge of the tile: if the underlying surface is hard and feels like concrete, you’re likely working over cement backer board; if it’s softer and chips easily, it’s probably drywall or plaster. This will inform how much pressure you use when prying tiles to avoid gouging the surface. To test your adhesive type, dab a small amount of adhesive remover on an exposed edge: if it dissolves quickly, you have water-based adhesive; if it takes longer to break down, you’re working with a solvent-based formula that will require more aggressive removal methods.
Essential Tools and Protective Gear
The right tools cut down on labor, reduce the risk of wall damage, and keep you safe during the removal process. Skip cheap, low-quality tools — they’ll bend or break mid-project, leading to more work and higher risk of injury.
Must-Have Hand Tools
- 2-inch wide plastic putty knife: ideal for prying tiles off drywall without gouging the paper facing
- 1-inch cold chisel and small hammer: for loosening stubborn tiles and scraping residual adhesive
- Sharp utility knife: for scoring caulk and grout lines without slipping
- Stiff wire brush: for cleaning leftover grout and adhesive from the wall
- 5-gallon bucket: for catching falling debris and broken tile pieces
- Putty knife and 120-grit sandpaper: for smoothing the wall after adhesive removal
Non-Negotiable Protective Gear
- ANSI-rated safety goggles: protect your eyes from flying ceramic shards
- Cut-resistant work gloves: prevent slices from sharp tile edges
- N95 dust mask: filters out silica dust from grout and adhesive, which can cause lung irritation with prolonged exposure
- Long sleeves, long pants, and closed-toe shoes: protect skin from cuts and falling debris
Optional Power Tools That Cut Down on Labor
- Oscillating multi-tool with grout removal blade: cuts grout lines 3x faster than manual scraping
- Adjustable heat gun: softens stubborn adhesive for easier prying (keep set to 120–150°F to avoid damaging drywall)
- Rotary tool with grout removal attachment: for precise grout removal in narrow lines between small tiles
- Small angle grinder with diamond blade: for cutting through large sections of tile for rapid removal (only use if you’re comfortable with power tools, as they can easily damage underlying walls if used incorrectly)
Step 1: Prep the Workspace to Minimize Mess and Damage
Proper prep cuts cleanup time in half and prevents accidental damage to your kitchen’s finishes.
Clear and Protect Surroundings
Start by removing all items from countertops, shelves, and the floor within 6 feet of the tiled area. Take down wall hangings, removable light fixtures, and outlet covers to avoid dust and debris buildup. Cover countertops, appliances, and flooring with 6-mil plastic sheeting, secured with painter’s tape to prevent slipping. For outlets and switches in the immediate work area, tape a piece of cardboard over them to keep dust out.
Contain Dust and Debris
Tile removal creates fine silica dust that spreads quickly through your home. Hang a plastic sheeting partition around the work area if you’re working in an open floor plan, and keep a wet/dry vac running nearby to capture dust as you work. Open windows for ventilation if possible, and avoid working on windy days when dust will spread further.
Step 2: Remove Grout to Loosen Tiles
Grout is the primary material holding tiles to the wall, so removing it first is the most important step to avoid breaking tiles or damaging the underlying surface. You’ll need to remove grout 1/8 inch deep along all tile edges to expose the adhesive underneath.
Manual Grout Removal
Start by scoring along grout lines with a sharp utility knife to break the surface seal of old, hardened grout. Use a manual grout scraper or the corner of a putty knife to chip out grout along the edges of each tile, working in 1-square-foot sections to avoid letting grout harden again as you work. A common mistake here is using too much force, which can crack ceramic tiles or chip the underlying wall — gentle, consistent pressure works better than hard hits.
Power Tool Grout Removal
If you’re removing grout from a large area, an oscillating multi-tool with a carbide-grit grout removal blade cuts through grout in minutes. Hold the tool at a 15-degree angle to the grout line to avoid scratching the tile surface, and let the tool do the work without pushing hard. For narrow grout lines between small tiles, a dedicated grout removal attachment for a Dremel-style rotary tool gives you more precision.
Step 3: Loosen and Remove Tiles
Once grout is fully removed from a section, start prying tiles from the corner farthest from you to avoid leaning over removed areas. Slide the edge of a plastic putty knife under the tile corner, then gently wiggle it to break the adhesive bond. If the tile doesn’t lift easily, tap the back of the putty knife with a small hammer to work it further under the tile. Once one corner is loose, work the tool along the edges of the tile to fully separate it from the wall. Work in small sections to avoid putting too much pressure on the underlying wall, and catch falling tiles with a bucket to prevent breakage and reduce cleanup. In practice, most tiles will pop off in one piece if you take your time; if a tile cracks, don’t worry — you can remove the remaining pieces with a chisel.
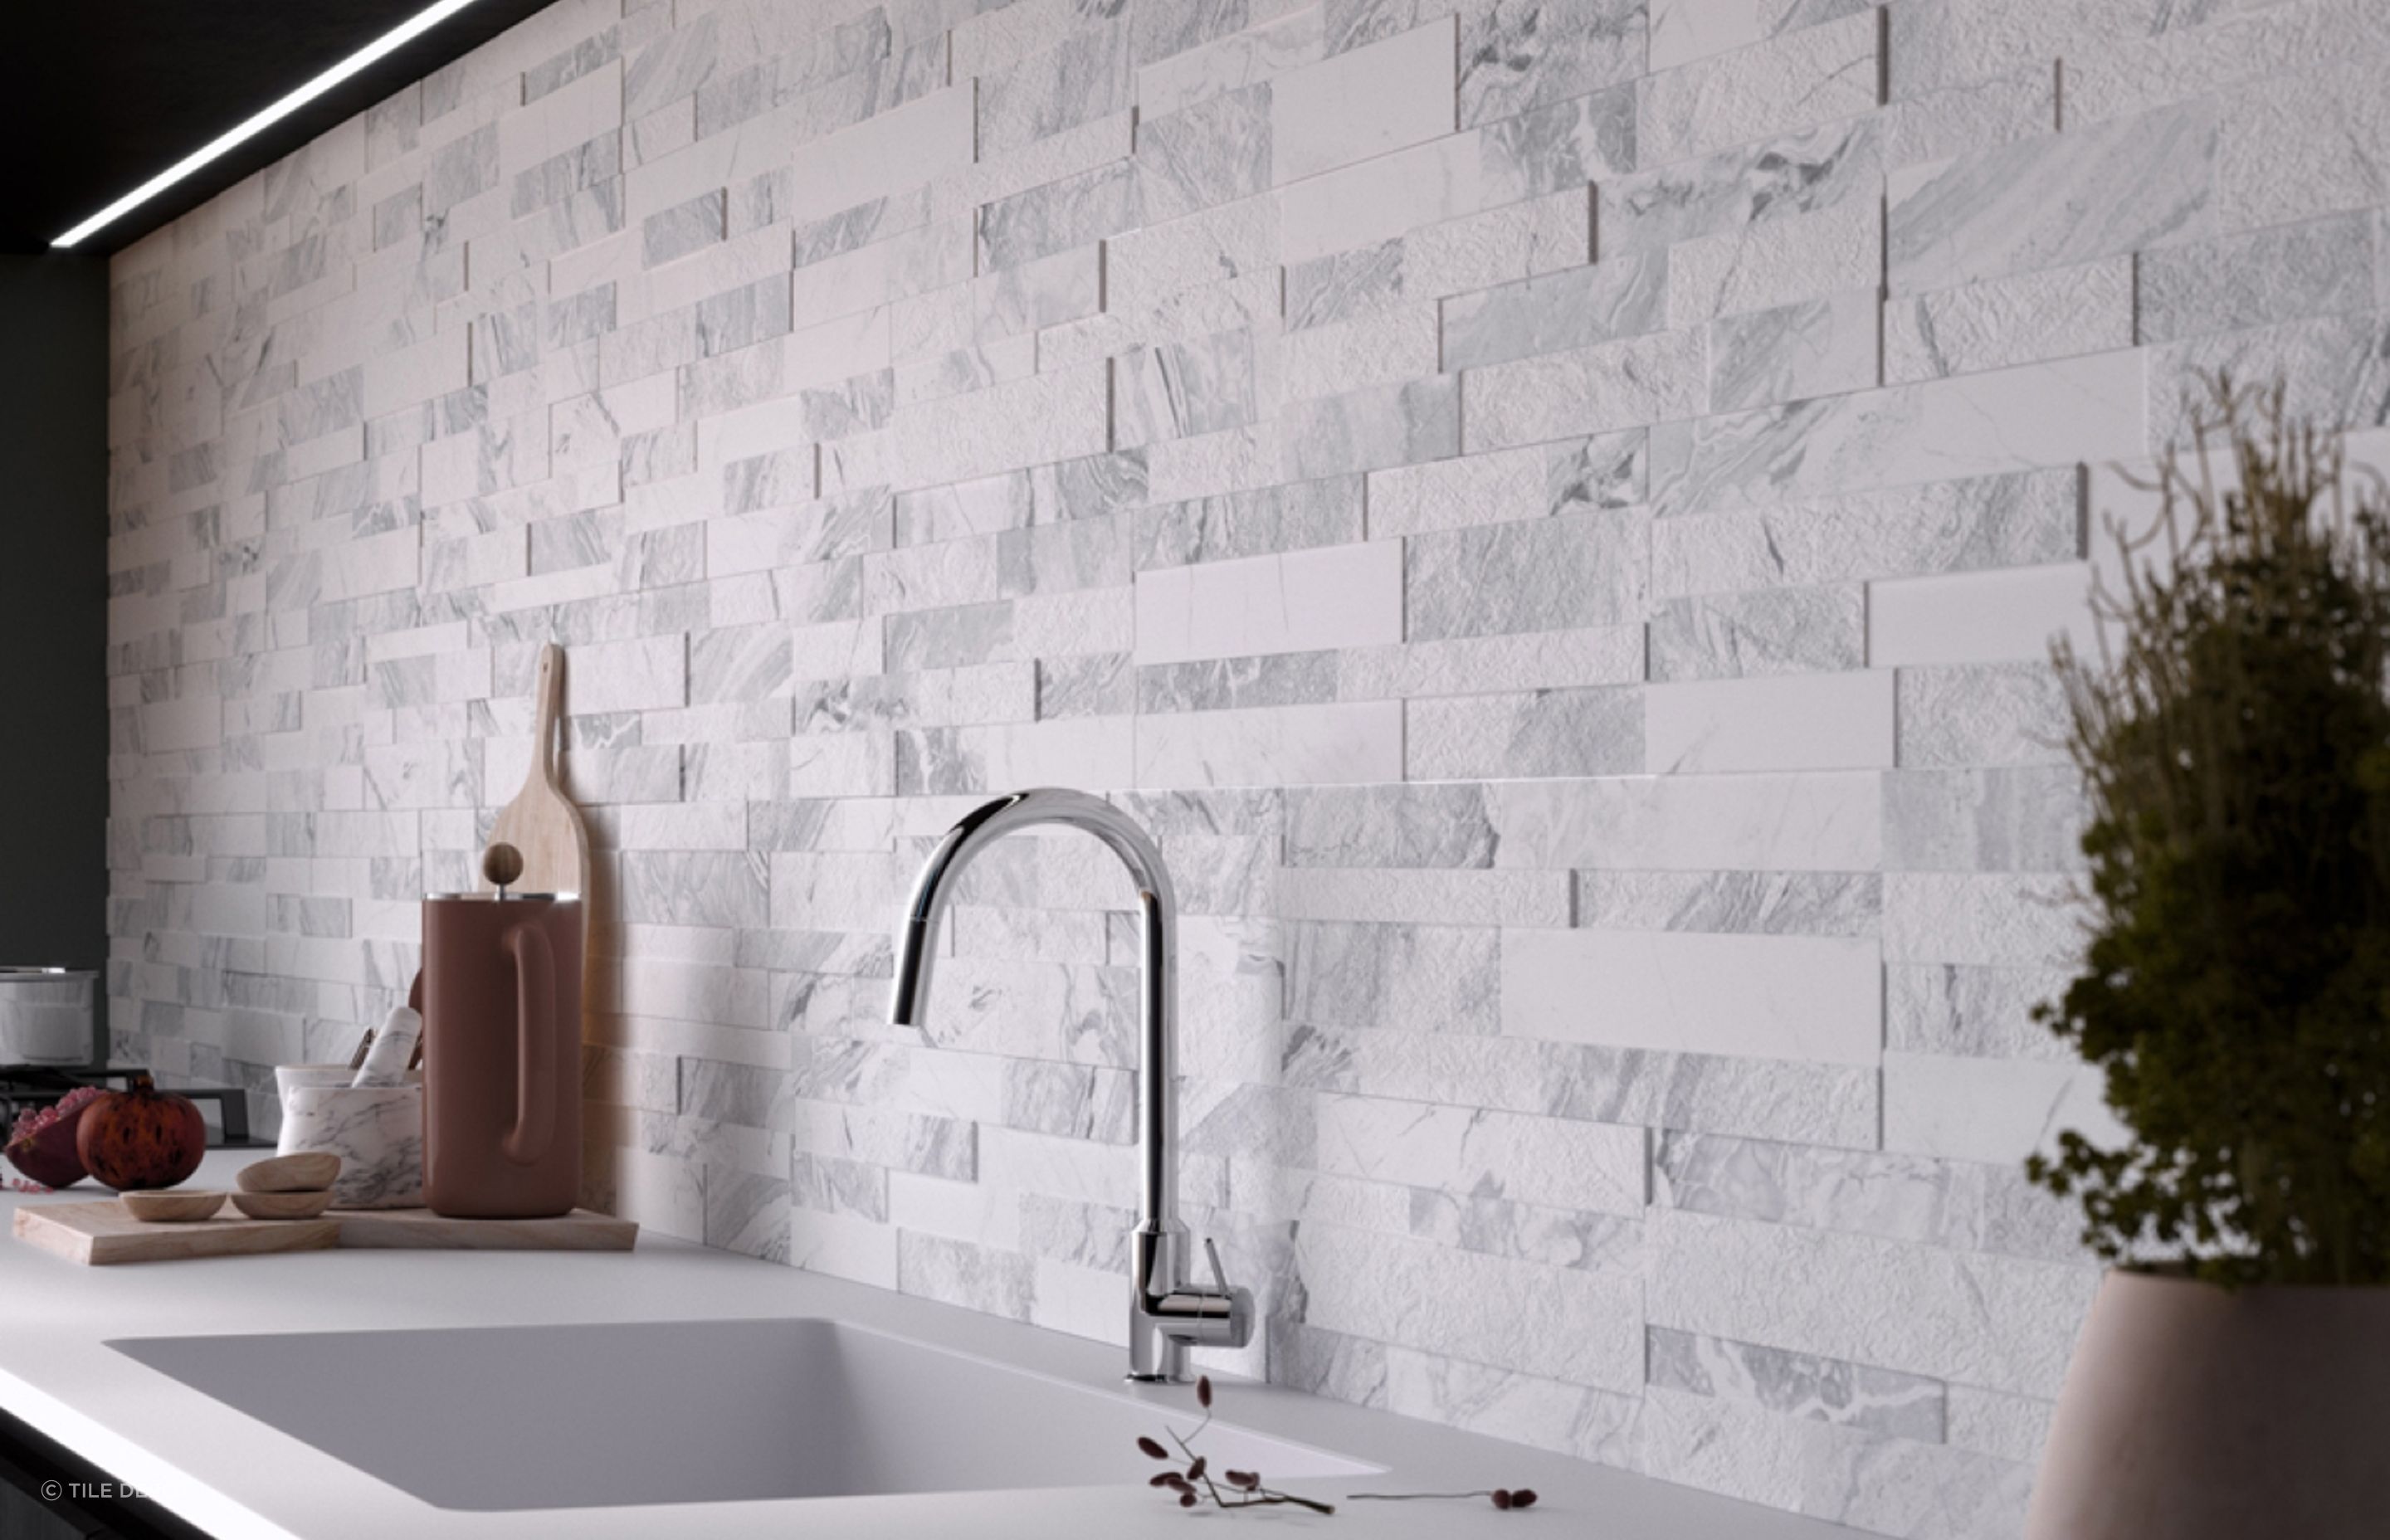 Prying tiles at the grout line first prevents unnecessary wall damage
Credit: archipro.co.nz
Prying tiles at the grout line first prevents unnecessary wall damage
Credit: archipro.co.nz
Step 4: Tackle Stubborn, Caked-On Tiles
Some tiles installed with heavy-duty adhesive or in high-moisture areas (like behind a stove or sink) will resist standard prying. Use these methods to remove them without damaging your wall:
Use Heat to Soften Adhesive
If a tile won’t budge after prying, a heat gun is the safest option for most wall types. Set the heat gun to 120–150°F (49–65°C) — never higher, as this can melt plastic wall pipes or damage drywall. Hold the heat gun 6 inches from the tile surface for 2–3 minutes, moving constantly to avoid scorching the tile or wall. The heat will soften the underlying adhesive, making it easy to pry the tile off with minimal force. A hair dryer works for small stubborn spots, but it takes longer to heat the adhesive through.
Use Solvents for Water-Soluble Adhesive
For water-based adhesive, a 50/50 mix of warm water and white vinegar applied to the tile edges with a sponge will break down the bond in 10–15 minutes. For stronger, solvent-based adhesive, use a low-VOC adhesive remover applied with a paintbrush, following the product’s instructions for dwell time. Always test solvents on an inconspicuous spot of the wall first to ensure they don’t damage paint or drywall. Never use acetone or other harsh solvents on unprimed drywall, as they will dissolve the paper facing.
Step 5: Clean and Repair the Underlying Wall
Once all tiles are removed, the underlying wall will likely be rough, sticky with residual adhesive, and dotted with small holes from tile fasteners. Proper prep here ensures your new paint or tile installation lasts for years.
Remove Residual Adhesive
Start by scraping off large chunks of leftover adhesive with a putty knife, working with the grain of the wall to avoid gouging. For remaining sticky residue, apply a warm, soapy sponge and let it sit for 5 minutes before scraping. For tough, caked-on adhesive, use a low-speed heat gun (kept at least 6 inches from the wall) to soften the glue, then scrape it off. Avoid using metal scrapers on drywall, as they will easily tear the paper facing.
Smooth and Patch the Wall Surface
Inspect the wall for cracks, holes, or rough patches. Fill small holes and cracks with spackle, applied with a putty knife in a thin layer; for larger imperfections, use all-purpose joint compound. Let the filler dry fully (usually 2–4 hours, depending on humidity), then sand the surface with 120-grit sandpaper until it’s smooth to the touch. Wipe away sanding dust with a damp cloth before priming the wall for new paint or tile. If you’re planning to install new tiles, apply a layer of cement backer board over the patched drywall to create a stable, moisture-resistant surface.
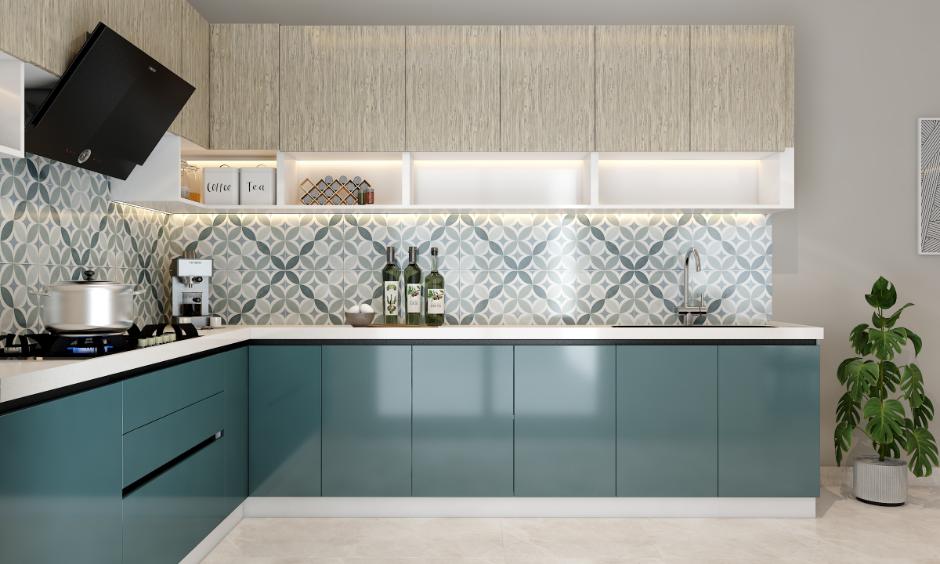 Set aside undamaged tiles for potential reuse or donation
Credit: www.designcafe.com
Set aside undamaged tiles for potential reuse or donation
Credit: www.designcafe.com
Responsible Disposal of Old Tiles and Debris
Ceramic and porcelain tiles are heavy and sharp, so proper disposal protects sanitation workers and reduces environmental waste. First, sort tiles into two piles: undamaged, whole tiles and broken, chipped pieces. Whole tiles can be donated to local Habitat for Humanity ReStores, community DIY centers, or reuse organizations that accept building materials — many homeowners and crafters use old tiles for small projects like mosaic art or planters. For broken tiles, check your local waste management department’s rules for construction debris: many areas allow small amounts of tile to be placed in regular trash if wrapped in thick cardboard or old blankets to prevent injuries, while larger quantities may require a construction dumpster rental or drop-off at a local landfill. Some recycling centers accept ceramic tiles, which are crushed and repurposed for road base or landscaping material — call your local facility ahead of time to confirm they accept tile waste. For official guidance on safe disposal of construction debris, refer to the EPA’s construction and demolition waste guidelines.
Pro Tips to Avoid Costly Wall Damage
The biggest DIY mistake when removing wall tiles is using excessive force, which can gouge drywall, crack plaster, or even puncture plumbing and wiring behind the wall. Follow these tips to keep your underlying surface intact:
- Start with manual tools before switching to power tools: they give you more control and reduce the risk of accidental damage.
- Never use a flat pry bar or crowbar directly on drywall: the thin edge will tear the paper facing, requiring full wall replacement. Stick to plastic putty knives and small chisels for drywall surfaces.
- Work in small, 1-square-foot sections to avoid putting uneven pressure on the wall.
- If you do accidentally gouge the wall, patch small holes with spackle before sanding and priming — major damage may require replacing sections of drywall, which is far more time-consuming than working slowly in the first place.
- Wear a dust mask even if you’re only working for a short time: silica dust from grout and adhesive can cause long-term lung irritation with even minimal exposure.
 A fresh tile layout like this herringbone backsplash is easy to install once the underlying wall is fully prepped
Credit: www.create-enjoy.com
A fresh tile layout like this herringbone backsplash is easy to install once the underlying wall is fully prepped
Credit: www.create-enjoy.com
Frequently Asked Questions
How long does it take to remove kitchen wall tiles?
For a standard 10-square-foot backsplash, DIY removal takes 3–5 hours including grout removal and cleanup. Larger areas, or tiles installed with heavily caked-on adhesive, can take a full day or more. Working with a partner can cut time in half, as one person can pry tiles while the other cleans up debris and adhesive as you go.
Can I remove tiles without breaking them?
Yes, if you take your time prying from the edges and avoid using excessive force. Work slowly, and tap the back of your putty knife with a small hammer rather than prying hard. Undamaged tiles can be reused for small projects like mosaic art or donated to reuse centers.
What if I find asbestos behind my tiles?
If you suspect asbestos (common in homes built before 1990), stop work immediately and hire a certified asbestos testing lab to sample the adhesive and tiles. If asbestos is present, hire a licensed abatement professional to remove it — disturbing asbestos releases hazardous fibers that can cause serious long-term health issues. For official PPE guidance for home renovation projects, refer to OSHA’s DIY safety recommendations.
Do I need to remove all adhesive before installing new tiles?
Yes, for new tile installation, you need to remove 90% of the old adhesive to ensure new tiles adhere properly. Residual adhesive can cause uneven tile placement and premature failure of the new tile job. For painting, you only need to remove large chunks of adhesive; small residues can be sanded smooth after patching.
Can I remove tiles over plaster without damaging the wall?
Yes, but plaster is more fragile than drywall, so use extra care. Stick to plastic scrapers and gentle prying, and avoid using metal chisels directly on the plaster surface. Work in small sections, and stop immediately if you see the plaster chipping.
Conclusion
Removing kitchen wall tiles is a rewarding DIY project that transforms your space without the high cost of professional labor. By taking the time to prep properly, use the right tools, and work slowly, you can avoid damaging your underlying wall and get the job done in a single weekend. Always prioritize safety: wear protective gear, check for hidden hazards like asbestos and wiring before starting, and don’t hesitate to call a professional if you encounter unexpected damage or hazardous materials. Once your wall is smooth, primed, and ready for its new finish, you can pick a look that ties your whole kitchen together — our guides to wall colors for green kitchen cabinets and wall color ideas for brown cabinets offer expert-backed inspiration to match your cabinetry and style.