How to Remove Grease Stains from Painted Kitchen Walls: Easy Tips
Grease splatters on painted kitchen walls are one of the most persistent, frustrating messes for home cooks. Even with modern stain-resistant paint formulas, airborne cooking grease settles on walls near stoves and sinks, binding to the paint surface and attracting dust over time. Many people make the common mistake of scrubbing aggressively with harsh abrasives, which strips paint and makes stains harder to remove long-term. You can also read our guide on best material for cloth napkins. The good news is you can erase most grease stains without damaging your walls, using gentle, household-safe methods ordered from mildest to strongest to protect your paint finish. This guide also includes prevention tips to stop stains from coming back, and clear guidance on when a simple clean won’t cut it and you’ll need to repaint. You can also read our guide on what paint is good for kitchen walls. If you’re already planning a kitchen refresh after tackling stains, you may want to explore coordinated wall shades that complement your cabinetry for a cohesive, long-lasting look. You can also read our guide on what to use to clean grease off kitchen walls.
Why Grease Stains Are So Stubborn on Painted Kitchen Walls
Grease is hydrophobic, meaning it repels water and binds tightly to the porous surface of interior paint, even glossy finishes. Over time, settled grease mixes with airborne dust and kitchen grime, forming a dark, sticky film that won’t wipe away with a dry cloth. You can also read our guide on fruit wine making kits.
Flat and matte paint finishes are far more vulnerable to permanent grease staining than satin, semi-gloss, or eggshell finishes, as their rough texture absorbs grease deep into the paint layer. Stains left unaddressed for more than a few weeks can even break down the paint’s binder, leading to peeling or discoloration over time. You can also read our guide on how to clean kitchen grease off walls.
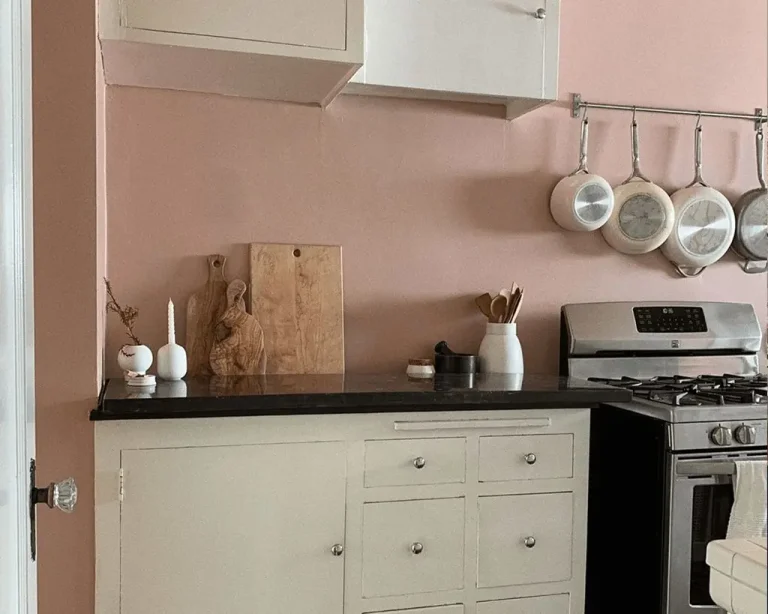
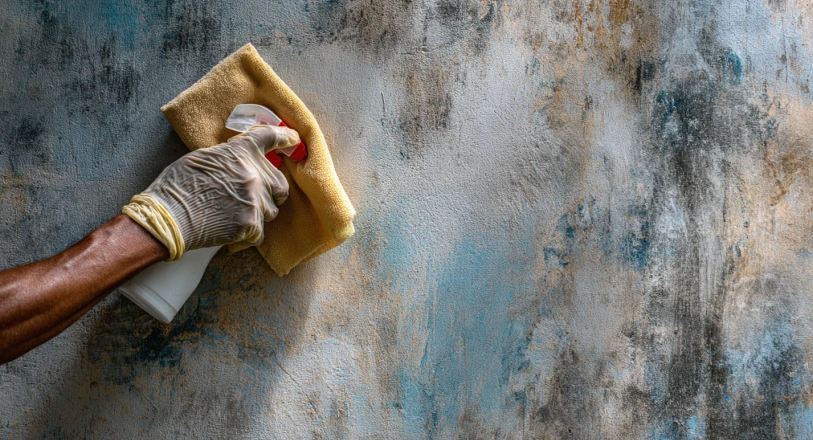 Fresh grease splatter accumulating on a painted kitchen wall above a stovetop, a common issue for home cooks
What You’ll Need
Gathering the right supplies before you start cleaning will save you time and prevent accidental paint damage. Avoid steel wool, scouring pads, or harsh chemical cleaners, as these will scratch or strip your wall paint. You can also read our guide on how to clean oil stains from kitchen walls.
For All Methods
- Microfiber cloths (lint-free, non-abrasive)
- Soft cellulose sponges (no scouring side)
- Clean bucket of warm water
- Old towels or drop cloths to protect floors and countertops
- Soft-bristle brush (for textured wall surfaces only)
For Mild Stains
- 2 teaspoons mild liquid dish soap (free of dyes and fragrances to avoid residue)
For Set-In Stains
- Baking soda
- White distilled vinegar
- Paint-safe commercial degreaser (labeled for use on interior painted surfaces)
Step-by-Step Grease Stain Removal
Work through these methods in order, starting with the gentlest option to avoid unnecessary wear on your paint.
Method 1: Mild Soap and Warm Water (for fresh, light stains)
This method works for most grease stains if caught within 24 hours of forming, before the grease has bound to the paint. You can also read our guide on how to clean kitchen walls.
- Mix 2 teaspoons of mild dish soap into 2 cups of warm (not hot) water. Hot water can cook grease into the paint, making it harder to remove.
- Dip a microfiber cloth into the solution, then wring it out thoroughly so it is damp, not dripping wet. Excess moisture can seep into drywall and cause bubbling.
- Gently wipe the stained area in small, circular motions. Do not scrub aggressively—let the soap break down the grease over 1-2 minutes of light wiping.
- Rinse the cloth with clean warm water, then wipe the area again to remove any soap residue that could leave streaks.
- Pat the wall dry with a clean, dry microfiber cloth to prevent water spots. As recommended by University of Illinois Extension’s interior home maintenance team, always spot-test any cleaning solution on a 2×2 inch hidden area of your wall first to confirm it won’t lift or discolor your paint finish. You can also read our guide on piece pioneer woman dinnerware set.
Method 2: Baking Soda Paste (for set-in, dark stains)
Baking soda is a mild, natural abrasive that lifts grease without scratching paint, making it ideal for stains that soap and water can’t fully remove. You can also read our guide on best wine cooler refrigerators.
- Mix 3 parts baking soda with 1 part warm water in a small bowl to form a thick, spreadable paste.
- Apply the paste directly to the stain using a soft cloth, spreading it in a thin, even layer over the affected area.
- Let the paste sit for 10 to 15 minutes. Do not scrub while it is on the wall, as this can damage the paint’s top layer.
- Wipe the paste away with a clean, damp cloth, rinsing the cloth frequently to avoid spreading grease.
- Pat the wall dry with a clean towel to remove all residue. If you notice a faint white powder left behind, wipe the area with a cloth dipped in equal parts water and vinegar, then dry.
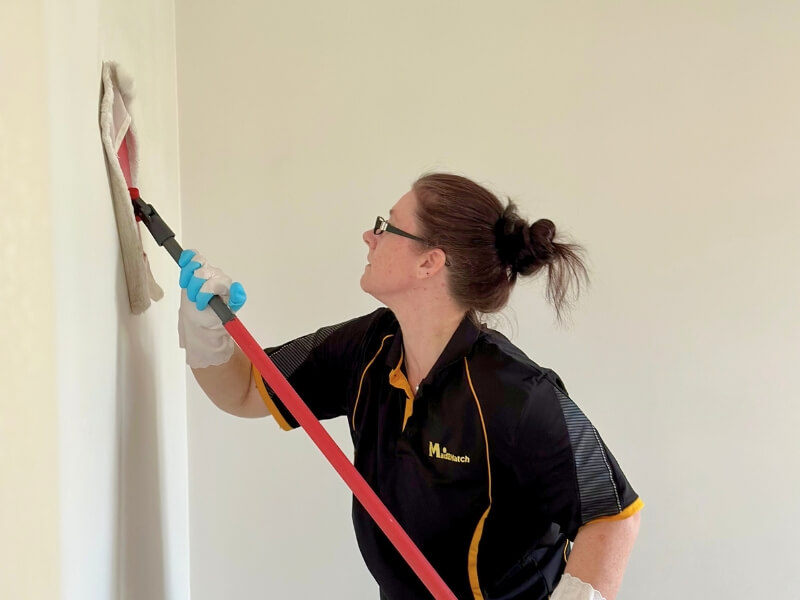
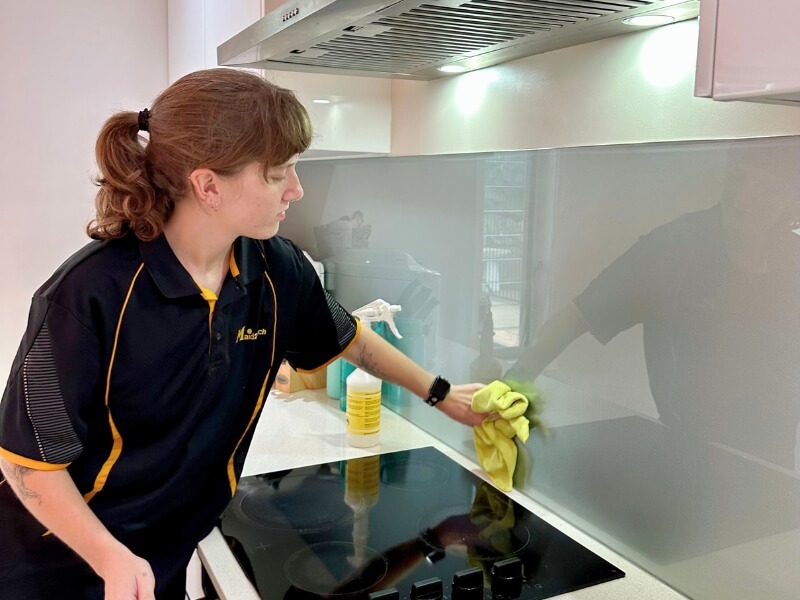 Using a soft, non-abrasive sponge to avoid scratching or peeling painted wall finish
Image source: Gentle cleaning of painted wall without damaging paint You can also read our guide on how to build a half wall in kitchen.
Using a soft, non-abrasive sponge to avoid scratching or peeling painted wall finish
Image source: Gentle cleaning of painted wall without damaging paint You can also read our guide on how to build a half wall in kitchen.
Method 3: Diluted White Vinegar Solution (for sticky, film-like grease)
White vinegar’s mild acidity breaks down the oily film that forms on walls from cooking steam and splatter, without damaging most interior paint finishes. You can also read our guide on how to decorate small kitchen walls.
- Mix equal parts white distilled vinegar and warm water in a spray bottle. For extra stubborn grease, add 1 teaspoon of mild dish soap to the mix.
- Lightly spray the solution onto the stained area, or dab it on with a soft cloth. Do not soak the wall—excess moisture can damage drywall or cause paint to peel.
- Let the solution sit for 5 to 10 minutes to break down the grease.
- Wipe the area with a clean, damp cloth, rinsing the cloth often to avoid spreading grease around.
- Dry the wall thoroughly with a clean microfiber cloth. A common mistake is using undiluted vinegar, which can dull matte and eggshell paint finishes over time—always dilute it to a 1:1 ratio with water for safe use. You can also read our guide on kitchen tools in spanish.
Method 4: Paint-Safe Commercial Degreasers (for extreme, long-standing stains)
For stains that have set in for months or have penetrated the paint layer, a commercial degreaser formulated for painted surfaces can lift grease without damage. You can also read our guide on how long does it take to tile a kitchen wall.
- Wipe the wall with a dry microfiber cloth to remove loose dust and debris before applying the degreaser.
- Apply a small amount of the degreaser to a soft cloth, then dab it onto the stain—do not spray directly onto the wall, as oversaturation can damage paint.
- Gently rub the area in circular motions for 1-2 minutes. Do not scrub hard.
- Wipe the area with a clean, damp cloth to remove all degreaser residue, then pat dry. Avoid degreasers with bleach, ammonia, or abrasive particles, as these will strip paint or cause discoloration. Even paint-safe degreasers should only be used 2-3 times per year, as repeated use can break down paint binders over time. You can also read our guide on how to protect wall behind kitchen sink.
Troubleshooting Stubborn, Set-In Grease Stains
If the methods above don’t fully remove a stain, don’t reach for abrasive pads or harsh chemicals—these will only damage your paint further. First, confirm the stain has not penetrated the paint: run your finger over the area. If it feels sticky or looks darker when viewed from an angle, grease has seeped into the paint layer. You can also read our guide on how to clean kitchen walls for painting. For semi-gloss or satin finishes only, you can gently rub the stain with a damp magic eraser in light, circular motions. Never use a magic eraser on matte or flat paint, as it will abrade the finish and leave permanent marks. You can also read our guide on kitchen tools for one handed person. If the paint is peeling, bubbling, or the stain is still visible after cleaning, you will need to do a small spot repaint. Lightly sand the damaged area, apply a thin coat of stain-blocking primer, then paint over it with a matching finish to blend seamlessly with the rest of the wall. You can also read our guide on best dish towels for drying dishes.
How to Prevent Future Grease Buildup on Kitchen Walls
Preventing grease stains is far easier than removing them once they’ve set in. These simple, low-effort habits will keep your walls clean for months at a time. You can also read our guide on how to regrout kitchen wall tiles.
Optimize Ventilation While Cooking
Airborne grease particles are the top cause of wall stains, so proper ventilation is your first line of defense. If you regularly host gatherings centered around homemade wine for friends, run your range hood for an extra 10 minutes after cooking to clear residual grease from the air before it settles on your walls. You can also read our guide on what color to paint my kitchen walls with white cabinets. Per U.S. EPA indoor air quality standards, vented range hoods that exhaust grease outside reduce airborne cooking particles significantly compared to recirculating models. If your current range hood is recirculating, consider upgrading to a vented model for maximum protection. You can also read our guide on how to install kitchen cabinets on uneven walls.
Install a Protective Backsplash or Splash Guard
A washable backsplash behind your stove and sink creates a physical barrier between cooking grease and your painted walls. You don’t need to install expensive tile: a clear acrylic panel, stainless steel splash guard, or even a removable plastic sheet works for renters and homeowners alike. You can also read our guide on how to clean kitchen grease off painted walls. Wipe the backsplash down with soap and water once a week to prevent grease from building up and splashing onto the wall above it. You can also read our guide on how to clean oil grease from kitchen wall.
Adopt Quick Post-Cooking Wipe Habits
Fresh grease is extremely easy to remove, while set-in grease requires hours of scrubbing. Keep a damp microfiber cloth handy near your cooking area, and wipe down walls within 10 minutes of finishing cooking—no soap is needed for fresh splatters. You can also read our guide on how to paint high walls above kitchen cabinets. Pair this quick wipe routine with organized wine making supplies stored away from the cooking zone to reduce clutter and make post-meal cleanup faster. You can also read our guide on how to put tile on wall in kitchen.
Choose the Right Paint Finish for Kitchen Walls
If you’re repainting your kitchen, avoid flat or matte finishes, which absorb grease and are nearly impossible to clean without damage. Opt for satin, semi-gloss, or eggshell finishes, which have a smooth surface that repels grease and wipes clean with just a damp cloth. You can also read our guide on best drying towels for dishes. For kitchens with brown cabinetry, complementary paint tones in a satin finish can also hide minor grease marks better than dark or flat shades, reducing how often you need to deep clean. You can also read our guide on how to get rid of grease stains on kitchen walls.
When to Repaint vs. Touch Up Your Kitchen Walls
Even with regular cleaning, severe or long-standing grease damage may require more than a simple stain removal. Use these guidelines to decide whether a touch-up will work or you need a full repaint. You can also read our guide on how to clean oily kitchen walls.
Signs You Need a Full Repaint
- Grease stains are visible from across the room, even after cleaning
- Paint is peeling, bubbling, or feels sticky to the touch
- The paint finish has become chalky or faded from repeated use of harsh cleaners
- Multiple small stains cover a large section of the wall If you’re budgeting for a full repaint, reviewing kitchen repainting cost guides can help you plan for materials and labor if you choose to hire a professional. You can also read our guide on how to clean greasy kitchen walls.
Signs a Touch-Up Will Work
- Stains are only visible when standing close to the wall
- The paint surface is smooth and intact
- You have a leftover can of matching paint from your last repaint
Prep Steps Before Repainting
- Clean the entire wall thoroughly with a paint-safe degreaser to remove all residual grease. Let the wall dry completely for 24-48 hours before proceeding.
- Lightly sand the wall with 120-grit sandpaper to smooth any rough areas and help new paint adhere.
- Apply a thin coat of stain-blocking primer to any areas with lingering discoloration.
- Paint over the primed area with 1-2 thin coats of paint in a matching satin or semi-gloss finish, blending the edges to match the surrounding wall. If you’re updating your kitchen’s aesthetic while repainting, explore coordinated wall shades that work with your existing cabinetry for a cohesive, refreshed look. You can also read our guide on how to fix wall tiles in kitchen.
Frequently Asked Questions
How do I safely remove grease stains from painted walls without damaging the paint?
Start with the gentlest method first: mix 1 teaspoon of mild dish soap with 2 cups of warm water, dip a damp (not wet) microfiber cloth into the solution, and wipe the stain in gentle circular motions. Rinse with a clean damp cloth and pat dry. Always spot-test any cleaner on a hidden area first, and never use abrasive pads or harsh chemicals like bleach or ammonia. You can also read our guide on how to stop kitchen cabinet door from hitting wall.
What household items can remove kitchen wall grease?
Fresh grease stains respond well to mild soap and water, while set-in stains can be treated with a baking soda paste (3 parts baking soda to 1 part warm water) or a 1:1 mix of white vinegar and warm water. Baking soda acts as a mild abrasive to lift grease, while vinegar’s acidity breaks down oily film without damaging paint. You can also read our guide on stains on kitchen walls what to use.
Can I use commercial cleaners on painted kitchen walls?
Yes, but only use cleaners explicitly labeled as safe for interior painted surfaces. Avoid all-purpose cleaners with bleach, ammonia, or abrasive particles, as these will strip paint or cause discoloration. Always spot-test first, and limit use of commercial degreasers to 2-3 times per year to avoid breaking down paint binders over time. You can also read our guide on how to clean kitchen walls grease.
How often should I clean painted kitchen walls to prevent grease?
Wipe down walls with a damp microfiber cloth after every heavy cooking session (frying, grilling, etc.) to remove fresh splatters before they set in. Do a deep clean with soap and water every 2-4 weeks to remove accumulated grease and dust. Regular quick wipes take 30 seconds or less and will drastically reduce the need for harsh stain removal later. You can also read our guide on how to clean kitchen wall tiles easily.
Conclusion
Grease stains on painted kitchen walls don’t have to mean a full repaint or damaged paint. By working from the gentlest cleaning method first, avoiding harsh abrasives, and adopting quick post-cooking habits, you can keep your walls looking fresh for years. For set-in stains, baking soda and diluted vinegar are safe, effective options that won’t harm your paint, while paint-safe commercial degreasers can tackle the toughest messes when used sparingly. You can also read our guide on how to wash kitchen walls. If you’re ready to take on more kitchen maintenance projects, our faucet removal guide walks you through the process without damaging your walls or plumbing. You can also read our guide on how to remove a kitchen wall cabinet.
 Before and after cleaning greasy painted wall Pro tip: Never use a hair dryer, heat gun, or hot air to speed up drying on a grease stain, as heat can cook the grease deeper into the paint layer, making it far harder to remove later. You can also read our guide on how to remove kitchen cabinets without damaging wall.