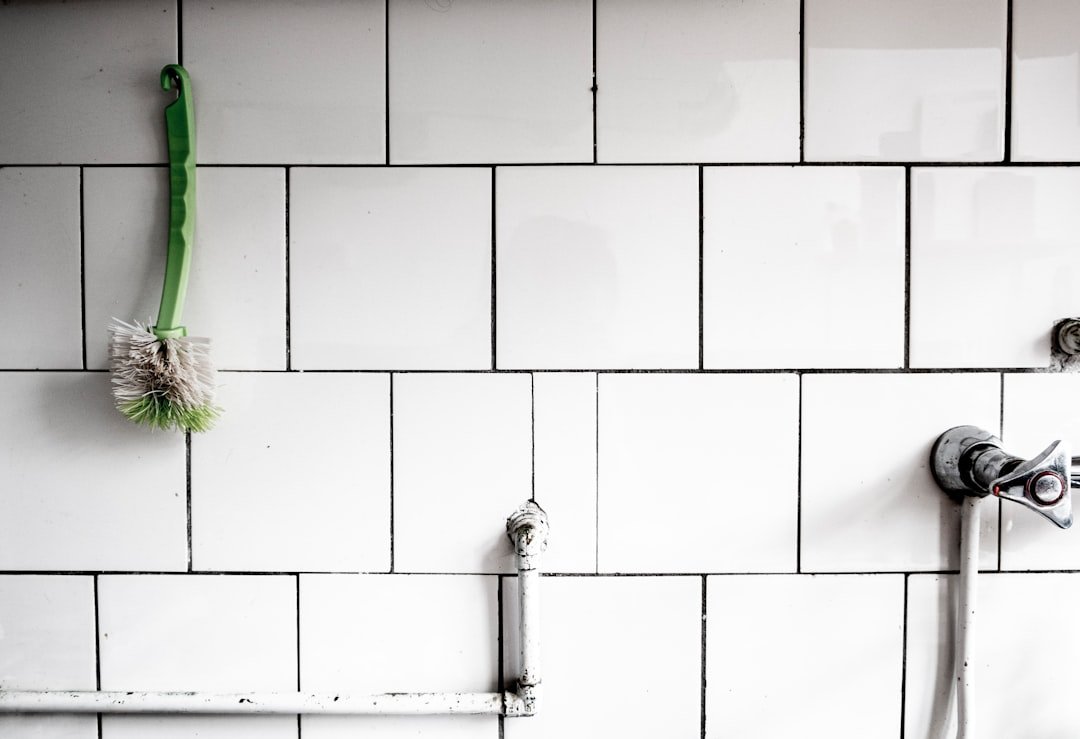
How to Remove Tile Backsplash from Kitchen Wall: Easy Step-by-Step Guide
Outdated, cracked, or stylistically mismatched tile backsplashes are one of the fastest ways to date a kitchen, but the thought of removing them can feel overwhelming. Many DIYers worry about gouging underlying drywall, dealing with stubborn adhesive, or inhaling harmful dust during the process. This 2026-updated guide walks you through every step of removing a tile backsplash from your kitchen wall safely, without unnecessary damage, so you can move forward with your kitchen refresh in a single weekend. We’ll cover pre-removal assessment, tool selection, protective measures, adhesive cleanup, and wall prep for new finishes, plus troubleshooting tips for common snags. You can also read our guide on how to clean kitchen walls for painting.
Pre-Removal Assessment: Know Your Wall and Adhesive Type
Skipping this step is the most common cause of unnecessary wall damage during backsplash removal, so taking 10 minutes to assess your space upfront will save you hours of repair work later. You can also read our guide on what size screws for kitchen wall cabinets.
First, identify your wall type: run your knuckle along the wall — if it feels hard and solid, it’s plaster (common in homes built before 1950); if it has a slight give, it’s drywall (standard in most homes built after 1970). Plaster is far more durable during removal, while drywall’s paper facing can tear easily if you pry tiles too aggressively. If you’re unsure, tap the wall: a solid thud indicates plaster, while a hollow sound points to drywall. You can also read our guide on wall tiles design for kitchen.
Next, identify your adhesive type: mastic (used in most installations before 2010) is a soft, tar-like compound that softens with heat or warm water; thinset (standard for modern tile) is a cement-based adhesive that requires mechanical force or chemical remover to break down. To test, scrape a small hidden spot with a putty knife: if it comes off in soft chunks, it’s mastic; if it’s hard and crumbly, it’s thinset. In practice, mastic is far easier to remove, and can often be softened with just warm soapy water, while thinset will require a heat gun or commercial remover for efficient removal. You can also read our guide on best chair leg pads for hardwood floors.
Finally, check for hidden utilities: use a stud finder to locate wall studs and electrical boxes behind the backsplash, so you don’t accidentally pry into wiring or plumbing during removal. Double-check your breaker box label to confirm all kitchen circuits are accounted for — many homes have unmarked small appliance circuits that run behind backsplash areas. You can also read our guide on how to do kitchen wall tiles.
Tools and Materials You’ll Need
Having the right equipment on hand before you start will cut your project time in half and reduce the risk of injury or wall damage. We’ve split these into must-haves for every project and nice-to-have extras for larger or more complex removals. You can also read our guide on best area rugs for kitchen.
Must-Have Tools
- N95 respirator mask (not a standard dust mask): Tile dust contains crystalline silica, which causes permanent lung damage with prolonged exposure per OSHA silica safety guidelines, so a mask rated for silica is non-negotiable for this project.
- Safety goggles with side shields: Protect your eyes from sharp tile shards and airborne dust.
- Heavy-duty cut-resistant gloves: Leather or nitrile gloves prevent cuts from broken tile edges.
- 2-inch wide putty knife or stiff paint scraper: Wider blades provide better leverage for prying tiles without applying excessive point pressure to drywall.
- Claw hammer: For tapping the putty knife under stubborn tiles.
- Flat 1-inch chisel or masonry chisel: For removing thinset adhesive and stuck tile fragments.
- Grout saw or manual grout removal tool: To score and remove grout between tiles without chipping tile edges.
- Non-contact voltage tester: To confirm power is off to all outlets and switches in the work area.
Must-Have Materials
- 6mm thick heavy-duty drop cloths or plastic sheeting: To protect countertops, floors, and cabinets from dust and falling debris.
- 1.5-inch wide painter’s tape: To secure protective sheeting and shield cabinet edges from adhesive residue.
- Small magnetic tray or plastic container: To hold removed outlet cover screws and small hardware.
- Warm soapy water (1 cup mild dish soap per gallon of warm water): To soften mastic adhesive during cleanup.
- Plastic scrapers (2-inch and 4-inch): To remove softened adhesive without gouging drywall.
- Fine-grit sandpaper (120-grit and 220-grit): To smooth residual adhesive and wall repairs.
- Spackling compound and drywall putty knife: To fill holes and cracks left by tile removal.
- Stain-blocking primer: To seal any grease stains that seeped through the old backsplash, preventing them from bleeding through new paint or finishes.
Nice-to-Have Extras
- Oscillating multi-tool with a scraper attachment: Cuts grout removal and tile prying time by up to 30% for large backsplash areas.
- Heat gun (set to below 500°F): Softens mastic and thinset adhesive for easier removal; keep it moving to avoid warping nearby plastic cabinet components.
- HEPA-filtered shop vac: Captures fine silica dust at the source, reducing cleanup time and improving indoor air quality.
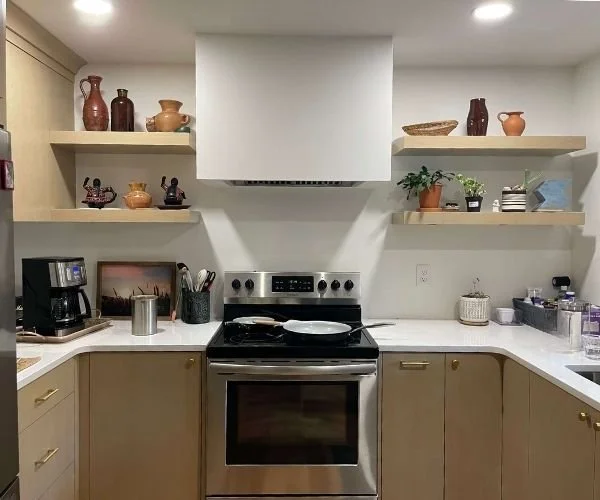 Outdated ceramic tile backsplash common in kitchens built before 2010
Step 1: Prepare and Protect Your Kitchen
Taking 15 minutes to prep your space before you start prying tiles will save you hours of cleanup and prevent damage to your countertops, cabinets, and floors. You can also read our guide on floor and decor kitchen backsplash.
First, clear the work zone: remove all items from countertops within 3 feet of the backsplash, including small appliances, dish racks, and decor. If your backsplash extends down to the countertop edge, remove the countertop trim to avoid chipping it during removal. Take down any wall-mounted items like spice racks or magnetic knife strips in the work area. You can also read our guide on midwest supplies home beer and wine making.
Next, protect all surrounding surfaces: lay drop cloths over countertops, floors, and any open cabinet fronts within 4 feet of the backsplash. Secure the edges of the sheeting with painter’s tape to prevent it from shifting as you work. For cabinets directly adjacent to the backsplash, apply a second layer of painter’s tape to the cabinet face to block adhesive residue from sticking to the finish. You can also read our guide on how to protect wall behind kitchen sink.
Then, remove outlet and switch covers: turn off power to the kitchen at the breaker, then use a non-contact voltage tester to confirm no power is flowing to outlets in the work area. Unscrew cover plates and store the screws in a small magnetic tray to avoid losing them. Gently pull the outlet or switch body out ¼ inch from the wall to create space to pry tiles around it without damaging the fixture. If your backsplash covers a wall-mounted faucet, remove it first using our guide to taking down a wall-mounted faucet to avoid cracking tiles or damaging the fixture during removal. You can also read our guide on kitchen tools in spanish.
Essential tools arranged before starting the removal project
Step 2: Safely Disable Utilities
Most backsplash removal projects don’t require shutting off your home’s water supply, unless the tile covers sink supply lines, a dishwasher connection, or a wall-mounted faucet mount. If you do need to shut off water, turn the local supply valves under the sink clockwise until tight, or shut off the main water supply if no local valves are present. Place a towel under any exposed plumbing connections to catch residual drips when you disconnect fixtures. You can also read our guide on how to put tile on wall in kitchen.
For electrical safety, turn off the dedicated kitchen circuit at your breaker box, and label it clearly if your panel is unmarked. Test every outlet and switch in the work area with a non-contact voltage tester before you start prying tiles, and test again after removing outlet covers to confirm no hidden circuits are active. This step eliminates shock risk, especially if previous owners have added unmarked circuits to the kitchen. You can also read our guide on how to clean kitchen wall tiles and grout.
Step 3: Loosen Grout and Detach Tiles
Proper grout removal is the key to avoiding wall damage during tile detachment. Grout acts as a bonding agent between tiles and the wall, so breaking it first reduces the force needed to pry tiles loose. You can also read our guide on best way to pack glassware safely.
First, score all grout lines: use a manual grout saw or the scraper attachment on your oscillating multi-tool to cut along the grout lines between tiles. Apply steady, moderate pressure to avoid chipping tile edges, and work in 1×1 foot sections to avoid fatigue. For old, brittle grout, you can skip fully removing it — scoring it ⅛ inch deep is enough to break the bond between tiles. A common mistake DIYers make is skipping this step, which often leads to torn drywall paper when prying tiles, requiring full drywall panel replacement later. You can also read our guide on how long does it take to tile a kitchen wall.
Next, pry tiles from the edges: start at a corner or the edge of the backsplash area, where tiles are usually less adhered. Insert the edge of your 2-inch putty knife under a tile, then tap the back of the knife with a claw hammer to lift the tile ¼ inch. Work your way around the edges of the tile, tapping gently to avoid breaking it, then lift the tile fully off the wall. If a tile breaks, remove all fragments before moving to the next one to avoid cutting your hands on sharp edges later. You can also read our guide on how to remove grease stains from painted kitchen walls.
For stubborn tiles: if a tile won’t budge after prying the edges, slide a flat pry bar under the middle of the tile, and tap it gently with the hammer to lift it evenly. For tiles adhered with thinset, apply gentle heat from a heat gun (set to below 500°F) for 10-15 seconds to soften the adhesive before prying. Never use excessive force, as this will gouge the underlying wall. You can also read our guide on how to clean kitchen walls without removing paint.
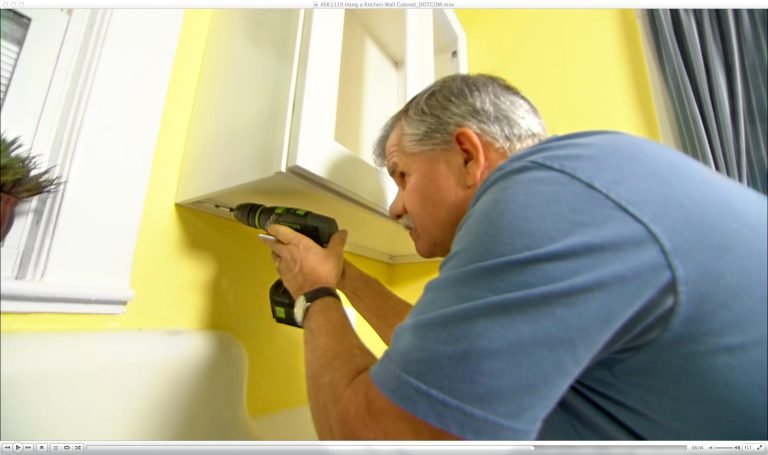
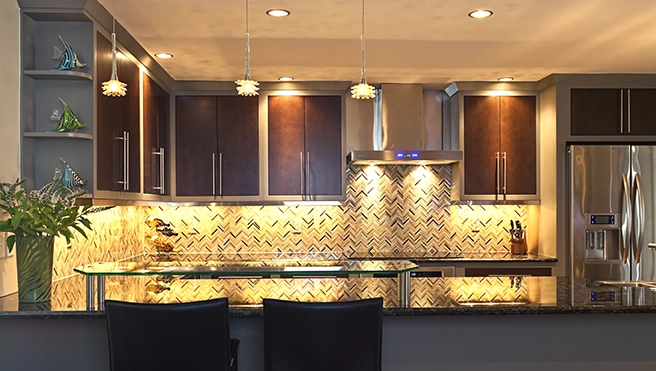 Careful prying technique to avoid damaging underlying drywall
Image source: Mr. Handyman
Careful prying technique to avoid damaging underlying drywall
Image source: Mr. Handyman
Step 4: Remove Stubborn Adhesive Residue
After all tiles are removed, you’ll be left with a layer of adhesive (mastic or thinset) on the wall. Removing this residue is critical for ensuring new paint, tile, or finishes adhere properly. You can also read our guide on what finish paint for kitchen walls.
First, soften mastic adhesive: if you identified mastic during your pre-removal assessment, soak a sponge in warm soapy water and lay it over the adhesive for 2-3 minutes. The soap will break down the soft compound, making it easy to scrape off with a plastic scraper. Work in small sections to avoid letting the water soak into drywall and cause swelling. You can also read our guide on how to retile a kitchen wall.
For thinset adhesive: use a 120-grit sanding block to sand the thinset down to the wall surface, or apply a commercial thinset remover per the product instructions. Always test chemical removers on a small, hidden spot first to ensure they don’t damage your wall finish. For small spots of stubborn adhesive, dab white vinegar on the area and let it sit for 10 minutes — the mild acid will break down the bond without harming drywall. You can also read our guide on how to install kitchen cabinets on uneven walls.
Avoid harsh tools: never use a metal scraper or wire brush on drywall, as these will gouge the paper facing and create uneven surfaces that require extensive repair. For plaster walls, you can use a slightly stiffer metal scraper, but still work at a low angle to avoid chipping the plaster. You can also read our guide on how to attach kitchen cabinets to a brick wall.
Step 5: Repair and Prep the Wall for New Finishes
Once all adhesive is removed, your wall will likely have small holes, cracks, or rough patches from the removal process. Proper repair ensures your new backsplash or paint job looks professional and lasts for years. You can also read our guide on how to stop kitchen cabinet door from hitting wall.
Start by inspecting the wall for damage: check for torn drywall paper, deep gouges, or holes left by removed outlet boxes. For small gouges and torn paper, apply a thin layer of spackling compound with a putty knife, pressing firmly to fill the gap completely. For larger holes (larger than 2 inches), apply a fiberglass mesh patch over the hole, then skim coat with spackle for a seamless repair, a method recommended by University of Minnesota Extension home repair experts for lasting results. You can also read our guide on husky tool box kitchen island.
Next, sand the repaired areas smooth: use 120-grit sandpaper for rough patches, then switch to 220-grit sandpaper for the entire wall surface to create a uniform, smooth base. Wipe away all dust with a damp microfiber cloth, and let the wall dry fully. You can also read our guide on how to clean oily kitchen walls.
Finally, prime the wall: apply a stain-blocking primer to the entire surface, especially if you notice grease stains seeping through from the old backsplash area (a common issue in kitchen walls behind stoves and sinks). This primer seals the wall and prevents stains from bleeding through new paint or finishes. Once the primer is dry, your wall is ready for new tile, paint, or peel-and-stick backsplash installation. If you’re planning to paint the wall, you can select a shade that complements green cabinetry for a bold, modern look, or coordinate with warm brown cabinet tones for a cozy, traditional aesthetic. You can also read our guide on how to decorate kitchen wall tiles.
Safe Disposal of Tile and Debris
Tile removal creates sharp, heavy debris and fine silica dust, so proper disposal is critical for safety and compliance with local regulations. You can also read our guide on how to clean kitchen grease off painted walls.
First, sort your debris: separate large, intact tile pieces from small fragments and dust. Ceramic and porcelain tiles are accepted at most construction waste recycling facilities, so check your local waste management’s guidelines to see if you can drop them off for recycling instead of sending them to a landfill. Glass tile fragments should be bagged separately from regular trash to avoid puncturing garbage bags and causing injury. You can also read our guide on how to remove kitchen tiles from wall.
Next, bag dust and small fragments: use a HEPA-filtered shop vac to collect as much fine dust as possible before sweeping. Bag all small debris in heavy-duty construction trash bags, and seal them tightly to prevent dust from escaping during transport. You can also read our guide on how to regrout kitchen wall tiles.
Finally, dispose of heavy materials: place large tile chunks in a sturdy plastic bin or heavy-duty cardboard box for transport to the disposal facility. Never overload trash bags with heavy tile pieces, as they can tear and spill sharp debris. If your local government requires construction waste to be dropped off at a specialized facility rather than curbside pickup, schedule a drop-off appointment in advance to avoid fines. You can also read our guide on how to paint wall tiles in kitchen.
Common Troubleshooting Tips
Even with careful preparation, you may run into snags during removal. These fixes address the most common issues DIYers face:
- Tiles keep breaking during removal: You’re likely applying too much pressure or using a chisel that’s too thick. Switch to a ¼-inch wide putty knife, and tap gently with a hammer instead of prying hard. Applying low heat from a heat gun for 10 seconds before prying can also soften adhesive and reduce breakage.
- Adhesive won’t come off the wall: If mastic is still stuck after soaking in warm soapy water, let it sit for an additional 10 minutes before scraping. For thinset, use a commercial adhesive remover designed for cement-based compounds, and let it sit for the full recommended time (usually 15-30 minutes) before scraping.
- Drywall paper is tearing during removal: Stop prying immediately, and use a putty knife to gently lift any remaining tile fragments. Apply a thin layer of spackle to the torn area, then cover with a fiberglass mesh patch before sanding smooth.
- Tiles are stuck around electrical outlets: Use a small, thin putty knife to pry tiles away from the outlet edges, working slowly to avoid damaging the fixture or wiring. If the outlet is too close to the tile edge, turn off power and remove the outlet body to create more working space.
Frequently Asked Questions
How long does it take to remove a kitchen tile backsplash?
For a standard 10×10 foot backsplash area, DIY removal takes 2-4 hours, plus 1-2 hours for adhesive cleanup and wall repair. Larger areas or installations using thinset adhesive can add 2-3 extra hours to the project timeline. You can also read our guide on what type of paint to use on kitchen walls.
Can I remove a tile backsplash without damaging drywall?
Yes, if you thoroughly score grout lines before prying, work slowly with thin tools, and avoid applying excessive force. Plaster walls are even more durable, but still require careful prying to avoid chipping. If you do tear drywall paper, small tears can be repaired with spackle and a mesh patch in under an hour, with no need for full drywall replacement. You can also read our guide on how to clean kitchen wall tiles easily.
Do I need to remove the drywall if it’s damaged after tile removal?
Only if the damage is extensive (larger than a 6×6 inch area, or deep gouges that expose wall studs). Small holes, cracks, and torn paper can be repaired with spackle and a mesh patch in under an hour, with no need for full drywall replacement. You can also read our guide on how to clean kitchen walls grease.
What safety gear do I need for tile backsplash removal?
At minimum, wear an N95 respirator mask (rated for crystalline silica), safety goggles with side shields, heavy-duty cut-resistant gloves, and long sleeves to protect against sharp tile shards and dust. If you’re using chemical adhesive removers, add nitrile gloves to avoid skin irritation. You can also read our guide on outdoor kitchen design tool.
Can I reuse my old backsplash tiles?
Yes, if you remove them carefully without breaking. Clean off all adhesive residue from the back of the tiles with a plastic scraper and warm soapy water, and store them flat in a safe space until you’re ready to reinstall them or use them for a smaller project like a craft or shelf accent. You can also read our guide on how to take off wall tiles in kitchen.
Conclusion
Removing a kitchen tile backsplash doesn’t have to be a stressful, destructive project. By taking the time to assess your wall and adhesive type, gathering the right tools, protecting your surfaces, and working slowly to avoid wall damage, you can complete the removal in a single weekend with minimal repair work. The key to success is prioritizing safety — wearing an N95 mask to avoid silica dust exposure, turning off power to all work area outlets, and using tools correctly to avoid injury. You can also read our guide on how to fix wall tiles in kitchen.
Once your wall is smooth, primed, and ready for a new finish, you can choose from a wide range of backsplash options, from classic subway tile to bold paint or budget-friendly peel-and-stick designs. For step-by-step guidance on installing your new backsplash or refreshing the rest of your kitchen, explore our full library of kitchen DIY guides to tackle every part of your renovation with confidence. You can also read our guide on decorative wall tiles for kitchen.