How to Build a Knee Wall for a Kitchen Island: Step-by-Step Guide
A knee wall (also called a pony wall for island applications) is a short, versatile structure that adds functionality, style, and stability to your kitchen island. Whether you want to hide plumbing for a sink island, create a raised breakfast bar ledge, support a heavy stone countertop overhang, or separate your island from the main kitchen workspace without blocking sightlines, a knee wall is a high-impact, low-cost DIY project that even beginner carpenters can complete in a single weekend.
Unlike full-height walls, knee walls for kitchen islands are typically 24 to 42 inches tall, depending on your design goals, and require minimal materials and tools. This step-by-step guide covers everything you need to know, from pre-project planning and material selection to framing, finishing, and pro tips for long-lasting durability, with 2026 current best practices to avoid common costly mistakes. For more on this, see our guide on how to build a pony wall for kitchen.
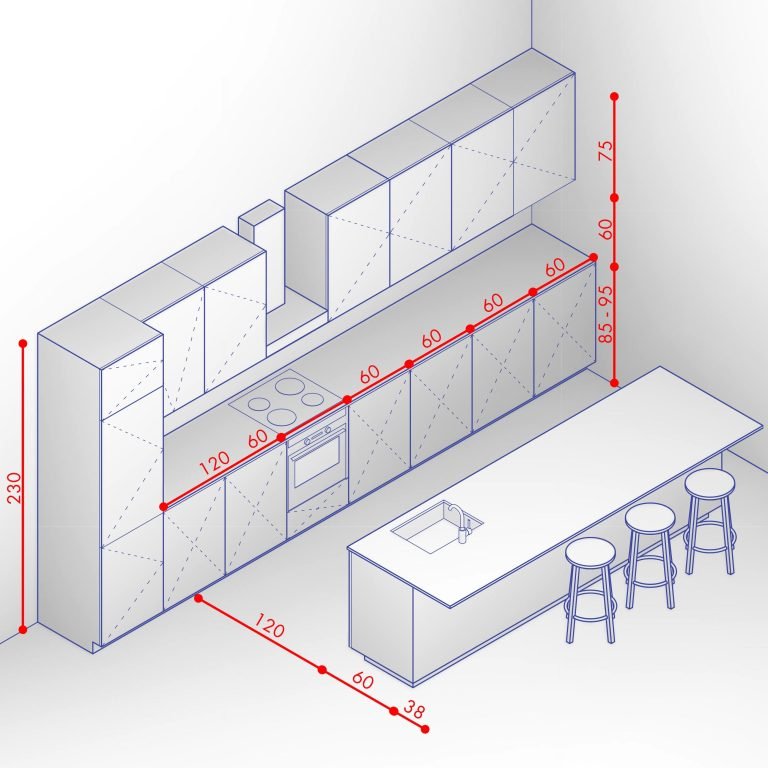
This knee wall adds a breakfast bar ledge to a standard kitchen island, providing extra seating without blocking sightlines.
Credit: www.diychatroom.com
What a Kitchen Island Knee Wall Is (and When to Build One)
A knee wall is a short, load-bearing or non-load-bearing wall that runs between the main kitchen counter and the far edge of an island, designed to support overhangs or hide utilities. For kitchen islands, they serve three core purposes:
- Support countertop overhangs: A 36-inch tall knee wall paired with a 12-inch countertop overhang creates a comfortable breakfast bar for 2-4 people, with 24 inches of knee clearance for standard stools.
- Hide plumbing and wiring: For islands with sinks or built-in outlets, a knee wall conceals unsightly pipes and cords for a sleek, finished look.
- Define workspace zones: A low knee wall separates the island prep area from the main kitchen cooking zone without blocking sightlines or making the space feel cramped.
Knee walls are far simpler to install than full-height half-walls, and they cost 50-70% less than hiring a contractor to build custom island cabinetry.
Pre-Project Planning: Measurements, Materials & Design
Skipping planning is the most common cause of costly knee wall mistakes. Spend 30 minutes on these steps before you buy a single piece of lumber to avoid rework and ensure your wall fits your space perfectly. For more on this, see our guide on how to build a kitchen wall cabinet.
Define Your Height & Use Case
Your knee wall height depends entirely on its purpose:
- For standard counter-height seating (24-inch stool seat height): Build a 36-inch tall knee wall, with a 12-inch countertop overhang for knee clearance.
- For bar-height seating (28-inch stool seat height): Build a 42-inch tall knee wall, with a 10-12 inch overhang.
- For hiding plumbing only: A 24-30 inch tall wall is sufficient, as long as it covers all pipes and shut-off valves.
If your knee wall will support a heavy stone or concrete countertop, add 2×6 top plates to your frame for extra load-bearing strength, rather than standard 2x4s.
Take Accurate Measurements to Avoid Rework
Start by measuring the exact length of your island base where the knee wall will sit, and add 1/2 inch to account for the thickness of your finish material (drywall, shiplap, tile) so the final knee wall aligns perfectly with the island edges. Double-check all measurements twice—small errors will lead to gaps or misaligned trim. Next, use a stud finder to locate floor joists (for wood subfloors) and mark their positions. You will anchor your frame to these joists for maximum stability, not just the subfloor. For concrete slab floors, mark locations for anchor holes spaced 16 inches apart along the planned wall line. Per National Kitchen and Bath Association (NKBA) guidelines, leave at least 36 inches of clear walkway between the knee wall and the nearest cabinet or appliance to avoid cramped, unsafe cooking space. For a seamless look, pair your knee wall paint with complementary wall tones, like soft neutrals to balance hues for green cabinets or warm beiges to accent tones for brown cabinetry.
Choose Kitchen-Appropriate Materials
Kitchen environments require moisture-resistant, durable materials to stand up to steam, spills, and daily wear:
- Framing: Use pressure-treated 2×4 lumber for concrete slab floors to resist moisture wicking from the concrete, or standard kiln-dried 2x4s for wood subfloors. Avoid warped or cracked lumber, as it will lead to a crooked frame.
- Finish surface: 1/2-inch moisture-resistant drywall (green board) is the best choice for painted finishes, as it resists humidity and steam from cooking. For rustic or farmhouse styles, shiplap or tongue-and-groove pine works well—just seal it with a water-based polyurethane to resist water stains. Avoid standard MDF, as it swells and warps even with minor moisture exposure.
- Fasteners: Use corrosion-resistant deck screws for subfloor anchoring and wood screws for framing, as standard screws will rust in high-moisture kitchen environments. For evidence-based guidance on controlling kitchen moisture to prevent mold and material damage, refer to the U.S. Environmental Protection Agency’s indoor moisture control recommendations.
Tools & Supplies You’ll Need
Having all tools and materials on hand before you start will save you time and avoid frustrating mid-project trips to the hardware store.
Framing Tools
- 25-foot tape measure
- 4-foot spirit level
- Circular saw with fine-tooth wood blade
- Cordless drill/driver with 2-inch and 1-inch wood screw bits
- Carpenter’s square
- Stud finder with live wire detection
- Hammer drill with 1/4-inch masonry bit (for concrete slab floors)
- 3-inch corrosion-resistant deck screws
- 2.5-inch wood screws
Finishing Tools
- Drywall saw or utility knife
- Drywall taping knife set (6", 10", 12")
- Sanding block or orbital sander with 120 and 220-grit sandpaper
- Miter saw for trim cutting
- Paint roller, tray, and angled paintbrush
- Wood filler
Safety Gear
- ANSI-approved safety glasses
- Nitrile gloves
- N95 dust mask
- Ear protection
- Non-slip closed-toe shoes
Step-by-Step Knee Wall Construction
Follow these steps in order for a straight, stable, professional-looking result. Each step includes common mistakes to avoid, drawn from real DIY project experience.
Step 1: Prep the Workspace & Mark the Layout
First, clear all items from a 3-foot radius around the planned knee wall location to give yourself room to maneuver tools and materials. Sweep the subfloor thoroughly to remove debris that could interfere with leveling. Use painter's tape to mark the exact footprint of the knee wall on the floor, making sure the lines are perfectly parallel to the island base and adjacent kitchen cabinets. If you’re relocating a wall-mounted faucet as part of your island sink renovation, follow our guide to safely remove a wall-mounted kitchen faucet before you start framing to avoid damaging existing plumbing. Use your stud finder to confirm there are no existing pipes, electrical boxes, or obstructions in the planned wall line. Double-check all measurements before moving to the next step—small layout errors will cause major problems later.
Step 2: Frame the Knee Wall
Cut your 2×4 lumber to size first: you will need two bottom plates (same length as your marked footprint) and enough vertical studs to space them 16 inches apart on center (standard residential framing spacing) along the length of the wall. For a 6-foot long knee wall, that is 5 studs total: two end studs, and three spaced 16" apart between them. Cut studs to your desired height, minus 1.5 inches for the top and bottom plates (e.g., 34.5-inch studs for a 36-inch tall final wall). Lay the bottom plate on your marked floor footprint, then stand the studs vertically on top of it, spacing them 16" on center. Place the top plate on top of the studs, aligning it perfectly with the bottom plate. Use your carpenter’s square to confirm all corners are 90 degrees—this is a critical step, as a crooked frame will make installing drywall or trim almost impossible. Drive 2.5-inch wood screws through the top and bottom plates into each stud, two screws per connection. For extra stability, add 2×4 blocking between each stud at the midpoint of the wall height. This prevents the wall from twisting over time and gives you a solid nailing surface for finish material. A common mistake here is skipping the carpenter’s square check, which leads to a lopsided wall that makes countertop installation uneven.
Standard 16-inch on-center stud spacing is recommended for residential wall framing per International Residential Code guidelines IRC framing standards.
Step 3: Secure the Frame to the Floor
Lift the assembled frame into place on your marked footprint, and use your 4-foot spirit level to check that it is perfectly level both front-to-back and side-to-side. Adjust with shims as needed to eliminate any wobble. For wood subfloors: drive 3-inch corrosion-resistant deck screws through the bottom plate directly into the floor joists you marked earlier, one screw per joist, spaced 12 inches apart. For concrete slab floors: use a hammer drill with a 1/4-inch masonry bit to drill pilot holes through the bottom plate into the concrete, then insert 3-inch concrete anchor sleeves and tighten the screws to secure the frame. Grab the frame and shake it hard after fastening—if it moves even slightly, add more fasteners. An unanchored knee wall will shift under the weight of a countertop or people leaning on the island, leading to injury or damage.
Step 4: Install the Finish Surface
Cut your chosen finish material to fit the height and length of the frame:
- For drywall: Cut 1/2-inch moisture-resistant drywall sheets to size, and attach to the frame with 1.25-inch drywall screws, spaced 8 inches apart along the edges and 12 inches apart in the field. For seams between sheets, apply paper drywall tape and a thin layer of joint compound with a 6" taping knife, then smooth with a 10" knife for the second coat. Let the joint compound dry completely (usually 24 hours) before sanding smooth with 120-grit sandpaper.
- For wood paneling/shiplap: Attach boards to the frame with 1.5-inch finish nails, spacing them 1/8 inch apart to allow for wood expansion, and stagger seams between rows for a professional look.
- For tile: Attach a cement backer board to the frame with cement screws first, then tile as normal, using a 100% silicone caulk along the top and bottom edges to prevent water seepage.
Step 5: Add Trim & Final Finishing
Start by installing baseboard molding along the bottom of the knee wall where it meets the floor, to cover any gaps and hide the raw edge of the drywall or paneling. Cut baseboard to length with a miter saw, using 45-degree miter cuts for corners, and attach with 1.5-inch finish nails. Fill all nail holes with wood filler, then sand smooth. If your knee wall supports a countertop overhang, install a 1×2 bullnose trim along the top edge to cover the raw countertop edge and create a clean, finished look. Prime the entire surface with a stain-blocking primer, then apply 2-3 coats of your chosen paint or stain. For kitchen surfaces, use a semi-gloss or satin finish, which resists moisture, grease, and food stains far better than flat or matte finishes. Let the finish cure for 24-48 hours before installing the countertop or placing stools.
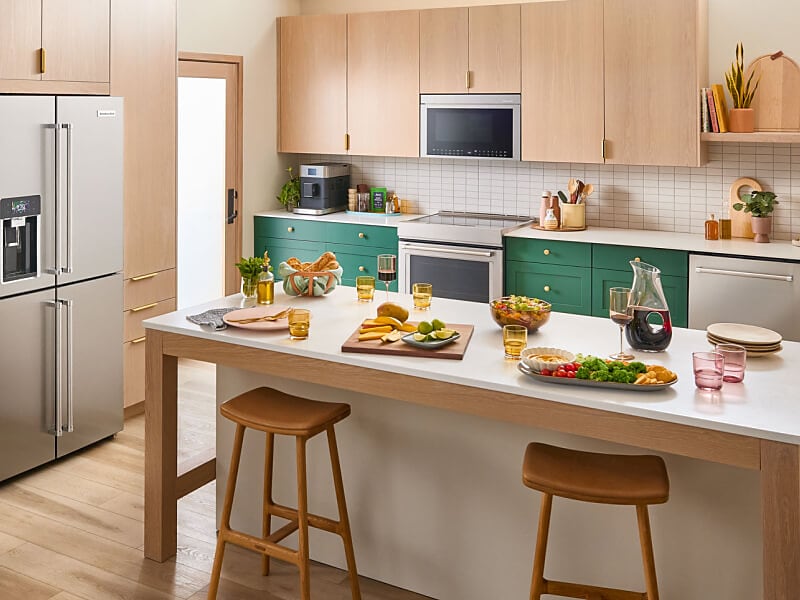 A knee wall can be finished to match your existing kitchen cabinetry for a seamless, custom look.
Credit: www.kitchenaid.com
A knee wall can be finished to match your existing kitchen cabinetry for a seamless, custom look.
Credit: www.kitchenaid.com
Pro Tips for Durability & Safety
Follow these guidelines to ensure your knee wall stays sturdy and safe for years of use:
Moisture Protection
Kitchens are high-moisture environments, so seal all wood surfaces (framing, paneling, trim) with a water-based polyurethane before installing finish material, especially if your knee wall is next to a sink or dishwasher. For tiled knee walls, apply a bead of 100% silicone caulk along the seam where the tile meets the countertop and floor to prevent water from seeping behind the wall and causing mold or rot.
Structural Safety
Never skip anchoring the frame to floor joists or concrete—an unanchored knee wall can shift under heavy weight, leading to injury or property damage. If your knee wall will support a load over 100 pounds (like a stone countertop or heavy sink base), add extra 2×6 top plates and anchor the frame to the wall studs behind the island base for additional support. Always wear a dust mask when sanding drywall or cutting wood, as fine particles can cause respiratory irritation. If you are drilling into concrete, wear eye protection to avoid concrete chips causing eye injury.
Common Mistakes to Avoid
- Skipping the level check: A crooked knee wall will make your countertop installation uneven, leading to wobble and spills.
- Using the wrong fasteners: Standard drywall screws will rust in kitchen environments, so use corrosion-resistant screws for all high-moisture areas.
- Not accounting for finish thickness: If you forget to add the thickness of drywall or paneling to your measurements, your final knee wall will be too wide or too narrow for your island base.
- Skipping the joist check: Only screwing into the subfloor and not the joists will lead to a wall that creaks and shifts with foot traffic.
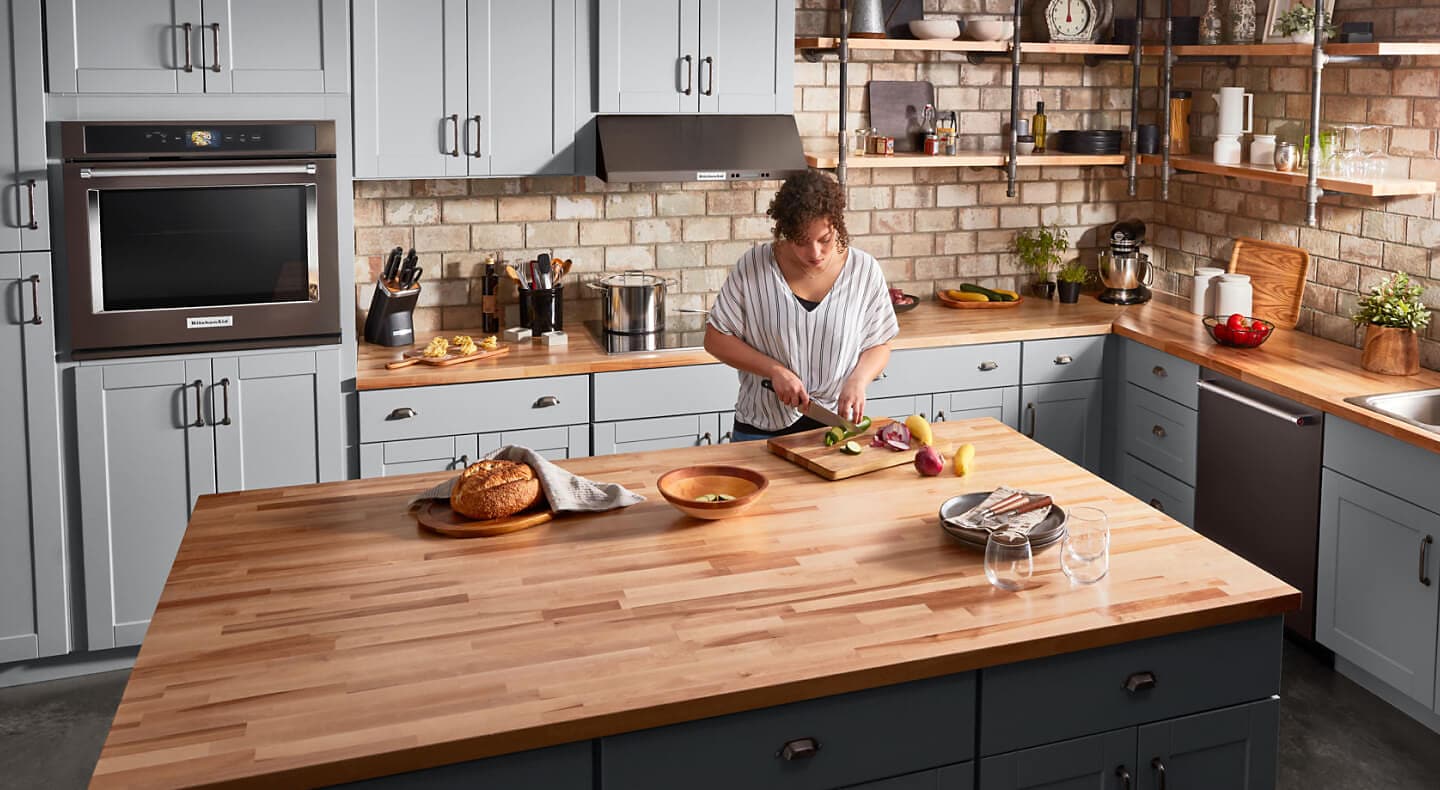 Knee walls are ideal for hiding plumbing lines for island sinks, keeping the island base sleek and uncluttered.
Credit: www.kitchenaid.com
Knee walls are ideal for hiding plumbing lines for island sinks, keeping the island base sleek and uncluttered.
Credit: www.kitchenaid.com
Frequently Asked Questions
How tall should a kitchen island knee wall be?
The ideal height depends on your use case: 36 inches for standard counter-height seating (paired with 24-inch seat-height stools) with a 12-inch overhang for knee clearance, or 42 inches for bar-height seating (paired with 28-inch stools) with a 10-12 inch overhang. If the knee wall is only for hiding plumbing, 24-30 inches is sufficient.
Do I need a permit to build a knee wall for my kitchen island?
In most areas, a knee wall under 4 feet tall that does not support structural load (like the main house structure) does not require a permit. However, if your knee wall will hide plumbing or electrical work, or support a heavy load, check with your local building department first to confirm local requirements.
Can I build a knee wall over an existing tile or hardwood floor?
Yes, but you will need to cut a small section of the floor along the planned knee wall footprint to anchor the frame directly to the subfloor or joists. If cutting into tile, use a tile saw to make clean cuts, and fill the gap with flexible caulk after installation to account for floor expansion.
What’s the difference between a knee wall and a pony wall?
The terms are often used interchangeably for kitchen islands, but technically a knee wall is a short wall that supports a countertop overhang, while a pony wall is a non-load-bearing short wall used to separate spaces. For most kitchen island projects, the terms refer to the same structure.
How much does it cost to build a DIY knee wall for a kitchen island?
For a standard 6-foot long knee wall, materials cost $150-$300, depending on your finish choices. Drywall and paint are the most budget-friendly options, while shiplap or tile will increase the cost. This is a fraction of the cost of hiring a contractor, which typically runs $500-$1,200 for the same project.
Conclusion
Building a knee wall for your kitchen island is a high-impact, low-cost DIY project that adds seating, storage, and style to your space without the expense of custom cabinetry. By following the planning, framing, and finishing steps outlined above, you can create a sturdy, durable structure that matches your kitchen’s design and lasts for years. If you’re planning a full kitchen island renovation, check out our guide to safely removing old wall-mounted faucets to streamline your prep work before you start building.