How to Get Grease Stains off Kitchen Walls: Easy & Effective Tips
Grease splatters and hazy buildup on kitchen walls are one of the most common—and frustrating—headaches for home cooks. Whether you’re a weekend fryer or just simmering sauces daily, airborne grease particles settle on walls near cooking surfaces, leaving yellowish-brown stains that attract dust, degrade paint over time, and make even the tidiest kitchen look unkempt. The good news? Most grease stains are easy to remove with inexpensive household supplies, no harsh chemicals or professional cleaning required. Below, we’ll walk through the root causes of kitchen grease buildup, step-by-step removal methods for every stain age, and simple prevention tips to keep walls spotless long-term.
What Causes Kitchen Wall Grease Stains?
Grease stains form when hydrophobic oil particles released during cooking settle on porous wall surfaces like drywall, unsealed grout, or matte latex paint. Unlike water-based spills, grease binds tightly to surfaces and attracts dust, making stains darker and harder to remove over time. Common causes include:
- Poor ventilation: Underperforming range hoods that don’t vent grease outside, or cooking without any exhaust, let grease particles linger in the air and settle on walls.
- Proximity to cooking surfaces: Walls directly behind stoves, ovens, and fryers get the highest concentration of grease from splatters and airborne particles.
- High-heat cooking: Frying, searing, and grilling release far more grease into the air than boiling or steaming, especially when pots are left uncovered.
- Repeated small splatters: Even minor oil pops from a hot pan add up over weeks or months, creating a visible hazy layer before you notice the stain.
- Infrequent cleaning: Thin layers of fresh grease attract dust and dirt, hardening into stubborn, dark stains if not wiped down regularly.
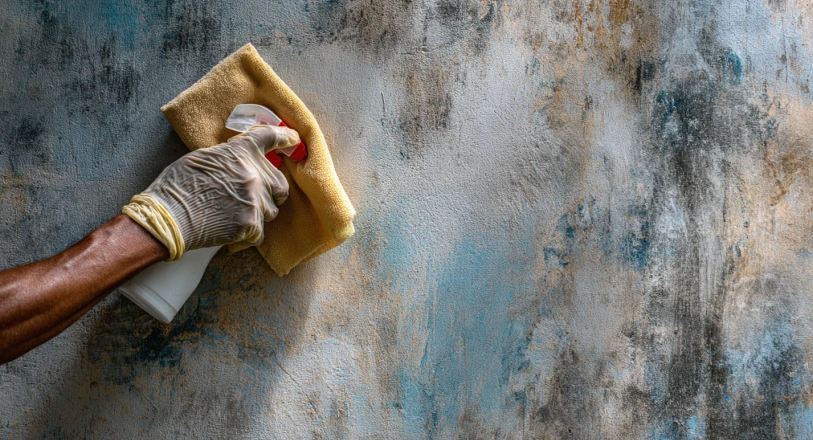 Image source: www.nobroker.in
Set-in grease stains appear as yellowish-brown hazy patches on painted walls
Image source: www.nobroker.in
Set-in grease stains appear as yellowish-brown hazy patches on painted walls
Supplies You’ll Need for Grease Stain Removal
Having all your supplies ready before you start will save time and prevent mid-clean frustration. Choose products based on your wall type to avoid damage:
Cleaning Solutions
- Mild degreasing dish soap: Safe for all painted walls, effective on fresh stains.
- Baking soda: A gentle abrasive for set-in stains, safe for latex and semi-gloss paint (avoid on natural stone).
- White distilled vinegar: Cuts through grease and deodorizes, safe for most painted and wallpapered surfaces (avoid on natural stone, as it can cause etching).
- EPA Safer Choice certified commercial degreaser: For severe, months-old stains; these non-toxic formulas are safe for indoor use and won’t damage paint when used correctly.
- pH-neutral all-purpose cleaner: For wallpaper or delicate finishes, to avoid discoloration. For additional guidance on selecting non-toxic, surface-safe kitchen cleaners, refer to University of Minnesota Extension’s kitchen safety resources.
Tools
- Soft microfiber cloths (avoid cotton rags, which push grease around instead of lifting it)
- Soft sponge (non-abrasive, for gentle scrubbing)
- Spray bottle (for even application of vinegar or diluted cleaners)
- Soft-bristled toothbrush (for textured walls, corners, and grout lines)
- Bucket (for mixing solutions and rinsing cloths)
Protective Gear
- Rubber gloves (to protect skin from cleaning solutions)
- Painter’s tape (to cover electrical outlets and light switches, preventing moisture or cleaner from seeping inside)
- Old towels (to catch drips and dry walls after cleaning)
Prep Your Walls Before Cleaning
Skipping prep steps can lead to water damage, paint discoloration, or wasted effort. Follow these steps before applying any cleaner:
- Clear the area around the stained wall: Remove all kitchen utensils, appliances, decor, and rugs to avoid accidental splashes or damage from cleaning solutions. If the stain is behind a wall-mounted kitchen faucet, remove the fixture first to access the full stained area without scratching it.
- Dust the wall first: Use a dry microfiber cloth to wipe away loose dust and dirt. Grease binds to dust, so removing this layer first makes cleaning far more effective.
- Cover electrical components: Use painter’s tape to cover outlets, light switches, and any exposed wiring to avoid moisture damage or fire hazards.
- Test all cleaners first: Dab a small amount of your chosen cleaning solution on a hidden spot (like behind a cabinet or in a corner) and wait 10 minutes to check for discoloration, peeling, or damage. This is especially important for colored paint, wallpaper, or historic plaster walls.
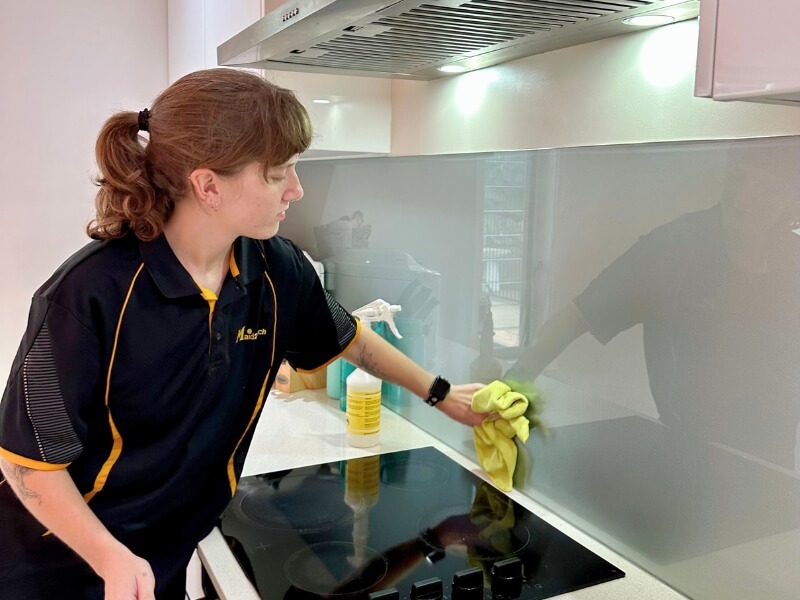 Image source: www.maid2match.com.au
A microfiber cloth and mild dish soap are all you need for fresh grease spots
Image source: www.maid2match.com.au
A microfiber cloth and mild dish soap are all you need for fresh grease spots
4 Proven Methods to Remove Grease Stains
Work from the gentlest, most accessible method first, moving to stronger solutions only if the stain persists. All methods work for latex, semi-gloss, and satin paint; adjust for wallpaper or tile as noted.
1. Dish Soap and Warm Water (for fresh stains <24 hours old)
This classic method works for 90% of fresh grease splatters, and uses supplies you already have in your kitchen:
- Mix 1 teaspoon of degreasing dish soap with 2 cups of warm (not hot) water in a bucket or spray bottle. Hot water can damage paint finishes, so stick to lukewarm.
- Dampen a soft microfiber cloth, wring out excess liquid so it’s barely damp (never soaking, especially for wallpaper).
- Rub the stain gently in circular motions, starting from the outer edge of the stain to avoid spreading grease to clean areas.
- Let the solution sit for 2-3 minutes for slightly set-in spots, then wipe with a clean, damp cloth to remove soap residue.
- Dry the wall with a clean towel to prevent water spots. A common mistake here is scrubbing too hard, which can wear down matte paint finishes. Gentle, repeated rubbing works far better than aggressive scrubbing.
2. Baking Soda Paste (for set-in stains 1 week to 3 months old)
Baking soda’s mild abrasive texture lifts grease without scratching paint, making it ideal for darker, older stains:
- Mix 3 parts baking soda with 1 part warm water to form a thick, spreadable paste (adjust water as needed to avoid runniness).
- Apply the paste directly to the stain with a soft cloth or soft-bristled toothbrush (for textured orange peel or knockdown finish walls, the toothbrush gets grease out of grooves).
- Let the paste sit for 10-15 minutes; you’ll notice it darken as it absorbs grease.
- Wipe away the paste with a damp cloth, rinse the area with plain warm water, and dry thoroughly. Note: Avoid baking soda on natural stone surfaces like marble or granite backsplashes, as it can etch the stone.
3. White Vinegar Solution (for medium-age stains 1 week to 1 month old, and deodorizing)
Vinegar’s acidity breaks down grease bonds and eliminates lingering cooking odors, making it a great all-purpose option:
- Mix equal parts white distilled vinegar and warm water in a spray bottle, adding 2 drops of dish soap for extra grease-cutting power on tough stains.
- Spray the solution lightly onto the stain (do not soak the wall, especially for wallpaper, to avoid warping or peeling).
- Let it sit for 5 minutes to break down grease.
- Wipe the area with a clean, damp cloth, rinsing the cloth frequently to avoid spreading grease around.
- Dry the wall with a clean towel; the vinegar smell will fade completely once dry.
4. Commercial Degreasers (for severe stains >3 months old, or large greasy hazy areas)
For buildup that household cleaners can’t tackle, a commercial degreaser is the most effective option. Always choose a product labeled safe for painted walls, and opt for an EPA Safer Choice certified formula to avoid harsh fumes and paint damage:
- Wear rubber gloves, and apply a small amount of degreaser to a cloth (do not spray directly on the wall to avoid oversaturation, which can cause water damage to drywall).
- Rub the degreaser into the stain gently, following the product’s instructions for sit time (usually 3-5 minutes).
- Wipe the area with a clean, damp cloth to remove all residue, then dry thoroughly.
- If the stain persists, repeat once; avoid over-scrubbing, which can strip paint.
Fix Streaks or Dull Spots After Cleaning
Even with careful cleaning, you may notice streaks or dull patches on your wall after treating grease stains. These are usually caused by leftover soap residue or gentle wear to the paint’s finish from scrubbing:
- For streaks: Wipe the area with a cloth dampened with plain warm water to remove any remaining soap. Avoid using more cleaning solution, as this can leave new residue.
- For dull spots: Apply a small amount of paste wax (formulated for painted surfaces) to a soft cloth, buff the dull area gently in circular motions, and wipe away excess. This restores the paint’s original sheen without repainting.
- If the paint is severely faded or stained from old, set-in grease that has seeped into the drywall, a touch-up with matching paint may be needed. For a full refresh, pair your clean walls with a complementary shade for your kitchen cabinets — our guides to coordinating cabinet and wall shades and matching wall shades for brown cabinets offer expert recommendations for every kitchen style.
Prevent Future Kitchen Grease Stains
A few small habit changes and upgrades will cut down on grease buildup dramatically, reducing how often you need to deep clean your walls:
- Install a high-CFM range hood that vents to the outside, not just recirculates air. A properly vented hood captures the majority of airborne grease particles before they settle on walls.
- Add a heat-resistant backsplash behind your stove and sink: Tempered glass, stainless steel, or tile are far easier to wipe down than painted drywall, and they protect your walls from splatters.
- Wipe walls weekly with a dry microfiber cloth to remove fresh grease before it binds to the surface and attracts dust.
- Use lids on all pots and pans when frying, sautéing, or simmering to contain splatters and airborne grease.
- Clean up fresh splatters immediately with a damp cloth before they dry and harden into set-in stains.
- If you have a wall-mounted faucet near your cooking area, wipe down the wall behind it after each use to remove food grease and splatter buildup. For hard-to-reach spaces behind the fixture, follow our safe faucet removal guide to access the full surface without damaging your plumbing.
When to Call a Professional
Most grease stains are manageable with DIY methods, but there are scenarios where professional cleaning is the safer, more effective choice:
- Extensive, deep stains: If grease has seeped into drywall or plaster, causing discoloration that won’t lift with surface cleaning, professionals use specialized steam cleaning or poultice treatments that draw grease out of porous surfaces without damaging paint.
- Historic or delicate surfaces: If you have original plaster walls, vintage wallpaper, or hand-painted finishes, harsh cleaners or aggressive scrubbing can cause irreversible damage. A professional with experience in historic home cleaning will use gentle, surface-safe methods.
- Stains accompanied by mold or mildew: Grease layers create a dark, damp environment where mold can grow behind paint. If you notice musty odors or black spots under grease stains, a professional can safely remove both the grease and mold without spreading harmful spores.
- Large, widespread buildup: If your entire kitchen wall has a thick greasy haze, professional cleaning will be far faster and more consistent than DIY spot treatment.
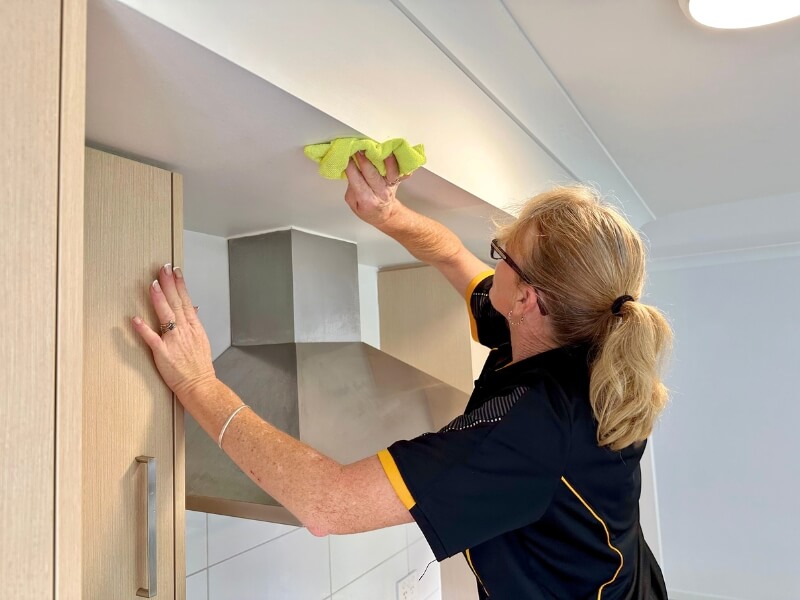 Image source: www.maid2match.com.au
Professional cleaners use specialized products for severe, long-term grease buildup
Image source: www.maid2match.com.au
Professional cleaners use specialized products for severe, long-term grease buildup
Frequently Asked Questions
How long does it take to remove kitchen wall grease stains?
Fresh stains can be fully removed in 10-15 minutes with dish soap and water. Set-in stains that have built up over months may require 30 minutes of treatment with baking soda or a commercial degreaser, plus 15-30 minutes of drying time.
Will cleaning grease stains damage my kitchen paint?
No, as long as you use gentle, surface-appropriate cleaners, soft cloths, and avoid abrasive scrubbing or soaking the wall. Always test cleaners on a hidden spot first, and avoid getting excess moisture near electrical outlets or drywall seams.
Can I use bleach to remove grease stains from walls?
No. Bleach can discolor latex paint, damage wallpaper adhesive, and release harmful fumes when mixed with other cleaning products. Stick to pH-neutral cleaners, dish soap, vinegar, or EPA-certified degreasers for safe, effective results.
Do grease stains come back after cleaning?
Grease stains will only return if the source of the grease is not addressed. If your range hood is not venting properly, or you regularly cook without lids, new grease will settle on walls over time. Pair cleaning with the prevention tips above to keep walls stain-free long-term.
Conclusion
Grease stains on kitchen walls are an inevitable part of cooking, but they don’t have to be permanent. Most fresh and set-in stains can be removed with simple household supplies like dish soap, baking soda, and vinegar, no expensive tools or professional help required. The key to success is acting quickly on fresh splatters, testing cleaners before full application, and pairing cleaning with simple prevention habits like using your range hood and wiping walls weekly. For severe, long-term buildup that doesn’t respond to DIY methods, a professional cleaner can restore your walls without risking paint damage. Once your walls are spotless, complete your kitchen refresh with a complementary paint color that matches your cabinet finish — explore our guide to wall pairings for green cabinets and coordinating walls for brown cabinets to find the perfect shade for your space.