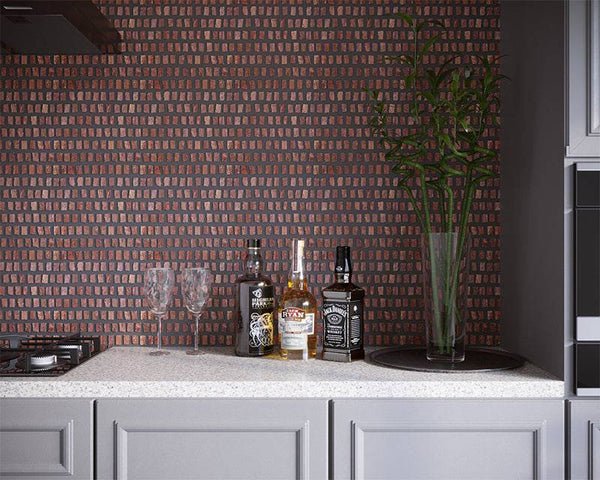
How to Install Mosaic Wall Tile in Kitchen: Easy Step-by-Step Guide
Revamping your kitchen doesn’t require a full, expensive remodel to make a big impact. A mosaic wall tile backsplash is one of the most beginner-friendly, high-return DIY projects you can tackle, adding personality, durability, and resale value to your space in just a weekend. Unlike large-format tile, small mosaic pieces flex slightly with wall movement, are forgiving of minor wall imperfections, and come pre-mounted on sheets for faster, easier installation—even if you’ve never held a trowel before.
This updated 2026 guide walks you through every step of installing mosaic wall tile in your kitchen, from prepping your wall to sealing your finished backsplash, with pro tips to avoid common mistakes that leave beginners with crooked tiles or peeling grout. By the end, you’ll have a professional-looking feature wall that stands up to daily cooking splatters, steam, and wear. For more on this, see our guide on how to install ceramic tile in kitchen wall.
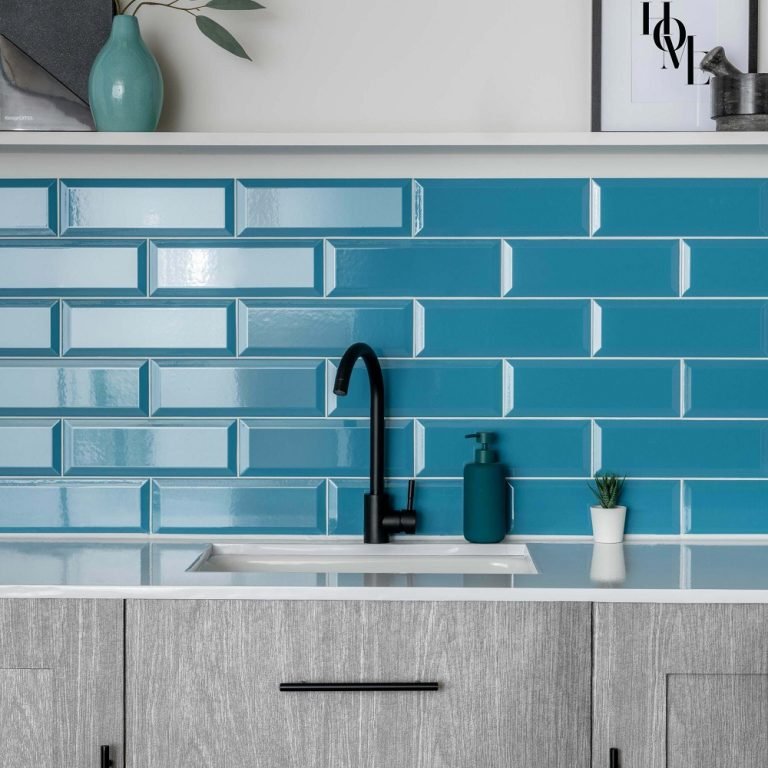
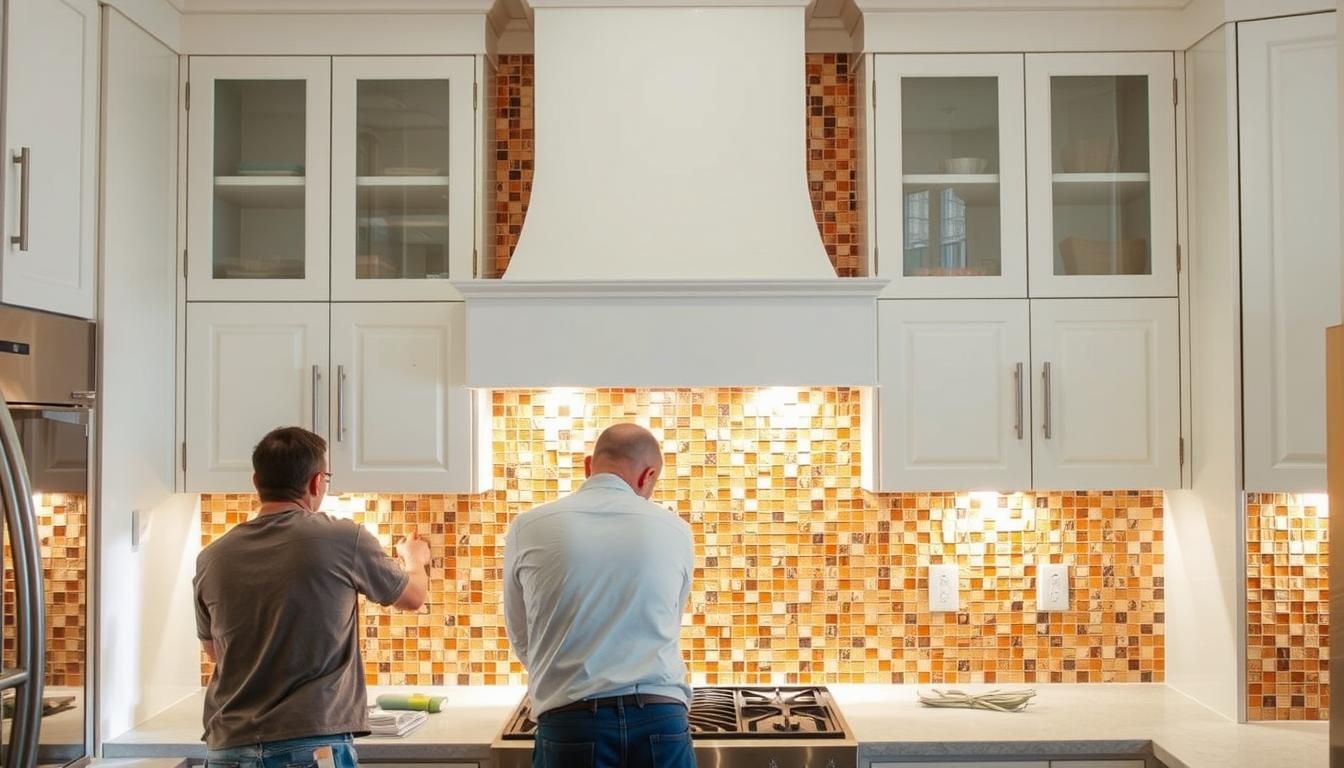 A finished glass mosaic backsplash adds color and personality to a modern kitchen, as shown here.
Credit: www.elevatedtileandremodelingcoloradosprings.com
A finished glass mosaic backsplash adds color and personality to a modern kitchen, as shown here.
Credit: www.elevatedtileandremodelingcoloradosprings.com
Why Mosaic Tile Is a Top Choice for Kitchen Walls
Before you start shopping for materials, it’s helpful to understand why mosaic is one of the most popular backsplash options for kitchens:
Durability and Low Maintenance
Glass, ceramic, and porcelain mosaic tiles are non-porous, so they resist stains, grease, and moisture far better than painted drywall or wallpaper. Unlike porous natural stone, they don’t require frequent resealing to maintain their finish, making them ideal for high-traffic kitchen areas behind stoves and sinks. Industry standards from the Tile Council of North America note that properly installed glass and ceramic mosaic wall tile can retain its finish for 20 years or more with basic routine cleaning, making it a far more durable option than temporary peel-and-stick backsplashes.
High Return on Investment
A well-installed mosaic backsplash is a high-return upgrade that adds perceived value to your kitchen without the high cost of full cabinet or countertop replacements. Its timeless, customizable look appeals to a wide range of buyers, making it a smart choice if you plan to sell your home in the future.
Beginner-Friendly Installation
Mosaic tiles are sold in 12×12 or 12×24 pre-mounted sheets, which eliminate the need to place hundreds of individual small tiles by hand. The small tile size also makes it easy to cut pieces to fit around outlets, pipes, and uneven wall edges, even with basic tools like a manual tile cutter. For small backsplash areas under 20 square feet, you can complete the entire project in a single weekend with no prior tiling experience.
Choosing the Right Mosaic Tile for Your Kitchen
The right tile will match your kitchen’s style, hold up to daily use, and fit your budget. Keep these factors in mind when shopping:
Material Options for Every Style and Budget
Not all mosaic tiles are created equal, so pick a material that matches your kitchen’s style, maintenance preferences, and budget:
- Glass mosaic: Non-porous, stain-resistant, and available in endless colors and finishes (glossy, matte, iridescent). Perfect for modern kitchens and areas near the stove, as it wipes clean easily.
- Ceramic/porcelain mosaic: Affordable, scratch-resistant, and available in every color and pattern imaginable. Glazed ceramic is non-porous, while unglazed porcelain works well for high-traffic areas.
- Natural stone mosaic (marble, travertine, slate): Adds warm, organic texture and a luxurious look, but is porous and requires regular sealing to prevent stains from grease, wine, and oil.
- Metal mosaic (stainless steel, copper, aluminum): Gives an industrial, modern vibe, but scratches easily and shows water spots, so it’s best for low-traffic accent walls rather than main backsplashes.
Color and Pattern Tips to Match Your Decor
Light-colored mosaic (white, light gray, pastel glass) reflects light, making small, dim kitchens feel larger and brighter. Darker tones (navy, charcoal, black) add drama and pair well with light countertops and cabinets for high contrast. For a cohesive look, pick a tile color that picks up an accent shade from your countertops or cabinet hardware. Simple grid patterns work for modern, minimalist kitchens, while herringbone or chevron patterns add visual interest to traditional or eclectic spaces. If you’re unsure, a neutral white or gray mosaic with a small decorative border is a versatile choice that works with almost any decor style. For warm, earthy kitchen palettes, pairing your mosaic backsplash with the right wall paint can tie the whole space together—check out our guide to wall colors for brown cabinet kitchens for inspiration that works with both neutral and bold tile choices.
How to Calculate How Much Tile You Need
Accurate measurements prevent last-minute trips to the hardware store and avoid costly overordering. To calculate your tile needs:
- Measure the height and width of your backsplash area in inches, then multiply to get total square inches.
- Divide the total square inches by 144 to get square footage.
- Add 10% extra to account for waste (cuts, broken tiles, and future repairs if a tile chips later). For example, a 120-inch wide x 24-inch tall backsplash is 2,880 square inches, or 20 square feet. You’ll need to buy 22 square feet of tile to cover waste. Mosaic tiles are sold in pre-sized sheets, so check the square footage per sheet before purchasing to ensure you get enough.
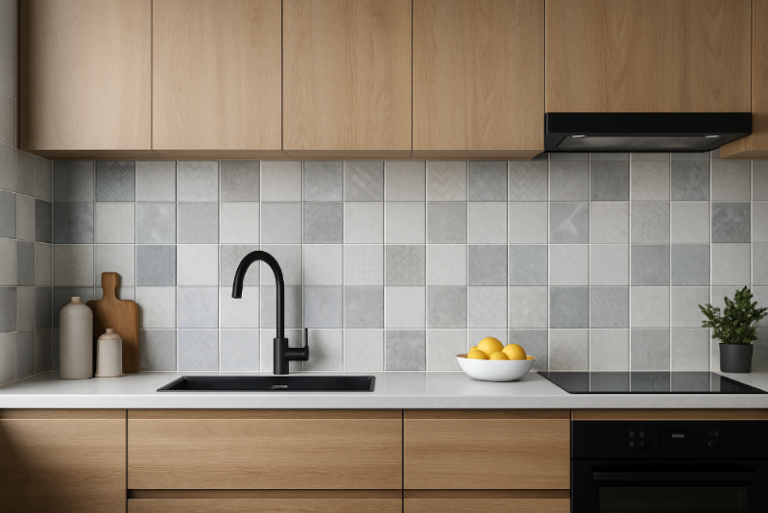
 Thin, even grout lines keep mosaic tile patterns looking crisp and professional.
Credit: archipro.com.au
Thin, even grout lines keep mosaic tile patterns looking crisp and professional.
Credit: archipro.com.au
Tools and Materials You’ll Need for the Job
Gathering all your supplies before you start will save you from mid-project interruptions and ensure you get professional-looking results. Below is a full list of what you’ll need, with recommendations for common use cases:
Essential Tools for Cutting and Setting Tile
- 1/4" or 1/2" square-notch trowel (1/4" for standard ceramic/glass mosaic, 1/2" for heavier stone mosaic)
- Manual tile cutter (for straight cuts on thin ceramic/porcelain tile)
- Wet saw (optional, for precise cuts on thick stone or glass mosaic, reduces chipping)
- Tile nippers (for curved cuts around pipes and outlets)
- Rubber grout float
- Level (4ft or 6ft length for checking wall alignment)
- Mixing bucket with a mixing paddle (for powdered thinset and grout)
- Sponges and clean rags
Adhesives, Grout, and Sealant
- Polymer-modified thinset mortar (pre-mixed for small backsplashes under 15 sq ft, powdered for larger areas)
- Unsanded grout (for gaps under 1/8", standard for mosaic tile; sanded grout will scratch small tile surfaces)
- Grout sealer (penetrating sealer for cementitious grout)
- Tile sealer (optional, for porous natural stone tile)
Safety Gear
- Safety glasses (non-negotiable for cutting tile, to protect eyes from sharp shards)
- Dust mask (N95 recommended, to avoid inhaling silica dust from cutting)
- Work gloves (to protect hands from sharp tile edges and thinset chemicals)
- Knee pads (for comfort when working on lower wall sections)
Preparing Your Kitchen Wall for Tile Installation
Proper wall prep is the most important step to ensure your tile stays adhered for decades. Skipping or rushing this step is the top cause of peeling tiles and cracked grout in DIY installations. If you’re upgrading your kitchen fixtures at the same time as your backsplash, our guide to removing an old wall-mounted faucet walks you through the process without damaging your newly prepped walls.
Remove Old Finishes and Repair Imperfections
Start by removing all outlet and switch cover plates, and turn off power to the tiling area at your circuit breaker to avoid electrical hazards. If you have existing wallpaper, remove it completely—even small leftover pieces will cause thinset to fail. For glossy painted walls, sand the surface with 120-grit sandpaper to create a rough "tooth" for the adhesive to grip. Fill any cracks, holes, or dents with spackle, let it dry fully, then sand smooth until the wall is completely flat. If you have loose or damaged drywall, replace the affected section before proceeding.
Clean, Sand, and Prime for Maximum Adhesion
Wash the wall with a mild detergent and warm water to remove all grease, cooking splatter, and dust. Rinse with clean water and let it dry completely. For extra adhesion, apply a coat of primer designed for tile installation: use a latex-based primer if you’re using acrylic thinset, or a cement-based primer for cementitious thinset. Let the primer dry fully per the package instructions before moving on to tiling.
Planning Your Tile Layout for a Flawless Finish
Taking 15 minutes to plan your layout before spreading adhesive will save you hours of frustration and ensure your finished backsplash looks balanced and professional.
Mark Reference Lines and Dry Fit Your Tiles
Find the centerpoint of your backsplash area by measuring the total width and height, dividing each by two, and marking a vertical and horizontal center line with a level. Start your tile installation from this center point to ensure the pattern is balanced on both sides, so you don’t end up with a thin sliver of tile on one edge and a wide, awkward cut on the other. Lay your tile sheets out on the floor in the same pattern you plan to use on the wall (a dry fit) to check for color variations (common in hand-painted glass and natural stone) and confirm the pattern aligns the way you want. This also lets you identify where cuts will be needed, so you can adjust the layout to place cuts on the less visible side of the wall (near the ceiling or cabinet edges) if possible.
Adjusting Layout for Outlets, Fixtures, and Uneven Walls
Mark the position of all outlets, switches, and pipes on your reference lines. If your wall is not perfectly plumb (common in older homes), adjust your layout so the grout lines align with the edge of your upper cabinets, hiding any unevenness. For outlets, trace the outline of the cover plate onto the tile sheet to mark where cuts need to be made—this ensures a perfect fit with no gaps around the edges.
Step-by-Step Mosaic Tile Installation
Once your wall is prepped and your layout is planned, the actual installation process is straightforward if you work in small sections and follow these steps:
Step 1: Apply Thinset Adhesive to the Wall
If using powdered thinset, mix it with clean water according to the package instructions, aiming for a consistency similar to peanut butter—thick enough to hold its shape on the trowel, but smooth enough to spread easily. Let the mixed thinset slake (rest) for 5-10 minutes, then remix before use to improve adhesion. Spread a 3ft x 3ft section of thinset onto the wall using your notched trowel, holding it at a 45-degree angle to create uniform ridges. Only spread as much thinset as you can tile in 15-20 minutes, as it will start to dry out and lose its grip if left exposed too long. A common mistake beginners make is spreading too large an area at once, leading to tiles that don’t adhere properly.
Step 2: Set Tile Sheets and Check for Level
Press the first tile sheet firmly into the thinset, aligning it with your center reference lines. Tap the sheet gently with a rubber mallet to ensure full contact with the adhesive, and check with a level that it is perfectly flat. Continue adding sheets, working out from the center, and place 1/8" spacers between each sheet to keep grout lines even. If your mosaic tiles are not on a mesh backing, place spacers between individual tiles as well to maintain consistent gaps.
Step 3: Cut Tiles to Fit Around Obstacles
For straight cuts around outlets or wall edges, use a manual tile cutter: score the tile firmly along your marked line, then snap it along the score for a clean edge. For curved cuts around pipes, use tile nippers to gradually nibble away small bits of tile until it fits perfectly. For glass mosaic, use a glass scoring tool to avoid chipping. Always wear safety glasses when cutting tile to protect your eyes from sharp shards. If you’re cutting around an outlet, turn off power, remove the cover plate, and trace the outline of the cover onto the tile before cutting to ensure a perfect fit. For full DIY safety guidelines for home improvement projects, the U.S. Occupational Safety and Health Administration recommends wearing eye protection and dust masks when cutting tile to avoid injury from sharp shards and airborne silica dust.
Step 4: Let Adhesive Cure Fully Before Moving On
Leave the spacers in place and let the thinset cure for 24 hours (or per the product instructions) before removing spacers or applying grout. Rushing this step will cause tiles to shift or fall off the wall, and grout will crack as the thinset continues to shrink while curing. In practice, it’s worth waiting the full cure time even if the thinset feels dry to the touch after a few hours.
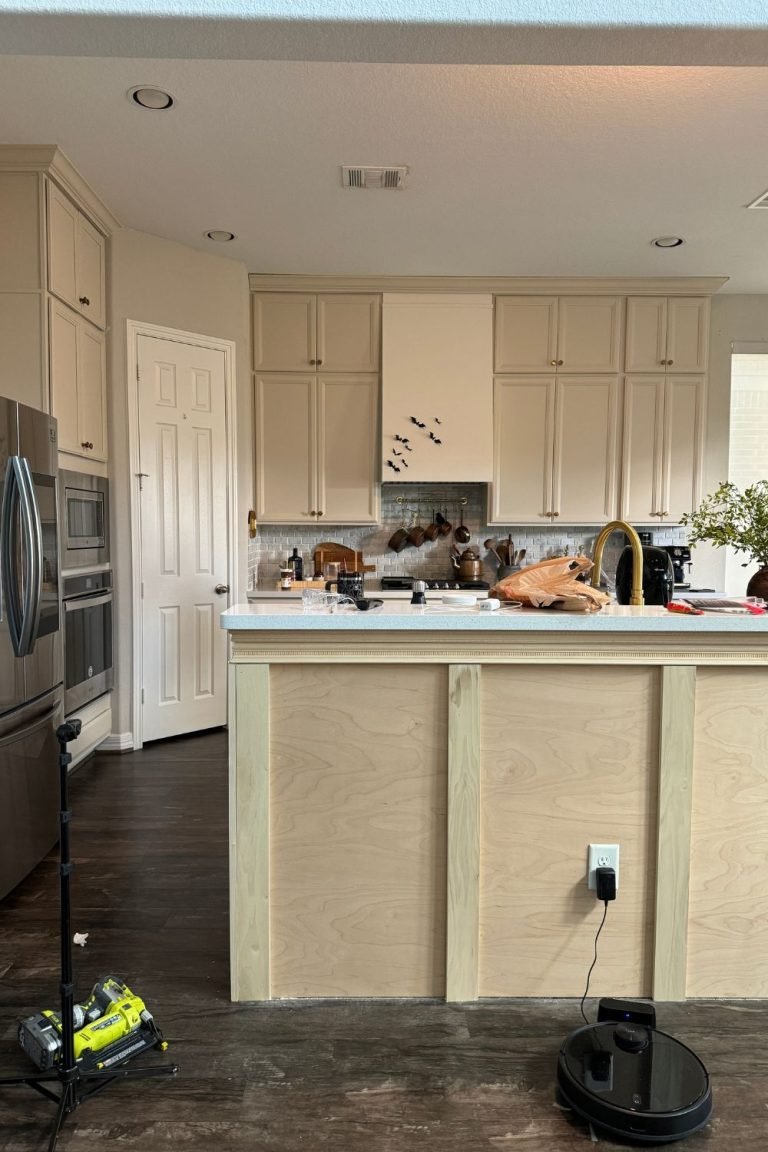
 Proper adhesive application is the foundation of a long-lasting tile installation.
Credit: www.create-enjoy.com
Proper adhesive application is the foundation of a long-lasting tile installation.
Credit: www.create-enjoy.com
Grouting Your Mosaic Tile Backsplash
Grout fills the gaps between tiles, locking them in place and preventing water, grease, and dirt from seeping behind the tile. Proper grouting will make your backsplash look polished and extend its lifespan by decades.
Mixing Grout to the Right Consistency
For standard mosaic gaps (1/8" or smaller), use unsanded grout—sanded grout is too thick and abrasive for gaps under 1/8", and will scratch the surface of small mosaic tiles. Mix powdered grout with clean water according to the package instructions, aiming for a smooth, thick paste similar to peanut butter. Let the mixed grout slake (rest) for 10 minutes, then remix before use. This resting time allows the grout to fully hydrate, preventing cracking and poor adhesion later.
Applying and Cleaning Grout Without Haze
Use a rubber float held at a 45-degree angle to spread grout over the tile, pressing firmly to push grout into every joint. Work in 2ft sections to prevent the grout from drying out too quickly. After filling all joints, hold the float flat and scrape diagonally across the tile surface to remove excess grout. Wait 15-20 minutes for the grout to set but remain slightly tacky, then wipe the tile surface with a damp (not soaking) sponge in a circular motion. Rinse the sponge frequently in clean water to avoid spreading grout residue. Avoid scrubbing too hard, as this will pull grout out of the joints and leave gaps. After 24 hours, buff off any remaining grout haze with a dry microfiber cloth.
Sealing and Finishing Your Installation
Sealing your grout (and tile, if using porous material) is the final step to protect your backsplash from stains, moisture, and daily wear. Unsealed grout will absorb grease, wine, and food splatters permanently within a few months, so don’t skip this step.
Choosing the Right Sealant for Your Tile Type
For cementitious grout, use a penetrating grout sealer, which soaks into the grout to create an invisible barrier against stains without changing the look of your tile. For porous natural stone tile (marble, travertine), apply a penetrating stone sealer before grout sealer to protect the tile surface from etching and staining. For non-porous glass, ceramic, or porcelain tile, grout sealer alone is usually sufficient, though you can apply a topical tile sealer for extra shine and scratch resistance.
Applying Sealant for Long-Lasting Protection
Make sure the tile and grout are completely clean and dry before applying sealant. Use a small brush or foam applicator to apply a thin, even coat of sealer to all grout lines, avoiding puddles on the tile surface. Let the sealer soak in for the time specified on the package (usually 1-2 hours), then wipe off any excess with a clean, dry cloth. Apply a second coat if recommended by the manufacturer for extra protection in high-moisture areas. Avoid using the kitchen near the tiled area for 72 hours after sealing to let the sealer cure fully. For routine maintenance, reapply grout sealer every 12-18 months to keep your backsplash looking like new.
Common Installation Mistakes to Avoid
Even experienced DIYers run into these common pitfalls when installing mosaic tile. Avoiding them will ensure your project turns out perfectly the first time:
- Skipping wall prep: Even small amounts of cooking grease or dust will prevent thinset from bonding, leading to tiles falling off the wall over time.
- Using sanded grout for narrow mosaic gaps: Sanded grout is too thick and abrasive for gaps under 1/8", and will scratch the surface of small mosaic tiles.
- Rushing cure times: Removing spacers or grouting before thinset is fully cured causes tiles to shift and grout to crack. Always wait the full recommended time, even if the thinset feels dry to the touch.
- Overworking grout during cleanup: Scrubbing too hard with a wet sponge will pull grout out of the joints, leaving gaps that let moisture and dirt behind the tile.
- Skipping sealer on porous grout: Unsealed cementitious grout will absorb stains from grease, wine, and food permanently within a few months, requiring costly regrouting later.
How to Maintain Your Mosaic Kitchen Tile
With proper care, your mosaic backsplash will look like new for decades with minimal effort:
- Clean weekly with warm water and mild dish soap, using a soft sponge to avoid scratching glass or ceramic tile. Avoid abrasive scrubbers, bleach, or ammonia-based cleaners, which can damage grout and tile finishes.
- For tough grease stains, use a 1:1 mix of white vinegar and water (avoid acidic cleaners on natural stone, as they will etch the surface).
- Wipe up spills immediately to prevent stains from setting, especially on unsealed grout or porous tile.
- Reapply grout sealer every 12-18 months to maintain stain resistance.
- If a tile chips or comes loose, carefully chisel out the old grout around it with a grout saw, scrape out the old thinset, apply new thinset to the back of a matching tile, press it into place, let it cure for 24 hours, then re-grout the area.
Frequently Asked Questions
How do I prepare my kitchen wall for mosaic tile?
Start by removing all grease, dirt, and dust with a mild detergent and water. Sand any glossy paint to create a rough surface for adhesive, fill cracks or holes with spackle, and prime the wall with a tile-friendly primer. Turn off power to any outlets or switches in the area, and remove cover plates to avoid getting debris inside.
What tools do I need to install mosaic wall tile?
You'll need a notched trowel, tile cutter or nippers, rubber grout float, tile spacers, level, mixing bucket, thinset adhesive, grout, grout sealer, safety glasses, dust mask, and work gloves. For complex cuts, a wet saw will make the job faster and more precise.
How long does mosaic tile installation take?
For a standard 10ft x 2ft kitchen backsplash, expect to spend 4-6 hours on installation, plus 24 hours for thinset to cure, 24 hours for grout to set, and 72 hours for sealant to fully cure before using the area. Larger or more complex patterns will take longer.
Can I install mosaic tile myself, or should I hire a professional?
DIY installation is very achievable for beginners, especially for small, simple backsplash areas. Hire a professional if you're working with a complex diagonal pattern, tiling a full wall, or don't feel comfortable using power tools like a wet saw.
Do I need a backer board for kitchen mosaic tile?
For most kitchen backsplashes, moisture-resistant green board drywall is sufficient. If you're tiling a full wall behind the stove or sink, or in an area with high steam exposure, cement backer board is recommended for extra moisture resistance.
Can I install mosaic tile over existing tile?
Yes, as long as the existing tile is clean, dry, fully adhered, and not glossy. Sand glossy tile to create a rough surface, apply a coat of tile primer, then proceed with thinset and tile installation.
Conclusion
Installing mosaic wall tile in your kitchen is a rewarding, high-ROI DIY project that transforms your space for a fraction of the cost of a full remodel. With proper prep, patience, and the right tools, even first-time DIYers can achieve a professional-looking backsplash that lasts for decades. If you’re planning a full kitchen refresh to go with your new tile, check out our guide to coordinating wall paint with green cabinets for a cohesive, stylish space that ties your new backsplash to your existing decor. If you’re also updating your kitchen’s layout or fixtures, our guide to removing an old wall-mounted faucet makes it easy to upgrade your sink area without damage. For fun ways to put your updated kitchen to use, our guide to making fruit wine at home is a low-effort weekend project that yields delicious results to pair with home-cooked meals in your new space.