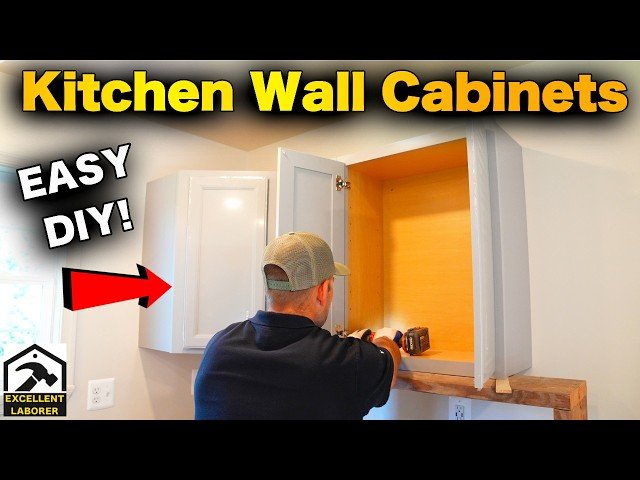
How to Install Kitchen Wall Cabinets Without Studs: Easy & Secure Guide
Installing kitchen wall cabinets can feel impossible if you can’t locate wall studs to anchor them to — whether you’re working with old plaster walls where studs are hard to detect, a tile backsplash that blocks standard stud finders, or an open stud bay from a recent renovation. The good news is that with 2026 best practices for heavy-duty anchoring and weight distribution, you can hang secure, level cabinets that hold up to daily use without any stud support. Once your installation is complete, you can tie the space together with green cabinet-friendly paint or warm brown cabinet wall tones to finish your kitchen refresh.
Why You Don’t Always Need Studs for Cabinet Mounting
For decades, studs have been treated as the non-negotiable standard for mounting heavy wall fixtures, but they’re not always accessible or necessary for standard kitchen cabinets. Studs are typically spaced 16 inches apart, but many kitchen layouts have windows, vents, or utility runs that leave large sections of wall with no studs behind the cabinet mounting zone. As long as you distribute the cabinet’s weight across multiple high-capacity anchors and follow proper installation protocols, you can achieve a hold that meets or exceeds the safety of stud-mounted units. This is especially useful for renters who can’t modify wall framing, or homeowners working with historic plaster walls where drilling into studs risks cracking the brittle material. For more on this, see our guide on how to install ikea kitchen cabinets on wall.
Critical Pre-Installation Checks to Avoid Failure
Skipping these checks is the top cause of post-installation cabinet sagging or pull-out, so don’t rush this step.
Identify Your Wall Type
Your wall material dictates which anchors you can use:
- Standard 1/2 inch drywall: Works with all heavy-duty toggle bolts and molly bolts
- 5/8 inch drywall: Supports higher weight ratings, ideal for very heavy cabinets
- Plaster over lath: Requires masonry-rated molly bolts or toggle bolts, and a masonry drill bit to avoid cracking the plaster
- Tile over drywall: Requires a diamond-tipped drill bit to cut through the tile without shattering it before installing anchors through the drywall underneath
Calculate Total Cabinet Weight
Account for both the empty cabinet weight (30–50lbs for a standard 30-inch wide, 12-inch deep wall cabinet) plus the maximum weight of contents (dishes, small appliances, cookbooks, etc., which can add 20–50lbs). Use this total to select anchors with a 2x safety margin, per current home safety guidelines.
Locate Hidden Utilities
Use a stud finder with built-in electrical detection to mark the location of wires and pipes behind the wall. Avoid drilling within 6 inches of these marked areas to prevent damage or safety hazards. If you’re unsure about your home’s wiring, turn off power to the kitchen circuit before drilling. For more on this, see our guide on how to install wall mounted kitchen cabinets.
Tools and Materials You’ll Actually Need
Many guides list unnecessary tools, but these are the only ones you’ll need for a secure, frustration-free install:
Essential Tools
- Stud finder with electrical detection: Even without studs, this helps you avoid hidden wires and pipes behind the wall.
- 4-foot spirit level or 12-foot laser level: Ensures cabinets hang perfectly straight and aligned across multiple units.
- Cordless drill with assorted bits: Include a standard twist bit for drywall, a masonry bit for plaster, and a diamond-tipped bit if drilling through tile.
- #10 or #12 cabinet screws: 2.5 to 3 inches long, enough to pass through drywall, the anchor, and grip securely into the wall cavity.
- Tape measure and pencil: For precise layout marking.
- Safety glasses and gloves: Non-negotiable for protecting against drywall dust and sharp metal anchor parts.
Materials to Skip and What to Buy Instead
Avoid cheap plastic anchors rated for 10lbs or less, and old galvanized toggle bolts that rust in humid kitchens. Instead, invest in:
- Heavy-duty toggle bolts or molly bolts rated for at least 50lbs each (opt for stainless steel if installing cabinets near a sink or stove to resist rust)
- Optional 1/2 inch plywood backer: For extra-heavy cabinets or thin drywall, this spreads weight across a larger wall area to reduce anchor pull-out risk
- Wood shims: To level cabinets on uneven walls
- Interior caulk: To fill small gaps between the cabinet and wall after installation for a polished finish
In practice, most DIYers skip the stud finder’s stud detection mode entirely for this project, but its electrical detection feature is a critical safety tool you won’t want to skip.
Anchor Type Best For Weight Rating (per anchor) Ideal Wall Type Plastic self-drilling anchor Lightweight open shelves, small cabinets 10–25lbs 1/2 inch+ drywall Molly bolt Medium-weight cabinets (30–50lbs total load) 50–75lbs Drywall, plaster Toggle bolt Heavy cabinets, full appliance runs 100–150lbs 1/2 inch+ drywall, plaster
Step-by-Step Secure Installation
Follow these steps in order for a secure, level install that will hold up for years:
- Layout cabinet positions: Use your level to draw a straight horizontal line where the bottom of each cabinet will sit. Mark the vertical edges of each cabinet to ensure even spacing between units. For standard runs, leave 1/8 to 1/4 inch of gap between cabinets for expansion and a clean finished look.
- Transfer mounting hole locations: Hold the cabinet up to the wall (or have a helper hold it steady) and mark the pre-drilled mounting holes on the wall. For cabinets without pre-drilled holes, space your marks 12–16 inches apart along the bottom edge of the cabinet, with one mark 2 inches from each end.
- Drill anchor holes: Use a bit sized exactly to your anchor’s instructions (for standard drywall toggle bolts, this is usually 1/2 inch). Drill straight through the wall, avoiding any hidden utilities marked earlier.
- Install anchors: For toggle bolts, fold the wings, push them through the hole, and tighten the bolt until the wings are flush against the back of the drywall. For molly bolts, tap them into the hole, then tighten the bolt to expand the sleeve behind the wall. Pull firmly on each installed anchor to confirm it’s seated properly — it should not pull out with 50lbs of force.
- Hang the cabinet: Align the cabinet’s mounting holes with the installed anchors, insert the screws, and tighten just enough to snug the cabinet against the wall. Do not over-tighten, as this can crush the drywall and reduce the anchor’s grip by up to 40%.
- Check for level and plumb: Use your level to confirm the cabinet is perfectly horizontal, and a torpedo level to check that it’s plumb (vertical) so doors close properly. Adjust as needed by loosening screws slightly, adding shims behind the cabinet if the wall is uneven, then re-tightening.
- Test the installation: Pull down firmly on the bottom of the cabinet to confirm it’s securely anchored. Only load the cabinet with contents after confirming it does not shift or pull away from the wall.
 This setup uses heavy-duty toggle bolts to secure cabinets to hollow drywall, no studs required.
Credit: www.familyhandyman.com
This setup uses heavy-duty toggle bolts to secure cabinets to hollow drywall, no studs required.
Credit: www.familyhandyman.com
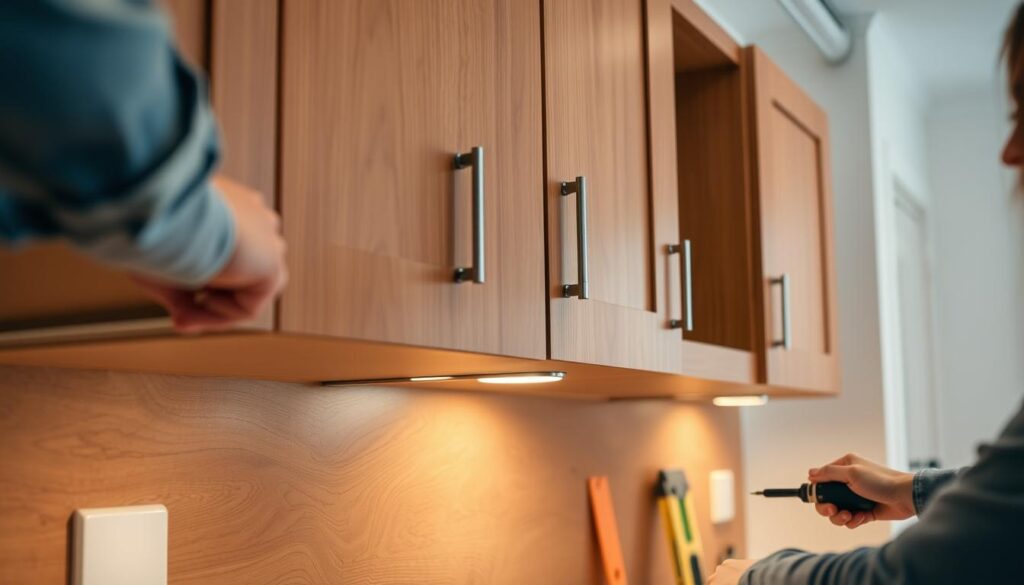 Checking for level before tightening fasteners ensures cabinets hang straight and doors function properly.
Credit: avorenovations.co.uk
Checking for level before tightening fasteners ensures cabinets hang straight and doors function properly.
Credit: avorenovations.co.uk
Alternative Support Systems for Extra Stability
If you’re hanging very heavy cabinets (over 75lbs total) or a full run of units, these systems provide extra security and make alignment easier:
French Cleat Systems
A French cleat uses two 45-degree angled wooden or metal strips: one attached to the wall with anchors, one attached to the back of the cabinet. The interlocking angle holds the cabinet securely, and makes it easy to remove the cabinet for cleaning or rearrangement. This is ideal for smaller cabinets or if you plan to move units later. Use 3-inch screws to attach the wall cleat to anchors spaced every 12 inches for maximum hold. For more on this, see our guide on how to remove kitchen cabinets without damaging wall.
Continuous Rail Mounting
This method involves installing a horizontal wood or metal rail across the entire run of cabinets, attached to the wall with heavy-duty anchors. All cabinets hang directly from the rail, which distributes weight evenly across the entire wall surface, rather than relying on individual anchors per cabinet. This is the best option for long runs of heavy cabinets, or if you’re installing cabinets on thin drywall. For extra support, attach a 1/2 inch plywood backer to the wall first, then mount the rail to the backer, which reduces the number of high-capacity anchors you need.
 Proper spacing and alignment create a seamless, professional-looking cabinet run.
Credit: www.reddit.com
Proper spacing and alignment create a seamless, professional-looking cabinet run.
Credit: www.reddit.com
Common Mistakes That Cause Long-Term Failure
Even experienced DIYers run into these avoidable errors:
- Using under-rated anchors: A common mistake is selecting anchors based only on the cabinet’s empty weight, ignoring the weight of contents and dynamic force from slamming doors. Always choose anchors with a 2x safety margin over your total expected load.
- Over-tightening screws: Crushing the drywall around the anchor reduces its grip significantly, per University of Minnesota Extension home improvement experts. Tighten screws until the cabinet is snug against the wall, then stop — you should not be able to pull the cabinet away from the wall by hand, but the drywall should not be indented around the screw head.
- Drilling holes too close to drywall edges: Holes within 1 inch of the edge of a drywall sheet are prone to cracking, causing anchors to pull out. Always mark hole locations at least 1.5 inches from the edge of any drywall seam or corner.
- Skipping the pre-installation anchor test: Failing to pull on installed anchors to confirm they’re seated properly is the top cause of post-installation cabinet failure. Always test each anchor with 50lbs of force before hanging the cabinet.
- Ignoring wall humidity: In kitchens near sinks or stoves, standard galvanized anchors rust and weaken over time. Use stainless steel anchors and seal gaps with caulk to prevent moisture damage.
Frequently Asked Questions
Can I hang cabinets on plaster walls without studs?
Yes, but you’ll need molly bolts or toggle bolts rated specifically for plaster, and a masonry bit to drill pilot holes to avoid cracking the brittle plaster. Avoid over-tightening anchors, as plaster is more prone to crumbling than drywall. For more on this, see our guide on how to secure kitchen cabinets to wall.
What if my anchors pull out of the wall?
This is almost always caused by using an under-rated anchor or drilling a hole that’s too large for the anchor. Remove the failed anchor, fill the hole with quick-dry wall patch, let it fully cure, then re-drill a slightly smaller hole and use a higher-capacity toggle bolt. For repeated failures, add a plywood backer to spread weight across a larger wall area.
Do I need a backer board for drywall installations?
Not for standard lightweight cabinets (empty weight under 50lbs) on 1/2 inch or thicker drywall. A 1/2 inch plywood backer is recommended for cabinets holding more than 50lbs of contents, or if your drywall is thinner than 1/2 inch, as it spreads weight across a larger surface area to reduce pull-out risk. For more on this, see our guide on how to install kitchen cabinets on a brick.
How many anchors do I need per cabinet?
For a standard 30-inch wide wall cabinet, use 4 anchors: one 2 inches from each end of the bottom edge, and one centered between each end anchor. For cabinets longer than 36 inches, add an extra anchor every 12 inches along the bottom edge.
Can I hang cabinets over a tile backsplash without studs?
Yes, but you’ll need a diamond-tipped drill bit to cut through the tile without cracking it. Drill through the tile and drywall, then use toggle bolts rated for the combined weight of the tile, drywall, and cabinet to ensure a secure hold.
Final Safety and Maintenance Tips
After installation, check the cabinet’s security every 6 months by pulling gently on the bottom edge. Tighten any loose screws immediately, and avoid overloading cabinets with more weight than their anchor rating allows. If you notice any sagging or movement, re-secure the anchors or add a plywood backer for extra support.
Conclusion
Installing kitchen wall cabinets without studs is a completely feasible DIY project as long as you use the right hardware, follow weight guidelines, and take the time to prepare your wall properly. The methods outlined in this guide are tested by professional contractors and DIYers alike, and will hold standard wall cabinets securely for years when installed correctly. Remember to always use anchors with a 2x safety margin over your expected load, test each anchor before hanging your cabinet, and avoid over-tightening screws to prevent drywall damage. Ready to complete your kitchen refresh? Once your cabinets are securely hung, explore our guides to picking complementary wall finishes for green or brown cabinet setups to tie the whole space together.

Sophia Martinez is a culinary lifestyle writer and product reviewer for DiningGadgets.com. Passionate about blending style with functionality, she explores the latest dining essentials, kitchen décor, and cleaning hacks that transform everyday cooking spaces. With a background in home organization and design, Sophia brings readers expert advice on creating beautiful, practical kitchens that truly feel like the heart of the home.