How to Hang Kitchen Wall Cabinets on Stud Wall: Easy Step-by-Step Guide
Upgrading your kitchen with new wall cabinets feels exciting—until you worry about misalignment, cabinets pulling away from the wall, or damaging your drywall. This 2026 guide uses industry-standard professional methods to eliminate guesswork, so you can get a secure, level installation in a single afternoon, no prior experience required. We’ll cover every step from prep to finishing touches, plus avoid common errors that lead to costly repairs down the line.
Tools and Materials
Essential Tools
- Stud finder (electronic or magnetic): Accurately locates studs through drywall, plaster, and even metal studs
- Power drill with drill and screwdriver bits: For pre-drilling holes and driving mounting screws
- Spirit level or laser level: Laser levels are ideal for runs of 3+ cabinets to eliminate human error over long distances
- Measuring tape: For precise layout and height measurements
- 2-3 bar clamps with padded jaws: Holds cabinets together during alignment without damaging finishes
- Pencil: Marks stud centers and cabinet layout lines
- 6-foot step ladder: Provides safe access for ceiling-height installations
- Safety glasses and work gloves: Protects against drilling dust, sharp edges, and heavy cabinet components
Required Materials
- Wall cabinets with intact mounting rails: The top and bottom horizontal frames of cabinets are designed to bear weight; confirm they are not damaged before starting
- #8 or #10 mounting screws: 2.5–3 inches long for wood studs, self-tapping metal screws for metal studs (common in post-2020 builds)
- 1/8-inch wood shims: Levels cabinets on uneven, bowed walls without compressing under weight
- Water-based construction adhesive: Adds extra hold behind cabinets; choose a paintable formula to seal any oozed adhesive later
- Heavy-duty toggle bolts (optional): Only for locations where you cannot hit a stud, rated for minimum 50 lbs per cabinet
Preparing the Wall
Clearing the Work Area
First, remove any existing wall cabinets, backsplash tiles, or wall decor in the installation zone. Cover the floor with a drop cloth to protect it from dust and debris. If you have a wall-mounted faucet that sits in the planned cabinet area, follow our guide to removing a wall mounted faucet first to avoid damaging it during drilling.
Locating Wall Studs
Upper kitchen cabinets typically weigh 20–50 lbs per unit, so they must be anchored directly to wall studs for safety. Start by scanning the wall with an electronic stud finder, marking the center of each stud with a pencil. For older homes with plaster, lath, or hidden wiring/plumbing, confirm readings with a knock test: a solid, low-pitched sound indicates a stud, while a hollow, high-pitched sound means an empty cavity. If you have metal studs, use self-tapping metal screws instead of standard wood screws to avoid stripping the stud.
Marking Cabinet Positions
Per National Kitchen and Bath Association (NKBA) kitchen planning standards, the standard bottom-of-cabinet height is 54 inches from the finished floor, with 18 inches of clearance between the countertop and cabinet base to accommodate small appliances and prevent head bumps. Mark a continuous horizontal reference line across the entire wall at this height, using a level to ensure it is perfectly straight. Then mark vertical lines for each cabinet edge, aligned with the centers of your located studs.
Measuring and Marking Layout
Establishing Reference Lines
Use a laser level for runs of 3 or more cabinets to eliminate drift, or a 4-foot spirit level for smaller installations. Extend your horizontal reference line across the full span of the cabinet run, and mark vertical lines spaced to match the exact width of your cabinets. Double-check all measurements before marking to avoid costly errors.
Checking for Wall Imperfections
Older homes often have bowed or uneven walls. Run a straight edge along your reference line to identify high or low spots, and mark them for shimming later. If you have uneven flooring, measure from the highest point of the floor to ensure your cabinet height is consistent across the entire run.
Securing Cabinets to the Wall
Pre-Drilling Pilot Holes
Drill pilot holes through the top and bottom mounting rails of each cabinet (the structural horizontal frame at the top and bottom of the cabinet back, not the thin drywall-facing back panel) using a drill bit slightly smaller than your screw diameter. Use a countersink bit if available to create a recess for the screw head, so it sits flush with the rail and does not split the wood. Mark pilot hole positions to align exactly with the centers of your wall studs.
Mounting Cabinets to Studs
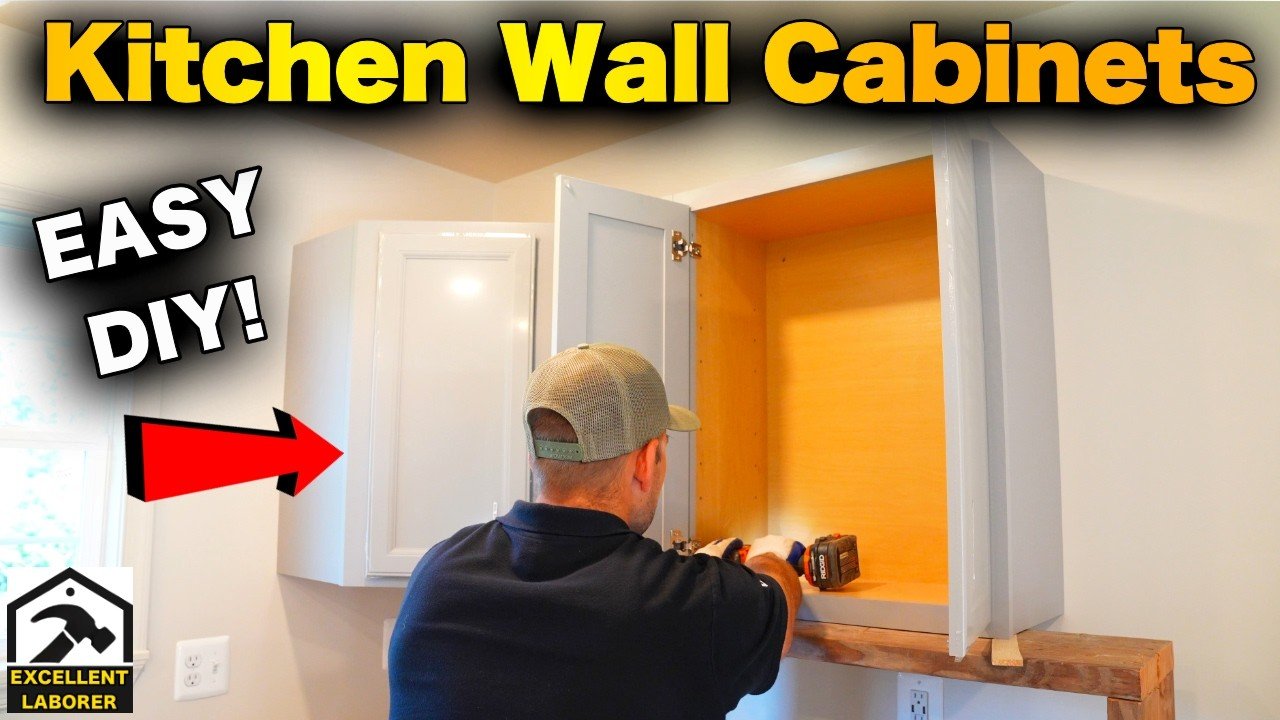
Apply a thin bead of water-based construction adhesive to the back of the cabinet mounting rails for extra hold and vibration dampening. Position the cabinet against the wall, aligning pre-drilled holes with your stud marks, and use a level to confirm it is perfectly straight. Drive screws through the pilot holes into the studs, penetrating the stud by at least 1.5 inches for maximum grip. Do not over-tighten screws, as this can warp the cabinet frame; snug them just enough that the cabinet sits flush against the wall with no gaps. For cabinets that cannot be aligned with a stud, use heavy-duty toggle bolts, but note that stud mounting is always the safest, most durable option.
Aligning and Connecting Multiple Cabinets
Clamping for Alignment
Lay all cabinets out on the floor in the order they will be installed, and confirm that doors and drawers open smoothly before mounting to catch any defects early. Position the first cabinet against the wall, then place the adjacent cabinet next to it, leaving a 1/8 inch gap between units for expansion and a clean finished look. Use 2–3 bar clamps with padded jaws to clamp cabinets together at the top, middle, and bottom of the front edges, tightening until the cabinet fronts are perfectly flush. Run a level across the top edges of all clamped cabinets to confirm alignment before proceeding. In practice, many DIYers only clamp at the top of the cabinet run, which leads to misalignment at the bottom edge; clamping at three points per joint ensures perfectly flush fronts across the entire installation.
Fastening Cabinets Together
Drill pilot holes through the side rails of adjacent cabinets, then connect them with #8 x 1.25 inch cabinet screws, driving them through the side of one cabinet into the adjacent cabinet's side rail. For frameless cabinets, add small joining brackets at the top and bottom of the cabinet joints for extra stability. Fasten at both the top and bottom rails to prevent shifting over time, then release the clamps and confirm the cabinets remain aligned.
 Secure mounting directly into wall studs prevents cabinet sagging or failure over time
Credit: www.thisoldhouse.com
Secure mounting directly into wall studs prevents cabinet sagging or failure over time
Credit: www.thisoldhouse.com
Finishing Touches
Installing Doors and Hardware
Attach cabinet doors first, adjusting hinge screws to align the doors evenly and ensure they close smoothly without rubbing. Most modern European hinges have 3-way adjustment (up/down, in/out, side-to-side) to correct minor alignment issues. Once doors are aligned, install handles or knobs using a template to mark hole positions, ensuring they are spaced evenly across all cabinets. Tighten hardware firmly but avoid over-tightening, which can damage wood or laminate surfaces.
Final Stability Checks
Push on the front of each cabinet with 20–30 lbs of force (equivalent to a full gallon of milk) to confirm it does not shift or wobble. If you notice any movement, add extra screws into nearby studs or install additional mounting brackets between the cabinet and the wall. Seal any gaps between the cabinet and wall/ceiling with paintable caulk to prevent dust and pests from getting behind the cabinets. Once your cabinets are installed, you may want to refresh the wall color to complement your new setup—check out our guides for green cabinet wall pairings and brown cabinet wall pairings for a cohesive look.
 Accurate stud and layout marks are the foundation of a level, secure installation
Credit: abc-home.co.uk
Accurate stud and layout marks are the foundation of a level, secure installation
Credit: abc-home.co.uk
 Clamping cabinets together ensures even gaps and perfect alignment across multiple units
Credit: www.familyhandyman.com
Clamping cabinets together ensures even gaps and perfect alignment across multiple units
Credit: www.familyhandyman.com
Common Mistakes to Avoid
Ignoring Stud Confirmation
Relying solely on an electronic stud finder is a common error, especially in older homes with hidden wiring, plumbing, or metal lath that can give false readings. Always confirm stud locations with a knock test or thin test nail in an inconspicuous spot before drilling. Never mount upper cabinets to drywall alone, as it cannot support their weight long-term.
Using Incorrect Fasteners
Standard drywall anchors are not rated for the weight of upper cabinets, and screws that are too short will not penetrate far enough into studs to hold securely. Use 2.5–3 inch screws that penetrate studs by at least 1.5 inches, and self-tapping metal screws for metal stud walls.
Over-Tightening Mounting Screws
Driving screws too tight can warp the cabinet frame, cause the back panel to crack, and make doors misalign. Snug screws just enough that the cabinet sits flush against the wall with no movement, then stop.
Skipping Shims on Uneven Walls
If your wall is bowed, mounting cabinets without shims will result in a tilted installation, doors that won’t close, and screws that strip over time. Use thin wood shims behind the cabinet rails to level the unit before driving screws.
Overloading Cabinets
Upper cabinets are not designed to hold very heavy items. Avoid storing heavy pots, appliances, or bulk goods in upper cabinets, as this can put excess stress on the mounting screws and studs over time. Check your cabinet manufacturer's instructions for specific weight limits.
Frequently Asked Questions
Can I hang cabinets without hitting studs?
It is not recommended for upper cabinets, as drywall alone cannot support their 20–50 lb weight long-term. If you cannot align a cabinet with a stud, use heavy-duty toggle bolts rated for at least 50 lbs per cabinet, but note that this is a less secure option than stud mounting, and you should avoid overloading these cabinets.
How far apart should cabinet mounting screws be?
Space screws 8–12 inches apart along the top and bottom mounting rails, ensuring each screw is driven directly into a wall stud for maximum support.
Can I hang wall cabinets on plaster and lath walls?
Yes, but you will need longer screws (3–3.5 inches) to penetrate the plaster, lath, and 1.5 inches into the stud. Use a masonry drill bit to pre-drill through the plaster to avoid cracking.
What if my wall studs are 24 inches apart instead of 16?
Most standard upper cabinets are 24 inches deep, so they will span two 24-inch on-center studs, allowing you to mount into both studs for extra support. For narrower cabinets, use heavy-duty toggle bolts between studs, or add a mounting board spanning two studs as a backing surface.
Do I need to remove cabinet doors before installation?
It is not required, but removing doors and hardware first reduces weight and risk of damage during installation. Label each door and its corresponding hinge location to make reattachment easier.
How high should kitchen wall cabinets be hung?
The standard bottom-of-cabinet height is 54 inches from the finished floor, per NKBA guidelines, but you can adjust this based on your height and kitchen layout, as long as you maintain at least 18 inches of clearance between the countertop and cabinet base.
Conclusion
Hanging kitchen wall cabinets on a stud wall is a straightforward DIY project that delivers professional results when you prioritize stud confirmation, correct fasteners, and repeated level checks throughout installation. The most critical step is verifying stud locations with a secondary test beyond an electronic stud finder, as false readings are common in older homes. If you encounter unexpected plumbing or wiring behind the wall when drilling, stop immediately and consult a licensed professional to avoid costly damage or safety hazards. Once your new cabinets are installed, your kitchen will be more organized and functional for years to come. If you love hosting dinner parties, you can even start crafting custom wines to pair with your meals using a starter wine making kit, or browse our complete wine making gear selection for more options.