How to Get Grease off of Kitchen Walls: Easy & Effective Tips
Grease buildup on kitchen walls is one of the most common — and frustrating — cleaning challenges homeowners face. Unlike surface dust or food splatters, airborne grease particles bond to paint, tile, and wallpaper over time, creating sticky, discolored patches that attract dust and even pests if left unaddressed. For most cooks, the highest concentration of buildup appears on walls within 2 to 3 feet of the stovetop, range hood, and cooking island, where hot oil droplets from frying, searing, and sautéeing settle most heavily.
The good news? You don’t need harsh chemical degreasers or expensive professional cleaning to restore your walls. With the right cleaners matched to your wall type and a few simple techniques, you can lift even set-in grease stains without damaging your kitchen’s finishes. This guide covers everything from identifying your wall type to preventing future buildup, with actionable steps that work for painted drywall, tile, beadboard, and wallpaper alike. For more on this, see our guide on how to get grease off kitchen walls.
What Causes Kitchen Wall Grease Buildup?
Grease on kitchen walls doesn’t come from direct splatters alone — most buildup forms from invisible airborne particles released during cooking. When you fry foods, cook with oil or butter, or sear meats, tiny droplets of fat are vaporized into the air. These particles stay suspended in warm kitchen air far longer than water droplets, giving them ample time to settle on nearby surfaces.
Walls near cooking areas are the most affected because they are the closest landing zone for these particles, and their slightly warmer temperature helps grease remain sticky rather than beading up and rolling off. Textured surfaces like beadboard, matte paint, and unsealed wallpaper are especially prone to buildup, as their porous textures trap grease particles more effectively than smooth, glossy finishes. Even with a working range hood, clogged filters or infrequent cleaning can let grease accumulate over weeks and months, turning light splatters into dark, stubborn stains. For more on this, see our guide on how do you get grease off kitchen walls.
Identify Your Wall Type First
The single most important step before cleaning grease is identifying your wall’s finish, as the wrong cleaner or tool can cause permanent damage. Test any new cleaning solution in an inconspicuous spot (like behind a cabinet or inside a closet) 24 hours before full use to check for discoloration or finish wear.
Here’s a quick breakdown of common kitchen wall types and their safe cleaning parameters:
| Wall Type | Safe Cleaners | Tools to Avoid |
|---|---|---|
| Semi-gloss/eggshell painted drywall | Mild dish soap, diluted vinegar, paint-safe commercial degreasers | Abrasive scrubbers, undiluted vinegar, excess water |
| Matte/flat painted drywall | Mild dish soap and warm water only | Vinegar, baking soda, abrasive tools, commercial degreasers |
| Ceramic tile/glass | Vinegar, baking soda, heavy-duty degreasers | Steel wool (can scratch glaze) |
| Beadboard/wood paneling | Mild dish soap, diluted vinegar (use sparingly) | Excess water (can cause warping), abrasive brushes |
| Vinyl wallpaper | Mild dish soap and warm water | Vinegar, baking soda, abrasive tools (can dissolve adhesive) |
Essential Cleaning Supplies
You don’t need a cabinet full of specialized products to tackle kitchen wall grease — most effective cleaners are already in your home. Below are the supplies we recommend, plus what to avoid to protect your walls:
Non-Toxic Cleaning Ingredients
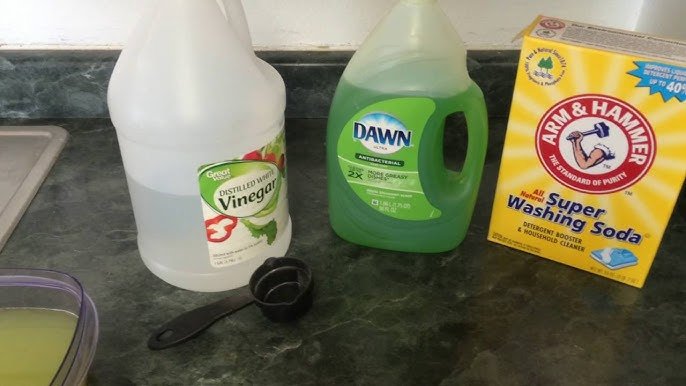
- White distilled vinegar: Its mild acidity breaks down grease bonds, making it ideal for tile and semi-gloss paint (avoid on matte/unsealed surfaces).
- Baking soda: A gentle abrasive that lifts set-in grime from textured surfaces like tile and beadboard.
- Grease-fighting dish soap: Formulated to break down oil, it’s safe for all painted wall finishes when diluted properly.
- Lemon juice: Adds extra degreasing power and leaves a fresh, neutral scent.
- Warm distilled water: Avoids leaving hard water mineral streaks on walls after cleaning.
Recommended Tools
- Microfiber cloths: Lint-free and absorbent, they lift grease without scratching finishes.
- Soft natural sponges: Gentle on textured surfaces, and won’t damage paint.
- Spray bottle: Controls moisture application to avoid oversaturating walls.
- Soft-bristled brush: Reaches into grooves in beadboard or textured tile without causing damage.
- Painter’s tape: Protects trim, outlets, and light switches from moisture and cleaner splatters.
Supplies to Avoid
Steel wool, harsh scouring pads, undiluted bleach, and abrasive all-purpose cleaners can scratch paint, discolor finishes, and damage wallpaper adhesive. Stick to the supplies above for safe, effective results.
Pre-Cleaning Safety and Preparation
Proper prep protects your walls, your kitchen surfaces, and your health before you start scrubbing:
- Clear the area: Remove all small appliances, dish towels, decor, and hanging utensils from countertops and shelves near the greasy walls. Lay a drop cloth or old towels on the floor to catch drips.
- Protect fixtures: Cover outlets, light switches, and cabinet hardware with painter’s tape to avoid moisture damage. If your kitchen has a wall-mounted faucet in the cleaning zone, following our faucet removal steps lets you access hard-to-reach greasy corners behind the hardware without risking scratches or water damage.
- Ventilate the space: Open windows and run your range hood on high to clear fumes from cleaning products. If you’re using a commercial degreaser, wear a mask to avoid inhaling VOCs.
- Wear protective gear: Nitrile gloves protect your skin from irritation, and safety goggles prevent splashes from getting into your eyes.
For additional safety guidance when working with concentrated cleaning products, follow OSHA’s recommendations for proper ventilation and personal protective equipment to avoid respiratory irritation or skin contact OSHA Cleaning Chemical Safety.
3 Tested Homemade Grease-Cutting Solutions
For most light to moderate grease buildup, homemade cleaners are just as effective as commercial products, and far gentler on your walls. These three solutions are safe for all common kitchen wall finishes when used as directed:
1. All-Purpose Vinegar Solution (Safe for tile, semi-gloss paint, glass)
Mix 1 part white distilled vinegar with 2 parts warm distilled water in a spray bottle. Add 10 drops of lemon essential oil for extra degreasing power and a fresh scent. Spray onto greasy areas, let sit for 3 to 5 minutes to break down grease bonds, then wipe with a clean microfiber cloth. Rinse with a damp cloth and dry immediately to prevent water streaks. Note: Avoid this solution on matte paint, unsealed drywall, or unsealed wood, as vinegar can etch finishes over time.
2. Baking Soda Paste (Safe for tile, beadboard, set-in grease spots)
Mix 3 parts baking soda with 1 part warm water to form a thick, spreadable paste. Apply directly to stubborn grease stains, let sit for 10 to 15 minutes to lift grime, then scrub gently with a soft-bristled brush in circular motions. Wipe clean with a damp cloth and dry thoroughly.
3. Degreasing Dish Soap Solution (Safe for all painted surfaces, including matte paint)
Mix 1 tablespoon of grease-fighting liquid dish soap with 2 cups of warm distilled water. Dip a microfiber cloth into the solution, wring out excess moisture (oversaturation can cause paint peeling), and wipe greasy walls in sections. Rinse the cloth frequently in clean water to avoid spreading grease, then follow up with a dry cloth to prevent water marks.
For science-backed guidance on safe, non-toxic grease removal, the University of Minnesota Extension recommends avoiding harsh chemical degreasers on kitchen walls unless absolutely necessary, as they can degrade paint finishes over time University of Minnesota Extension Home Cleaning Guide.
Step-by-Step Grease Removal Process
Follow these steps to clean your walls effectively without causing damage:
- Spot test first: Apply a small amount of your chosen cleaner to an inconspicuous area and wait 24 hours to confirm it won’t discolor or damage your finish.
- Apply cleaner evenly: Spray or dab cleaner onto greasy sections, working from the top of the wall down to avoid drips onto already cleaned areas. Let the cleaner sit for its recommended dwell time (3-5 minutes for soap/vinegar solutions, 10-15 minutes for baking soda paste) to break down grease bonds.
- Scrub gently: Use a soft sponge or microfiber cloth to scrub in circular motions, applying light pressure. For textured surfaces like beadboard, use a soft-bristled brush to reach into grooves. A common mistake homeowners make is scrubbing too hard or using abrasive tools, which leaves permanent scuff marks on painted surfaces that are far harder to fix than the original grease stain.
- Rinse thoroughly: Wipe the wall with a clean, damp microfiber cloth dipped in plain warm water to remove any leftover cleaner residue. Residue can attract more dirt and grease over time, so this step is critical.
- Dry immediately: Pat the wall dry with a clean, dry microfiber cloth to prevent water streaks and moisture damage.
 Image source: www.youtube.com
A microfiber cloth lifts grease without scratching most painted wall finishes.
Image source: www.youtube.com
A microfiber cloth lifts grease without scratching most painted wall finishes.
How to Remove Stubborn, Set-In Grease Stains
For grease that has baked onto walls for months or years, or thick buildup from frequent deep-frying, homemade solutions may not be enough to fully lift stains. In these cases, a commercial degreaser formulated for kitchen surfaces can cut through heavy buildup quickly, but there are important trade-offs to consider:
- Commercial degreasers often contain volatile organic compounds (VOCs) that can irritate lungs and damage unsealed paint, so they should only be used as a last resort for painted surfaces.
- Always choose a product explicitly labeled safe for your wall type (e.g., “safe for painted drywall” or “safe for tile”).
- Test the degreaser on a small, hidden spot first and wait 24 hours to check for discoloration or finish damage.
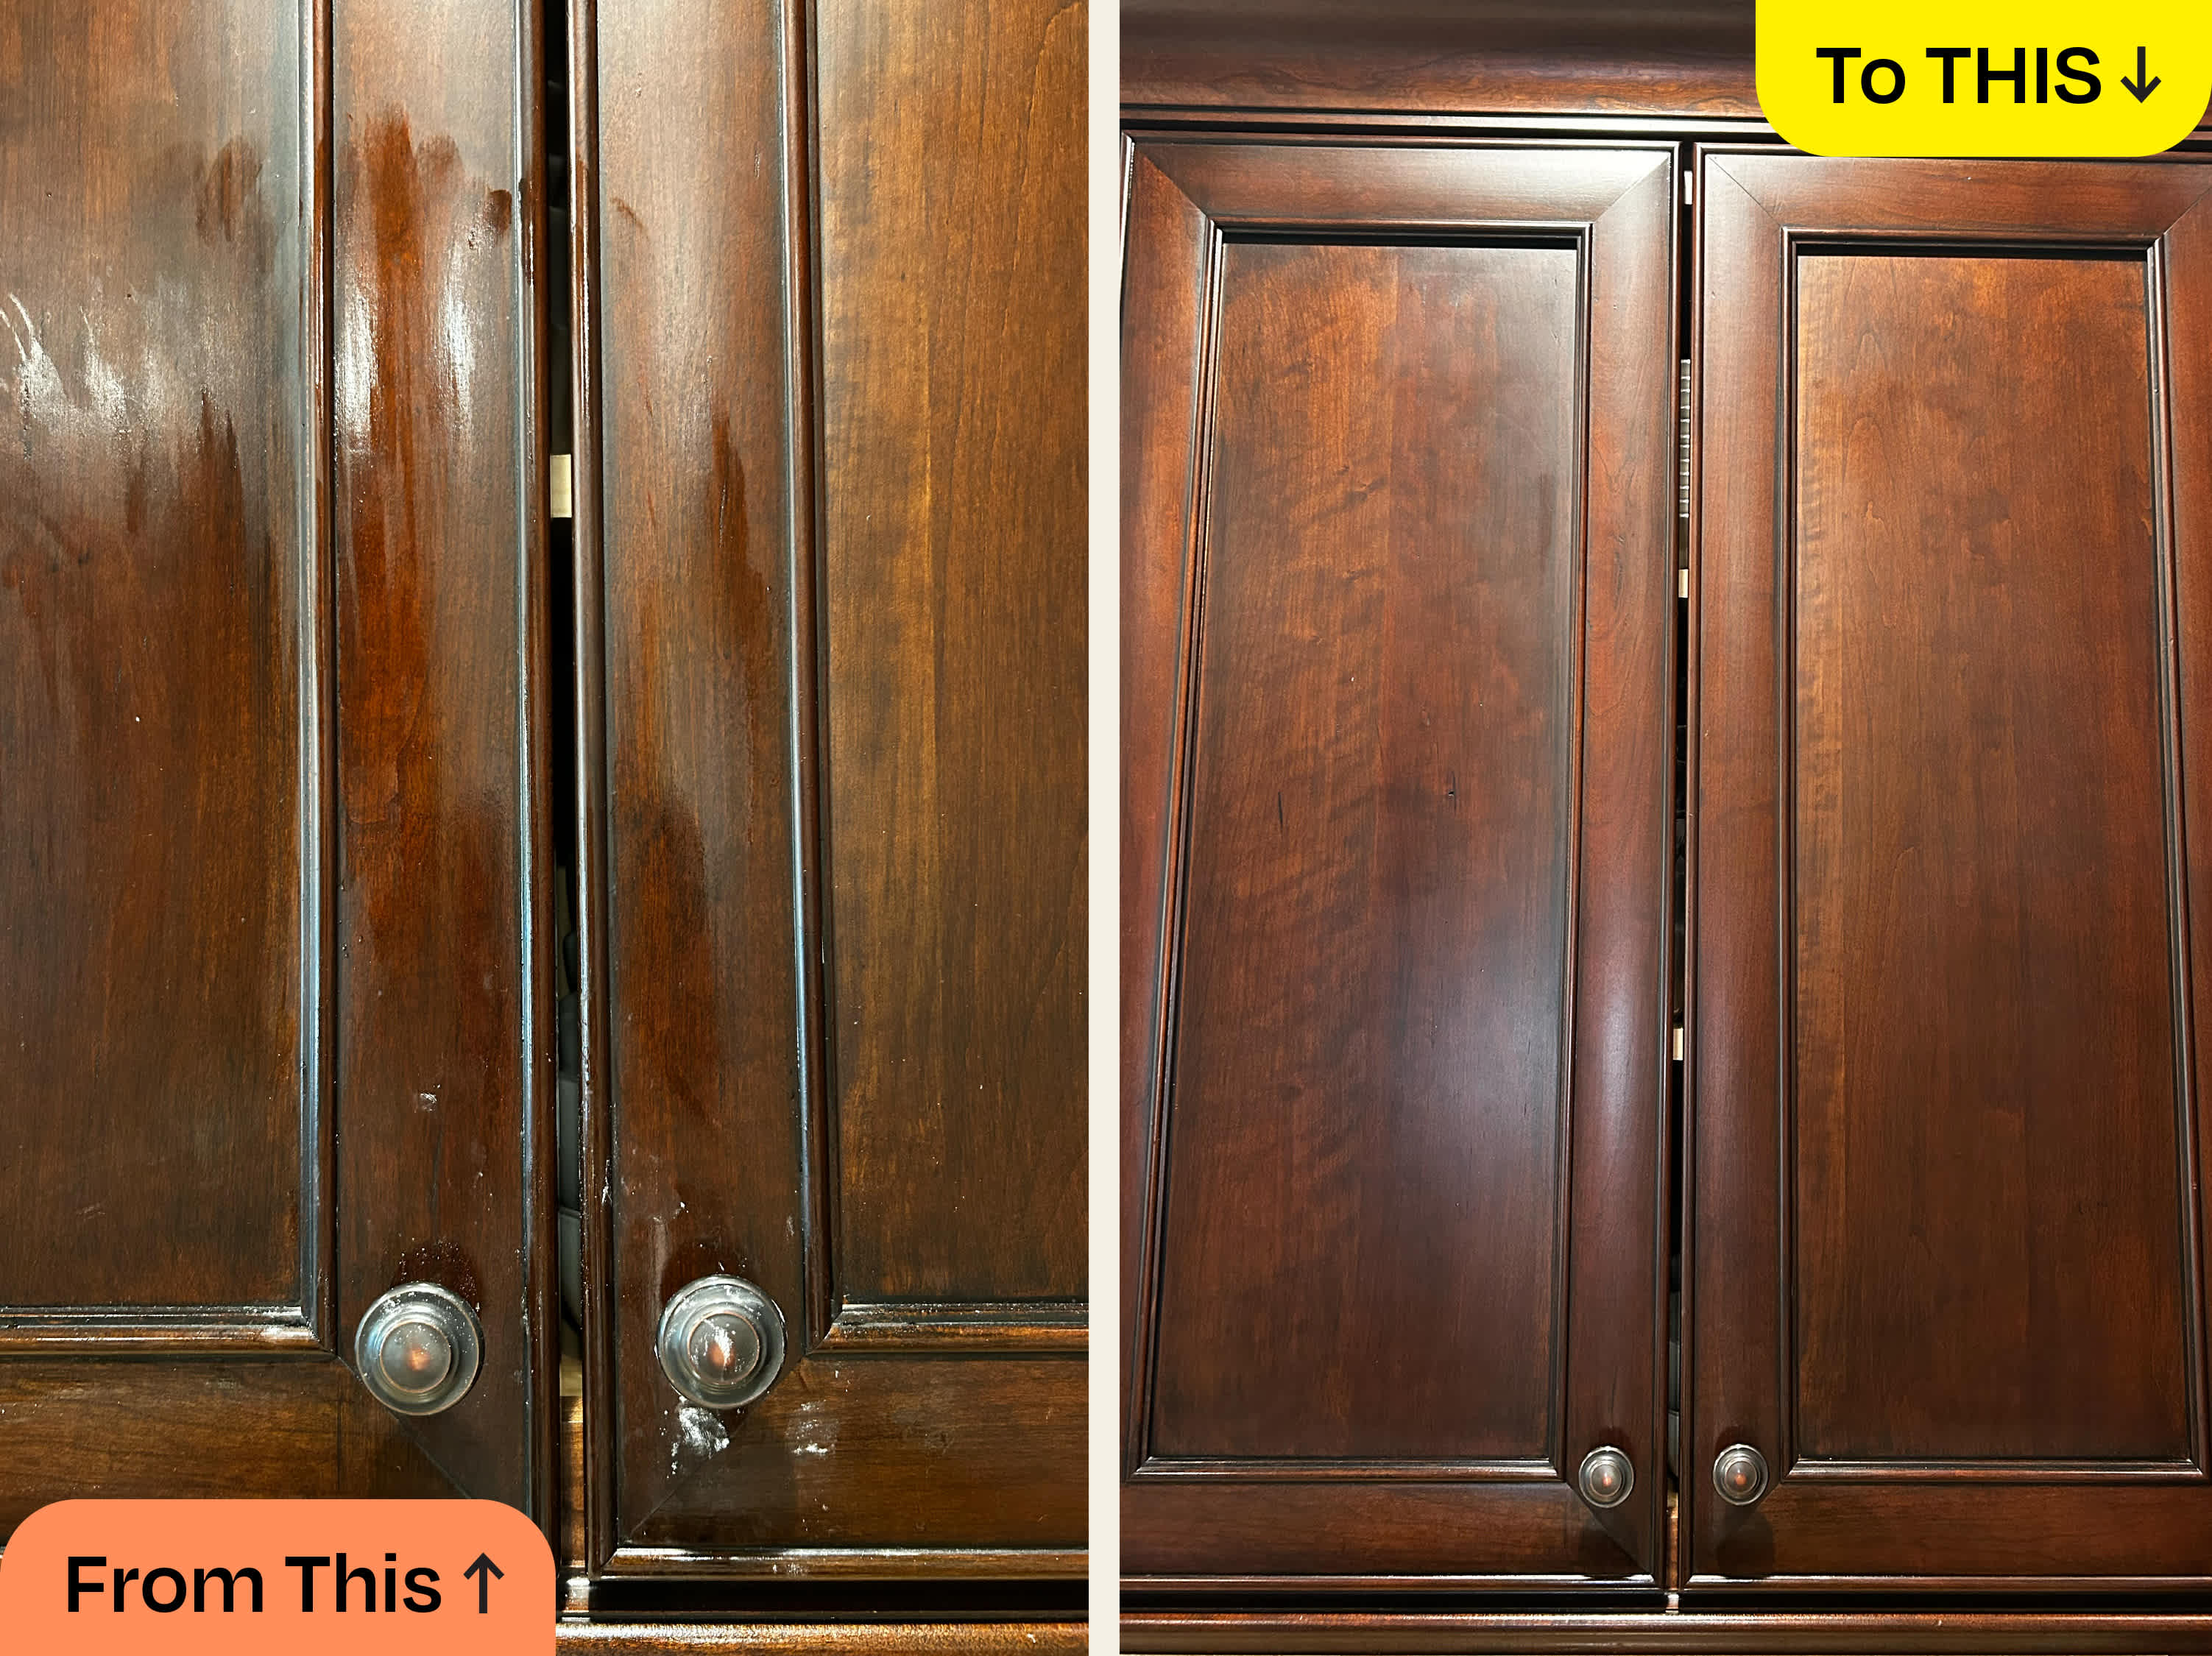 Image source: www.thekitchn.com
Heavy grease buildup often accumulates on both walls and adjacent cabinet fronts, requiring targeted spot treatment for best results.
Image source: www.thekitchn.com
Heavy grease buildup often accumulates on both walls and adjacent cabinet fronts, requiring targeted spot treatment for best results.
Spot Treatment Tips for Set-In Stains
- Apply a small amount of degreaser to a clean microfiber cloth (never spray directly on the wall to avoid oversaturation).
- Rub the stain gently in circular motions, letting the product sit for 2 to 3 minutes to break down grease.
- Wipe away the degreaser with a clean, damp cloth, then rinse with plain water and dry thoroughly.
If scrubbing does not lift the stain after two attempts, the grease may have permanently stained the paint. In this case, spot-painting the affected area with a matching finish is often more effective than repeated harsh scrubbing, which can damage the surrounding wall.
Prevent Future Grease Buildup
The easiest way to remove grease is to stop it from building up in the first place. These low-effort habits will keep your kitchen walls clean far longer between deep cleans:
- Use your range hood consistently: Run it on medium to high heat during and for 10 to 15 minutes after every cooking session to capture airborne grease particles before they settle on walls.
- Clean your range hood filter monthly: Grease-laden filters can’t trap particles effectively, so wash them with hot soapy water or run them through the dishwasher monthly to maintain performance.
- Install a splash guard behind your stovetop: A heat-resistant glass or tile splash guard catches grease splatters before they hit the wall, making cleanup as simple as wiping the guard with a dishcloth after cooking.
- Wipe down high-risk zones weekly: Keep a microfiber cloth and a small bottle of diluted dish soap solution under your sink, and wipe down the 2 to 3 foot radius around your cooktop once a week to remove fresh grease before it bonds to the surface.
 Image source: www.realhomes.com
Regular weekly wipes of the area around your cooktop prevent grease from bonding to paint, reducing the need for harsh deep cleaning.
Image source: www.realhomes.com
Regular weekly wipes of the area around your cooktop prevent grease from bonding to paint, reducing the need for harsh deep cleaning.
When to Call a Professional
If you’ve tried the methods above and still have visible grease stains, or if you have delicate surfaces like vintage wallpaper, hand-painted tile, or historic plaster, it’s best to call a professional cleaning service or painting contractor. Professionals have access to low-pressure, low-abrasive cleaning tools and specialized products that won’t damage fragile finishes. They can also assess if your wall needs to be primed and repainted to fully remove stained areas, saving you time and avoidable damage from DIY trial and error.
Frequently Asked Questions
How long does it take to remove grease from kitchen walls?
For light, fresh grease, the process takes 15 to 20 minutes for a standard 3×3 foot wall section. For set-in, heavy buildup, you may need to let cleaner sit for 15 minutes and repeat the scrubbing process, bringing the total time to 45 to 60 minutes per section.
Can I use bleach to remove grease from kitchen walls?
No, bleach is not recommended for grease removal on most kitchen walls. It can discolor painted finishes, dissolve wallpaper adhesive, and release toxic fumes when mixed with other cleaning products. Stick to vinegar, dish soap, or baking soda for safe, effective results.
Will cleaning grease damage my wall paint?
Not if you use the right products and techniques for your paint finish. Always test cleaners in an inconspicuous spot first, avoid abrasive scrubbers, and don’t oversaturate the wall with water, which can cause peeling or bubbling.
How often should I deep clean my kitchen walls to prevent grease buildup?
For most home cooks, a light weekly wipe of the area around your cooktop is enough to prevent buildup. A full deep clean of the entire kitchen wall area every 2 to 3 months will remove any accumulated grease before it becomes set-in and difficult to remove.
Can I use a steam cleaner on greasy kitchen walls?
Steam cleaners are safe for tile, glass, and semi-gloss painted walls, but avoid using them on matte paint, wallpaper, or unsealed wood, as excess moisture can damage these finishes. If you use a steam cleaner, use a low-heat setting and keep the nozzle moving to avoid oversaturating the wall.
Conclusion
Grease buildup on kitchen walls is a common nuisance, but it’s far easier to tackle than most homeowners think. The key is to match your cleaning products to your wall type, act quickly on fresh splatters, and incorporate small, regular cleaning habits to prevent buildup from forming in the first place. For most light to moderate grease, homemade solutions with vinegar, dish soap, and baking soda are more than enough to restore your walls without harsh chemicals or expensive professional help.
Once your walls are spotless, you may want to refresh the space with a new coat of paint that complements your kitchen’s aesthetic — if you have green cabinetry, our guide to green cabinet wall pairings makes picking the perfect hue simple, while homes with brown wood cabinets can reference brown cabinet wall combinations for timeless, grease-hiding color options. If you’re tackling a full kitchen deep clean, don’t forget to address other high-grease areas like your range hood and backsplash to keep your space fresh for months to come.