How to Fix a Leaking Wall Mounted Kitchen Faucet: Quick & Easy Steps
That steady drip, drip, drip from your wall-mounted kitchen faucet is more than an annoying noise — it’s a sign of wasted water and rising utility costs. The U.S. Environmental Protection Agency estimates that average household leaks waste nearly 1 trillion gallons of water annually across the U.S., making timely faucet repairs both cost-effective and environmentally responsible. Whether you’re a first-time DIYer or have tackled small plumbing fixes before, this guide breaks down exactly how to fix a leaking wall-mounted kitchen faucet in 1-2 hours with basic tools, no professional experience required.
Safety & Pre-Repair Prep
Skipping safety steps can turn a simple faucet repair into a costly accident. Before you touch any parts, take 5 minutes to prepare your workspace and mitigate risks. You can also read our guide on how to decorate small kitchen walls. First, turn off both the hot and cold water supply at the shutoff valves located under your sink. If the valves are stuck or corroded, you may need to use a pair of pliers to loosen them gently — don’t force them, as this can break the valve and cause a full pipe burst. If no individual shutoff valves exist for your faucet, turn off the main water supply to your home. Open the faucet fully to drain all remaining water from the lines, and place a small bucket and towels under the supply connections to catch residual drips. If your kitchen has an electrical outlet or garbage disposal under the sink, turn off the corresponding circuit breaker in your electrical panel to avoid shock risk. Clear out all items from under the sink to give yourself enough workspace, and lay down a drop cloth or old towels to protect your cabinet floors from water and tool scratches. Industry guidelines from the Plumbing-Heating-Cooling Contractors Association recommend turning off water at the nearest shutoff valve before starting any faucet repair to prevent accidental flooding and water damage. You can also read our guide on how to remove kitchen cabinets without damaging wall.
Identify the Exact Leak Source
Pinpointing where the leak is coming from is the fastest way to pick the right repair, rather than replacing parts unnecessarily. Inspect your faucet while it’s running and when it’s fully off to narrow down the source.
Leaks at the Faucet Handles
If you feel moisture around the base of the handle, or see drips when the faucet is turned off, the issue is almost always a worn internal cartridge or loose handle screw. Wall-mounted faucet handles rely on a small cartridge to control water flow; when the seals inside this cartridge degrade, water seeps past the handle even when it’s closed. You can also read our guide on best chair leg pads for hardwood floors.
Leaks from the Spout
A constant drip from the spout tip, or reduced water pressure when the faucet is running, points to damage inside the spout assembly. This is usually caused by cracked O-rings, mineral buildup blocking the aerator, or a corroded spout interior. Clean the aerator first to rule out simple clogs before disassembling the spout.
Leaks at the Wall Connection
Water running down the wall behind the faucet, or pooling on the floor directly below the fixture, signals a leak at the mounting point. This is typically caused by a worn mounting gasket, loose mounting hardware, or cracked supply line washers where the lines connect to the wall valves. You can also read our guide on worlds best dish cloths.
Leaks at Supply Line Connections
Wet spots on the cabinet walls under the sink, or water staining on the bottom of the sink basin, point to leaks at the supply line fittings. These are usually caused by loose nuts, cracked supply hoses, or degraded rubber washers inside the compression fittings. Inspect supply lines for cracks or bulges, as these will need full replacement rather than just tightening.
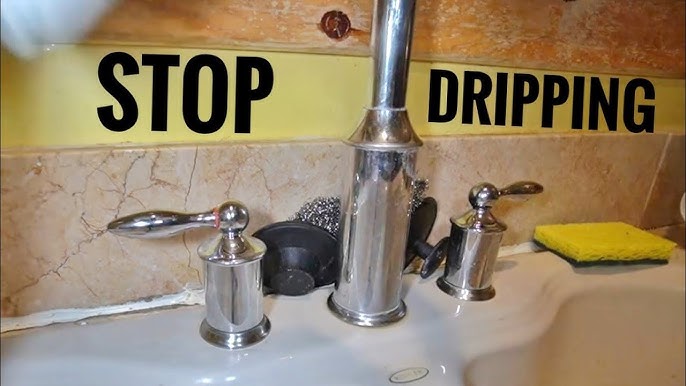
 Water pooling at the faucet base is a common sign of a failed seal
Tools & Parts You’ll Need
Having all tools and parts on hand before you start disassembling the faucet eliminates mid-repair trips to the hardware store and reduces the risk of losing small components. Note that universal replacement parts rarely fit wall-mounted faucets correctly — always check your faucet’s model number (usually printed on a tag under the handle or on the mounting plate) to order exact replacements. You can also read our guide on how to install a wall cabinet.
Essential Tools
- Adjustable wrench (for loosening mounting nuts and supply line fittings)
- Flathead and Phillips screwdrivers (for removing handle screws and decorative caps)
- Allen wrench set (for hex-head set screws on modern faucet handles)
- Penetrating oil (for loosening corroded parts, avoid using excessive force which can break plastic components)
- Plumber’s grease (for lubricating O-rings and seals to ensure a tight fit)
- Small parts tray (to keep screws, clips, and washers organized during disassembly)
- Bucket and towels (to catch residual water and clean parts)
- Flashlight (to inspect dark spaces under the sink or behind the mounting plate)
Replacement Parts
- Matching faucet cartridge or valve stem (the most common replacement for handle leaks)
- O-rings and rubber washers (size them exactly to your old parts for a watertight seal)
- Mounting gasket (if you have leaks at the wall connection)
- Supply line washers or full supply lines (if old lines are cracked or corroded)
Take your old cartridge, O-rings, or gaskets to the hardware store to match parts exactly — even a 1/16-inch size difference will cause leaks after reassembly.
 Gather all tools and parts before starting to avoid mid-repair trips to the hardware store
Step-by-Step Repair Process
Follow these steps in order to avoid damaging your faucet or causing accidental flooding. Most repairs take 60-90 minutes for DIYers with basic tool experience. You can also read our guide on piece place setting fiesta dinnerware.
Step 1: Shut Off Water & Drain Pipes
As outlined in the safety prep section, turn off both hot and cold shutoff valves under the sink, or the main house water supply if individual valves are missing. Open the faucet fully to drain all remaining water from the lines, and keep a bucket under the supply connections to catch any residual drips. Test that the water is fully off by turning on the faucet one last time before disassembling — no water should flow out.
Step 2: Disassemble the Faucet
Start by prying off the decorative cap on top of each handle with a flathead screwdriver, being careful not to scratch the finish. Unscrew the handle screw, then pull the handle straight off. If it’s stuck, apply a small amount of penetrating oil to the base and wait 5-10 minutes for it to loosen. Next, remove the mounting plate (if your faucet has one) by unscrewing the mounting nuts behind it with an adjustable wrench. Finally, remove the spout by unscrewing the set screw or retaining nut underneath it, then lifting it straight up. Use a small parts tray to keep all screws, clips, and washers organized as you remove them — taking a photo of each step with your phone can help you remember the correct reassembly order later. You can also read our guide on how to install a wall mount kitchen faucet.
Step 3: Inspect & Replace Faulty Parts
Remove the cartridge by pulling it straight out of the valve body (you may need to remove a retaining clip first). Inspect all O-rings, washers, and seals for cracks, flattening, or mineral buildup. If parts are damaged or heavily coated in white mineral deposits, replace them with exact matches. If the cartridge is cracked or corroded, replace it entirely — this is the most common fix for persistent handle leaks. If you notice corrosion on the valve body behind the cartridge, the faucet may be beyond repair and require full replacement. If your faucet is corroded beyond repair, consult our full removal walkthrough for step-by-step guidance.
Step 4: Clean All Components
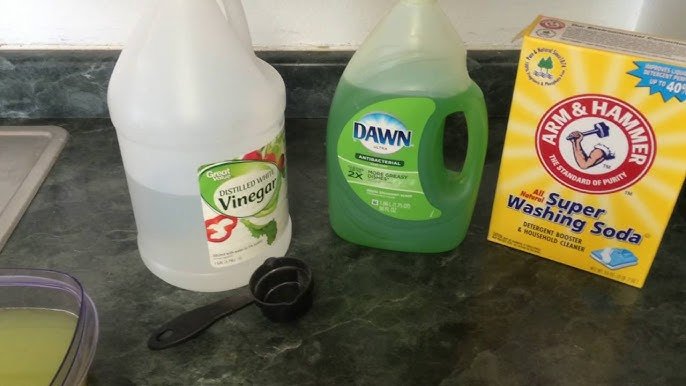
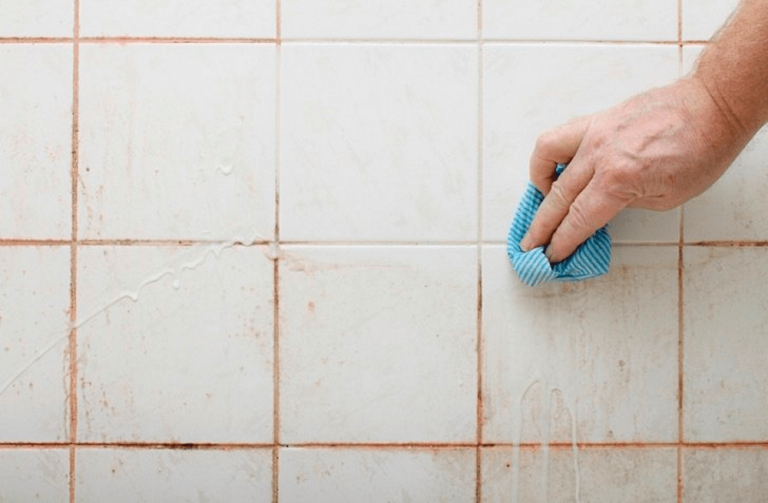
Soak metal parts (cartridges, mounting hardware) in white vinegar for 20-30 minutes to dissolve mineral buildup from hard water. Scrub loose deposits away with an old toothbrush, avoiding harsh abrasives that can scratch plastic or metal finishes. For plastic parts, wipe them down with a mild soap and water solution instead of vinegar, as prolonged acid exposure can degrade plastic. Dry all parts completely with a clean towel before moving to reassembly — residual moisture can cause mold growth behind the faucet over time. You can also read our guide on how to clean kitchen walls for painting.
Step 5: Reassemble & Test
Apply a thin layer of plumber’s grease to all new O-rings and seals to ensure a tight, leakproof fit. Reinsert the cartridge into the valve body, making sure it aligns with the notches in the housing, then secure it with the retaining clip. Reattach the mounting plate, spout, and handles, tightening all nuts and screws by hand first, then giving them a 1/4 turn with a wrench — never overtighten, as this can crack plastic parts or strip threads. Slowly turn the water supply back on, and run both hot and cold water for 2-3 minutes. Check all connection points (handles, spout base, wall mounting, supply lines) for drips. If you see a small leak, turn the water off and tighten the corresponding nut slightly — do not force it. To avoid long-term water damage to your cabinetry during testing, place a towel under supply line connections and reference our guide to shielding wall surfaces from residual moisture.
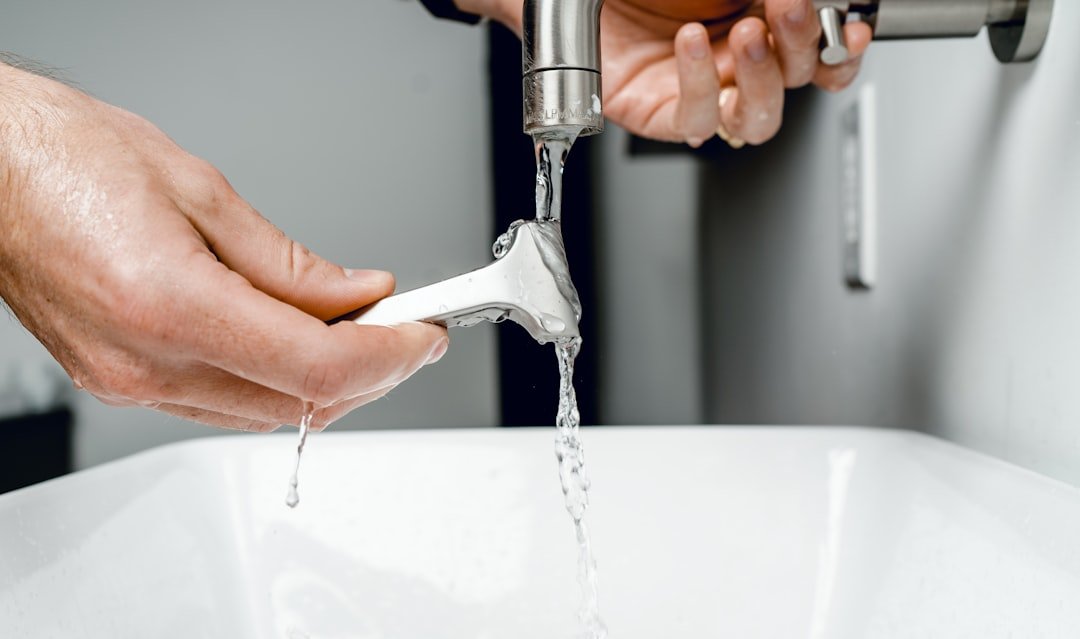
 Compare old, worn seals to new replacements to ensure a proper fit
Common Repair Mistakes to Avoid
Even small errors during a faucet repair can lead to bigger, more expensive problems down the line. Avoid these common pitfalls to ensure your repair lasts for years:
- Overtightening nuts and screws: This is the most frequent DIY mistake, and it cracks plastic valve bodies or strips threads, requiring full faucet replacement. Tighten parts until they are snug, then give a small 1/4 turn maximum.
- Using incorrect replacement parts: Universal cartridges and O-rings rarely fit wall-mounted faucets properly, leading to persistent leaks. Always match parts to your faucet’s model number.
- Skipping plumber’s grease: Dry O-rings wear out faster and don’t seal properly, leading to slow leaks over time. A thin layer of grease extends the life of rubber parts significantly.
- Forgetting to drain pipes fully: Residual water in the lines will spill out while you’re working, creating a mess and increasing slip risk.
- Ignoring small leaks: A slow drip may seem harmless, but it can cause water damage to walls, cabinets, and flooring over time, leading to mold growth and costly repairs. Persistent leaks can cause yellow or brown discoloration on kitchen walls; if you need to repaint after repairs, our color pairing guide helps you select a fresh wall shade that covers water stains seamlessly for homes with classic brown cabinetry.
When to Call a Professional
Most wall-mounted kitchen faucet leaks are simple DIY fixes, but there are cases where hiring a licensed plumber is the safer, more cost-effective choice:
- You cannot locate the shutoff valves for your faucet, or they are broken and won’t turn off
- You notice visible mold growth or water damage to the wall behind the faucet, which indicates a long-term leak that may have affected internal pipes
- The faucet is corroded so badly that parts break during disassembly, or the valve body behind the wall is cracked
- You are uncomfortable working with plumbing, or don’t have the necessary tools on hand Professional plumbers have the tools and expertise to diagnose hidden leaks, replace corroded pipes, and ensure repairs meet local plumbing codes, avoiding costly mistakes. If leaks have warped or rotted lower cabinets, follow our guide to avoiding structural damage during cabinet removal to preserve your wall framing and avoid costly renovations. You can also read our guide on how much to open up kitchen wall.
Prevent Future Leaks
Simple, low-effort habits can extend the life of your wall-mounted kitchen faucet by 5+ years and reduce the risk of future leaks:
- Clean your faucet aerator every 3-6 months to remove mineral buildup that can clog water flow and strain seals
- If you have hard water, install a whole-home water softener to reduce mineral deposits on faucet components
- Inspect supply lines and mounting hardware once a year for signs of wear, cracks, or looseness
- Tighten loose handle screws or mounting nuts gently as soon as you notice them, before small issues become leaks
- Avoid using harsh chemical drain cleaners in your kitchen sink, as these can degrade rubber seals and O-rings inside the faucet
- Turn off the water supply to the faucet if you’ll be away from home for more than a week to prevent unexpected leaks. If your kitchen features green cabinets, choose a complementary wall color to mask any residual leak discoloration without clashing with your existing design.
Frequently Asked Questions
How much does a DIY wall-mounted kitchen faucet repair cost?
Most repairs cost $10-$30 for replacement parts like cartridges, O-rings, and washers, compared to $150-$300 for a professional plumber visit, depending on your location and the severity of the leak.
How do I stop a wall-mounted kitchen faucet from leaking?
First, shut off the water supply at the nearest shutoff valve and drain remaining water from the lines. Identify the leak source: replace worn cartridges for handle leaks, swap out O-rings for spout leaks, and tighten mounting hardware or replace the mounting gasket for wall connection leaks. Test for drips after reassembly before considering the repair complete. You can also read our guide on how to remove a wall mounted kitchen faucet.
Why does my wall-mounted kitchen faucet keep dripping?
Persistent dripping is almost always caused by worn internal seals, a damaged cartridge, or loose connections. Mineral buildup from hard water can also block seals and cause slow leaks, even after replacing parts. If you’ve replaced all seals and the faucet still drips, the valve body behind the wall may be corroded and require full faucet replacement.
Can I fix a leaking wall-mounted faucet without a plumber?
Yes, most common leaks (worn cartridges, O-rings, loose connections) are simple DIY fixes for homeowners with basic tools. Only call a plumber if you can’t locate shutoff valves, notice mold or structural water damage, or are uncomfortable working with plumbing systems. You can also read our guide on tools needed to replace kitchen faucet.
Why is my wall-mounted faucet only leaking from the back wall connection?
This is typically caused by a worn mounting gasket or loose mounting nuts behind the faucet plate. Tighten the mounting nuts gently by hand, and replace the gasket if the leak persists. If the leak continues, the supply line washers where the lines connect to the wall valves may be damaged and need replacement.
What tools do I need to fix a wall-mounted kitchen faucet leak?
You’ll need an adjustable wrench, flathead and Phillips screwdrivers, an Allen wrench set, penetrating oil for corroded parts, plumber’s grease, a small parts tray, a bucket, towels, and a flashlight. Replacement parts (cartridges, O-rings, gaskets) will vary based on your faucet model. You can also read our guide on how to fix wall tiles in kitchen.
Conclusion
Fixing a leaking wall-mounted kitchen faucet is a straightforward DIY project that saves most homeowners $100+ in professional plumbing fees, and prevents thousands of gallons of unnecessary water waste each year. If your faucet is corroded beyond repair, our full removal walkthrough covers how to safely disassemble and replace the entire unit without damaging your walls or cabinetry. For more kitchen maintenance, renovation, and DIY tips to keep your home in top shape, browse our full library of expert guides. You can also read our guide on how to paint wall tiles in kitchen.