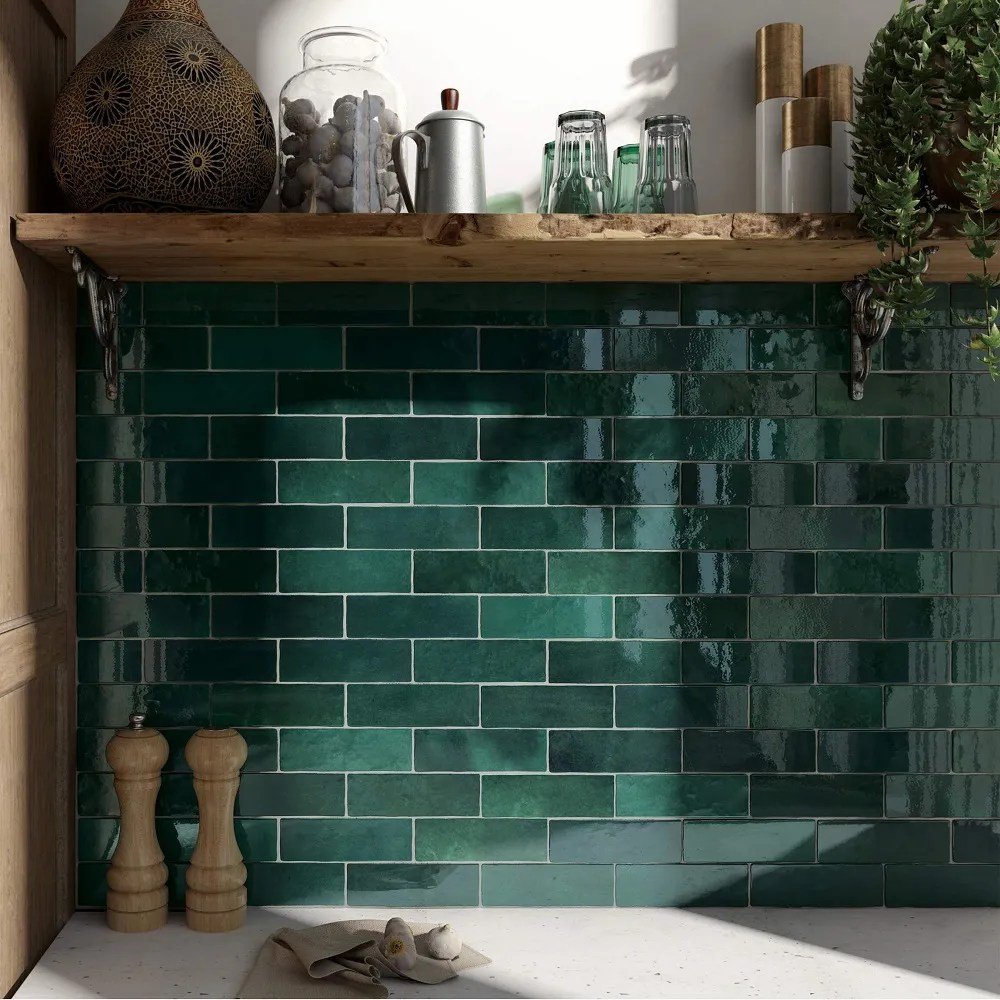
How to Tile a Kitchen Wall above Worktop: Easy Steps for Perfect Results
Walking into a kitchen with a crisp, professionally installed tile backsplash feels like a luxury upgrade – but it’s a project any DIYer can tackle for a fraction of the professional cost. Tiling the wall above your worktop not only protects your walls from water splashes, grease, and food stains, but it also adds immediate visual appeal and resale value to your home.
Many homeowners assume this project requires advanced skills or expensive tools, but with careful prep and attention to detail, you can achieve a straight, level finish that looks like it was done by a pro. This guide walks you through every step, from wall prep to final sealing, plus common pitfalls to avoid for long-lasting results.
 Gloss white tiles are a popular choice for brightening small kitchen spaces
Credit: www.tilemountain.co.uk
Gloss white tiles are a popular choice for brightening small kitchen spaces
Credit: www.tilemountain.co.uk
Pre-Project Planning: Check Your Wall and Set Yourself Up for Success
Skipping pre-project checks is the top cause of premature tile failure, so spend 15 minutes assessing your space before buying materials. This step ensures your tiles will adhere properly and last for years without cracking or loosening.
Assess Your Wall Surface
Most kitchen backsplash walls are either painted drywall, plaster, or existing tile. If you’re tiling over existing tile, confirm it’s firmly attached (tap it to check for hollow spots) and free of cracks, water damage, or loose grout. If the existing tile is in good condition, sand it lightly to create a rough surface for adhesive, then apply a tile bonding primer before proceeding. If the existing tile is damaged, remove it entirely to avoid future failure. For new installations, use moisture-resistant green board drywall for the backsplash area, as standard drywall can absorb moisture and swell over time near sinks and cooktops.
Plan Your Layout to Avoid Thin Tile Slivers
A common unprofessional look is a narrow ¼-inch tile sliver at one edge of the backsplash, which is hard to cut and looks messy. To avoid this, do a dry run: lay your tiles out on the floor with spacers, measure the width of the edge tiles on each side of the wall, and adjust your starting point so the smallest edge tile is at least ½ a tile wide. If your worktop is uneven, use a level to mark the highest point of the worktop as your bottom guide line – this prevents gaps between the bottom of the tiles and the worktop surface.
Tools and Materials You’ll Need
Having all your supplies on hand before you start eliminates interruptions and ensures you don’t have to scramble for mid-project. Below is a full checklist of required items:
| Category | Items |
|---|---|
| Preparation Tools | Spirit level, tape measure, pencil, medium-grit sandpaper, wall filler, degreaser, drop cloths, painter’s tape, safety glasses, work gloves |
| Installation Tools | ¼" x ¼" notched trowel, tile cutter or wet saw, tile nippers, rubber grout float, large sponge, tile spacers (1/8" or 3/16" standard for backsplashes), rubber mallet |
| Materials | Flexible thin-set mortar (rated for kitchen use), sanded or unsanded grout (based on joint width), penetrating grout sealer, waterproofing membrane (for high-splash zones), primer (if tiling over existing surfaces) |
Step 1: Prepare the Wall Surface
Clean and Repair the Wall
Start by removing all grease, food splatter, old adhesive, or loose paint from the wall with a kitchen degreaser and warm water. Rinse thoroughly and let the wall dry completely (this can take 1-2 hours depending on humidity). Sand any glossy painted surfaces to create a rough "key" for adhesive to grip to. Fill any holes, cracks, or uneven patches with wall filler, then sand smooth when dry. In practice, most DIYers underestimate how long this step takes – budget 2-3 hours for a standard 10-foot backsplash to avoid issues later.
Apply Waterproofing for Long-Lasting Results
The area within 6 inches of your sink and cooktop is exposed to constant splashes and spills, so unsealed walls can develop mold and water damage behind tiles over time. The Tile Council of North America recommends applying a liquid or sheet waterproofing membrane to this high-splash zone before installing tiles TCNA Installation Guidelines. Apply the membrane per product instructions, then let it dry fully (usually 2-4 hours) before moving on to adhesive application. This small extra step prevents costly water damage and tile failure down the line.
Step 2: Mark Guidelines and Dry Run Your Layout
Find Your Starting Point
For a symmetrical, professional look, start tiling from the center of the wall (or the center of the area between your upper cabinets, if you’re only tiling the section between cabinets). Use a level to mark a horizontal guide line at the height of your worktop (or the bottom of your upper cabinets for full-height backsplashes). If your worktop is uneven, mark the highest point of the worktop as your bottom guide to avoid gaps between the tiles and the counter surface.
Dry Run to Check Alignment
Before applying any adhesive, lay your tiles out on the floor with spacers to confirm your layout works. Measure the width of the edge tiles on each side, and adjust your starting point if needed to avoid thin slivers narrower than ½ a tile. Mark vertical guide lines every 2-3 tiles on the wall with a pencil and level – these lines keep your tiles straight as you work, preventing the common "sliding down" look from misaligned rows.
Step 3: Apply Tile Adhesive
Choose the Right Adhesive for Your Tiles
Never use standard construction adhesive for wall tiles – it’s too rigid and will crack as your kitchen walls shift slightly with temperature and humidity changes over time. For ceramic, porcelain, and glass tiles, use a flexible thin-set mortar, either premixed or powder-based (mix powder with water per package instructions). For natural stone tiles like marble or slate, use a white thin-set to avoid staining the porous stone. If you’re tiling in a high-moisture zone near the sink, choose an adhesive rated for wet area use.
Spread Adhesive Evenly
Work in small 2×2 foot sections to prevent adhesive from drying out before you place tiles. Hold the notched trowel at a 45-degree angle to spread adhesive evenly across the wall, creating consistent ridges that help tiles grip. Comb the ridges in one direction for better adhesion, and avoid spreading adhesive over a larger area than you can tile in 10-15 minutes. If adhesive skins over (forms a dry top layer), scrape it off and apply a fresh coat before placing tiles.
Step 4: Lay and Trim Tiles
Place Tiles With Consistent Spacing
Press each tile firmly into the adhesive, twisting slightly to seat it fully against the ridges. Insert tile spacers between each tile to maintain even grout lines – standard backsplash spacing is 1/8" or 3/16", depending on your tile size. Check alignment with your level every 3-4 tiles, tapping gently with a rubber mallet if needed to adjust the tile height. Don’t press too hard, as this can squeeze out too much adhesive and create a messy cleanup later.
Trim Tiles for Outlets, Edges, and Corners
For outlets and light switches: turn off power at the breaker first, remove the cover plate, measure the gap around the fixture, mark the tile, and use tile nippers or an angle grinder to cut the opening. Test fit the tile before applying adhesive to ensure a snug fit around the fixture. For straight edge cuts: use a tile cutter or wet saw, score the tile firmly with the cutter wheel, then snap it cleanly for a straight edge. Smooth any rough edges with a sanding stone to avoid sharp points. For inside corners: use a tile saw to cut a 45-degree miter on the tile edge for a seamless, professional finish that avoids ugly raw edges.
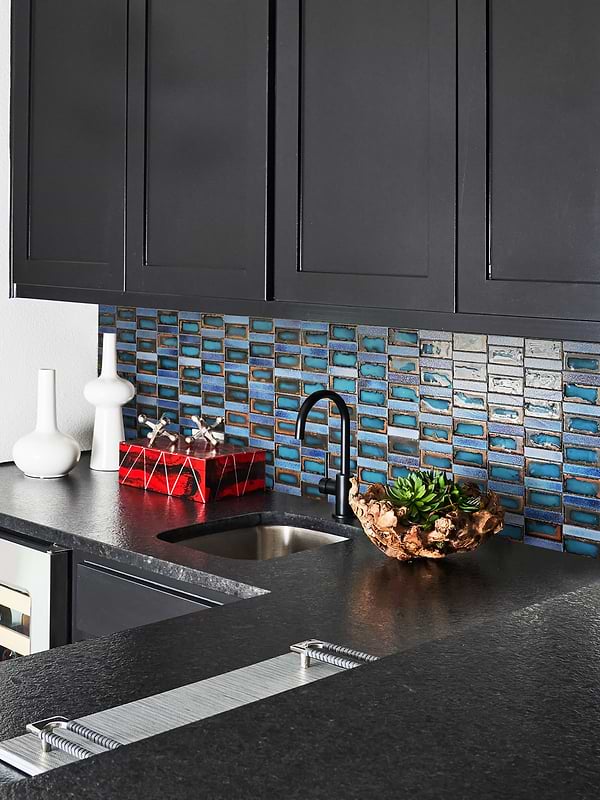 Glass tiles add reflective brightness to modern kitchen designs
Credit: www.backsplash.com
Glass tiles add reflective brightness to modern kitchen designs
Credit: www.backsplash.com
Step 5: Grout Your Tiles
Choose the Right Grout for Your Kitchen
Grout choice has a huge impact on both the look and durability of your backsplash. For joints narrower than 1/8", use unsanded grout, which is smooth and easy to work with in tight spaces. For joints 1/8" or wider, use sanded grout, which is more resistant to cracking. Cement-based grout is budget-friendly and easy to apply, but it requires sealing to resist stains and moisture. Epoxy grout is stain-resistant, waterproof, and ideal for high-traffic kitchens with lots of splashes, but it has a shorter working time (usually 20-30 minutes) and is more expensive. For a seamless look, match grout color to your tiles; for a defined pattern that highlights tile shape, use a contrasting shade.
Apply and Clean Grout for a Flawless Finish
Mix grout to a smooth, peanut butter-like consistency with no lumps. Use a rubber float to press grout firmly into all joints, working diagonally across tiles to avoid pulling grout out of gaps. Wait 10-15 minutes for the grout to set slightly (it will look matte when ready), then wipe tiles with a damp sponge in circular motions, rinsing the sponge frequently to avoid spreading grout haze. Avoid using too much water, as this can wash grout out of joints and cause weak spots. After 24 hours, buff tiles with a dry microfiber cloth to remove any remaining haze.
Step 6: Seal and Complete Your Installation
Seal Grout for Long-Term Protection
Wait 72 hours after grouting for the grout to cure fully, then apply a penetrating grout sealer with a small brush or roller. This creates a water-repellent barrier that prevents stains, mold, and moisture damage – unsealed grout is the most common cause of premature backsplash failure, as it absorbs grease, wine, and water over time. Sealed grout lasts 3-5 years before needing reapplication, and is much easier to clean. If you used porous natural stone tiles, apply a stone sealer before grouting to prevent permanent staining. If your kitchen features warm brown cabinetry, pairing your new tile with complementary wall shades ensures a cohesive look warm cabinet pairings, while cooler green cabinetry pairs beautifully with neutral tile backdrops cool green cabinetry pairings.
Reinstall Fixtures and Final Inspection
Once the sealer is dry (usually 1-2 hours), reinstall outlet covers, switch plates, and any removed hardware. Inspect every tile and grout line for gaps, cracks, or uneven spots. Fix any small imperfections with a small amount of matching grout before the sealer cures fully (usually 24 hours).
Post-Installation Care and Maintenance
To keep your backsplash looking like new for years, follow these simple care steps:
- Wait 7-10 days after installation before using the area heavily (splashing water directly on the backsplash, cooking right next to it) to let adhesive and grout cure fully.
- Clean tiles regularly with mild soap and warm water, avoiding abrasive scrubbers, bleach, or harsh chemical cleaners that can scratch tile surfaces or strip sealer.
- Reseal grout every 1-3 years, depending on how often you use the space, to maintain water resistance.
- Address spills and stains immediately to prevent them from setting into grout. For tough grout stains, use a baking soda paste and soft brush, avoiding steel wool which can scratch tile surfaces.
- Regular maintenance of your kitchen features, from your tiled splashback to your faucet maintenance basics, keeps your space functional and fresh for years. A fresh backsplash also elevates your space for everything from casual weeknight dinners to at-home wine tastings, and you can find all the supplies for your favorite culinary hobbies wine making essentials.
Common Mistakes to Avoid
Even small errors during installation can lead to big headaches later. These are the most common pitfalls DIYers encounter, and how to avoid them:
- Skipping wall preparation: Even a small patch of leftover grease can cause adhesive to fail, leading to tiles loosening or falling off months later. In practice, 80% of tile installation failures stem from poor prep – spend the extra time cleaning and repairing your wall to avoid costly fixes.
- Skipping the dry run layout: Without a dry run, you’ll almost always end up with a thin tile sliver at one edge, which looks unprofessional and wastes material. Always measure twice before cutting any tiles.
- Using the wrong adhesive: Standard construction adhesive is too rigid for kitchen walls, which shift slightly with temperature and humidity changes. Always use a flexible thin-set mortar rated for kitchen use to prevent cracking.
- Rushing grout cleaning: Wiping tiles too soon or with too much water washes grout out of joints, leaving gaps that collect dirt and moisture. Wait the full 10-15 minutes for grout to set before cleaning, and use a damp (not soaking wet) sponge.
- Skipping grout sealer: Unsealed grout absorbs stains and moisture, leading to mold growth and permanent discoloration. This is the most common cause of premature backsplash wear, so don’t skip this step.
- Cutting tiles without safety gear: Always wear safety glasses and gloves when cutting tiles, as shards can fly off and cause serious injury.
Frequently Asked Questions
How high should a kitchen backsplash be above the worktop?
The standard backsplash height is 15-18 inches, which covers the area most prone to water and food splashes. If you’re extending the backsplash to the bottom of your upper cabinets for a full-height look, you’ll need extra tile and may need to trim around cabinet ends for a clean finish.
Can I tile over existing kitchen wall tiles?
Yes, if the existing tiles are firmly attached, free of cracks or water damage, and have a smooth surface. Sand the existing tiles lightly to create a rough key for adhesive, apply a tile bonding primer, and use a flexible thin-set to adhere the new tiles. If existing tiles are loose or damaged, remove them entirely first to avoid future failure.
How long does a DIY kitchen backsplash installation take?
For a standard 10-foot, 18-inch tall backsplash, expect to spend 4-6 hours on prep and installation, plus 24-72 hours for adhesive and grout to cure before using the area heavily. First-time DIYers may take an extra 1-2 hours to account for learning curves.
What grout color works best for white kitchen tiles?
For a low-maintenance, seamless look, choose a light gray or white grout that matches the tile. For a more defined, classic look that highlights tile shape, use a dark gray or black grout. Keep in mind dark grout shows dirt and grease more easily than light shades, so it requires more frequent cleaning in high-use kitchens.
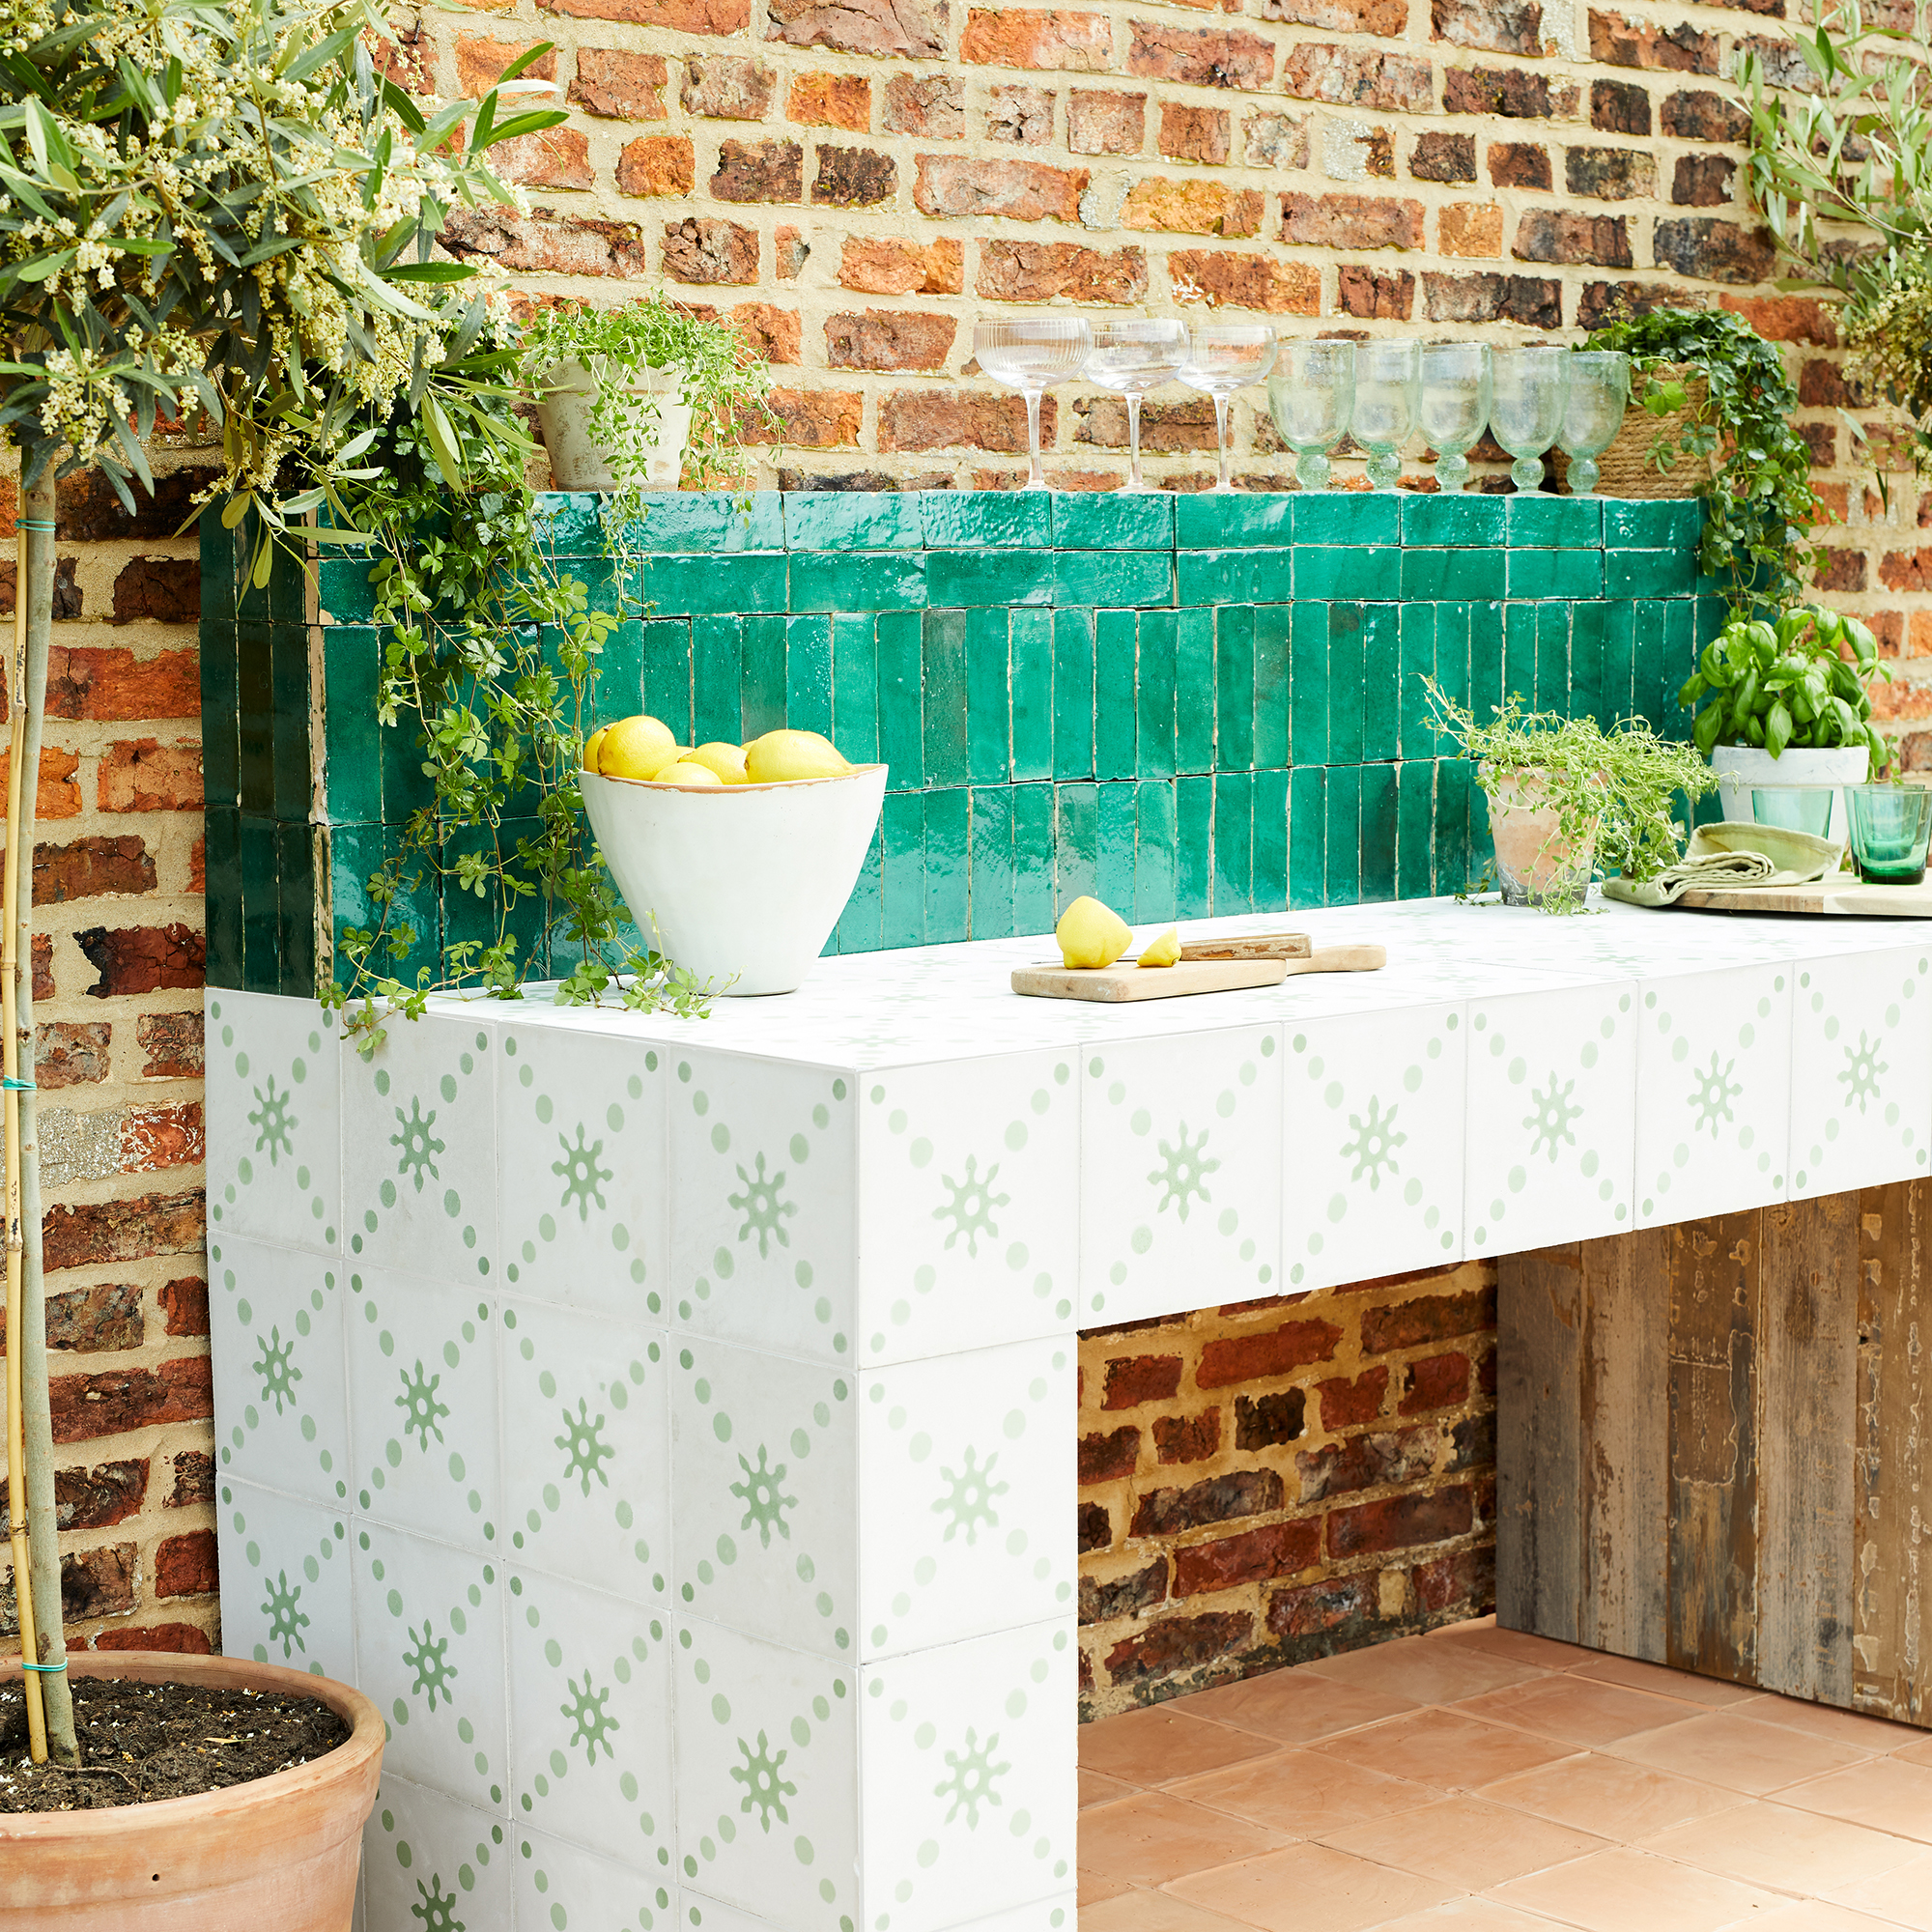 Sealed grout lines prevent staining and moisture damage over time
Credit: www.idealhome.co.uk
Sealed grout lines prevent staining and moisture damage over time
Credit: www.idealhome.co.uk
Conclusion
Tiling a kitchen wall above your worktop is a straightforward, high-impact DIY project that transforms your space without the cost of a professional install. The key to perfect results is simple: prioritize thorough wall prep, take your time with layout planning, and don’t rush the curing and sealing steps. Even novice DIYers can achieve a pro-level finish by following these steps and avoiding common mistakes like skipping waterproofing or using the wrong adhesive.
If you enjoy tackling home improvement projects on your own, you might also love exploring popular winemaking starters for your favorite culinary hobbies, or brushing up on at-home hobby kits to make the most of your updated kitchen space.