How to Fix Kitchen Cabinet That Pulling Away from Wall: Easy Steps
A kitchen cabinet pulling away from the wall is more than just an eyesore – it’s a serious safety hazard, especially if the cabinet holds heavy dishes, small appliances, or is mounted above a workspace. The good news? Most cases are quick, low-cost DIY fixes that take 1–2 hours and require no professional experience, as long as you address the root cause of the separation rather than just tightening a few screws. This guide walks you through every step to permanently fix your loose cabinet, from diagnosing the problem to preventing future issues, so you can restore your kitchen’s stability and style with confidence.
Safety Precautions to Follow First
Before you start any work, take these steps to avoid injury or further damage:
- Clear all items from inside the cabinet and the counter space below it to eliminate tripping hazards and reduce weight on the mounting hardware.
- Wear safety glasses to protect your eyes from dust, drywall debris, or wood splinters while drilling, per OSHA's power tool safety guidelines.
- If you suspect mold or water damage, wear an N95 mask and gloves to avoid exposure to allergens or toxins.
- Turn off power to any nearby electrical outlets if you’ll be drilling within 6 inches of them, to avoid hitting wiring.
- Use a sturdy step ladder if the cabinet is mounted high, and have a helper hold the ladder and the cabinet while you work to prevent falls.
First: Assess the Severity and Identify the Root Cause
Temporary fixes like tightening a single screw will only hold for a few weeks if you don’t address the underlying issue. Start by evaluating how severe the separation is and what’s causing it to choose the right repair method. For more on this, see our guide on how to stop kitchen cabinet door from hitting.
Signs Your Cabinet Is Pulling Away
The most obvious sign is a visible gap between the cabinet back and the wall, typically 1/8 inch or larger. You may also notice the cabinet wobbles when you press on the front, doors won’t latch properly, or there are cracks in the drywall around the mounting area. In practice, most cabinets that pull away are upper cabinets, as they bear the weight of dishes, small appliances, and sometimes microwaves, putting more stress on the mounting hardware than lower base cabinets.
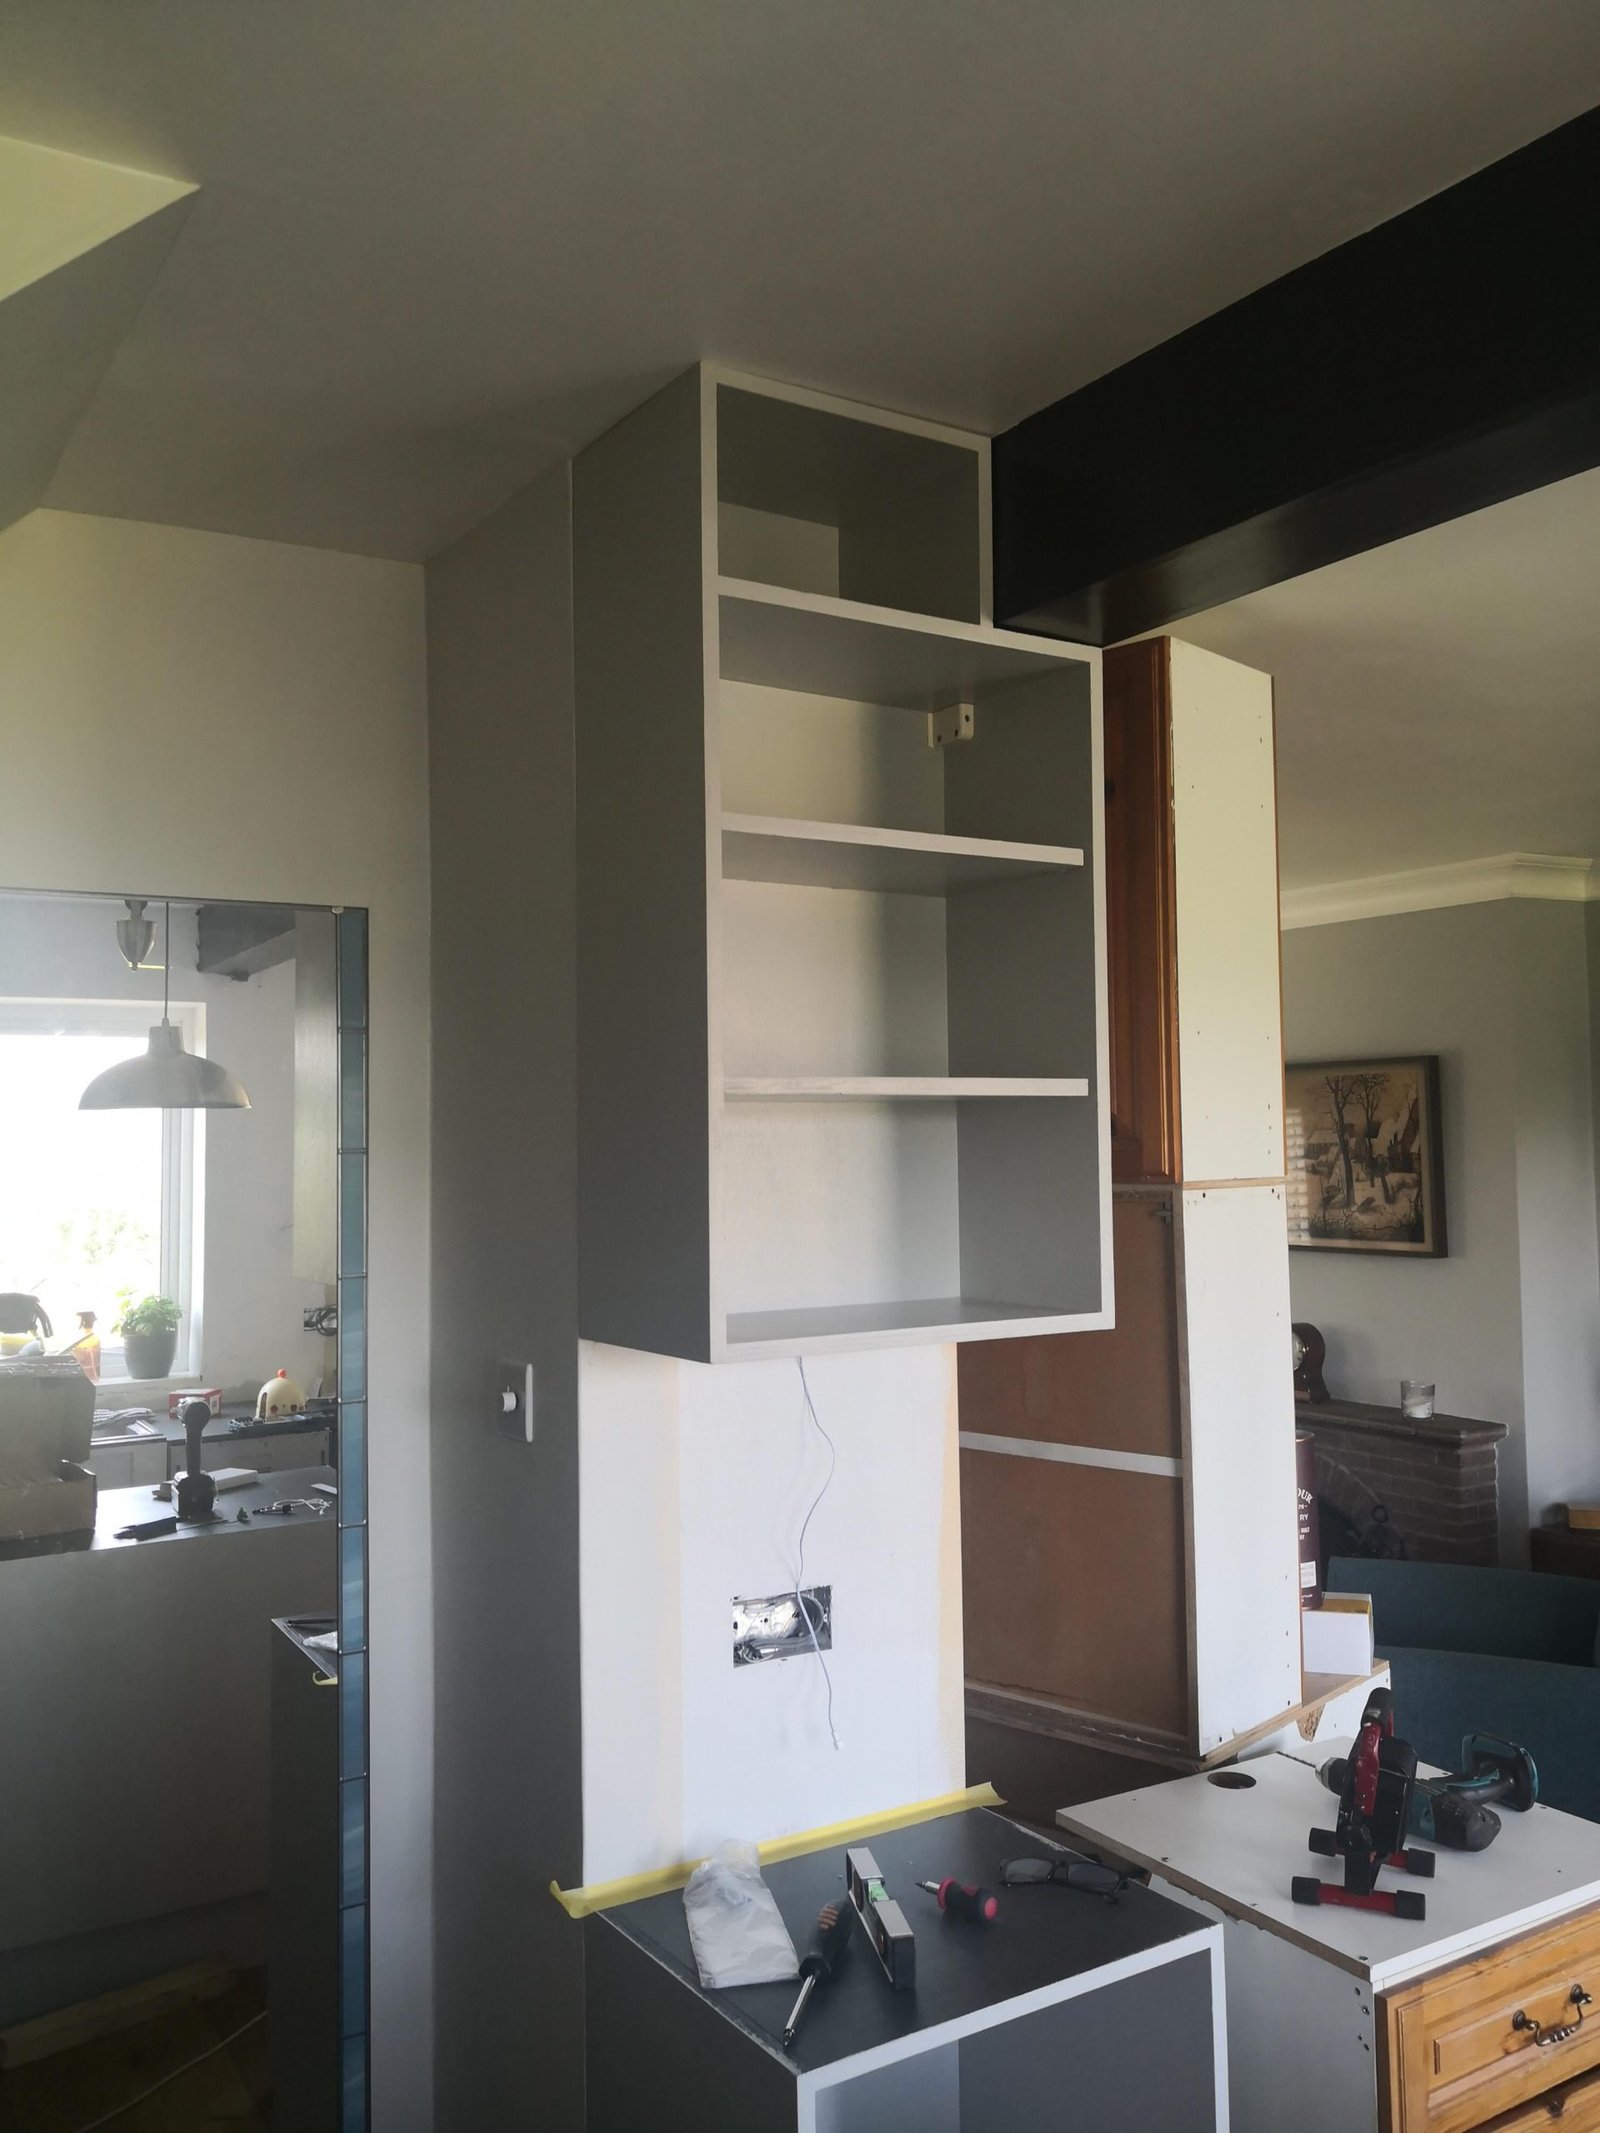
 Credit: www.reddit.com
A visible gap between the cabinet and wall is the most obvious sign of mounting failure
Credit: www.reddit.com
A visible gap between the cabinet and wall is the most obvious sign of mounting failure
Common Causes of Cabinet Separation
- Loose or stripped mounting screws that have worked themselves free over time from repeated use
- Damaged or undersized wall anchors that can’t support the cabinet’s weight
- Water damage that has softened the drywall or swollen the cabinet’s back panel, making it unable to hold screws
- Improper original installation that didn’t secure the cabinet to wall studs, relying only on drywall anchors
- Overloading the cabinet with heavy items that put excess stress on the mounting hardware
When to Call a Professional
Most cabinet repairs are DIY-friendly, but you should call a licensed contractor if:
- The cabinet is pulling away from a load-bearing wall, and you suspect structural damage to the studs or drywall
- There is extensive mold or water damage that requires professional remediation
- The cabinet is mounted at a height that makes working safely impossible without specialized equipment
- You’re uncomfortable using power tools or working at height
Gather Your Tools and Materials
Having all your tools ready before you start will speed up the repair process and help you work more precisely. A common mistake DIYers make is starting a repair mid-project only to realize they’re missing a key tool, leading to delays or incomplete fixes. For more on this, see our guide on how to regrout kitchen wall tiles easy steps.
| Tool/Material | Purpose | Pro Tip |
|---|---|---|
| Cordless drill/driver | Drilling pilot holes, driving screws | Use a 1/8-inch drill bit for pilot holes to avoid splitting wood or cracking drywall |
| Stud finder | Locate wall studs for maximum hold | Tap the wall lightly to confirm stud location after the finder beeps, as old or layered drywall can throw off sensors |
| 2.5–3 inch wood screws | Secure cabinet to studs | Choose screws with a washer head to prevent pulling through the cabinet back |
| Heavy-duty wall anchors (toggle bolts or snap-toggles) | Support cabinet weight if studs don’t align with mounting holes | Select anchors rated for at least 50 lbs per anchor for standard upper cabinets |
| Wood filler and putty knife | Repair gaps and cracks in the cabinet back or drywall | Match filler color to your cabinet finish for a seamless repair |
| 220-grit sandpaper | Smooth dried wood filler | Wipe away dust with a tack cloth before applying finish to avoid a rough texture |
| Level | Ensure cabinet is straight during reattachment | Place the level on the cabinet shelf, not the door, for an accurate reading |
| Painter's tape | Mark stud locations, label cabinet doors | Use different colors for upper and lower cabinet parts if removing multiple |
| Helper | Hold cabinet in place while you fasten it | A second person cuts down on risk of the cabinet falling while you work |
Step 1: Remove Cabinet Doors and Contents
Removing doors and emptying the cabinet gives you clear access to the mounting hardware and prevents damage to the doors during the repair process.
Unscrew and Label All Hardware
Open each cabinet door fully, then use a screwdriver to remove the hinge screws. For cabinets with soft-close hinges, release the retention clip on the hinge arm before prying the hinge apart to avoid breaking the mechanism. Store all screws and hinges in labeled plastic bags, and mark each door with a numbered piece of painter’s tape matching its corresponding cabinet opening. Take a photo of the installed cabinet with your phone to reference during reattachment, so you can match hinge positions perfectly later.
Step 2: Diagnose and Repair the Root Cause
Skipping this step is the most common reason cabinets pull away again a few months after a repair. Fix the underlying issue before reattaching the cabinet to the wall.
Fix Loose or Stripped Mounting Holes
If the screw holes in the cabinet’s back panel are stripped (the screws spin freely when tightened), drill a 1/4-inch hole at the stripped spot, insert a wooden dowel coated in wood glue, let it cure for 24 hours, then sand it flush with the cabinet back. This creates new, solid material for screws to grip into.
Replace Damaged Wall Anchors
If the existing wall anchors are loose or broken, remove them with pliers, then clean out the hole in the drywall with a utility knife. For standard upper cabinets, use snap-toggle or toggle bolts rated for at least 50 lbs per anchor: thread the screw through the cabinet’s mounting hole, insert the toggle into the drywall hole, then tighten the screw until the toggle flips flush against the back of the drywall. This distributes weight across a much larger area than standard plastic anchors, providing a far more secure hold.
Repair Water Damage
If you notice soft, crumbling drywall or swollen, discolored wood around the cabinet, cut out damaged drywall with a utility knife and patch it with new drywall and joint compound. For cabinet backs with more than 25% water damage, replace the entire back panel to restore structural integrity. Most importantly, fix the source of the moisture (a leaky sink pipe, unsealed dishwasher, or poor kitchen ventilation) before reattaching the cabinet. For guidance on addressing indoor moisture issues, refer to EPA guidance on preventing indoor moisture damage.
Reinforce Weak Cabinet Backs
Thin particleboard cabinet backs (common in budget or older cabinets) can strip screw holes easily over time. To add extra support, attach a 1×2 wooden mounting rail to the back of the cabinet with wood screws and construction adhesive, let the adhesive cure for 24 hours, then secure the rail directly to wall studs. This distributes the cabinet’s weight across a larger area of the wall, reducing stress on individual screws.
Credit: www.woodworkingtalk.com
A reinforced mounting rail provides extra hold for heavy cabinets
Step 3: Reattach the Cabinet Securely to the Wall
Once you’ve fixed the root cause of the separation, secure the cabinet to the wall for a long-lasting hold.
Locate and Mark Wall Studs
Wall studs are the strongest point to anchor heavy cabinets, and are spaced 16 or 24 inches on center in most modern US homes. Use a stud finder to locate studs behind the drywall, then tap the wall lightly with your knuckle to confirm: a solid thud indicates a stud, while a hollow sound means there’s no stud behind that spot. Mark the center of each stud with a pencil, aligning the marks with the cabinet’s mounting holes.
Use Shims to Level the Cabinet
If your wall is uneven, insert thin wood shims between the cabinet back and the wall to level it. Secure the shims to the wall with a small dab of construction adhesive before fastening the cabinet, so they don’t shift over time. Place a level on the cabinet’s shelf (not the door) to confirm it’s perfectly straight before proceeding.
Fasten with Long Screws Into Studs
Drive 3-inch wood screws with washer heads through the cabinet’s mounting holes directly into the marked studs. Tighten the screws until the cabinet is flush against the wall or shims, but avoid overtightening, which can strip the stud or crack the cabinet back. If you have a helper, have them hold the cabinet steady while you drive the screws to ensure it stays aligned.
Add Supplemental Support Brackets
For very heavy cabinets (such as those holding a microwave, stack of dishes, or small appliance), add L-shaped mounting brackets between the top or bottom of the cabinet and the wall studs for extra support. This is especially important for cabinets that span multiple studs, as it distributes weight more evenly across the wall.
Once your cabinet is secure, you can refresh your kitchen’s look with a fresh coat of paint – explore wall colors that complement green kitchen cabinets to find the perfect shade to pair with your newly secured cabinetry.
Step 4: Repair Cosmetic Damage and Reattach Cabinet Doors
With the cabinet securely fastened, fix any gaps or damage, then put your doors back on for a finished look.
Fill Gaps and Sand Smooth
Apply a color-matched wood filler to any gaps between the cabinet and wall, or cracks in the cabinet back, using a putty knife to press it firmly into the damaged area. Overfill the gap slightly, as the filler will shrink as it dries. Let it cure per the package instructions (usually 1–2 hours), then sand it smooth with 220-grit sandpaper. Wipe away dust with a tack cloth before applying any paint or stain to the repaired area.
Reattach Doors and Hardware
Align each door with its corresponding cabinet opening, using the photo you took earlier as a reference if needed. Insert the hinge screws and tighten them gently, adjusting the door position as you go to ensure even spacing on all sides. For soft-close hinges, make sure the hinge arms are fully engaged in the base plate to avoid misalignment.
Test and Adjust Door Movement
Open and close each door 10+ times to check for smooth operation. If a door sticks, scrapes the frame, or won’t stay closed, loosen the hinge screws 1/4 turn, reposition the door to align evenly, then retighten. For cabinets with self-closing hinges, adjust the tension screw on the hinge if the door swings too fast or too slow.
 Credit: www.reddit.com
Misaligned cabinet doors are often a side effect of a cabinet pulling away from the wall
Credit: www.reddit.com
Misaligned cabinet doors are often a side effect of a cabinet pulling away from the wall
If you’re updating your kitchen’s color scheme after this repair, check out wall color pairings for brown kitchen cabinets for timeless, cohesive design ideas.
How to Prevent Cabinets From Pulling Away Again
A few simple habits will keep your cabinets secure for years and avoid costly repeat repairs:
Avoid Overloading Cabinets
Distribute weight evenly across shelves, and avoid storing heavy items like cast iron skillets, bulk canned goods, or small appliances on the top shelf of upper cabinets. Use wall-mounted pot racks or pull-out shelves to store heavy cookware, reducing stress on the cabinet’s mounting hardware.
Perform Regular Inspections
Check the mounting screws on all upper cabinets every 6 months, tightening any that feel loose with a screwdriver. Inspect the drywall around cabinets annually for cracks, soft spots, or signs of moisture, addressing issues before they compromise the mounting hold.
Address Moisture Issues Immediately
Fix leaky under-sink pipes, dishwasher seals, or roof leaks that could introduce water to the cabinet or wall area. Use an exhaust fan when cooking to reduce kitchen humidity, and ensure your range vent exhausts to the outside of your home, not just into the attic.
Use Proper Hardware During Renovations
If you remove cabinets for a remodel, reattach them with toggle bolts or 3-inch wood screws directly into wall studs, rather than cheap plastic drywall anchors. For cabinets that don’t align with studs, use a mounting rail that spans across multiple studs to distribute weight evenly.
Frequently Asked Questions
Why Is My Kitchen Cabinet Pulling Away From The Wall?
The most common causes are loose mounting screws, stripped wall anchors, water damage to the drywall or cabinet back, and improper original installation that didn’t secure the cabinet to wall studs. Overloading cabinets with heavy items can also put enough stress on the mounting hardware to cause separation over time.
How Can I Fix A Cabinet Pulling From Drywall Without Studs?
If no studs align with the cabinet’s mounting holes, use heavy-duty snap-toggle or toggle bolts rated for at least 50 lbs per anchor. These distribute weight across a larger area of drywall, providing a much stronger hold than standard plastic anchors. For very heavy cabinets, consider adding a mounting rail that spans across multiple studs to anchor the cabinet securely.
What Tools Do I Need To Repair Cabinets Pulling Away?
You’ll need a cordless drill, stud finder, level, 2.5–3 inch wood screws, heavy-duty wall anchors, wood filler, sandpaper, painter’s tape, and a helper to hold the cabinet in place while you work. For cabinets with water damage, you may also need a utility knife, drywall patch, and joint compound.
Can Moisture Cause Cabinets To Pull Away From Walls?
Yes, chronic moisture from leaky pipes, poor ventilation, or dishwasher leaks weakens both the drywall and the cabinet’s back panel. Swollen wood and crumbling drywall can’t hold screws securely, leading to gradual separation. Fixing the source of the moisture is critical to preventing the issue from recurring after repair. For tips on addressing indoor moisture, refer to EPA guidance on preventing indoor moisture damage.
Will My Cabinet Be Secure After This Repair?
If you fasten the cabinet directly to wall studs with properly rated hardware and address the root cause of the separation (e.g., water damage, stripped holes), the repair will last for years. Most DIY repairs hold up as well as professional installations when done correctly. Always test the cabinet’s stability by pressing firmly on the front before loading it with items.
Conclusion
Fixing a kitchen cabinet that’s pulling away from the wall is a straightforward DIY repair that takes 1–2 hours for most homeowners, costs less than $50 in materials, and eliminates a serious safety hazard. By identifying the root cause of the separation, securing the cabinet directly to wall studs with properly rated hardware, and addressing any underlying damage like water intrusion, you’ll restore your cabinet’s stability for years to come. Once the repair is complete, you can refresh your kitchen’s look with a fresh coat of wall paint – explore wall color pairings for brown kitchen cabinets to find the perfect shade to complement your newly secured cabinetry.