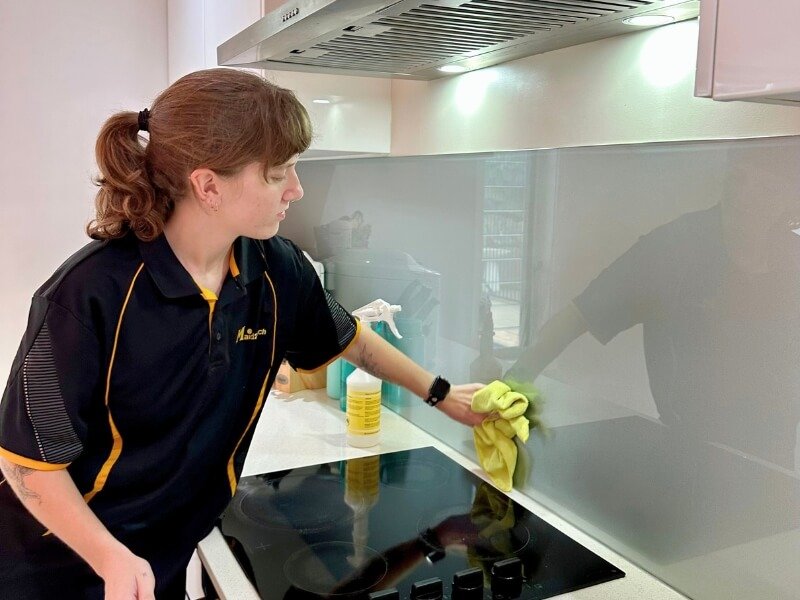
How to Remove Old Grease Stains from Kitchen Walls: Easy & Effective Tips
Old, set-in grease stains on kitchen walls are more than just an eyesore—they trap bacteria, attract dust, and make your entire kitchen feel unkempt. Unlike fresh splatters that wipe away with a damp cloth, these stubborn marks form when cooking grease oxidizes and binds to porous wall surfaces over months or years of use. This guide covers safe, tested methods for every common kitchen wall type, ordered from gentlest to most heavy-duty, plus actionable tips to stop stains from coming back for good.
Why Old Grease Stains Are Harder to Remove
Fresh cooking grease sits on top of wall paint or wallpaper, so it can be removed with a simple wipe before it sets. But old, oxidized grease seeps into the porous surface of painted drywall, gets trapped in the texture of wallpaper or grout, and even binds to the paper layer of drywall itself. Over time, this grease also mixes with airborne kitchen dust and particles, darkening stains and making them far harder to lift. A splatter of bacon grease behind your stove might be easy to clean when fresh, but left for 6+ months, it will form a crusty, sticky residue that no regular all-purpose cleaner can fully remove. For more on this, see our guide on how to remove grease stains from painted kitchen.
Identify Your Wall Type First
Using the wrong cleaning method can permanently damage your walls, so confirm what type of surface you’re working on before you start. Common kitchen wall types and their cleaning considerations include:
- Painted drywall: Satin or semi-gloss finishes are moisture-resistant and durable; matte finishes are more porous and sensitive to harsh cleaners and over-wetting.
- Wallpaper: Vinyl or washable wallpaper can handle light damp cleaning; uncoated paper wallpaper will warp, peel, or stain if exposed to liquid.
- Tile/stone: Sealed ceramic or porcelain tile is highly durable; unsealed natural stone (marble, travertine) can be etched by acidic cleaners like vinegar.
- Brick: Sealed brick is easy to clean; unsealed porous brick requires pH-neutral cleaners to avoid permanent discoloration. If you’re unsure of your wall type, test any cleaner in an inconspicuous spot (like behind a cabinet) first.
Gather Your Supplies
Having the right products and tools on hand will save you time and prevent damage to your walls. Stock up on these items before you start cleaning:
Gentle Cleaning Agents
For light to medium stains, pantry staples are often all you need:
- 5% household white vinegar (standard grocery store variety works perfectly)
- Mild degreasing dish soap (avoid moisturizing or heavily scented varieties, which leave sticky residue)
- Baking soda
- Warm distilled water (tap water can leave hard water streaks on walls)
Heavy-Duty Degreasers
For severe baked-on grease, opt for a commercial degreaser labeled safe for your wall type. Citrus-based degreasers are a low-toxicity option that cuts through grease without harsh solvents. Avoid products with bleach, ammonia, or undiluted acid, which can strip paint or discolor surfaces. For guidance on selecting non-toxic cleaning products that won’t harm your family or home finishes, the U.S. Environmental Protection Agency offers a curated list of safer cleaning options and best practices for indoor use EPA Safer Cleaning Products and Practices.
Tools & Safety Gear
- Soft-bristled scrub brush or non-abrasive sponge
- Lint-free microfiber cloths
- Spray bottle
- Small bucket
- Rubber gloves
- Drop cloth or old towel to protect floors from drips
- Safety goggles (if using commercial degreasers)
Test All Solutions Before Full Use
Even gentle cleaners can damage delicate wall finishes if left unmonitored. Follow these steps for a safe patch test:
- Select a 1×1 inch hidden area, such as behind a light switch plate or cabinet.
- Apply the diluted cleaning solution with a cloth—do not saturate the surface.
- Wait 15 minutes, then wipe away the solution and check for discoloration, peeling paint, texture changes, or water rings.
- If no damage appears, the cleaner is safe to use on the full stain. If you notice any changes, switch to a milder solution (plain warm water with a drop of dish soap) or a product formulated for your specific wall type. Matte paint is far more sensitive to cleaning solutions than satin or semi-gloss, so always test first if you have matte walls. For more on this, see our guide on how to remove grease from walls in kitchen.
Step-by-Step Methods for Set-In Grease Stains
Start with the gentlest method for your wall type, and only move to stronger solutions if the stain persists.
1. Gentle Dish Soap Method (for light to medium stains on all wall types except unsealed stone)
This method works for most older stains that haven’t fully penetrated the wall surface:
- Mix 1 tablespoon of degreasing dish soap with 2 cups of warm distilled water in a spray bottle or bucket.
- Lightly spray or dab the solution onto the grease stain—do not soak the wall.
- Let it sit for 5 minutes to break down grease bonds.
- Wipe the area with a clean, damp microfiber cloth, using gentle circular motions. Avoid hard scrubbing, which can wear away paint over time.
- Wipe a second time with a cloth dampened with plain warm water to remove soap residue.
- Dry immediately with a clean, dry microfiber cloth to prevent water spots or moisture damage.
2. Vinegar & Baking Soda Boost (for medium to dark, crusty stains on painted drywall, tile, and sealed brick)
The mild acidity of vinegar dissolves grease, while baking soda acts as a gentle abrasive to lift stuck-on residue:
- Mix equal parts 5% white vinegar and warm distilled water in a spray bottle.
- Spray the solution directly onto the grease stain, saturating the crusty residue but not soaking the underlying wall.
- Sprinkle a thin layer of baking soda over the wet stain. The mixture will fizz gently, lifting grease from the surface.
- Let the mixture sit for 10 minutes, then gently scrub with a soft-bristled brush or non-abrasive sponge in circular motions.
- Wipe away all residue with a damp microfiber cloth, then dry thoroughly. Warning: Do not use this acidic mixture on unsealed natural stone, unsealed brick, or uncoated wallpaper, as it can cause etching or discoloration.
3. Citrus Degreaser for Severe, Baked-On Grease
For heavy, long-term buildup that natural cleaners can’t lift, use a commercial citrus-based degreaser:
- Choose a product labeled safe for your wall type, and follow all label instructions for use and ventilation.
- Apply the degreaser directly to the stain, either by spraying or dabbing it on with a cloth.
- Let it sit for 10–15 minutes to break down baked-on grease. For extra-stubborn stains, cover the area with a damp cloth to keep the degreaser from drying out.
- Scrub gently with a soft-bristled brush, then wipe away all cleaner residue with a damp cloth.
- Dry the wall completely with a clean microfiber cloth. Tip: Open windows or run your range hood while using commercial degreasers to avoid inhaling fumes.
4. Specialty Solutions for Tile Grout, Brick, and Wallpaper
- Tile grout: Use a dedicated grout brush and a paste of baking soda and 3% hydrogen peroxide to scrub grease out of grout lines, then rinse and seal the grout if needed to prevent future staining.
- Unsealed brick: Use a pH-neutral cleaner diluted with warm water, scrub with a soft brush, and avoid acidic products that can discolor the brick.
- Wallpaper: Only use a barely damp microfiber cloth with a drop of mild dish soap; never spray liquid directly on wallpaper, as it can cause warping or peeling. For stubborn stains, use a wallpaper-safe cleaning product tested in an inconspicuous spot first.
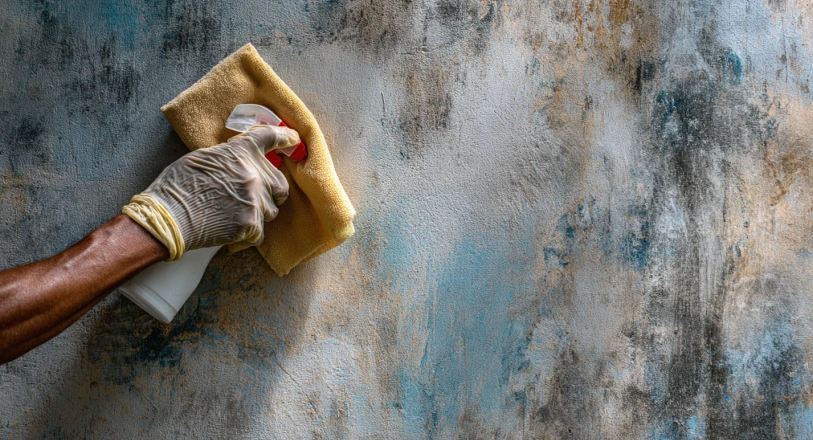 Fresh grease is easy to wipe away, while old oxidized grease binds to porous wall surfaces, requiring deeper cleaning methods to remove.
Image source: www.nobroker.in
Fresh grease is easy to wipe away, while old oxidized grease binds to porous wall surfaces, requiring deeper cleaning methods to remove.
Image source: www.nobroker.in
Scrubbing & Wiping Best Practices
University of Minnesota Extension home cleaning guidelines note that over-saturation is the leading cause of avoidable wall damage during cleaning, as excess moisture can seep into drywall and cause swelling, staining, or mold growth behind paint Cleaning Walls and Ceilings Guide. Avoid these common mistakes:
- Never use abrasive scrub pads (steel wool, rough scouring pads), as they will scratch paint and leave permanent marks on walls.
- Never oversaturate the wall with cleaning solution; excess moisture causes water damage to drywall and promotes mold growth.
- Always scrub from the top of the stain downward, so drips of cleaning solution or grease do not re-stain clean areas below the target spot.
- Use light, circular motions with a soft brush or sponge; hard scrubbing will wear away paint over time. After scrubbing, wipe the entire area with a clean, damp cloth to remove all cleaning residue, then dry immediately with a clean, dry microfiber towel. If any stain remains after the first treatment, repeat the process once more before moving to a stronger cleaning method.
 A spray bottle ensures even coverage of the vinegar solution without over-wetting the wall, which can cause water damage.
Credit: www.youtube
A spray bottle ensures even coverage of the vinegar solution without over-wetting the wall, which can cause water damage.
Credit: www.youtube
When to Clean, and When to Repaint
Some old grease stains cannot be fully removed, even with heavy-duty cleaning. If the grease has bleached the paint, penetrated the drywall paper, or left a permanent discoloration, scrubbing will only wear away the surrounding paint. In this case, the most effective long-term solution is to spot-prime the area with a stain-blocking primer (look for products labeled to cover grease and water stains) before repainting to match the rest of your wall. This prevents the old grease from bleeding through the new paint and causing new stains later.
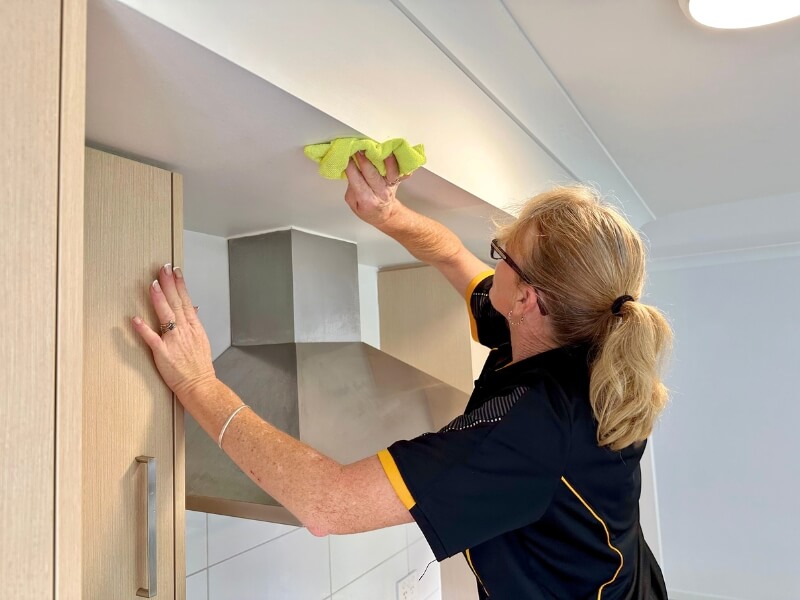 For severe, long-term buildup, a soft-bristled brush and targeted degreaser are the most effective tools for lifting stains without damaging paint.
Credit: www.maid2match.com.au
For severe, long-term buildup, a soft-bristled brush and targeted degreaser are the most effective tools for lifting stains without damaging paint.
Credit: www.maid2match.com.au
Prevent Future Grease Buildup
The easiest way to remove old grease stains is to prevent them from forming in the first place. Try these proven, low-effort habits:
- Install a range hood that vents directly outside your home (not a recirculating model) to capture 90% of airborne grease particles before they settle on your walls. Clean your range hood filter monthly with warm soapy water to keep it working effectively.
- Place a heat-resistant, washable silicone or metal backsplash directly behind your stove and cooktop. These barriers catch splatters before they hit the wall, and can be wiped down in 30 seconds after cooking.
- Wipe kitchen walls weekly with a dry microfiber cloth to pick up light dust and fresh grease splatters before they have time to set and oxidize.
- When frying or sautéing foods that produce a lot of splatter, use a splatter guard to contain grease particles.
- If you do frequent high-heat cooking, consider using a clear, washable matte paint on your kitchen walls, which creates an extra barrier against grease and is easier to wipe clean than standard flat paint.
Frequently Asked Questions
Can I use bleach to remove kitchen grease stains?
No. Bleach is not effective at breaking down grease, and it can permanently discolor painted walls, strip wallpaper adhesive, and damage tile grout. Stick to degreasing cleaners or natural options like vinegar and dish soap for safe, effective results.
Will vinegar damage my painted kitchen walls?
Diluted white vinegar (mixed 1:1 with water) is safe for most painted walls, but always patch test first. Avoid using undiluted vinegar, as its high acidity can wear away matte paint finishes over time. Do not use vinegar on unsealed natural stone, uncoated brick, or unsealed wood.
How do I remove grease stains from kitchen wallpaper?
Only use a barely damp microfiber cloth with a drop of mild dish soap; never spray liquid directly on wallpaper, as it can cause warping, peeling, or discoloration. For stubborn stains, use a wallpaper-safe cleaning product, and always test in an inconspicuous area first.
Why does grease come back after I clean my kitchen walls?
If grease keeps reappearing after cleaning, it is likely seeping through the drywall from the other side (for example, from a vent or pipe behind the wall), or the stain has penetrated the drywall paper. In this case, scrubbing the surface will not fix the issue; you will need to identify and seal the source of the grease, or spot-prime and repaint the area with a stain-blocking primer.
Once your grease stains are gone, if you’re planning a full kitchen refresh to match new cabinet finishes, check out our guides to wall colors that pair with green kitchen cabinets or brown kitchen cabinets for a cohesive, welcoming space. If you’re tackling other kitchen upgrade projects, like removing an old wall-mounted kitchen faucet for a new sink fixture, we have step-by-step guides to help you complete the job safely and correctly.