How to Prep Kitchen Walls for Painting: Ultimate Step-by-Step Guide
A fresh coat of paint can transform a dated, cramped kitchen into a bright, welcoming space—but only if you start with properly prepped walls. Unlike other rooms in your home, kitchen walls face constant exposure to cooking grease, steam, food splatters, and frequent scrubbing, making surface preparation even more critical to avoid peeling, stain bleed-through, or an uneven finish within a year or two of painting. This guide walks you through every professional-grade prep step, from deep degreasing to final taping, to ensure your kitchen paint job looks flawless and lasts for 5+ years even with regular cleaning. We’ll also share common mistakes to avoid and product recommendations tailored to kitchen-specific wear and tear, so you can skip costly DIY mishaps and get professional results on your first try.
If your home was built before 1978, test for lead paint before sanding or scraping walls, and follow EPA lead-safe painting guidelines to avoid hazardous lead dust exposure. For more on this, see our guide on how to prep greasy kitchen walls for painting.
Why Kitchen Wall Prep Is Non-Negotiable
Kitchen walls endure far more abuse than living room or bedroom walls: stovetop grease coats surfaces near cooking areas, steam from dishwashers and kettles creates consistent humidity, and food splatters leave sticky, hard-to-remove residue. Even if walls look clean to the naked eye, invisible grease and grime will prevent paint from adhering properly, leading to peeling, bubbling, or stain bleed-through within months of application. Proper prep eliminates these risks, reduces the number of touch-ups you’ll need later, and ensures your paint job holds up to daily scrubbing and cooking messes for years. Skipping even one step—like degreasing or priming—can turn a simple weekend project into a costly, time-consuming redo.
Gather Your Tools and Supplies
Having all supplies ready before you start saves time and prevents mid-job trips to the hardware store. Skip cheap, low-quality tools: they will lead to uneven results and extra work. For kitchen-specific prep, prioritize products designed to handle grease, moisture, and heavy wear. For more on this, see our guide on how to prepare kitchen walls for painting.
Essential Painting Supplies
- Canvas drop cloths (non-slip, more durable than plastic sheeting) to protect floors
- High-quality painter’s tape (e.g., ScotchBlue or FrogTape) for trim, outlets, and fixtures
- Spackling compound for small holes and cracks; setting-type joint compound for larger damage
- 2-inch putty knife for applying filler
- Sandpaper in 120-grit (for patched areas) and 220-grit (for final wall smoothing)
- TSP substitute (trisodium phosphate alternative) or dedicated kitchen degreaser for heavy grease
- Non-abrasive sponges and microfiber cloths
- Bucket with warm water
- Stain-blocking, moisture-resistant primer (shellac-based for severe stains, water-based for light prep)
- 3/8-inch nap roller for large flat areas; 2-inch angled brush for edges and corners
- Shop vac with brush attachment for fast dust removal
Safety Gear To Wear
- Nitrile gloves to protect skin from degreasers and paint
- Safety goggles to protect eyes from dust and splashes
- N95 dust mask to avoid inhaling dust, paint fumes, or (in older homes) lead particles
- Old clothes or a disposable painting apron to keep paint off skin
- Non-slip shoes to prevent falls on covered floors
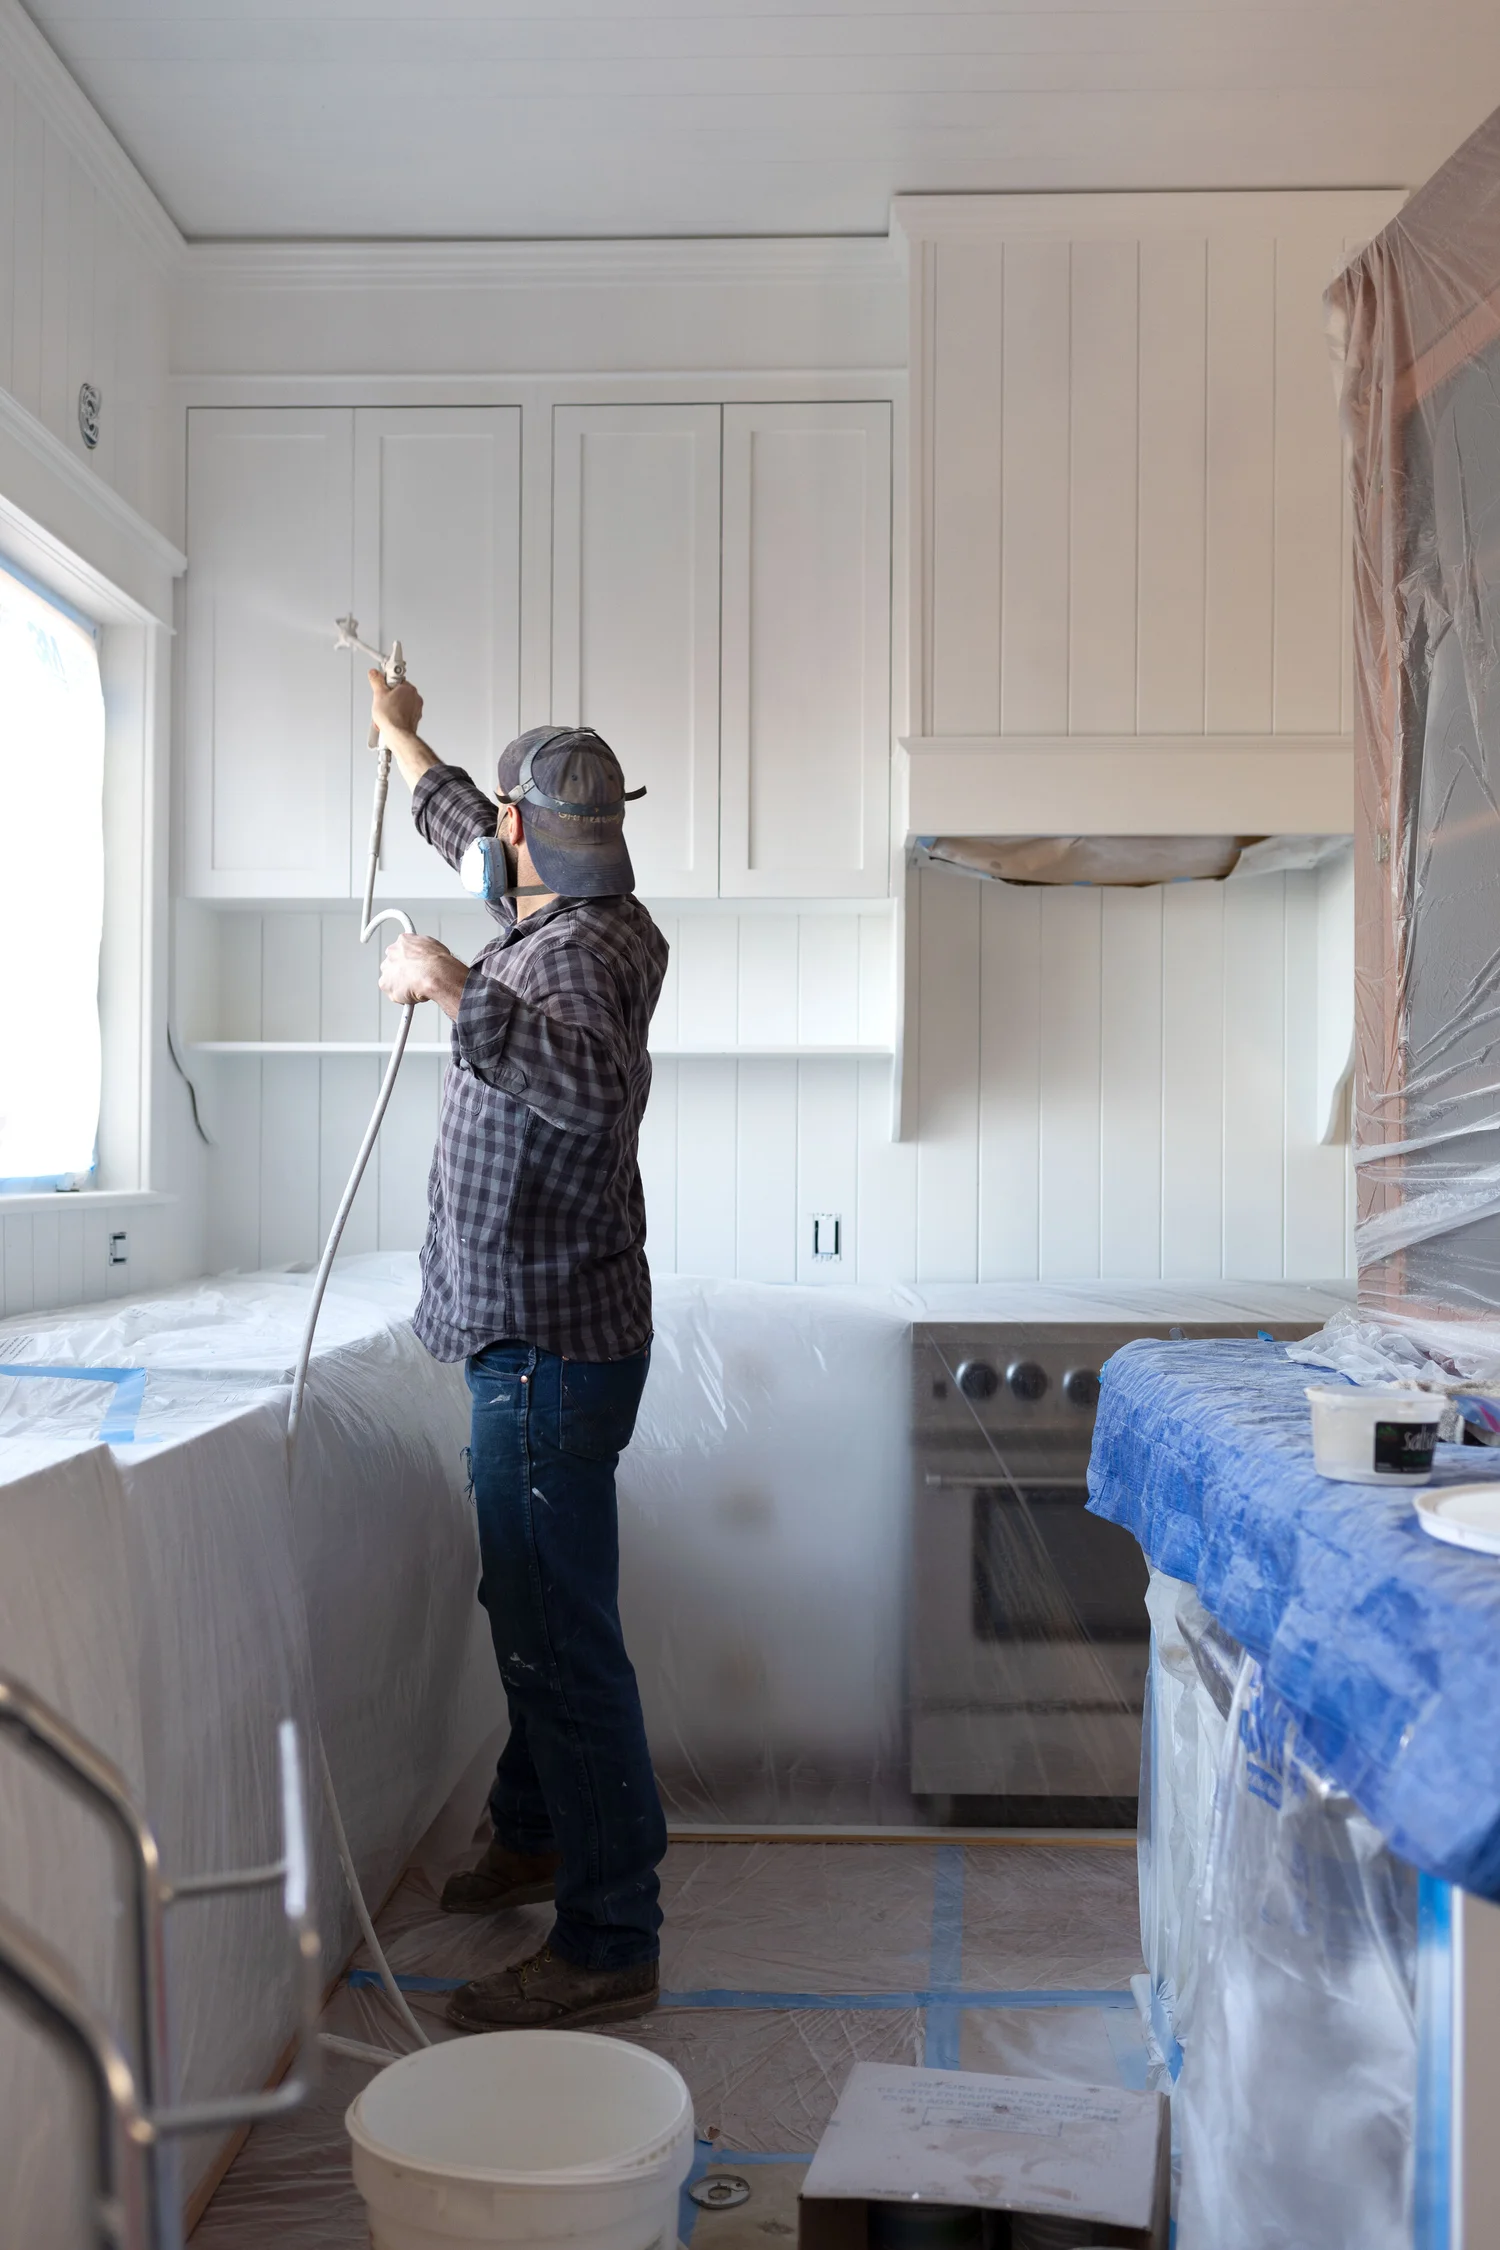
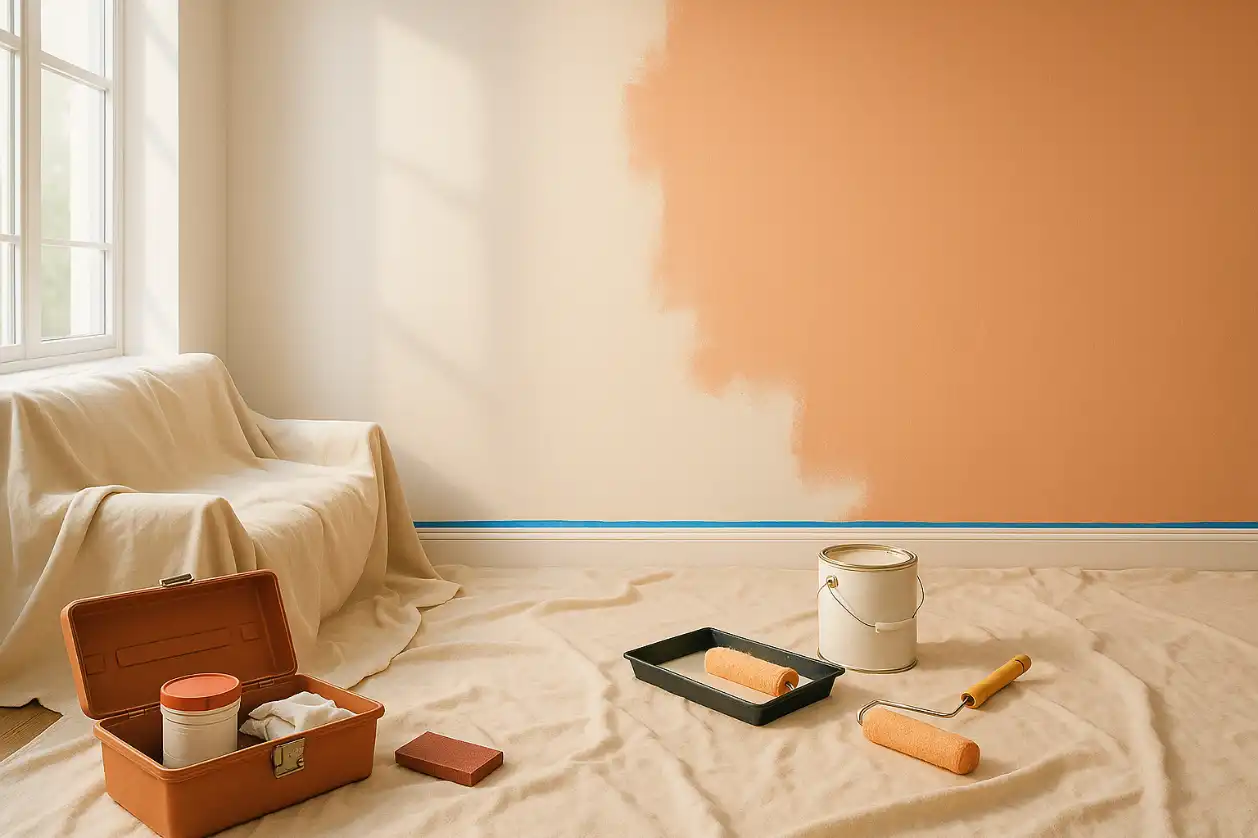 Having all tools within reach before you start cuts down on mid-job trips to the hardware store and keeps your workflow smooth.
Image source: www.cardinaldecor.com
Having all tools within reach before you start cuts down on mid-job trips to the hardware store and keeps your workflow smooth.
Image source: www.cardinaldecor.com
Clear and Protect Your Kitchen Space
Protecting your kitchen’s fixtures and finishes is just as important as prepping the walls themselves. A single paint splatter on a hardwood floor or stainless steel appliance can take hours to remove, so take the time to cover all vulnerable surfaces before you start working.
Remove Wall-Mounted Items
Take down all wall-mounted items first: pictures, clocks, shelves, hooks, cabinet hardware, light switch plates, outlet covers, and even removable cabinet doors if you plan to paint those as part of your refresh. Store fragile items in a safe, out-of-the-way location to avoid breakage. Remove pendant lights and other hardwired fixtures entirely, rather than covering them with tape, to avoid paint seeping into electrical components. For more on this, see our guide on how to clean kitchen walls for painting.
Cover Surfaces and Fixtures
Lay canvas drop cloths over all floors, overlapping the edges by 6 inches to avoid gaps. For countertops and appliances, use moving blankets or thick cardboard secured with painter’s tape to prevent dents and scratches. Cover outlets and switches with plastic outlet covers, not just tape, to keep paint out of electrical components. For hardwood floors, add a layer of rosin paper under the drop cloth to prevent moisture from seeping into the wood. A common mistake is using plastic sheeting for floors: it is slippery and can shift during painting, creating tripping hazards and leading to accidental spills.
Deep Clean Kitchen Walls to Remove Grease and Grime
Grease is the biggest enemy of a long-lasting kitchen paint job. Even if walls look clean, invisible grease residue will prevent paint from adhering, leading to peeling and staining within months. This step is non-negotiable for any kitchen wall project. For more on this, see our guide on how to clean grease off kitchen walls before.
Test for Grease Residue
Rub a clean white cloth over a 12×12 inch section of wall. If the cloth comes away yellowed, greasy, or sticky, your walls have built-up residue that requires more than just soap and water to remove.
Degrease Heavily Soiled Areas
For light grease buildup, mix warm water with a few drops of dish soap or a TSP substitute, and scrub with a non-abrasive sponge, working from the bottom up to avoid drips. For heavy, caked-on grease behind stoves, near range hoods, or above sinks, use a dedicated kitchen degreaser: spray it on the surface, let it sit for 2-3 minutes per the product instructions, then scrub with a non-scratch sponge. For a natural, food-safe option, mix 1 part white vinegar with 2 parts warm water—this cuts through grease without leaving harsh chemical residues near cooking surfaces. Avoid all-purpose cleaners with oils or added fragrances, as they leave a waxy residue that prevents paint adhesion. For more on this, see our guide on what to clean kitchen walls with before painting.
Rinse and Dry Completely
Rinse the walls with a clean, damp microfiber cloth, changing the rinse water frequently to avoid spreading grease around. Let walls dry completely before moving on: use a fan to speed up drying in humid climates, as even slightly damp walls will cause paint to bubble and peel.
Repair All Wall Imperfections
Small holes, cracks, and dents may seem insignificant, but they will show through fresh paint, especially under bright kitchen lighting. Taking the time to repair all damage ensures a smooth, professional finish.
Fix Small Holes and Cracks
For nail holes from previous wall hangings and hairline cracks from house settling, use a lightweight spackling compound. Apply it with a 2-inch putty knife, pressing firmly into the hole or crack, then scrape off excess compound so the patch is flush with the surrounding wall. Let the spackle dry for 1-2 hours, then sand smooth with 120-grit sandpaper.
Repair Larger Damage and Water Stains
For holes larger than 1 inch, soft water-damaged areas, or cracks wider than 1/8 inch, use a setting-type joint compound, which dries harder and is more durable than spackle. For cracks, embed fiberglass mesh tape in the first layer of joint compound to prevent the crack from re-opening as your home settles. Apply joint compound in thin layers, letting each layer dry completely (usually 24 hours) before sanding, to avoid shrinkage. For water-stained areas, apply a coat of stain-blocking primer first to seal the stain before filling and sanding.
Sand, Smooth, and Remove All Dust
Sanding is the step most DIYers skip, but it is critical for a flawless finish. Rough patched areas and minor wall imperfections will show through paint, creating a textured, unprofessional look.
Sand Patched Areas First
Use 120-grit sandpaper to sand all patched areas until they are completely flush with the surrounding wall. Apply light, even pressure to avoid creating divots in the wall surface.
Sand the Entire Wall Surface
Use 220-grit sandpaper to lightly sand the entire wall surface. This creates a rough "tooth" for primer and paint to grip, and removes minor imperfections you may have missed during repair. Sand in a circular motion, covering every section of the wall evenly. Avoid coarse grit sandpaper (below 120-grit), as it will create deep scratches that show through paint.
Remove All Dust Thoroughly
Vacuum the entire wall surface with a shop vac and brush attachment to remove loose dust, then wipe the walls with a tack cloth or slightly damp microfiber cloth to pick up any remaining fine dust. A common mistake is skipping the final dust wipe, which leads to a gritty, textured paint finish and poor adhesion. For homes built before 1978, follow EPA lead-safe painting guidelines when sanding to avoid hazardous lead dust exposure. For general interior prep best practices, the University of Minnesota Extension recommends using a tack cloth after vacuuming to remove all fine dust that can interfere with paint adhesion.
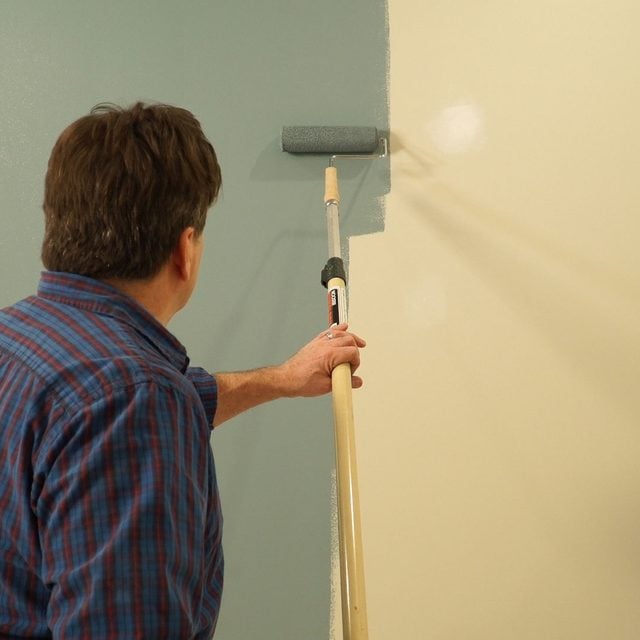 A thin, even coat of stain-blocking primer seals the wall surface and prevents existing grease or water stains from bleeding through your new paint.
Image source: www.familyhandyman.com
A thin, even coat of stain-blocking primer seals the wall surface and prevents existing grease or water stains from bleeding through your new paint.
Image source: www.familyhandyman.com
Prime for Maximum Adhesion and Stain Blocking
Priming is not an optional extra step for kitchen walls: it is the key to a long-lasting, even paint finish. Primer seals the wall surface, blocks existing stains from bleeding through new paint, and helps paint adhere to glossy or previously painted surfaces.
Choose the Right Primer for Your Kitchen
Select a primer based on your wall’s condition:
| Primer Type | Best For Kitchen Walls | Drying Time (Water-Based) |
|---|---|---|
| Water-based stain-blocking primer | Light grease stains, unstained drywall, light color changes | 2-3 hours |
| Shellac-based primer | Heavy grease, water stains, dark paint, glossy existing paint | 1-2 hours |
| Bonding primer | Glossy or previously oil-painted walls | 2-3 hours |
If you are only patching small areas, you can spot-prime just the patched spots instead of priming the entire wall to save time. For large stain areas or dark color changes, prime the entire wall for even coverage. While all-in-one primer-paint products cut down on steps, they rarely have the stain-blocking power needed for kitchen walls, so a separate primer step is worth the extra 1-2 hours of work for a finish that lasts 3+ years longer.
Apply Primer Evenly
Use a 3/8-inch nap roller for large flat areas, and a 2-inch angled brush for corners, edges, and areas around trim. Apply thin, even coats: thick primer will crack as it dries and lead to an uneven paint finish. Let the primer dry completely (2-4 hours for water-based, 4-6 hours for shellac-based) before moving on to the next step.
Final Pre-Painting Checks and Taping
The final prep steps ensure crisp, clean lines and a flawless finish, with no accidental paint splatters on trim, outlets, or fixtures.
Do a Final Wall Inspection
Hold a flashlight parallel to the wall surface to catch any remaining rough spots, unpatched holes, or dust. Fix any issues before moving on: even small imperfections will be magnified by fresh paint in bright kitchen lighting. Run your hand over the entire wall to confirm it is completely smooth to the touch.
Apply Painter's Tape Correctly
Use high-quality painter’s tape designed for delicate surfaces to avoid peeling off existing paint when removed. Press the tape down firmly along all baseboards, window frames, door trim, and where walls meet ceilings and cabinets, using a putty knife to seal the edges to prevent paint bleed. Cover outlet and switch plates with plastic covers, not just tape, to keep paint out of electrical components. For the cleanest lines, remove painter's tape while the paint is still slightly tacky (1-2 hours after application) to avoid peeling off dry paint and creating ragged edges.
Frequently Asked Questions
How do I clean kitchen walls before painting?
Start by testing for grease residue: rub a clean white cloth over the wall surface. If the cloth comes away yellowed or greasy, you’ll need more than just soap and water to remove buildup. For light grease, mix warm water with dish soap or a TSP substitute and scrub with a non-abrasive sponge. For heavy grease, use a dedicated kitchen degreaser, let it sit per product instructions, then scrub. Rinse thoroughly with clean water, let walls dry completely, then move to the next step.
Should I repair holes and cracks before painting?
Yes. Even small nail holes and hairline cracks are magnified by bright kitchen lighting and will show through fresh paint. Fill all damage with spackle or joint compound, let dry, then sand smooth until the patch is flush with the wall. For cracks wider than 1/8 inch, use fiberglass mesh tape embedded in joint compound to prevent re-opening as your home settles.
Is priming necessary for kitchen wall painting?
Priming is non-negotiable for most kitchen wall projects. It improves paint adhesion, blocks existing grease, water stains, or dark paint from bleeding through your new color, and ensures even coverage with fewer coats. You can skip priming only for unstained, uncoated drywall in good condition; for all other kitchen walls, a dedicated primer will save you time and money long-term.
What type of paint is best for kitchen walls?
Satin or semi-gloss paint is ideal for most kitchens: these finishes are moisture-resistant, durable, and easy to wipe clean of food splatters and grease. For low-ventilation kitchens, opt for a low-VOC paint formula to reduce fumes during application and drying.
How long should I wait to paint after prepping kitchen walls?
Let primer dry fully per product instructions (2-4 hours for water-based, 4-6 hours for shellac-based) and ensure walls are completely dry to the touch. In humid climates, wait 24 hours after cleaning to ensure no moisture is trapped behind the paint, which can cause bubbling and peeling.
Do I need to sand glossy kitchen walls before painting?
Yes. Light sanding with 220-grit sandpaper creates a rough surface for new paint to grip, preventing peeling and flaking. After sanding, wipe walls with a tack cloth to remove all dust before priming. Skipping this step will cause even high-quality paint to fail to adhere to glossy surfaces.
Can I paint over kitchen wallpaper?
Only if the wallpaper is fully adhered, in good condition, and made of non-porous vinyl. Remove any peeling sections first, sand the surface lightly, and apply a stain-blocking primer to seal the wallpaper. For porous, old, or peeling wallpaper, full removal is recommended, as paint will almost always peel off loose wallpaper within months.
Conclusion
Proper kitchen wall prep is the difference between a paint job that looks great for months and one that stays flawless for years, even with daily wear and tear from cooking, cleaning, and family life. By taking the time to degrease, repair, sand, and prime your walls, you’ll eliminate common paint failures like peeling, stain bleed-through, and uneven color, and get a professional-grade finish without hiring a contractor. Once your walls are prepped, the next step is choosing the perfect paint color to match your kitchen’s style: if you’re working with green cabinetry, our guide to pairing paint with green kitchen cabinets offers curated, designer-approved palettes, while wall colors that complement brown kitchens will help you create a warm, cohesive space. Gather your supplies, work through each step carefully, and enjoy the stunning, long-lasting results of your DIY kitchen refresh.