How to Clean Oil in Kitchen Wall: Easy Hacks for a Spotless Shine
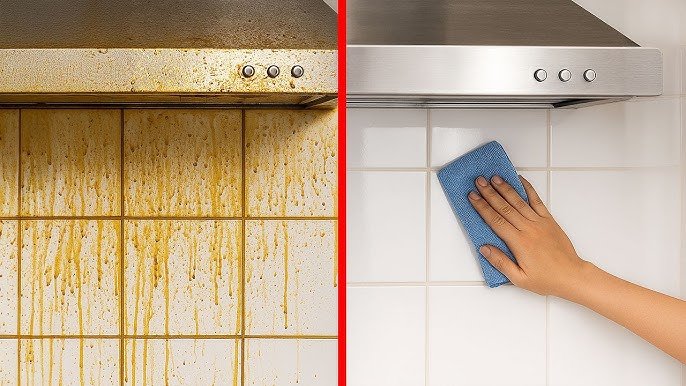
Stubborn grease streaks on your kitchen walls don’t just look unsightly—they trap dust, cooking odors, and bacteria, making your entire cooking space feel less sanitary. Even if you wipe down countertops daily, airborne oil from sautéing, searing, or even boiling pasta can settle on walls near your cooktop, forming a sticky, hard-to-remove film over time. The good news? Removing kitchen wall grease doesn’t require harsh chemicals or hours of scrubbing. This guide covers quick fixes for fresh splatters, natural and commercial solutions for set-in stains, step-by-step deep cleaning methods for every wall type, and simple habits to stop grease from coming back. Whether you have painted drywall, tile backsplashes, or wallpaper, you’ll have a spotless, shiny kitchen wall in no time.
Why Kitchen Walls Get Greasy in the First Place
Kitchen grease isn’t just random dirt—it’s a byproduct of heated cooking fats that aerosolize, combine with food particulates, and condense on cooler wall surfaces, usually within 3 feet of your cooktop. Unlike regular dust, grease is sticky, so it traps airborne particles and odors, building up in thick, unsightly layers over time if left unaddressed.
How Cooking Releases Grease Into the Air
Any cooking method that uses oil or fat—frying, sautéing, searing, even roasting meat—releases tiny oil droplets into the air when heated past its smoke point. These droplets are lightweight, so they travel upward and stick to cooler wall surfaces, creating a faint greasy film that gets thicker with every cooking session. Even non-frying cooking, like boiling pasta with added oil, can release enough aerosolized fat to cause minor buildup over weeks.
The Role of Poor Ventilation
Without proper airflow, these oil particles stay suspended in your kitchen air instead of being pulled outside, giving them more time to settle on walls, ceilings, and cabinet fronts. A common mistake many homeowners make is relying on a recirculating range hood that just filters air and blows it back into the kitchen—these remove less than 30% of airborne grease, per U.S. Environmental Protection Agency guidance. Only hoods that vent directly to the exterior make a meaningful difference in reducing grease buildup.
Why Frequent Cooking Makes Buildup Worse
If you cook 3 or more times a week, even light grease splatters will add up fast. Walls directly behind your stove or next to a deep fryer are the most affected, often developing thick, sticky layers within 6 months of regular use. Small spills and splashes that are left to dry harden into grime that’s far harder to remove than fresh oil.
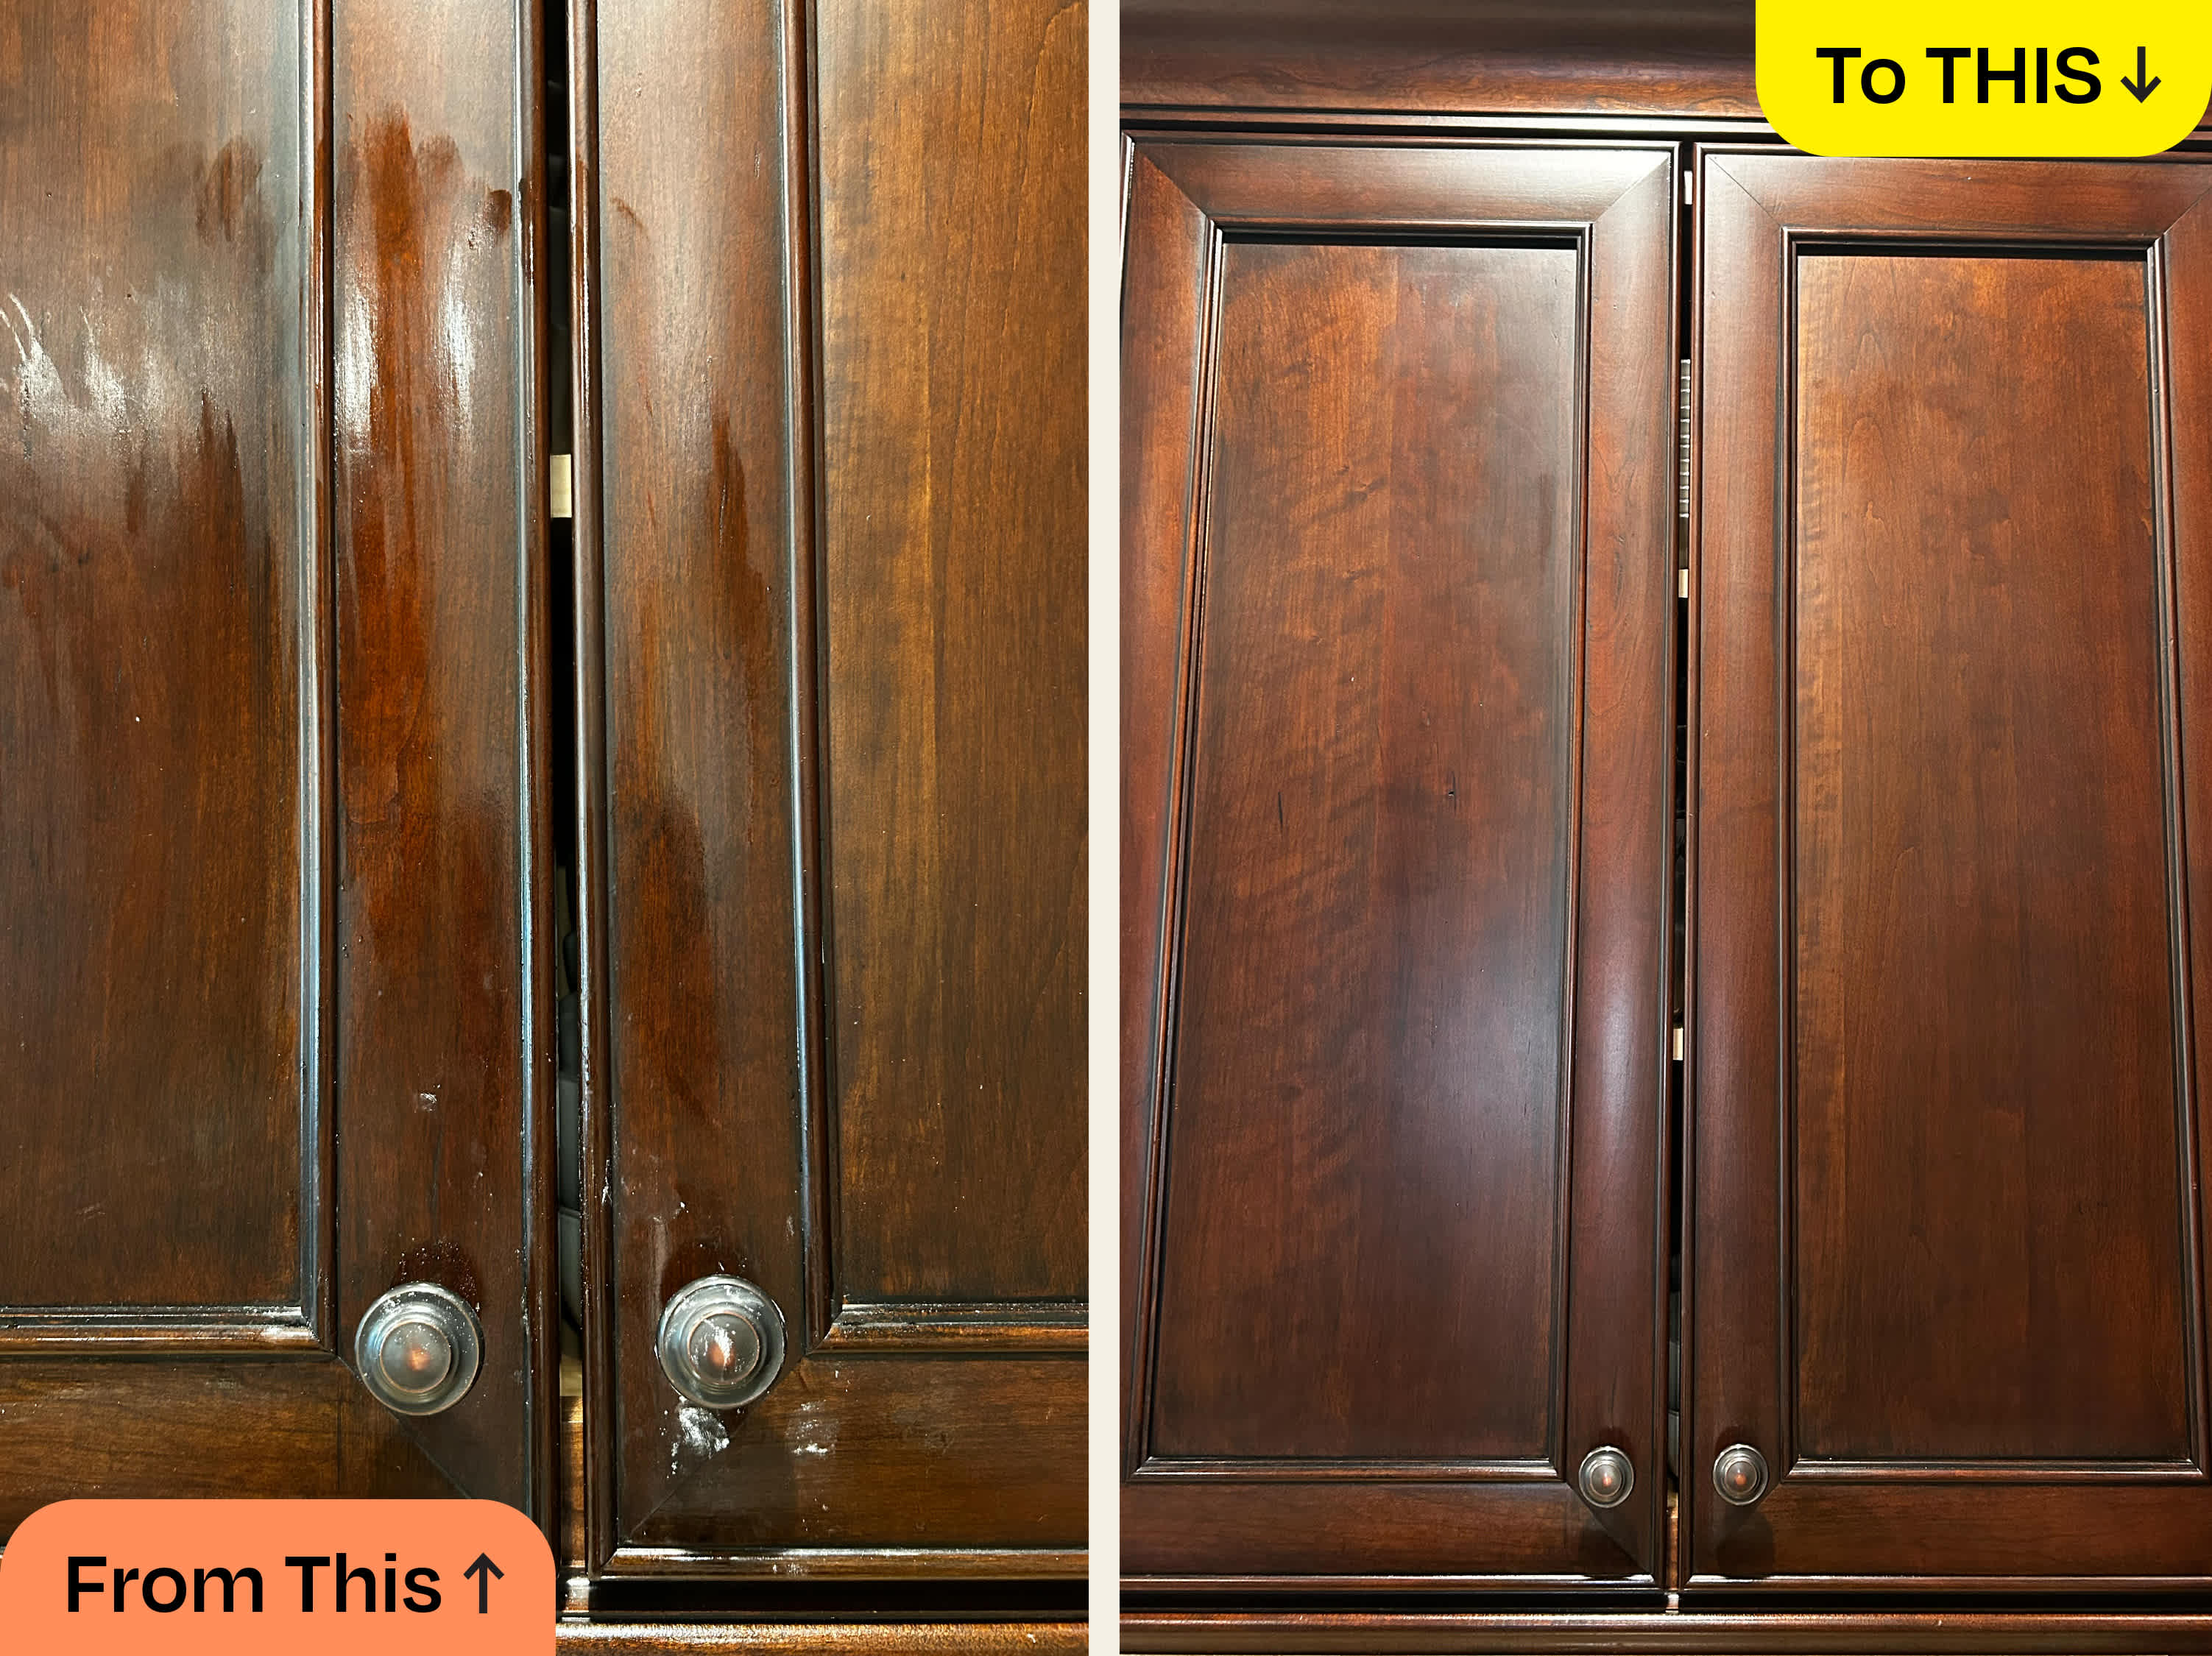 Unventilated cooking areas develop thick, sticky grease layers within months
Essential Cleaning Supplies
Using the right tools makes removing grease far easier and prevents accidental damage to your wall finish. Avoid harsh scrubbers, ammonia-based cleaners, and hot water, all of which can discolor paint, peel wallpaper, or spread grease further into porous surfaces.
Must-Have Tools
- Microfiber cloths: Traps grease far better than cotton cloths, which just push oil around. Keep a stack on hand for quick spot cleaning.
- Soft-bristle scrub brush: An old, clean toothbrush works perfectly for small spots or textured wall finishes. Avoid steel wool or rough scouring pads, which leave permanent scratches on painted surfaces.
- Spray bottle: Lets you control how much cleaning solution you use, preventing over-wetting of drywall (which can cause water stains or mold growth).
- Rubber gloves: Protect your skin from grime and cleaning agents, especially if you have sensitive skin or are using commercial degreasers.
- Drop cloths or old towels: Catch drips to protect your floors and countertops during deep cleaning.
Natural Cleaning Ingredients
For light to medium grease, you likely already have everything you need in your pantry: white distilled vinegar, baking soda, fresh lemons, and mild dish soap (formulated to cut grease, like Dawn). These are non-toxic, low-odor, and safe for homes with children or pets.
What to Avoid Using on Walls
- Harsh solvents (acetone, paint thinner): Can peel paint or discolor wallpaper.
- Abrasive cleaners (commercial scouring powders): Scratch painted and finished surfaces.
- Hot water: Melts grease, spreading it further into wall pores instead of lifting it.
- Bleach: Can discolor paint and damage wallpaper adhesives.
 Soft microfiber cloths and gentle cleaners prevent damage to wall finishes
Quick Fixes for Fresh Oil Splatters
The key to removing fresh oil spots is speed: if you catch a splatter within 5 minutes of it hitting the wall, you’ll remove 90% of the grease with minimal effort. A common mistake people make is rubbing the spot immediately, which pushes the oil deeper into the paint’s pores, making the stain almost impossible to remove later.
- Blot first: Use a dry paper towel to blot up any excess oil from the surface—don’t rub.
- Mix your solution: Combine 1 tsp mild grease-cutting dish soap with 2 cups warm (not hot) water in a spray bottle.
- Apply to cloth, not wall: Spray a small amount of solution onto a clean microfiber cloth, then gently wipe the spot in circular motions. Avoid spraying directly on drywall to prevent over-wetting.
- Blot dry: Use a second clean, dry cloth to pat the area dry immediately to avoid water spots.
This method works for 90% of fresh splatters on all wall types, as long as you act quickly.
Natural Cleaning Solutions for Set-In Grease
For grease that’s been sitting for a few days to a few weeks, natural cleaning solutions are just as effective as commercial products, with none of the harsh fumes or chemical residue. Always test any solution on a small, hidden area of your wall first to ensure it doesn’t damage your finish.
Vinegar and Baking Soda Paste
Baking soda acts as a mild abrasive to lift grease, while white vinegar’s acidity dissolves oily residue. Mix 3 parts baking soda with 1 part warm water to form a thick paste, apply it to the grease spot, and let it sit for 10–15 minutes. For extra power, spray a small amount of white vinegar over the paste to activate the fizzing action, then gently scrub with a soft-bristle brush and wipe clean with a damp cloth. This solution is safe for tile, sealed stone, and semi-gloss painted walls (avoid on matte paint, which can be discolored by vinegar over time).
Lemon Juice and Salt Scrub
Citric acid in lemon juice breaks down grease effectively, while coarse salt adds gentle scrubbing power without scratching surfaces. Mix the juice of 1 lemon with 2 tbsp coarse salt, apply to the grease spot, and let it sit for 5 minutes. Scrub gently with a soft cloth, then wipe with a damp cloth and pat dry. This solution leaves a fresh, light citrus scent and is safe for all wall types when tested first.
Castile Soap Solution
For delicate surfaces like matte painted drywall or non-washable wallpaper that can’t handle vinegar, use a pH-neutral castile soap solution. Mix 1 tbsp liquid castile soap with 2 cups warm water, apply to a cloth, and wipe the grease spot gently. This formula cuts through light to medium grease without damaging paint or wallpaper adhesives.
Commercial Cleaners for Heavy, Months-Old Grease
If grease has been building up for 6 months or longer, natural solutions may require too much scrubbing to be effective. Commercial degreasers are formulated to break down thick, hardened grease quickly, but it’s important to choose the right product for your wall type to avoid damage.
Heavy-Duty Degreaser Sprays
Look for degreasers labeled safe for kitchen walls, and avoid formulas with acetone or harsh solvents if you have painted drywall or wallpaper (these can discolor paint or peel adhesives). Spray the cleaner directly on the grease spot, let it sit for 2–3 minutes as directed (never let it dry on the wall), then wipe with a damp cloth and rinse with plain water. A common mistake is leaving degreaser on too long, which can break down paint binders and cause peeling.
Foam Cleaners for Vertical Surfaces
Foam degreasers cling to walls without dripping, making them ideal for overhead or high wall areas where liquid cleaners would run. Spray the foam onto the grease spot, let it sit for 1–2 minutes, then wipe off with a damp cloth. They’re less messy than liquid sprays and work well for light to medium buildup on all non-porous surfaces.
Eco-Friendly Non-Toxic Options
Look for EPA Safer Choice-certified degreasers, which are tested to be effective against grease without harmful chemical residues. Modern eco-friendly formulas work just as well as conventional degreasers for most kitchen grease, and they’re safe for homes with children, pets, or people with respiratory sensitivities.
Step-by-Step Deep Cleaning Method for Stubborn Stains
For grease that’s been building up for a year or more, follow this structured deep cleaning method to remove stains without damaging your wall finish.
Step 1: Prep the Area
Lay down drop cloths or old towels on the floor and countertops below the wall to catch drips. Turn off nearby electrical outlets (cover them with a small towel if they’re close to the cleaning area) to avoid water damage. Open windows or turn on your range hood to ventilate the space, especially if using commercial cleaners. Wear rubber gloves to protect your skin from grime and cleaning agents.
Step 2: Test Your Cleaner
Pick a small, inconspicuous spot (like behind a cabinet or in a corner) to test your chosen cleaner first. Wait 5 minutes, then wipe it off. If there’s no discoloration, paint peeling, or texture change, it’s safe to use on the rest of the wall. This 2-minute step saves you from ruining your entire wall finish.
Step 3: Apply the Cleaner
For painted drywall: spray your cleaner onto a microfiber cloth, not directly on the wall, to avoid over-wetting the drywall (which can cause water stains or mold growth). For tile or wallpaper: you can spray directly on the surface only if the product label explicitly says it’s safe for that material. Let the cleaner sit for 1–3 minutes (follow product instructions) to break down the grease—don’t let it dry on the wall.
Step 4: Scrub Gently
Use a soft-bristle brush to scrub the grease in gentle circular motions. For thick, caked-on grease, you can use a plastic putty knife to gently scrape off the top layer first, being careful not to scratch the paint. Avoid steel wool or harsh scrubbers, which leave permanent scratches on painted surfaces. For textured walls (like orange peel or knockdown finishes), use an old toothbrush to get into grooves where grease likes to hide.
Step 5: Rinse and Dry
Wipe the cleaned area with a cloth dampened with plain warm water to remove any leftover cleaner or grease residue. Residue left behind will attract more dirt and grease faster, making your work pointless. Pat the wall dry with a clean, dry microfiber cloth to avoid water spots, and let it air dry completely for 30 minutes before touching it again.
How to Clean Different Wall Types
Different wall materials require different cleaning approaches to avoid damage. Use the guide below to choose the right method for your kitchen:
Painted Drywall
Stick to pH-neutral cleaners only—avoid vinegar, ammonia, or harsh degreasers unless you have a satin or semi-gloss paint designed for kitchens. Never over-wet the wall; blot dry immediately after cleaning to prevent water damage. For matte paint, use a castile soap solution instead of vinegar to avoid discoloration.
Tile Backsplashes (Ceramic, Glass, Stone)
Non-porous tile can handle stronger degreasers and vinegar solutions without damage. For grout lines with grease buildup, apply a baking soda paste, let sit 10 minutes, then scrub with a small brush and rinse. For glass tile, a vinegar-water solution (1 part vinegar to 4 parts water) removes streaks and grease streak-free.
Wallpaper (Vinyl, Washable)
Never spray cleaner directly on wallpaper, as it can cause peeling. Dampen a cloth with your cleaner, wring it out almost completely, and wipe gently. For non-washable wallpaper, use a tiny amount of dish soap on a barely damp cloth, test first, and avoid rubbing hard to prevent damage to the print.
Exposed Brick or Unpainted Surfaces
Porous materials like brick or unsealed concrete absorb grease deep into their pores. Use a heavy-duty degreaser safe for masonry, scrub with a stiff-bristle brush, and rinse with a damp cloth. Seal unpainted surfaces after cleaning to prevent future grease absorption.
Prevent Future Grease Buildup for Good
The easiest way to keep your kitchen walls spotless is to stop grease from settling in the first place. Small, consistent habits cut down on deep cleaning time by 70% or more, per the U.S. Environmental Protection Agency [https://www.epa.gov/indoor-air-quality-iaq/kitchen-pollutants].
- Optimize your ventilation: Make sure your range hood vents directly outside, not just recirculates air, and clean or replace its filter every 1–3 months depending on how often you cook. Open a window while cooking if you don’t have a vented hood.
- Use a splatter guard: When frying, sautéing, or searing, place a heat-resistant splatter guard over your pan to catch oil droplets before they can fly onto walls.
- Wipe walls weekly: Keep a spray bottle with a vinegar-water mix (1 part vinegar to 4 parts water) on hand, and wipe down walls near your cooktop once a week to break down light grease before it hardens.
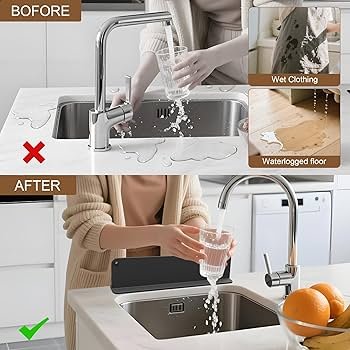
- Add a backsplash guard: Install a tile or metal trim along the wall behind your stove to catch splatters before they hit your painted walls.
- Avoid overheating oil: Cooking with oil past its smoke point creates more aerosolized grease, so stick to oils with high smoke points (like avocado or grapeseed oil) for high-heat cooking.
If you’re repainting your kitchen after a deep clean, a semi-gloss finish hides future splatters better than matte paint—check out our tips for pairing wall colors with green cabinets for low-fuss, grease-resistant options. For warm, cozy kitchen designs, brown cabinetry pairs seamlessly with neutral wall tones that disguise light grease spots—see our guide to matching wall colors to brown cabinets for stress-free, low-maintenance styling.
Frequently Asked Questions
How do I remove old, caked-on grease from kitchen walls without damaging the paint?
For set-in grease on painted walls, start with a baking soda paste (3 parts baking soda to 1 part warm water), let it sit for 15 minutes, then gently scrub with a soft-bristle brush. If that doesn’t work, use a pH-neutral kitchen degreaser, test it first on a hidden spot, and avoid harsh solvents that can peel paint. For extremely stubborn stains, you may need to lightly sand the area and repaint, but this is a last resort.
Can I use vinegar on all kitchen wall types?
No. Vinegar is acidic, so it can etch or discolor matte painted drywall, unsealed stone, and some types of wallpaper over time. It’s safe for sealed tile, glass, and semi-gloss or satin kitchen paint, but always test a small hidden area first. For delicate surfaces, use a castile soap solution instead.
How often should I deep clean kitchen walls to prevent grease buildup?
Wipe down walls near your cooktop weekly with a damp cloth and mild soap to remove light grease before it hardens. Deep clean these areas every 1–2 months, or more often if you cook daily with oil. This prevents grease from building up to the point where it’s hard to remove.
Will grease buildup on walls damage my paint over time?
Yes. Grease breaks down the binder in wall paint over time, leading to peeling, discoloration, or chipping if left uncleaned. Most paint manufacturers recommend cleaning kitchen walls regularly to extend their finish lifespan.
Are natural cleaning solutions as effective as commercial degreasers for kitchen walls?
For light to medium grease buildup, natural solutions like baking soda, vinegar, and lemon juice work just as well as commercial products, and they’re non-toxic and low-odor. For heavy, months-old grease buildup, a commercial degreaser may work faster, but you can still use natural solutions with a bit more scrubbing time.
Conclusion
Cleaning oil off kitchen walls doesn’t have to be a dreaded chore. Catching fresh splatters within 5 minutes, using the right cleaner for your wall type, and staying on top of weekly maintenance will keep grease from building up to the point of requiring deep cleaning. Natural solutions like baking soda, vinegar, and lemon work wonders for most stains, while heavy-duty degreasers tackle months-old buildup safely when used correctly. The biggest takeaway? Prioritize ventilation and quick spot cleaning to avoid stubborn stains altogether. A well-ventilated kitchen with a clean range hood will cut down on airborne grease significantly, saving you hours of scrubbing down the line. If you’re planning a full kitchen refresh after tackling greasy walls, consider upgrading your storage and prep space to make future cleaning even easier—our roundup of top-rated home wine making tools doubles as stylish countertop storage for cooking and entertaining supplies. When deep cleaning your kitchen, don’t forget to scrub behind your faucet and stove, where grease and grime often build up undetected. If you need to remove your wall-mounted faucet for a thorough clean, follow our step-by-step faucet removal guide to avoid damaging your plumbing.
Have you tackled greasy kitchen walls before? Share your go-to cleaning hack in the comments below to help other home cooks keep their kitchens spotless. A grease-free kitchen makes prepping meals and hosting guests far more enjoyable—whether you’re searing a steak or making homemade wine to pair with your dish. For an all-natural clean that’s safe for food-prep areas, skip harsh chemical degreasers and use ingredients you already have in your pantry—just like beginner-friendly wine making kits use simple, accessible ingredients for consistent, great results.
To avoid damaging your wall finish, the University of Minnesota Extension [https://extension.umn.edu/kitchen-cleaning-and-safety/cleaning-grease-and-grime-from-kitchen-surfaces] recommends testing any cleaning solution on a small, hidden area of your wall before applying it to the full surface.