How to Put Backsplash on Kitchen Wall: Easy Steps for Stunning Results
A kitchen backsplash is one of the highest-ROI DIY upgrades you can tackle in a weekend: it protects walls from grease, water, and food splatters while adding personality to your space, no professional contractor required. Even if you’ve never laid tile before, following a structured, mistake-proof process will leave you with a seamless, professional-looking result that lasts for decades.
This 2026 guide covers everything from choosing the right material for your lifestyle to sealing grout for long-term stain resistance, plus common pitfalls to avoid that leave DIY installs looking cheap or failing after a few months.

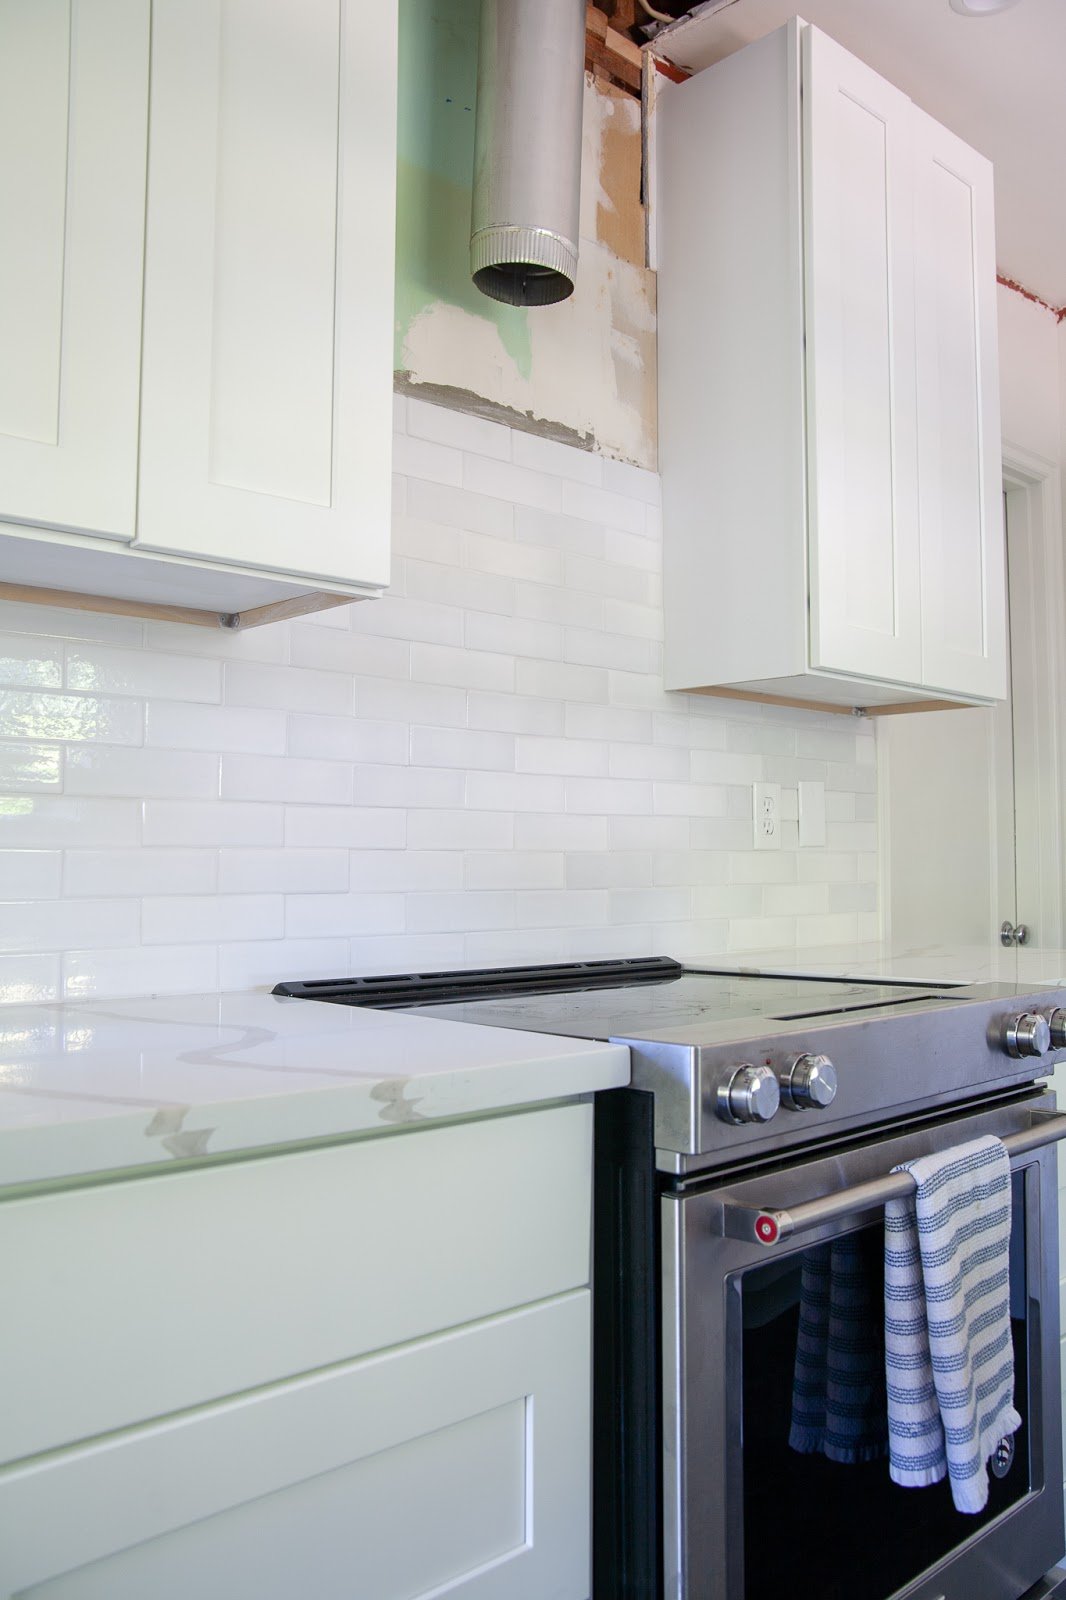
- A classic white subway tile backsplash complements dark countertops and green cabinetry for a timeless look. Credit: carlaaston.com
Choose the Right Backsplash Material for Your Kitchen
Your material choice will dictate your installation process, long-term maintenance routine, and overall aesthetic, so it’s worth weighing durability, style, and budget before you buy. 2026 trends lean toward low-maintenance, high-impact options, but the best pick for your home depends on how often you cook and your design vision.
Popular Material Options
Each backsplash material has unique trade-offs for performance and style:
- Ceramic/Porcelain Tile: The most popular DIY option, available in every color and pattern from classic subway to large-format 12×24" planks. Resistant to water, heat, and stains, with costs ranging from $2 to $15 per square foot. Glazed porcelain is ideal for busy family kitchens, while matte ceramic works well for modern, minimalist spaces.
- Glass Tile: Reflects light to brighten small or dark kitchens, and is non-porous so it never stains. Costs $8 to $30 per square foot, and requires gentle, non-abrasive cleaning to avoid scratches. Works well for accent strips behind ranges or as full backsplashes in contemporary homes.
- Natural Stone (slate, marble, granite): Adds organic texture and luxury, but is porous and requires regular sealing to prevent stains from oil, wine, or tomato sauce. Costs $10 to $50 per square foot, and is best for low-traffic kitchens or entertaining spaces where spills are minimal.
- Stainless Steel/Copper Metal: Heat-resistant and ultra-modern, metal backsplashes wipe clean in seconds. Stainless steel costs $10 to $25 per square foot, while copper develops a natural patina over time for rustic spaces. Avoid copper if you have hard water, as it will tarnish quickly.
- Peel-and-Stick: The fastest, most budget-friendly option at $1 to $5 per square foot, with no tools or adhesive required. Note that most peel-and-stick backsplashes last only 3 to 5 years, and may peel in high-moisture areas behind sinks or stoves. Best for renters or temporary refreshes.
- Zellige Terracotta/Terrazzo Composite: 2026’s top trend for rustic and eclectic kitchens, handmade zellige tiles have intentional uneven texture and glaze variation for a one-of-a-kind look. Terrazzo composite (made from recycled glass and concrete) is durable, stain-resistant, and available in custom colorways.
Match Your Backsplash to Your Kitchen Style
Your backsplash should feel like a natural extension of your existing design, not an afterthought. For modern kitchens with flat-panel cabinets, sleek glass or large-format porcelain tiles create a seamless, streamlined look. Traditional kitchens with raised-panel cabinetry pair well with classic white subway tile or natural stone. Rustic or farmhouse kitchens shine with handmade zellige, slate, or copper accents.
If you’re updating your wall color alongside your backsplash, coordinating wall hues for green cabinetry or pairing complementary shades for brown cabinetry will tie the whole space together. For small galley kitchens, light glass or large-format light-colored tiles will make the space feel larger by reflecting more light.
Budget for Your Project
Backsplash costs vary widely based on material and project size. For a 30-square-foot backsplash (the average size for a standard kitchen), expect to spend:
- $60 to $450 for materials (tile, grout, adhesive, sealer)
- $0 if DIY, or $300 to $800 for professional installation Don’t forget to factor in tool costs: a wet saw rental runs $30 to $50 per day if you don’t already own one, while basic hand tools (trowel, float, spacers) cost $20 to $50 total to purchase. Setting a 10% buffer for waste and broken tiles will prevent last-minute hardware store runs.
Pre-Installation Prep: The Step Most DIYers Skip
Proper wall prep is the difference between a backsplash that lasts 20 years and one that peels or cracks after 6 months. Skipping this step is the most common cause of DIY backsplash failure, so don’t rush it.
Assess Your Wall Substrate
First, confirm your wall can support the weight of your chosen tile. Standard drywall is suitable for lightweight glass, ceramic, or peel-and-stick tile, but heavy stone or large-format porcelain (over 15 lbs per square foot) requires cement board or a plywood backer to prevent sagging. If you have older plaster walls, check for loose or crumbling plaster first, and patch any damage with a moisture-resistant compound before proceeding. For detailed guidance on substrate suitability, refer to University of Minnesota Extension's residential surface guidance.
Clear and Clean the Work Area
Remove all outlet covers, cabinet hardware, and wall decor from the backsplash area. If you have a wall-mounted kitchen faucet, take it off first to avoid damaging it during installation — you can follow our step-by-step guide to removing a wall-mounted fixture first to avoid leaks or scratches. Next, clean the wall with a degreaser to remove built-up kitchen grease, then wipe with a damp cloth and let dry completely for 24 hours. Any residual moisture will cause adhesive to fail.
Repair Wall Imperfections
Use a putty knife to scrape off any peeling paint or loose wallpaper, then fill holes, cracks, or dents with a moisture-resistant patching compound. Sand the patched areas smooth with 120-grit sandpaper once dry, then wipe away dust with a tack cloth. Even small bumps will cause tiles to sit uneven (called lippage), which is one of the most obvious signs of a DIY install.
Measure, Plan, and Cut Tiles for a Seamless Fit
Rushing this step leads to awkward sliver tiles at edges, misaligned patterns, and wasted material. Spending 30 minutes planning your layout will save you hours of frustration during installation.
Take Precise Measurements
Measure the total width and height of your backsplash area, subtracting 1/4" for expansion gaps at the edges (to account for wall movement with temperature changes). Use a laser level to mark a perfectly straight horizontal line for your first row of tile — a wavy first row is the most noticeable flaw in a DIY backsplash. Double-check measurements at multiple points along the wall to catch any unevenness, and order 10% extra tile to account for broken pieces and future repairs.
Map Your Tile Layout
Sketch a simple layout on graph paper or use a free digital tile layout tool to visualize your pattern. For small mosaic tiles, a grid layout minimizes cuts; for subway tile, a running bond (offset rows) is the most forgiving for beginners. Center your layout on the space behind your sink for a balanced look, rather than aligning the first tile with the edge of your cabinets, which can create awkward slivers at the opposite edge. Mark all cut lines clearly with a pencil before you start cutting.
Cut Tiles Safely and Accurately
Use a wet saw for porcelain, stone, or large-format tiles to avoid chipping, and a manual tile cutter for small, straight cuts on ceramic. Always wear safety goggles and a dust mask when cutting, and follow OSHA's safety guidelines for cutting tile to avoid injury. Practice cuts on a scrap tile first if you’re new to using a wet saw, and measure twice before cutting to avoid wasting material.
Gather Tools and Materials
Having all your supplies on hand before you start will prevent interruptions and ensure your install goes smoothly. Skip cheap, no-name tools — a $10 trowel will cause uneven adhesive and poor tile adhesion, while a $30 notched trowel will last for years and give consistent results.
Essential Tools Checklist
- Tape measure and laser level
- Notched trowel (1/4" notch for most tile)
- Tile cutter or wet saw (rent if you only have a small project)
- Rubber grout float and sponge
- Tile spacers (1/8" or 1/4" depending on your grout line width)
- Mixing drill attachment for grout
- Pencil and marker for layout lines
Choose the Right Adhesive and Grout
Use polymer-modified thinset mortar for all permanent tile installs, especially in high-moisture areas behind sinks and stoves. For peel-and-stick tile, use a heavy-duty construction adhesive designed for kitchen use. For grout, use unsanded grout for joints smaller than 1/8", sanded grout for wider gaps, and epoxy grout for busy family kitchens — epoxy is stain-resistant and requires no sealing, though it sets quickly and is harder for beginners to work with.
Safety Gear You Can’t Skip
Cut-resistant gloves for handling sharp tile edges, safety goggles for cutting and mixing adhesive, a dust mask or respirator for cutting stone or cement board, and non-slip shoes for standing on wet work surfaces. If you’re working in a poorly ventilated kitchen, open a window or run a fan to avoid inhaling adhesive fumes.
Step-by-Step Tile Installation for Professional Results
Work slowly and in small sections to avoid mistakes. If you’re installing a large backsplash, enlist a helper to hold tiles in place while you adjust alignment.
Apply Adhesive in Small Sections
Spread a 2×2 ft section of thinset with your notched trowel, holding the trowel at a 45-degree angle to create uniform ridges that help the tile bond. For large-format tiles or uneven walls, apply a thin layer of adhesive directly to the back of the tile (called back-buttering) to ensure full contact with the wall. Work in small sections so the adhesive doesn’t skin over (dry to a film) before you place tiles, which will prevent proper bonding. A common mistake DIYers make is applying adhesive to the entire wall at once, which leads to poor adhesion and tiles falling off before the adhesive sets.
Place and Align Tiles
Press each tile firmly into the adhesive with a slight twisting motion to push out air pockets. Insert tile spacers between each tile to maintain even gaps, and check alignment with a level every 3 to 4 tiles to catch deviations early. Adjust tiles as needed before the adhesive sets (usually 10 to 15 minutes for thinset). Once the adhesive is tacky to the touch, remove spacers to avoid them getting stuck in the grout.
Let Adhesive Cure Fully
Wait 24 to 48 hours (per your adhesive manufacturer’s instructions) before grouting. Rushing this step will cause tiles to shift when you apply grout, leading to uneven joints and poor adhesion. In practice, waiting the full cure time is the easiest way to avoid costly rework later.
Grout, Seal, and Finish Your Backsplash
Grouting is the step that turns a pile of individual tiles into a cohesive, durable backsplash. Taking your time here will ensure even, stain-resistant joints.
Mix and Apply Grout Correctly
Mix grout powder with water per the package instructions, stirring until it reaches a smooth, peanut butter consistency. Let the grout slake (rest) for 5 to 10 minutes, then stir again to remove any lumps. Use a rubber grout float held at a 45-degree angle to press grout firmly into the joints, working diagonally to the tile to avoid pulling grout out of the gaps. Work in 3×3 ft sections to prevent the grout from drying too fast.
Clean Excess Grout and Seal
Wait 10 to 15 minutes for the grout to develop a light haze, then wipe the tile surface with a damp sponge in a circular motion. Rinse the sponge frequently to avoid smearing grout back onto the tile. Once the grout is fully cured (24 to 72 hours, check the product label), apply a penetrating grout sealer with a small brush or roller, applying 2 to 3 coats for high-moisture areas like behind the sink. Sealing prevents stains from oil, sauce, and water, and reduces mold growth in the joints.
Add Finishing Touches
Install PVC or metal edge trim to cover cut tile edges and create a clean transition between your backsplash and countertops or upper cabinets. Reattach outlet covers, using longer screws if the backsplash adds extra thickness to the wall. If you removed a wall-mounted faucet earlier, reinstall it now following the manufacturer’s instructions. For a final polished look, wipe the entire backsplash with a soft, dry cloth to remove any remaining dust.
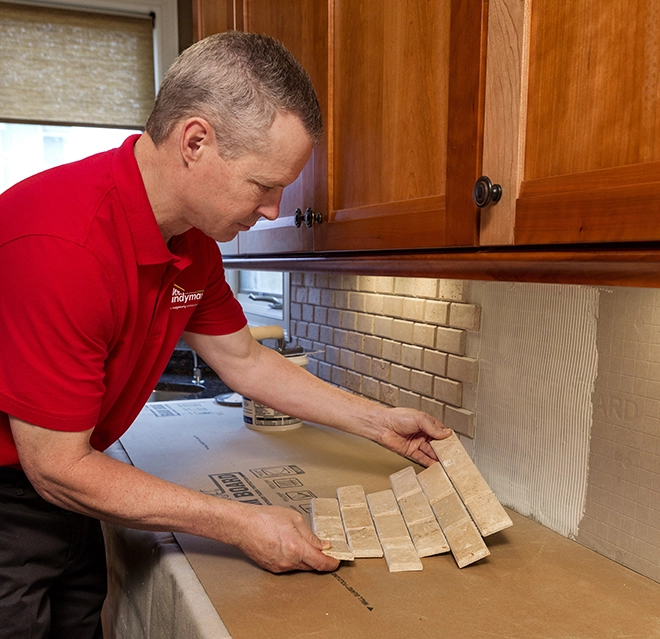
- A pro-level install uses precise level lines to keep tile rows perfectly straight. Credit: www.mrhandyman.com
Long-Term Maintenance to Keep Your Backsplash Stunning
A well-installed backsplash can last 20 years or more with minimal upkeep. Stick to these simple maintenance routines to keep it looking like new.
Daily and Weekly Cleaning
Wipe down the backsplash daily with a soft microfiber cloth and warm, soapy water to remove grease and food splatters. For tougher grime, use a pH-neutral cleaner specifically designed for tile and grout — avoid vinegar, bleach, or abrasive scrubbers, which can etch glaze on ceramic, glass, or natural stone and break down grout sealer over time. For glass backsplashes, use a standard glass cleaner and lint-free cloth to avoid streaks.
Prevent Stains and Mold
Wipe up spills immediately, especially oil-based sauces and red wine, which can stain unsealed grout within minutes. Run your kitchen exhaust fan when cooking to reduce humidity, and wipe the backsplash with a dry cloth after cooking to remove excess moisture. Reseal grout every 6 to 12 months (depending on how often you use your kitchen) to maintain its water-resistant barrier. For stubborn grout stains, make a paste of baking soda and water, apply it to the stain, let sit for 10 minutes, then scrub gently with a soft-bristled brush.
Repair Minor Damage Early
Small chips in tile can be fixed with a color-matched epoxy repair kit available at most hardware stores. Cracked or missing grout should be re-filled as soon as you notice it to prevent water from seeping behind the tiles and causing wall damage. If a single tile cracks completely, you can remove it with a grout saw and replace it without removing the entire backsplash, saving you time and money.
Common Backsplash Installation Mistakes to Avoid
Even experienced DIYers make these errors, but they’re easy to avoid with a little planning:
- Skipping wall prep: Poorly prepped, greasy, or uneven walls are the top cause of peeling tiles and poor adhesion for DIY backsplashes.
- Using the wrong adhesive: Standard construction adhesive won’t hold up to kitchen heat and moisture — always use polymer-modified thinset for permanent installs.
- Ignoring expansion gaps: Failing to leave a 1/8" gap between tile and countertops/cabinets will cause tiles to crack as the wall expands and contracts with seasonal temperature changes.
- Grouting too early: Adhesive must be fully cured before grouting, or tiles will shift and joints will be uneven.
- Using harsh cleaners: Acidic cleaners like vinegar will etch natural stone and glass backsplashes over time, leaving permanent cloudy marks.
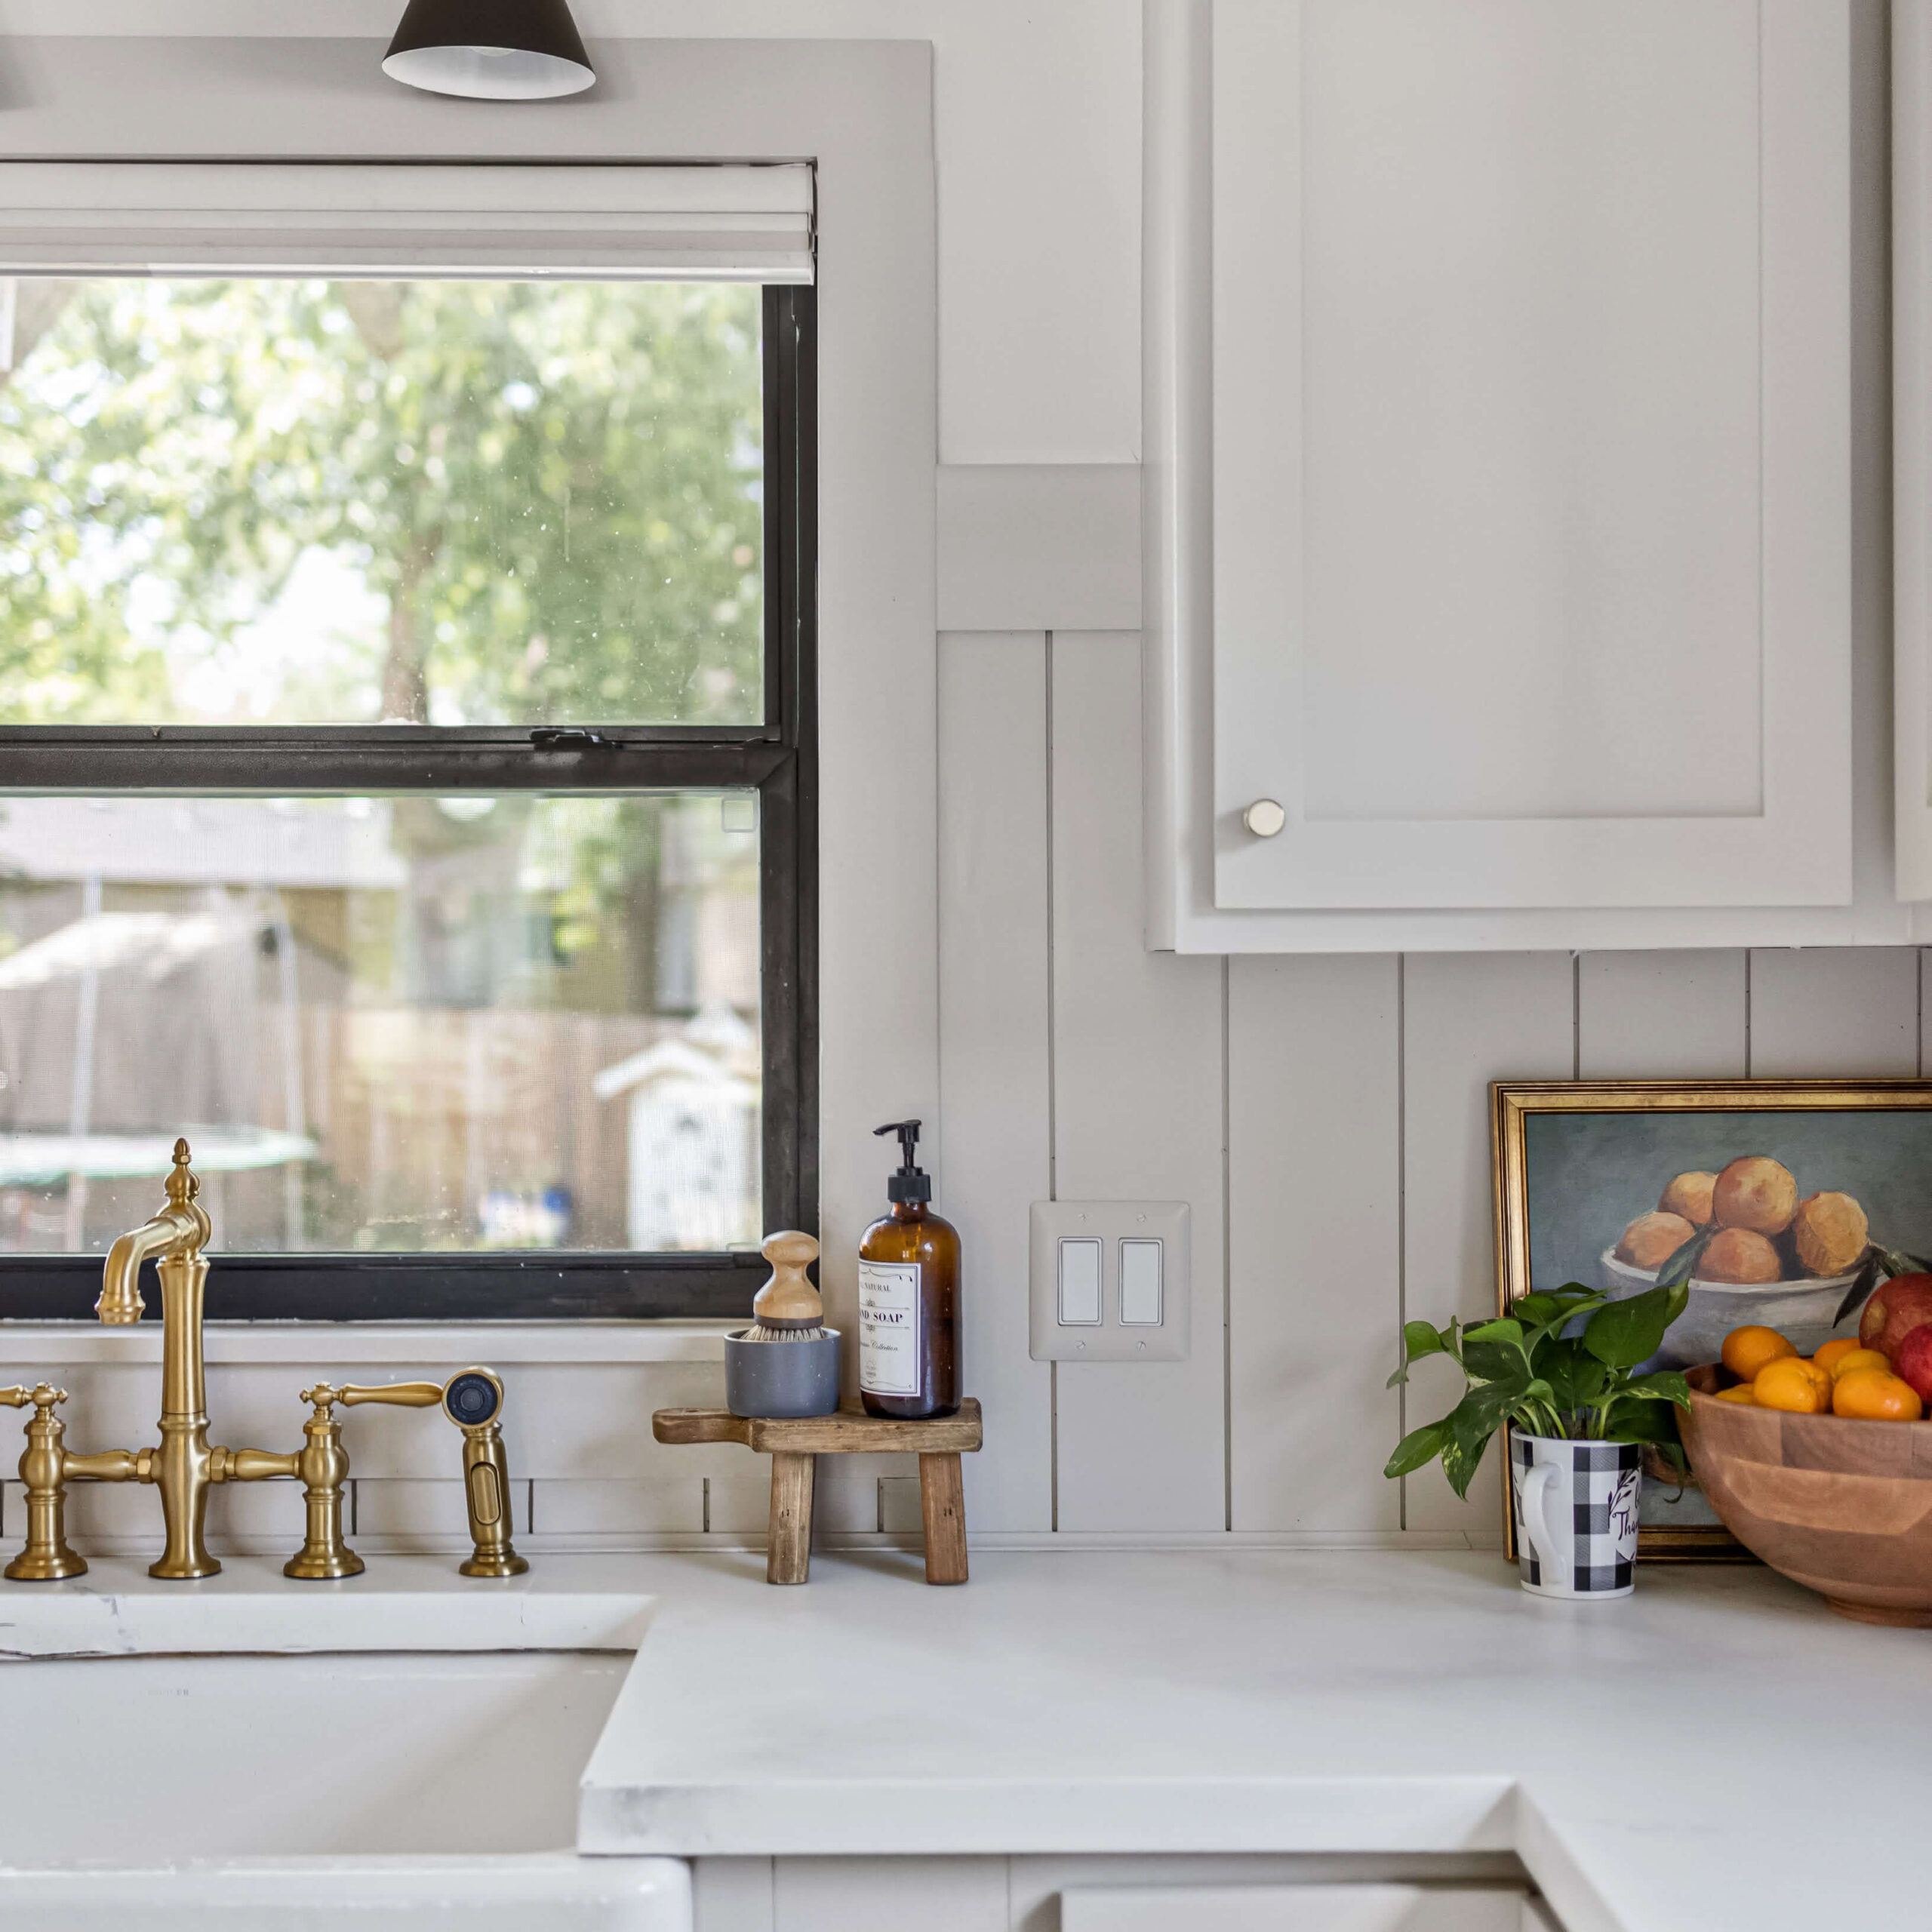
- Handmade zellige terracotta tiles add organic texture and warmth to a rustic kitchen space. Credit: crystelmontenegrohome.com
Frequently Asked Questions
How do I prepare the kitchen wall for a backsplash?
Start by removing all grease, dust, and peeling paint with a degreaser and putty knife. Patch any holes or cracks with moisture-resistant patching compound, sand smooth, and let dry completely. If you have a wall-mounted faucet, remove it first to avoid damage during installation. For heavy tile, install a cement board backer first.
What materials are best for a kitchen backsplash?
For busy family kitchens, glazed porcelain or epoxy grout tile is the most durable and low-maintenance option. For contemporary spaces, glass or stainless steel adds a sleek, light-reflecting finish. For rustic or luxury kitchens, natural stone or handmade zellige terracotta adds texture and character.
How long does it take to install a kitchen backsplash?
A DIY install for a 30-square-foot space takes 4 to 8 hours of active work, plus 24 to 72 hours of drying time for adhesive and grout. Professional installation takes 1 to 2 days total.
Can I install a backsplash over existing tile?
Yes, if the existing tile is flat, firmly attached, and in good condition. Use a tile adhesive designed for bonding to existing tile, and keep in mind that adding a second layer of tile may interfere with outlet covers and cabinet hardware.
Do I need to seal my backsplash grout?
Yes, unless you use epoxy grout, which is inherently stain-resistant. Penetrating grout sealer creates a waterproof barrier that prevents stains and mold, and should be reapplied every 6 to 12 months for best results.
Is peel-and-stick backsplash a good idea?
Peel-and-stick is a great temporary option for renters or quick refreshes, but it’s not as durable as permanent tile. It may peel in high-moisture areas, and most options only last 3 to 5 years before needing replacement.
Conclusion
Installing a kitchen backsplash is an achievable, high-impact DIY project that transforms your space without a full remodel. By choosing the right material for your lifestyle, prepping your wall thoroughly, and following a structured installation process, you’ll get a stunning, long-lasting result that protects your walls and elevates your kitchen’s style.
Avoid the most common DIY mistakes by taking your time with layout and cure times, and commit to simple annual maintenance to keep your backsplash looking like new for decades. If you’re planning a full kitchen refresh alongside your backsplash project, you can even set up a personal homebrew setup for hosting, or plan hosting Italian dinner nights to show off your new space.