How to Keep Grease off Kitchen Walls: Easy Tips for a Spotless Kitchen
If you’ve ever spent 20 minutes scrubbing a single greasy splatter off your kitchen backsplash only to spot a new one the next day, you’re not alone. Grease buildup is one of the most frustrating, high-maintenance parts of kitchen upkeep, especially for home cooks who fry, sauté, or sear regularly. Unlike dust or food crumbs, grease binds to porous surfaces like drywall, tile grout, and even semi-gloss paint, hardening into sticky, discolored patches that get harder to remove the longer they sit. The good news? You don’t need harsh chemicals or hours of elbow grease to keep your walls spotless. With targeted prevention, the right cleaning tools, and small consistent habits, you can drastically reduce how often grease builds up on your walls, cutting down on deep cleaning time by a significant margin, no fancy equipment required.
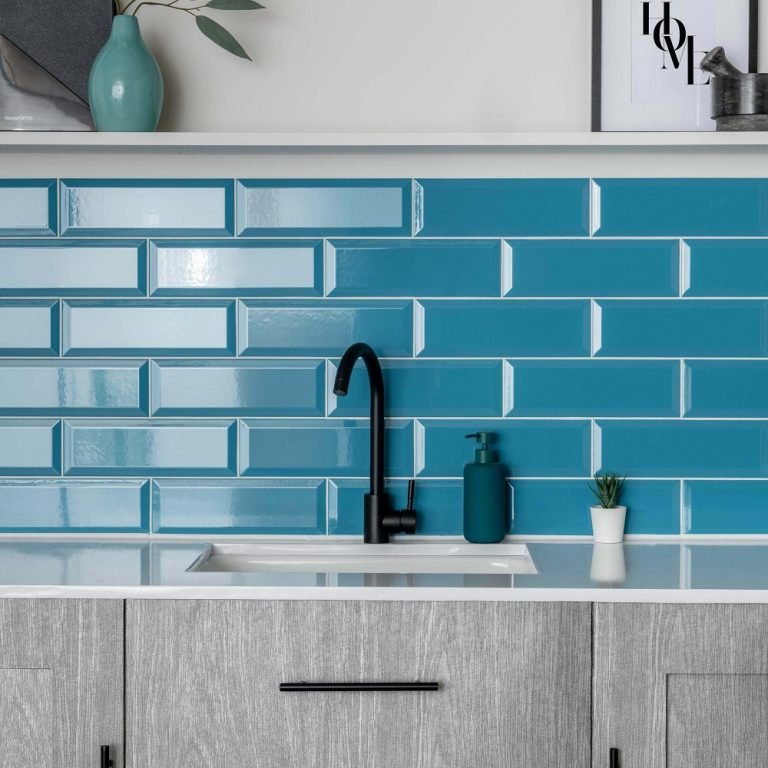
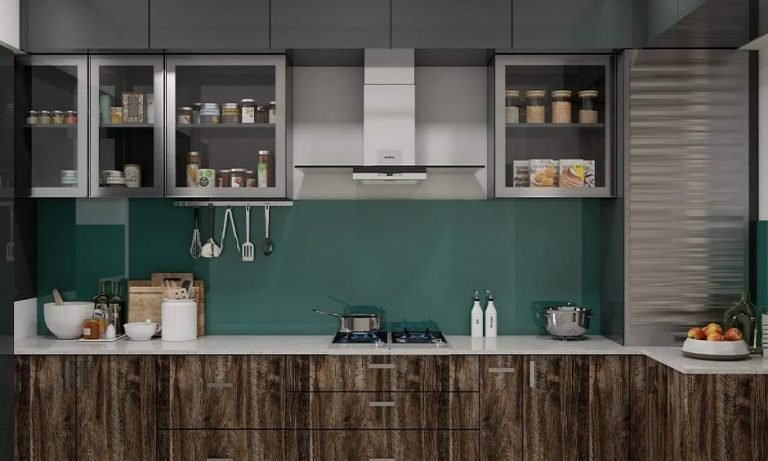
 Grease splatters accumulate fastest on the wall directly behind your cooking surface.
Credit: www.youtube.com
Grease splatters accumulate fastest on the wall directly behind your cooking surface.
Credit: www.youtube.com
Understanding Kitchen Grease Buildup: Sources and Why It Sticks
The first step to keeping your walls clean is understanding where grease comes from and why it sticks so stubbornly to surfaces. Once you recognize these patterns, prevention becomes far easier than constant scrubbing. For more on this, see our guide on how to clean kitchen grease off painted walls.
Common Grease Sources in Home Kitchens
Grease doesn’t just come from deep-frying bacon or chicken. Any high-heat cooking with oil releases airborne particles that travel across your kitchen: searing steaks, stir-frying vegetables, pan-frying eggs, even toasting bread slathered in butter. Aerosol cooking sprays, oily marinades that splatter during prep, and residual grease from stovetop burners that aerosolizes when heated all add to the mix. Even low-heat tasks like simmering tomato sauce for hours release small oil droplets that settle on walls over time. The wall directly behind your stove will almost always show the most buildup, as it’s closest to the source of airborne grease.
Why Grease Binds So Strongly to Wall Surfaces
Grease is hydrophobic, meaning it doesn’t mix with water-based cleaners — which is why wiping a greasy wall with a wet cloth often just smears the stain around instead of removing it. Cooler wall surfaces (like the area above your stove, which gets less direct cooking heat) cause airborne oil droplets to condense and stick instantly on contact. Porous surfaces like matte paint, unsealed tile grout, or plaster absorb the grease, making it even harder to lift. Over time, grease also traps dust, food particles, and smoke residue, creating a dark, sticky layer that worsens with every cooking session. For more on this, see our guide on how to clean kitchen grease off walls.
Proactive Prevention: Stop Grease Before It Lands on Your Walls
Preventing grease buildup is far easier than removing set-in stains. These targeted strategies address grease at the source, reducing the amount that ever reaches your walls in the first place.
Optimize Your Kitchen Ventilation First
A working exhaust system is the single most effective tool for reducing wall grease. If you have a range hood, opt for a vented model that expels air outside rather than a recirculating model that only filters air and sends it back into the kitchen — vented hoods remove far more airborne grease particles. Run your hood or exhaust fan every time you cook, even for low-heat tasks, and keep it running for 10-15 minutes after you finish cooking to clear residual particles from the air. If you don’t have a range hood, crack a window 2-3 inches while cooking to create cross-ventilation, or use a portable fan to blow air away from the stove and out of the kitchen. A common mistake is turning on the exhaust fan only after you see smoke or smell strong odors — by that point, grease particles have already settled on your walls. The NSF notes that a properly vented range hood, when used consistently during cooking, drastically reduces the amount of airborne grease that settles on walls, lowering overall buildup significantly compared to cooking without ventilation.
Use Physical Barriers to Block Splatters
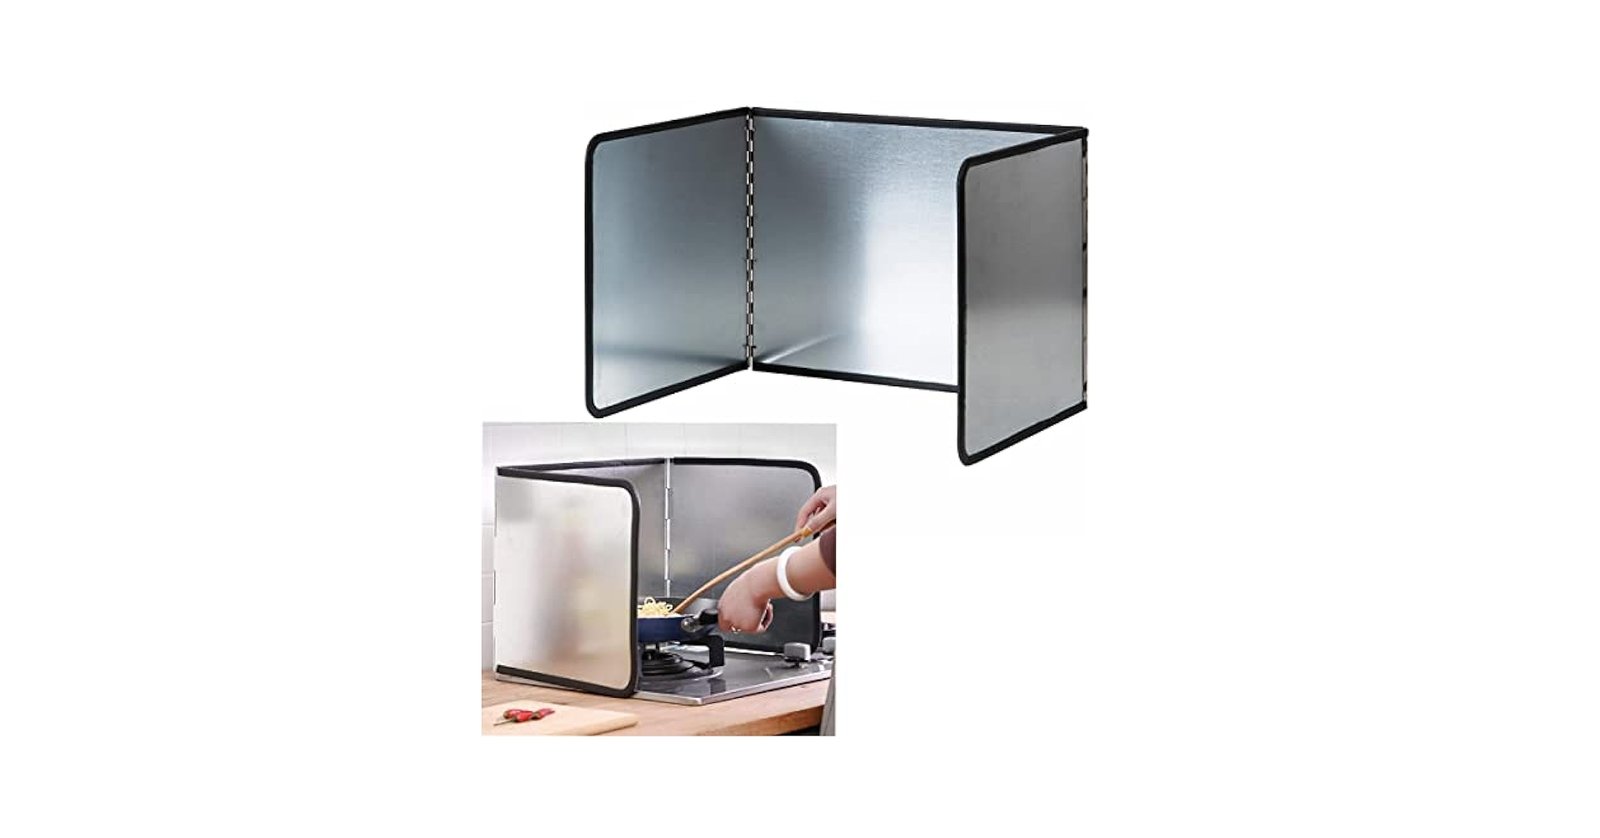
Simple barriers catch grease before it ever reaches your wall. If you have a stove, install a heat-resistant backsplash (stainless steel, tempered glass, or sealed ceramic tile work best) directly behind the cooking surface to catch nearly all splatters before they hit your wall. For renters or anyone who doesn’t want to install a permanent backsplash, adhesive, removable splash guards are a low-commitment, budget-friendly option. When frying or searing, use a splatter guard over your pan: mesh guards work well for most cooking, while solid glass guards are better for high-heat tasks to avoid oil splashes seeping through the mesh. Even using a lid on pots and pans while cooking cuts down on splatter drastically.
Adjust Your Cooking Habits to Reduce Splatter
Small changes to your cooking routine can cut down on airborne grease significantly. Pat proteins dry with a paper towel before frying to reduce oil popping, avoid overcrowding pans (which causes oil to bubble over), and keep burners on medium or low heat when cooking with oil to reduce aerosolization. Never leave a pan of hot oil unattended on high heat, as sudden temperature spikes cause violent splatters that can travel several feet from the stove. When using oily sauces or dressings, add them to pans away from the wall to avoid accidental splashes.
Choose Grease-Resistant Wall Finishes
If you’re repainting or renovating your kitchen, the finish you choose will make a huge difference in how easy it is to keep walls clean. Opt for semi-gloss, satin, or eggshell paint finishes, which are non-porous and wipe clean easily, unlike flat or matte paints that absorb grease and hold onto stains. For backsplashes, sealed ceramic tile, glass, or stainless steel are the easiest to clean, as they don’t absorb grease at all. If you have existing matte paint, a clear, matte-finish topcoat designed for walls can add a protective layer that makes wiping away grease simpler without changing the look of your paint. When selecting a finish, choose a shade that works with your existing cabinetry for a cohesive, easy-to-clean look. For inspiration, our guides cover stylish, coordinating wall hues for green kitchen cabinets and practical low-maintenance options for brown kitchen cabinets that hold up to daily cooking messes.
Effective, Safe Cleaning Solutions for Existing Grease Stains
Even with the best prevention, occasional grease splatters will happen. The right cleaning solution will break down grease without damaging your walls, and the method you use depends on how heavy the buildup is.
 A food-safe degreaser is ideal for heavy, set-in grease stains on tile or painted walls.
Credit: www.amazon.com
A food-safe degreaser is ideal for heavy, set-in grease stains on tile or painted walls.
Credit: www.amazon.com
Natural, Non-Toxic Cleaners (Best for Light Buildup)
For everyday splatters and light grease, natural cleaners are safe, affordable, and free of harsh chemicals. The University of Minnesota Extension recommends a 1:1 mix of white vinegar and warm water as a safe, non-toxic first step that won’t damage most painted or tiled surfaces: spray it on the wall, let it sit for 2-3 minutes to break down the grease, then wipe with a microfiber cloth. Other effective natural options include:
- Baking soda paste (2 parts baking soda to 1 part warm water): Apply to stains, let sit 5 minutes, then scrub gently. Ideal for tile grout and textured surfaces, as it won’t scratch paint.
- Lemon juice mixed with equal parts water: The citric acid cuts through grease and leaves a fresh scent, but test on a hidden spot first, as it can lighten dark paint over time.
- Liquid Castile soap (1 teaspoon per 2 cups of warm water): Mild enough for painted walls, effective on medium grease buildup.
Commercial Degreasers (For Heavy, Set-In Stains)
For thick, hardened grease that’s built up over months or years, a commercial kitchen degreaser will cut through the grime faster than homemade solutions. Look for products labeled "safe for painted walls" or "kitchen-safe", and avoid harsh solvents like acetone or undiluted bleach, which can strip paint, discolor grout, or leave toxic residues near food prep areas. Spray degreasers work well for smooth surfaces like tile or glass backsplashes, while gel formulas cling better to vertical walls for overhead splatters. Always follow the product’s dwell time instructions (usually 1-3 minutes) before wiping, and rinse the area with a damp cloth afterward to remove any leftover residue. A common mistake is scrubbing immediately after spraying, before the degreaser has time to break down the grease — this just spreads the stain and makes it harder to remove.
Homemade Heavy-Duty Grease Removers
For tough stains that natural cleaners can’t tackle, these homemade mixtures are more powerful than basic vinegar solutions:
- Painted wall safe mix: 1 cup warm water, 1 teaspoon liquid Castile soap, 1/2 cup white vinegar, mixed in a spray bottle. Spray on, let sit 3 minutes, wipe with a microfiber cloth.
- Tile and grout paste: 2 tablespoons baking soda + 1 tablespoon warm water, applied directly to stains. Let sit 10 minutes, scrub with a soft-bristled brush, then rinse.
- Set-in grease remover: 1/2 cup washing soda (not baking soda, which is less abrasive) mixed with 1 cup warm water. Apply to stains, let sit 15 minutes, then wipe. Test on a hidden spot first, as washing soda can damage delicate paint finishes.
Step-by-Step Wall Cleaning Techniques That Won’t Damage Surfaces
Using the right technique is just as important as using the right cleaner. Improper scrubbing can scratch paint, damage grout, or cause water to seep into drywall and cause mold.
Prep and Test First
Start by dusting the area with a dry microfiber cloth to remove loose dust, food crumbs, and debris. If you skip this step, you’ll just spread grease around when you wipe. Always test any cleaner on a small, hidden area (like behind a cabinet or light switch cover) to confirm it doesn’t discolor paint or damage the finish. If you have washable wallpaper, avoid liquid cleaners unless the manufacturer explicitly approves them; use a dry cleaning sponge for unsealed wallpaper instead.
Cleaning Smooth Surfaces (Painted Walls, Glass, Tile)
- Spray your chosen cleaner directly onto a microfiber cloth (not the wall, to avoid over-wetting drywall, which can cause water damage) or lightly mist the wall if it’s a non-porous surface like tile or glass.
- Wipe in gentle, circular motions, starting from the bottom of the stain and working upward to avoid streaks.
- For tough spots, let the cleaner sit for 2-3 minutes to break down the grease before scrubbing.
- Wipe the area with a clean, damp cloth to remove any cleaner residue.
- Dry immediately with a clean, dry microfiber cloth to prevent water spots.
Cleaning Porous Surfaces (Grout, Unsealed Brick, Plaster)
For porous surfaces that absorb grease easily, use a baking soda paste or dedicated grout cleaner. Apply the paste to the stain, let sit 10-15 minutes, then scrub gently with a soft-bristled brush (an old toothbrush works perfectly for grout lines). Rinse with a damp cloth, then dry. For old, set-in stains, you may need to repeat the process 2-3 times. Avoid abrasive scrubbers like steel wool or scouring pads, which can scratch porous surfaces and make them even more prone to absorbing grease in the future.
Essential Tools for Grease Removal
Having the right tools on hand makes the process faster and prevents damage to your walls:
- Microfiber cloths: Lint-free and more effective at picking up grease than paper towels or cotton rags.
- Non-abrasive sponges: Gentle enough for painted surfaces, no scratching.
- Soft-bristled brushes: Perfect for grout lines and textured surfaces without causing damage.
- Plastic putty knife: For scraping off hardened, flaky grease without scratching walls.
- Spray bottles: For even application of homemade cleaners.
- Rubber gloves: Protect your hands from harsh degreasers and hot water.
- Drop cloth or old towel: To catch drips and protect floors from cleaning solution.
Long-Term Maintenance Habits for a Grease-Free Kitchen
Keeping grease off your walls long-term is all about building small, consistent habits that take minutes a day but save you hours of deep cleaning later.
Build a Quick Daily Wipe-Down Routine
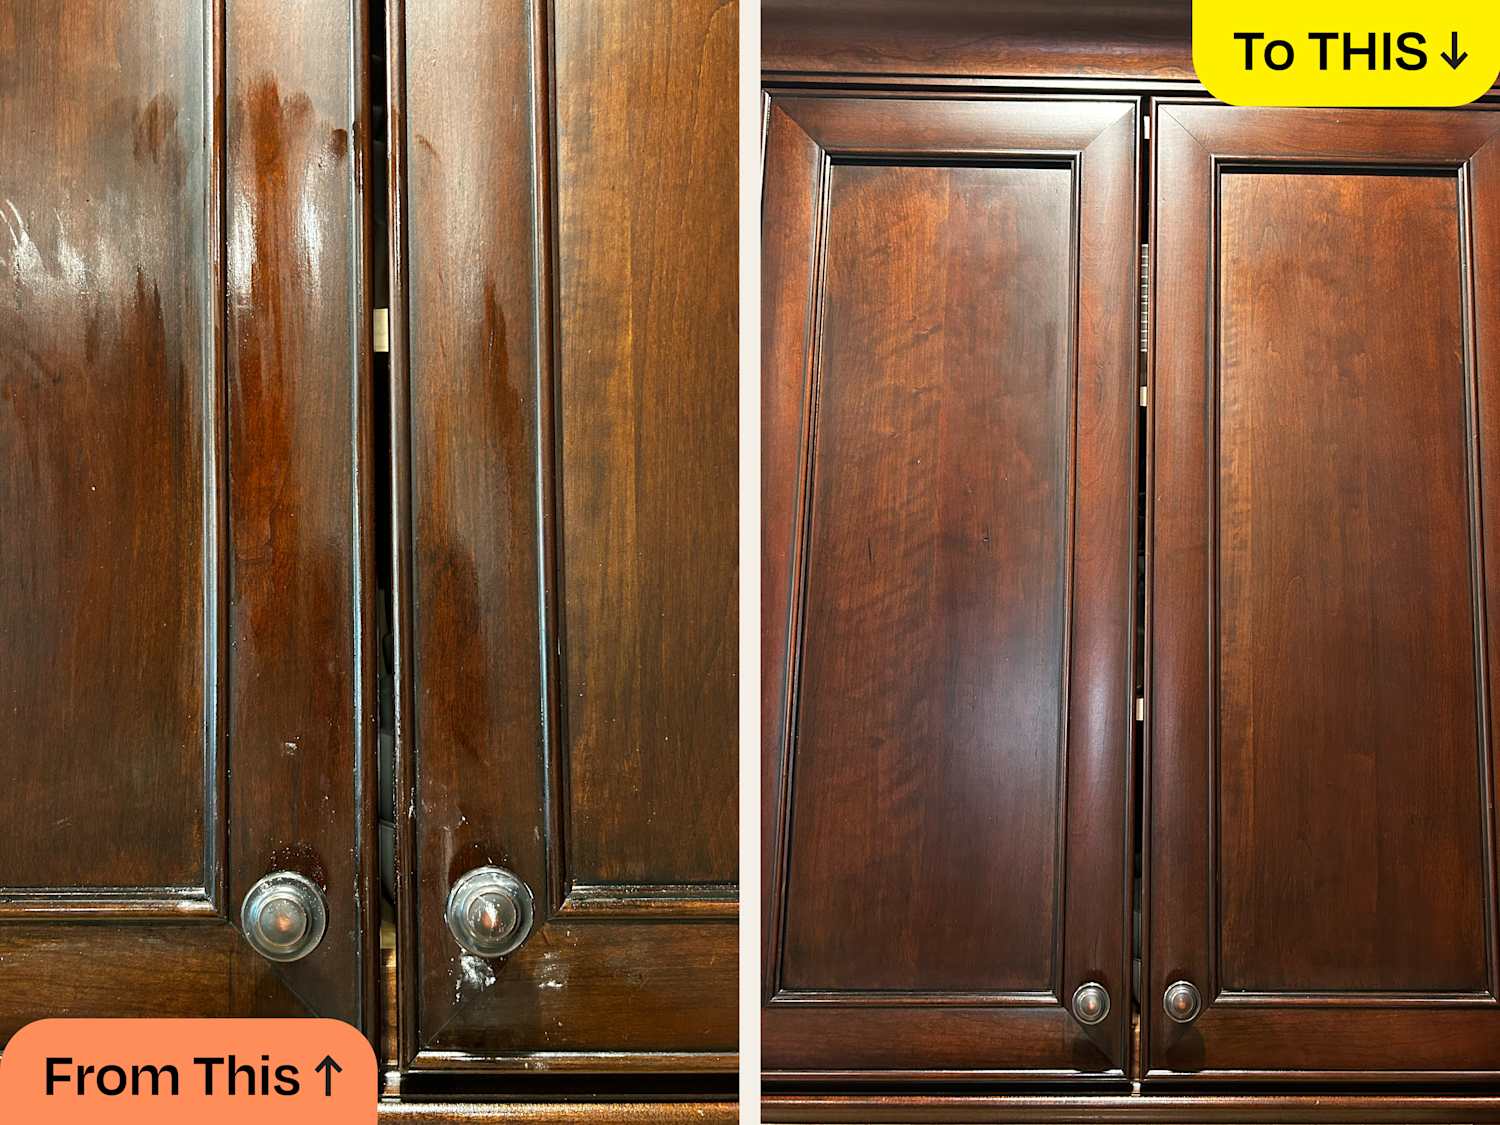
Keep a microfiber cloth and a small spray bottle of 1:1 vinegar and water under your kitchen sink. After each cooking session, wipe down the 1-2 foot area of wall behind your stove and countertops while the grease is still warm (not hot, to avoid spreading) and easy to remove. This takes 2 minutes max, and prevents grease from hardening into stubborn stains. For busy home cooks, even wiping down 2-3 times a week makes a noticeable difference over time.
Maintain Your Ventilation and Protective Barriers
Clean your range hood filters every 1-3 months (depending on how often you cook) — a greasy filter can’t trap airborne particles effectively. If you use a splatter guard or backsplash, wipe it down after each cooking session too, so grease doesn’t build up on it and eventually fling onto your walls. Replace disposable adhesive splash guards as soon as they become greasy, as they lose their ability to block splatters. If you have sealed tile or glass backsplashes, wipe them down weekly with a mild cleaner to prevent grease from seeping into grout lines.
Keep Airborne Grease to a Minimum
Run your exhaust fan or open a window for 10-15 minutes after cooking to clear residual grease particles from the air. If you don’t have a vented hood, a small HEPA air purifier placed near the stove can trap airborne grease and odors, reducing the amount that settles on walls. Avoid blocking your range hood with tall pots or decor, as this reduces its airflow and effectiveness.
Frequently Asked Questions
How can I prevent grease buildup on kitchen walls?
The most effective prevention steps are using a range hood or exhaust fan every time you cook, wiping down walls near the stove after each cooking session, installing a heat-resistant backsplash behind your cooking area, and using splatter guards when frying or searing. Choosing a non-porous, semi-gloss paint finish also makes it much harder for grease to stick in the first place.
What cleaning solutions remove kitchen grease effectively?
For light grease, a 1:1 mix of white vinegar and warm water works well. For medium buildup, add 1 teaspoon of Castile soap to the mix. For heavy, set-in stains, a commercial kitchen degreaser labeled safe for painted walls, or a baking soda paste for porous surfaces, will break down grime without damaging your walls. Always test any cleaner on a hidden spot first.
How often should I clean my kitchen walls to avoid grease?
Wipe down the area behind your stove and countertops after every cooking session if possible, and do a deeper clean of all kitchen walls once a week. This prevents grease from hardening into stubborn stains that require heavy scrubbing. If you cook frequently (3+ times a week), you may need to do a quick wipe-down every other day instead of weekly.
Does using a splatter screen reduce grease on walls?
Yes, splatter guards block nearly all oil and food splatters while frying or searing, drastically reducing the amount of grease that lands on your walls. Mesh guards work for most cooking tasks, while solid glass guards are better for high-heat searing to avoid oil seeping through the mesh.
Can I use dish soap to clean grease off kitchen walls?
Yes, mild liquid dish soap is effective at breaking down grease when mixed with warm water. Use 1 teaspoon of dish soap per 2 cups of water, and avoid harsh, degreasing dish soaps designed for pots and pans, as these can strip paint or leave residue on walls.
Why does grease keep coming back after I clean my kitchen walls?
Grease will reappear quickly if you don’t address the source: if your exhaust fan isn’t working properly, you’re not using a splatter guard when frying, or you’re only cleaning the wall when stains are already visible. Consistent, small wipe-downs after cooking and proper ventilation will stop grease from building up again so quickly.
Is vinegar safe for all kitchen wall types?
Vinegar is safe for most painted, tiled, and glass surfaces, but avoid using it on unsealed natural stone (like marble or granite), unsealed wood, or waxed surfaces, as the acid can damage the finish. Always test on a hidden spot first if you’re unsure.
Conclusion
Keeping grease off kitchen walls doesn’t require hours of scrubbing or harsh chemicals — it just takes consistent, small habits that address grease at the source. Start by optimizing your ventilation, using physical barriers like splatter guards and backsplashes, and wiping down walls after each cooking session before grease has a chance to harden. For existing stains, natural cleaners like vinegar and baking soda work for most light to medium buildup, while commercial degreasers handle tough, set-in grime. Choosing a grease-resistant wall finish when repainting will make upkeep even easier in the long run.
Small, consistent efforts will keep your kitchen looking spotless with minimal work, so you can spend less time cleaning and more time cooking. For more easy kitchen upkeep tips to keep your cooking space running smoothly, our guide to damage-free fixture swaps walks through removing a wall-mounted kitchen faucet without scratching surrounding surfaces.