How to Install Wall Tile in Kitchen: Easy Steps for Stunning Results
Installing kitchen wall tile is one of the highest-impact, lowest-cost DIY upgrades you can do to transform your cooking space. Unlike full kitchen renovations that cost thousands and take weeks, a tile backsplash or feature wall can be completed in a weekend with basic tools and patience. Many DIYers avoid this project because they fear uneven tiles, crooked grout lines, or tiles popping off the wall months later—but those issues almost always stem from skipped prep steps, not the tile work itself. This guide walks you through every step of the process, with pro tips to help you avoid common mistakes and get a polished, professional-looking result, no prior experience required.
Pre-Project Planning: Tools, Materials, and Design Tips
Before you buy a single tile, take 30 minutes to plan your project and gather supplies. Having everything on hand before you start will eliminate frustrating mid-project trips to the hardware store and ensure you don’t have to cut corners on quality. For more on this, see our guide on how to regrout kitchen wall tiles easy steps.
Essential Tools and Materials
The core toolkit for kitchen wall tile installation is straightforward, and most items can be rented or purchased affordably:
- Cutting tools: A manual tile cutter works for straight cuts on soft ceramic tile, but rent a wet saw ($30–$50 per day at most home improvement stores) for clean, precise cuts on porcelain or glass tile. Pick up tile nippers for curved cuts around outlets or cabinet edges.
- Installation tools: A notched trowel (1/4-inch square notch for tiles under 8 inches, 1/2-inch for larger or uneven tiles), rubber mallet, tile leveling clips (to prevent lippage between tiles), and a mixing paddle for thin-set mortar.
- Finishing tools: Rubber grout float, damp sponge, soft buffing cloth, and a small brush for sealer application.
- Safety gear: Safety goggles, cut-resistant gloves, and an N95 mask (critical for cutting tile, which releases harmful silica dust).
For materials, choose based on your kitchen’s use case:
- Tiles: Ceramic is budget-friendly and beginner-friendly, porcelain is denser and more water-resistant for high-use areas behind sinks or stoves, and glass adds reflective shine but requires more careful cutting.
- Adhesive: Use polymer-modified thin-set mortar for most kitchen walls; it flexes with temperature changes to prevent tiles from cracking. Epoxy thin-set is ideal for wet areas but has a shorter working time and is harder to remove if you reno later.
- Grout: Sanded grout works for joints 1/8 inch or wider, unsanded grout for narrow gaps, and epoxy grout for stain-proof, no-seal needed results in high-use areas.
- Sealer: A penetrating grout sealer is a must for cement-based grout to prevent stains from cooking grease and spills.
If you’re updating your wall color alongside tiling, our guide to matching wall paint to green kitchen cabinets will help you create a cohesive, stylish look. For homes with warmer wood tones, check out our tips on matching wall paint to brown kitchen cabinets to complement your new tile.
Coordinating Your Kitchen Design
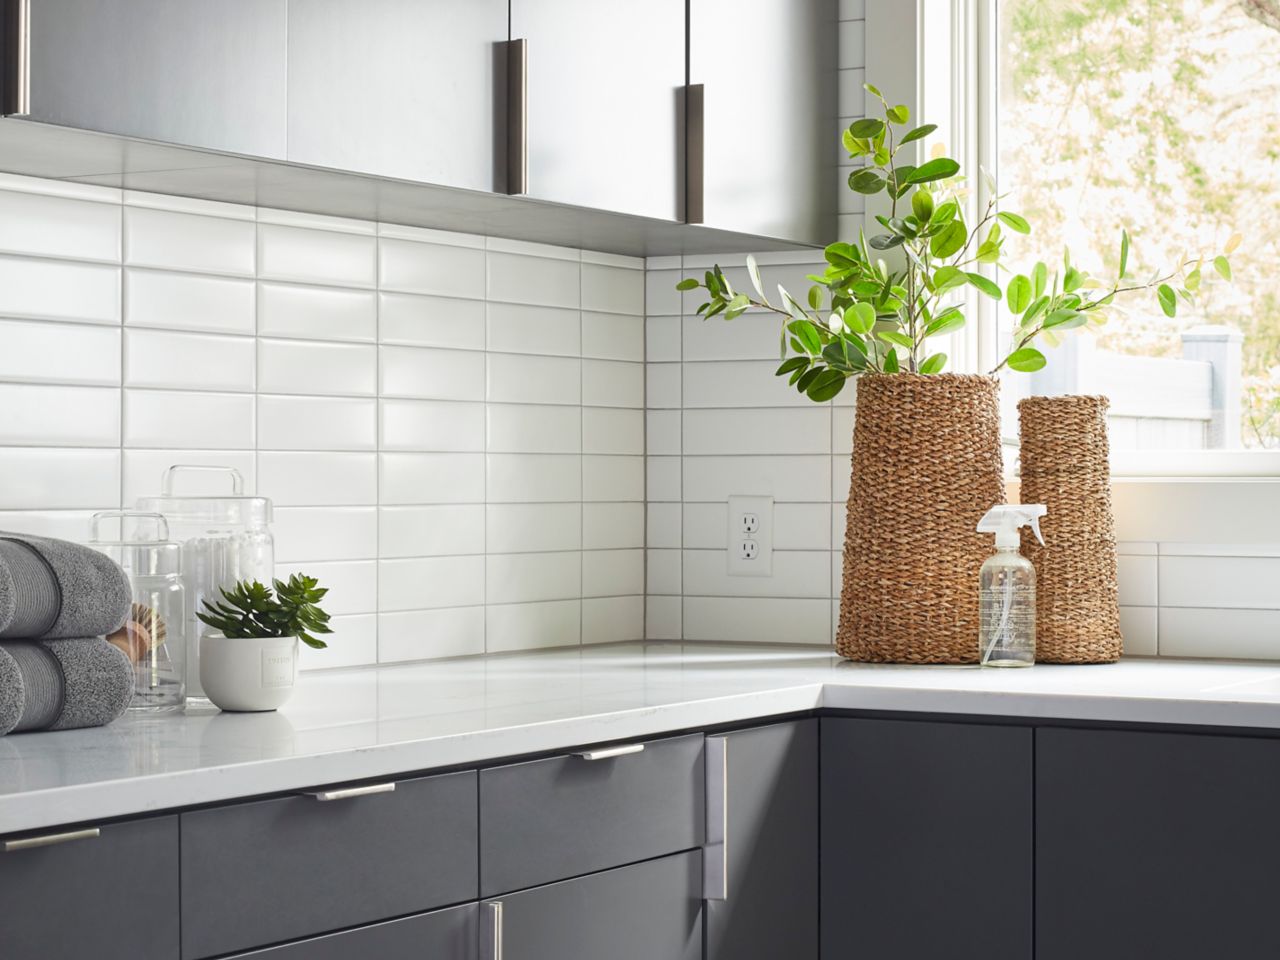
Before you buy tiles, hold sample boards up to your countertops, cabinets, and kitchen lighting to make sure the color and finish work for your space. A common mistake is choosing glossy tile in a kitchen with lots of natural light, which creates glare that makes it hard to see while cooking. Matte finishes hide water spots and grease better, while subway tiles in a running bond pattern work with every design style from farmhouse to modern. For more on this, see our guide on how to install ceramic tile in kitchen wall.
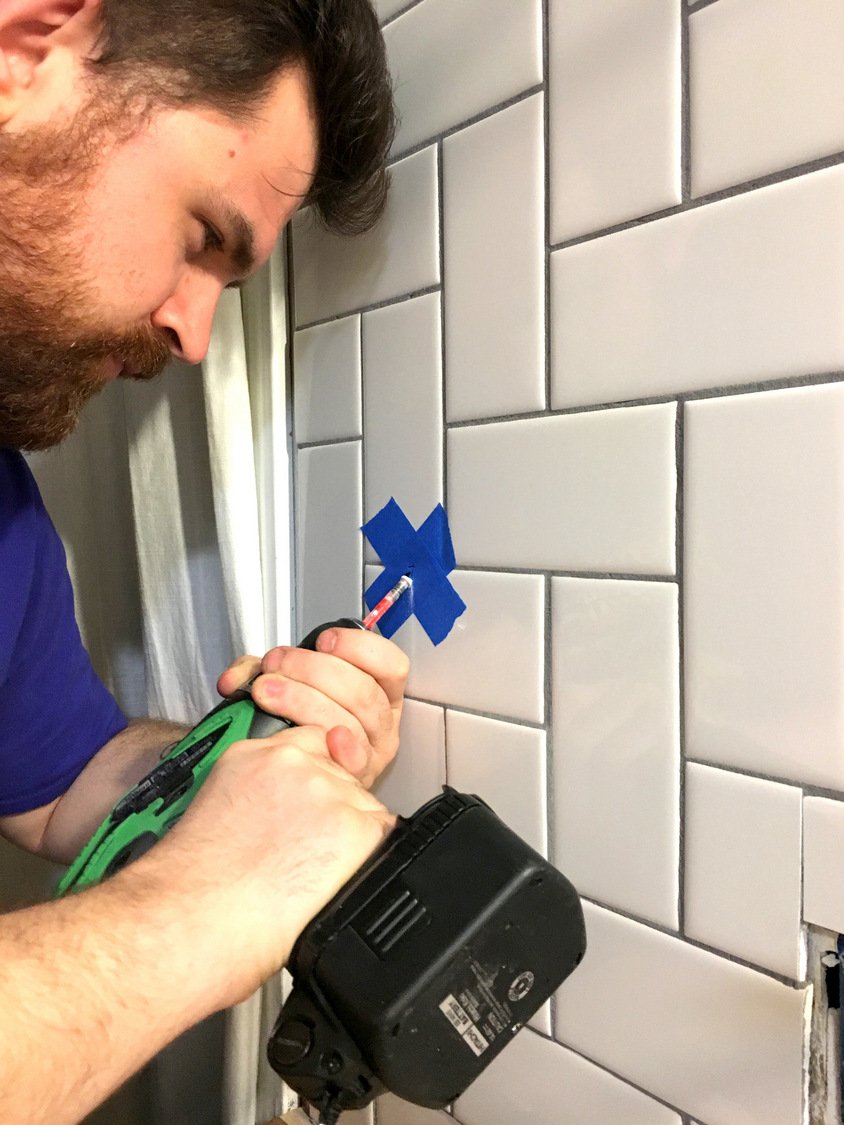
 A classic herringbone pattern adds visual interest to a neutral kitchen backsplash, even for first-time DIYers.
Credit: www.create-enjoy.com
A classic herringbone pattern adds visual interest to a neutral kitchen backsplash, even for first-time DIYers.
Credit: www.create-enjoy.com
Step 1: Prep the Wall Surface (The Make-or-Break Step)
In practice, 90% of DIY tile failures stem from skipped or rushed wall prep. Tiles will only stick as well as the surface they’re applied to, so don’t skip this step even if your wall looks clean and smooth.
Clean, Repair, and Smooth the Wall
Start by removing all grease, dust, and debris from the wall. For kitchens, grease buildup behind the stove and around the sink is common, so scrub the wall with a trisodium phosphate (TSP) solution (follow package instructions for safe use) rather than standard dish soap, which won’t cut through built-up cooking grease. Rinse thoroughly and let the wall dry completely (24 hours for drywall, 48 for plaster) before moving on.
Fill any holes, cracks, or dents with spackle or joint compound, then sand smooth with 120-grit sandpaper. If your wall is uneven, apply a thin layer of wall leveling compound to create a flat, even surface. For full kitchen walls or areas directly behind a sink/stove, install cement backer board over existing drywall for extra moisture resistance: screw it into the wall studs every 8 inches, and tape the seams with alkali-resistant mesh tape before applying a thin layer of thin-set over the tape to create a seamless surface.
If you’re installing tile over existing glazed tile, score the entire surface with 80-grit sandpaper to create a rough texture for the new thin-set to grip, then apply a bonding primer per the manufacturer’s instructions.
Protect Surrounding Areas
Cover countertops, cabinets, and floors with drop cloths or plastic sheeting, and tape edges with painter’s tape to prevent adhesive or grout from sticking to finishes. Turn off power to outlets and switches at the breaker (not just by flipping the wall switch) and remove cover plates to avoid getting grout or adhesive inside the electrical boxes. If you need to remove an old wall-mounted faucet first, our step-by-step guide to removing an old wall-mounted faucet will help you avoid water damage during the prep process.
Mark Your Layout Guidelines
Use a tape measure to find the true center of your wall: measure the total width and height, divide each by two, and mark the center point with a pencil. Snap a vertical chalk line from the top to the bottom of the wall at this center point, and a horizontal line 1/8 inch above the lowest point of your tile layout (usually the countertop edge) to serve as your starting guide. These lines will keep your tiles straight and aligned as you work.
Step 2: Plan Your Tile Layout to Avoid Costly Mistakes
A 15-minute planning step will save you hours of frustration and ensure your final tile job looks balanced and professional.
Dry Lay Tiles to Test the Pattern
Lay tiles out on the floor or on the wall (without adhesive) starting from your center chalk line, using the same spacers you’ll use for the actual install. For patterns like herringbone or subway running bond, dry lay the full pattern to calculate how many tiles you need (herringbone uses 10–15% more tile than a straight layout, for example). This step also lets you see how the tile looks with your kitchen’s lighting and cabinetry before you commit to adhesive.
Adjust Layout to Minimize Small Cuts
Check the width of the tiles at the far left and right edges of the wall. If the final tile on either side would be less than half a tile wide, shift your entire layout over by half a tile width so cuts are even on both sides. This avoids unsightly 1-inch sliver tiles at the edges that make the job look unprofessional.
Mark Outlet and Switch Locations
Use a pencil to mark the outline of each outlet and switch box on your dry layout. This lets you pre-cut tiles for these areas ahead of time, so you don’t have to measure and cut mid-install when adhesive is drying.
Step 3: Apply Adhesive and Set Tiles
Once your wall is prepped and your layout is planned, you’re ready to start installing tiles.
Mix and Apply Thin-Set Correctly
For best adhesion, mix polymer-modified thin-set mortar with water (or a latex additive for extra flexibility in areas with large temperature swings) using a mixing paddle attached to a drill. Mix until smooth and free of lumps, then let it "slake" (rest) for 5–10 minutes to allow the additives to activate. Remix before use—skipping the slaking step is a common mistake that leads to thin-set that doesn’t bond properly.
Apply thin-set to the wall in 3×3 foot sections using a notched trowel, holding it at a 45-degree angle to create uniform ridges. For official standards on thin-set mixing and application, refer to the Tile Council of North America’s installation guidelines.
Set Tiles for a Flush, Even Surface
Start setting tiles at the bottom of your center chalk line, pressing each tile firmly into the thin-set and twisting it slightly to ensure full contact with the adhesive. Tap the center of each tile gently with a rubber mallet to seat it evenly and eliminate air pockets. Check with a level every 3–4 tiles to catch unevenness early, and adjust as needed before the thin-set skins over.
For mosaic tile sheets, press the entire sheet evenly into the thin-set rather than pressing individual tiles, to keep the sheet from shifting out of alignment. Wipe off any thin-set that squeezes out between tiles immediately with a damp cloth—once it dries, it’s much harder to remove.
Use Spacers for Consistent Grout Lines
Insert plastic spacers at every corner where tiles meet to keep grout lines uniform. Standard kitchen grout lines are 1/8 inch wide, but use 1/4-inch spacers for handmade tiles with uneven edges. For large-format tiles, use tile leveling clips to prevent lippage (uneven heights between adjacent tiles) as the thin-set cures. Remove spacers once the thin-set is firm to the touch (usually 1–2 hours) but before it fully cures.
Step 4: Cut Tiles for Outlets, Edges, and Corners
Even with a perfect dry layout, you’ll need to cut tiles to fit around outlets, switches, cabinet edges, and wall corners.
Mark Cut Lines Accurately
For outlet cuts, hold the tile up to the wall and mark the outline of the outlet box with a pencil, adding 1/8 inch of extra space for grout. Use a marker for better visibility on glazed tile, and double-check all measurements before cutting—measure twice, cut once is the golden rule for tile work to avoid wasting materials.
Use the Right Tool for Every Cut
Use a manual tile cutter for straight cuts on soft ceramic tile: score the tile along your marked line with the cutter’s wheel, then gently snap it along the score. For porcelain, glass, or large-format tiles, use a wet saw for clean, splinter-free cuts. For curved cuts around rounded cabinet edges or faucet bases, use tile nippers to slowly remove small pieces of material, then smooth rough edges with a diamond file.
Critical Safety Tips for Cutting Tile
Cutting ceramic and porcelain tile releases crystalline silica dust, which poses serious long-term respiratory risks. Follow OSHA’s silica safety protocols to protect yourself: wear an N95 mask, work in a well-ventilated area (preferably outside), and use a shop vac to capture dust at the source. Always wear safety goggles and cut-resistant gloves to protect against sharp shards.
Step 5: Grout Tiles for a Seamless, Durable Finish
Grout fills the gaps between tiles, locks them in place, and prevents moisture and dirt from seeping behind the tile. Proper grouting is what separates a DIY job from a professional-looking finish.
Mix Grout to the Right Consistency
Choose a grout color that complements your tile: light grout works with dark tile for high contrast, while grout matched to the tile creates a seamless, modern look. Mix grout powder with water (or a latex additive for extra stain resistance) using a mixing paddle, stirring until it reaches a smooth, peanut-butter consistency. Let the grout slake for 10 minutes, then remix before use—this step prevents the grout from cracking as it cures.
Apply and Tool Grout Into Joints
Use a rubber grout float held at a 45-degree angle to push grout into the joints, working in 10×10 foot sections so the grout doesn’t dry before you can clean it. After filling all joints, hold the float at a 90-degree angle and drag it diagonally across the tile surface to remove excess grout from the tile faces.
Clean Excess Grout and Remove Haze
Wait 10–15 minutes for the grout to set slightly (check package instructions for fast-setting grout, which may have a shorter wait time), then wipe the tile surface with a damp (not soaking wet) sponge in a circular motion to remove excess grout. Rinse the sponge frequently to avoid spreading grout back onto the tiles. After the grout fully cures (24 hours), buff the tile surface with a soft cloth to remove any remaining grout haze.
Step 6: Seal and Finish for Long-Lasting Results
The final steps will protect your tile job from stains, moisture, and wear for years to come.
Seal Grout to Prevent Stains and Moisture Damage
Wait 72 hours after grouting before applying sealer, to ensure the grout is fully cured. Use a penetrating grout sealer (avoid topical sealers, which can peel over time) and apply it with a small brush or foam roller, working it directly into the grout lines. Wipe off excess sealer from the tile surface with a clean cloth after 5–10 minutes, and apply a second coat if water droplets absorb into the grout when tested. Note: epoxy grout does not require sealer, as it is naturally stain-proof.
Reinstall Fixtures and Clean Tiles
Reattach outlet and switch plates, and install any bullnose or trim tiles at the edges of your tile layout for a finished look. Clean the tile surface one last time with a mild, pH-neutral cleaner to remove any remaining dust or residue. Avoid abrasive cleaners, which can scratch the tile surface or damage the sealer.
Simple Maintenance to Keep Tiles Looking New
Wipe down your tiled wall regularly with a damp cloth and mild detergent to remove cooking splatters and grease. For tough stains, use a soft-bristled brush to scrub grout lines without scratching the tile. Inspect grout lines annually for cracks or discoloration, and reapply grout sealer every 1–2 years in high-use areas like behind the stove to prevent staining.
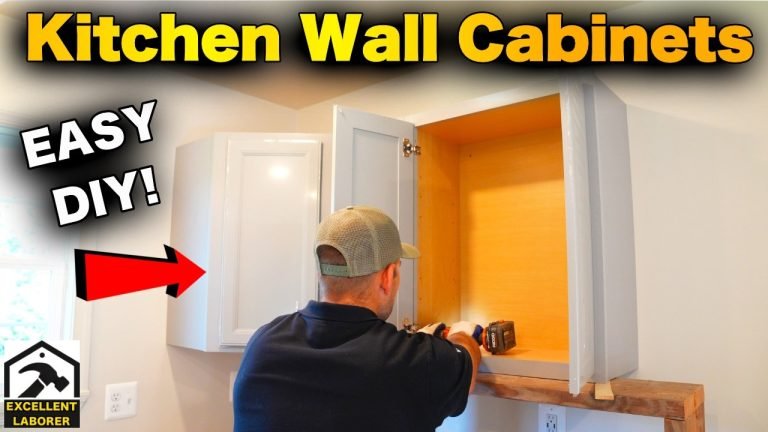
 A full video walkthrough of the entire tile installation process for visual learners.
Credit: www.youtube.com
A full video walkthrough of the entire tile installation process for visual learners.
Credit: www.youtube.com
Frequently Asked Questions
What tools are absolutely required for kitchen wall tile installation?
The core required tools are a tile cutter, notched trowel, level, spacers, grout float, and thin-set mortar. Optional but highly recommended tools include a rubber mallet, tile leveling clips, and a wet saw for clean cuts on hard tile.
Can I install tile over existing kitchen wall tile?
Yes, if the existing tile is fully adhered with no loose or cracked pieces. Score the glazed surface with 80-grit sandpaper to create a rough grip for new thin-set, apply a bonding primer, and use a polymer-modified thin-set for best adhesion.
How long does kitchen wall tile installation take?
For a standard 30-square-foot backsplash, plan for 2–4 hours of prep, 4–6 hours of tiling, 2–3 hours of grouting, and 24–72 hours of curing time for thin-set and grout. Total project time is usually 2–3 days for most DIYers, accounting for drying time between steps.
What grout line width is best for kitchen walls?
1/8 inch is standard for most ceramic and porcelain tiles. Use 1/4-inch lines for handmade or uneven tiles, and 1/16-inch lines for glass mosaics to create a nearly seamless look.
Do I need to seal ceramic or porcelain kitchen wall tile?
The tile itself does not need sealant, but cement-based grout should be sealed to prevent stains from cooking grease, wine, and food splatters. Natural stone tile (marble, travertine, etc.) needs to be sealed before grouting to avoid staining from grout pigments.
How do I avoid small sliver cuts at the edges of my tile layout?
Shift your entire tile layout by half a tile width if the final cut on either edge would be less than half a tile wide. This creates even cuts on both sides of the wall for a balanced, professional look.
Conclusion
Installing wall tile in your kitchen is a achievable DIY project that adds significant value and style to your home, no contractor required. The key to stunning results is simple: don’t skip the wall prep, take time to plan your layout, and follow manufacturer instructions for adhesive and grout cure times. Even first-time DIYers can get pro-level results with careful attention to detail. Ready to start your kitchen refresh? Pick up your materials this weekend, and don’t forget to pair your new tile with updated under-cabinet lighting for even more visual impact.