Serving Utensils: 10 Key Features You Must Look For
You want tools that last, don’t damage your pans, and make serving effortless. Yet most shoppers pick based on looks alone. The result?
Scratched cookware, bent handles, and utensils that fail exactly when you need them most.
According to FDA guidelines, materials in direct contact with food must meet strict safety standards to prevent chemical leaching. That’s why understanding material properties matters before you buy. Let’s break down what really makes a serving utensil work.
Quick Answer
Look for durable material, task‐specific heads, comfortable handles, and easy cleaning. Stainless steel lasts longest but may scratch non‐stick pans. Wood is gentle on coatings but requires hand washing.
Silicone tolerates high heat and won’t melt. Choose slotted heads for draining and solid heads for scooping.
Why Choosing the Right Serving Utensils Actually Matters
Most people treat serving utensils as afterthoughts. They grab whatever matches their plates or costs the least. But those cheap picks often betray you when you’re hosting a dinner party or cooking a complicated meal.
Consider the hidden costs. A scratched non‐stick pan loses its coating and may need replacement. Damaged coatings can even leach chemicals into food if overheated.
The FDA warns that Teflon‐type materials break down above 500 °F, releasing harmful vapors. Using the wrong utensil accelerates that wear.
Beyond cookware protection, the right tools boost your confidence. You’ll stir thicker sauces without spattering. You’ll lift whole roasted vegetables intact.
You’ll serve guests smoothly instead of juggling multiple awkward implements. That smoothness turns ordinary weeknight dinners into something special.
Unfortunately, many shoppers repeat the same mistakes. They ignore handle length and end up burning their fingers on hot pans. They choose flat‐bottomed spoons for draining and watch liquid pool on the counter.
They buy plastic sets that warp in the dishwasher. Each mistake costs time, frustration, and eventually money.
Investing in proper serving utensils pays off in durability and performance. You’ll avoid replacing worn‐out tools every few months. You’ll enjoy cooking more because your equipment works with you, not against you.
And your kitchen will look put‐together whether you’re serving at home or setting up for an outdoor dining experience. That last point matters. Good utensils transition seamlessly from stove to table to patio.
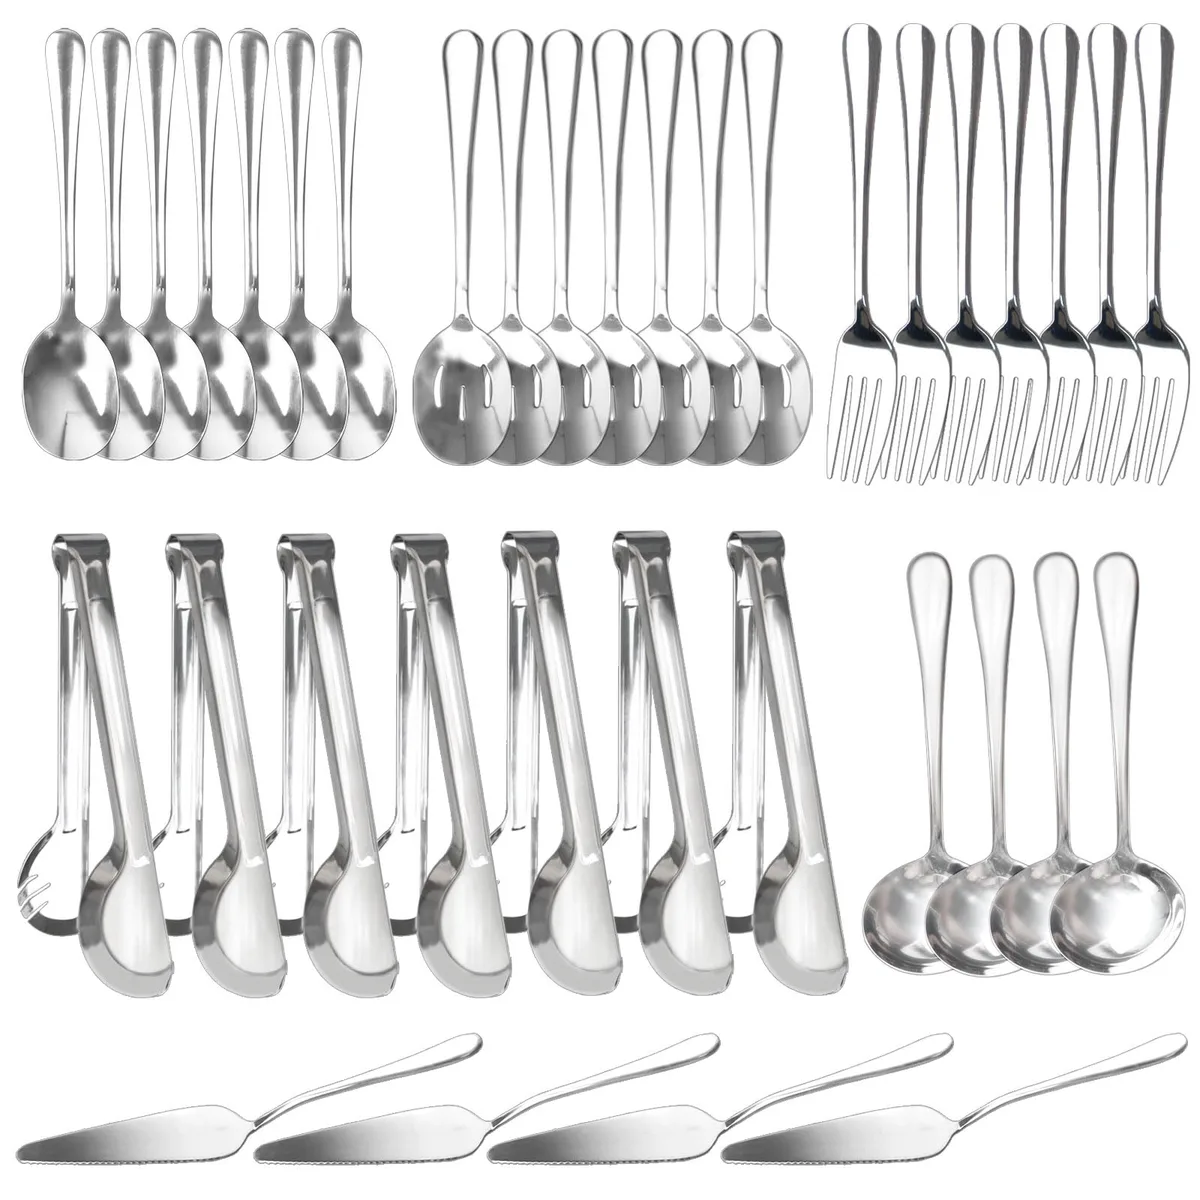
Material Matchup: Stainless Steel, Wood, Silicone & Plastic Breakdown
Choosing the right material is the first decision. Each option brings distinct strengths and weaknesses. Your cookware type, cleaning habits, and cooking style should guide the choice.
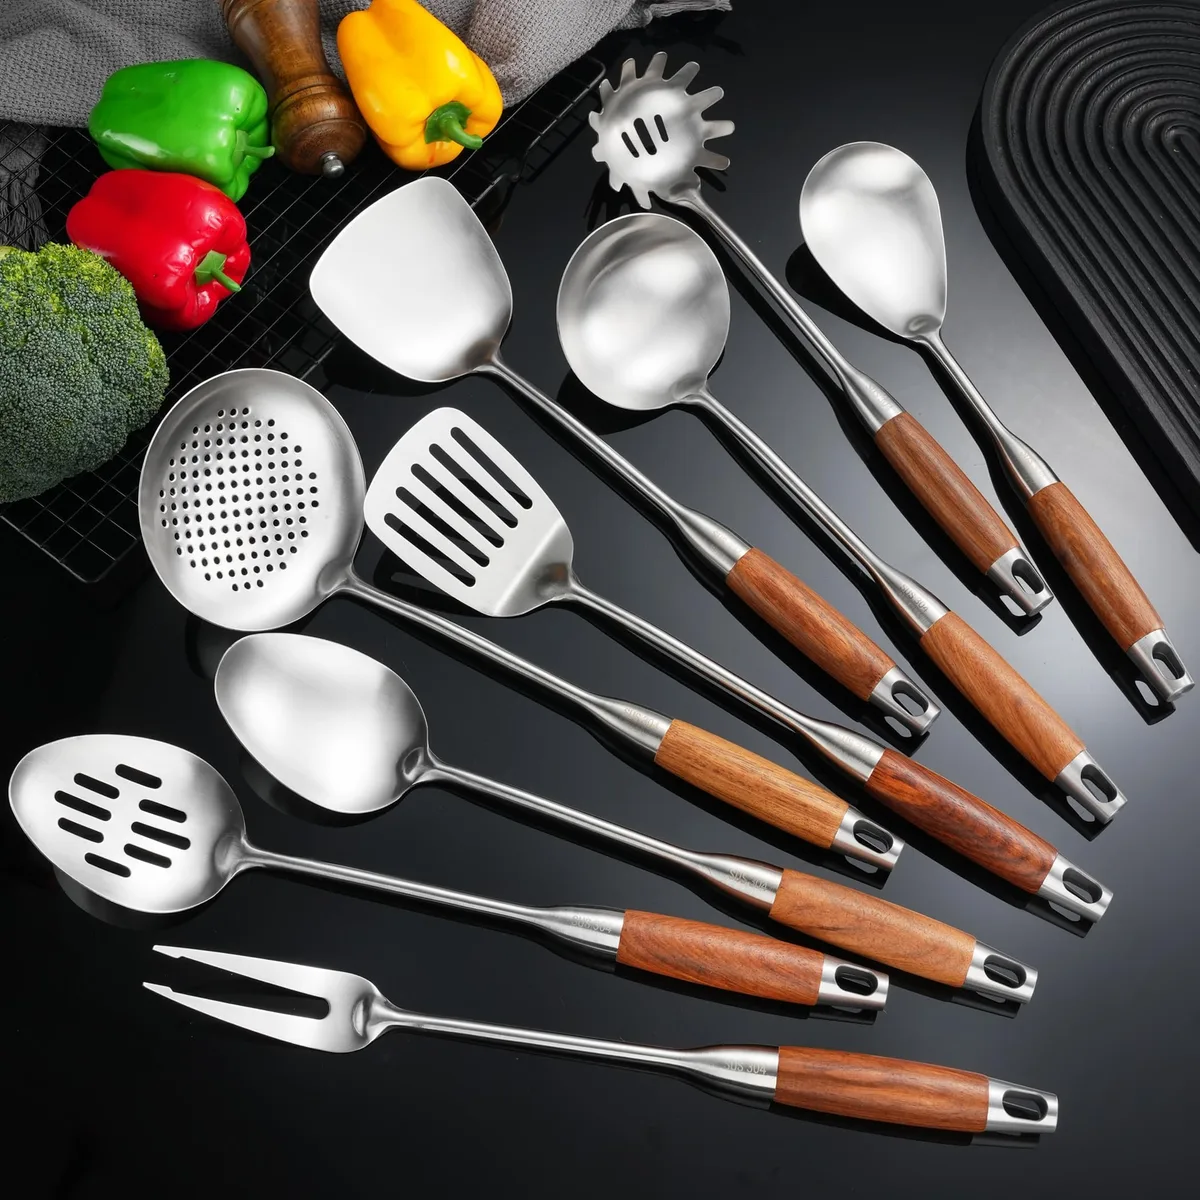
Below is a quick comparison of the four most common materials.
| Material | Durability | Scratch Risk | Heat Resistance | Best For |
|---|---|---|---|---|
| Stainless steel | High | Can scratch non‐stick | Very high (up to 800 °F) | Heavy‐duty tasks, oven‐to‐table serving |
| Wood (hardwoods) | Moderate | Safe for all surfaces | Low (warps above 350 °F) | Non‐stick pans, gentle stirring, rustic aesthetics |
| Silicone | High | Safe for all surfaces | High (up to 450 °F) | Baking, mixing batters, avoiding stains |
| Plastic/polypropylene | Low | Safe but melts easily | Low (warps above 250 °F) | Budget‐friendly casual use, cold foods only |
Stainless steel utensils are workhorses. They resist stains, odors, and corrosion. Many come with riveted joints that won’t loosen over time.
However, they can mar non‐stick coatings. If you own ceramic or coated pans, switch to wood or silicone for those tasks.
Wood offers a natural grip and won’t scratch. Hardwoods like beech and maple are dense enough to resist warping, but they still need hand‐washing. The USDA recommends oiling wooden tools monthly to maintain their finish and prevent bacterial growth.
Over‐soaking leads to cracking, especially in dry climates.
Silicone has become hugely popular because it’s flexible, heat‐resistant, and easy to clean. It won’t melt or leach chemicals when used within temperature limits. That said, cheaper silicone can retain odors and stain from tomato sauce or turmeric.
Look for food‐grade silicone marked as BPA‐free and phthalate‐free. NSF certification details verify hygiene standards for commercial foodservice equipment.
Plastic is cheap and lightweight, but it degrades quickly. Repeated dishwasher cycles cause cloudiness and brittleness. Melted plastic near hot pans releases unpleasant fumes.
Reserve plastic for occasional cold‐food serving or as backup utensils.
When selecting materials, also consider your cleaning routine. If you run a dishwasher daily, stainless steel and silicone are safest. Wood requires extra care but rewards you with a timeless feel.
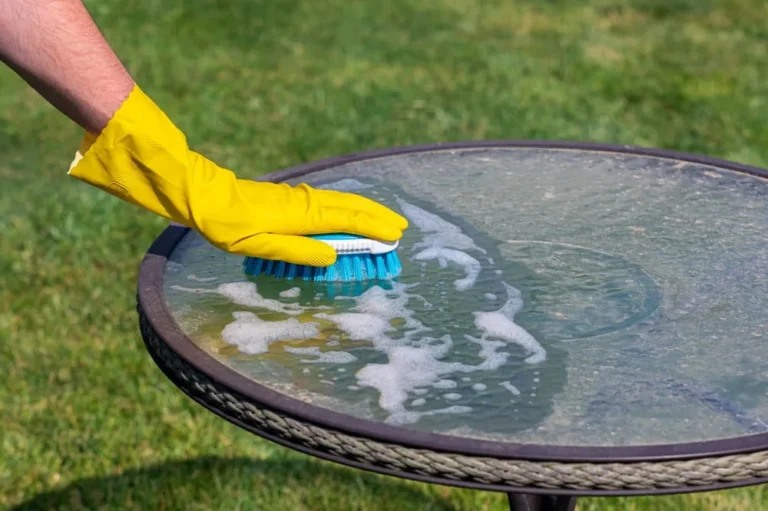
Regular upkeep, like cleaning outdoor tableware, follows the same principle. Gentle soap, thorough drying, and occasional oiling keep everything in shape.
Head Design & Functionality: Slots, Shapes, and Specialized Tools
The head of your serving utensil determines how it interacts with food. Slots let liquid drain away. Solid heads scoop and lift.
Curved edges help slide food onto plates. Wrong head shape means spilled broth or broken garnish.
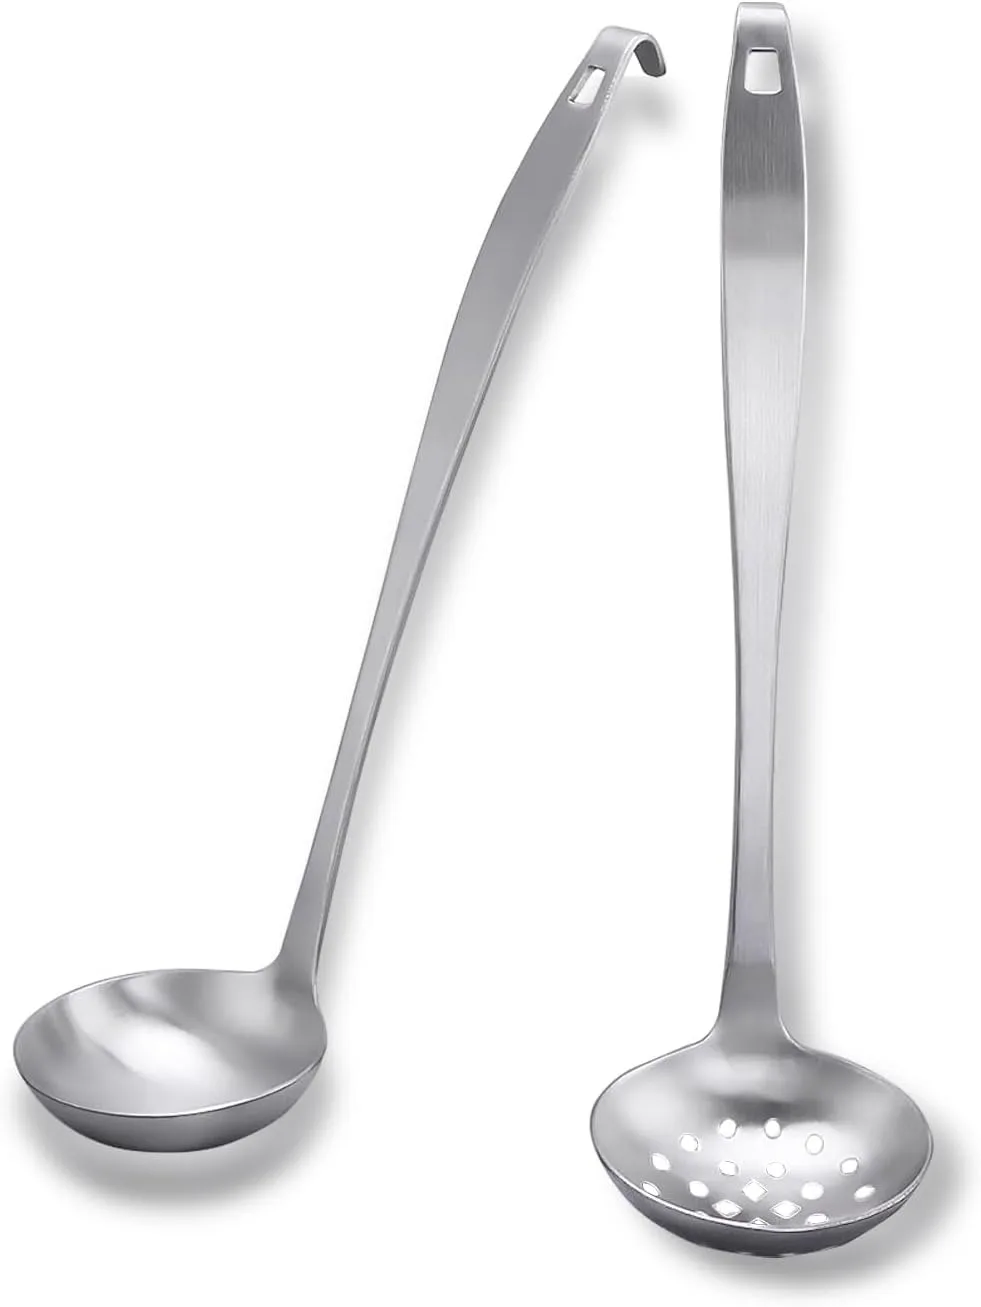
Here are the most common head types and what they’re built for.
- Slotted spoons and skimmers: Perforations allow broth or oil to drain while keeping solids. Ideal for pasta, fried foods, and poached fish.
- Solid serving spoons: Smooth bowls gather sauces, gravies, and rice. Deep cups prevent splashing when transferring from pot to plate.
- Turners (spatulas): Flat, wide heads slide under burgers, pancakes, and fillets. Some have serrated edges for gripping.
- Tongs: Two‐armed design grabs irregular items like corn on the cob or salad leaves. Spring‐loaded handles reduce hand fatigue.
- Specialized servers: Ladles pour soup and punch. Cake servers slice and lift delicate layers. Pasta forks twirl long strands.
Slot size matters. Large holes drain fast but let small foods escape. Fine mesh holds tiny grains like quinoa but clogs with starchy water.
Test by shaking the utensil over a bowl. If everything drains quickly, the slot spacing suits your needs.
Head shape affects control. A rounded bowl cradles round foods like meatballs and potatoes. A flattened spoon spreads thin sauces evenly.
Angled necks keep your knuckles away from hot surfaces. Look for reinforced rims where the head meets the handle. Weak joints crack under pressure.
For delicate tasks like serving risotto or flaky fish, choose utensils with smooth, non‐stick edges. Silicone‐tipped tools prevent scratching while offering gentle lifting. Metal edges can tear sensitive proteins.
When building a versatile set, prioritize one of each primary type. Get a slotted spoon, a solid ladle, a turner, and a pair of tongs. You can always add specialty pieces later as your cooking expands.
Handle Ergonomics: Length, Grip, and Balance That Prevent Fatigue
Your hand spends the most time on the handle. A poorly designed handle causes blisters, wrist strain, and missed pours. Good ergonomics mean comfortable grip, proper length, and balanced weight.
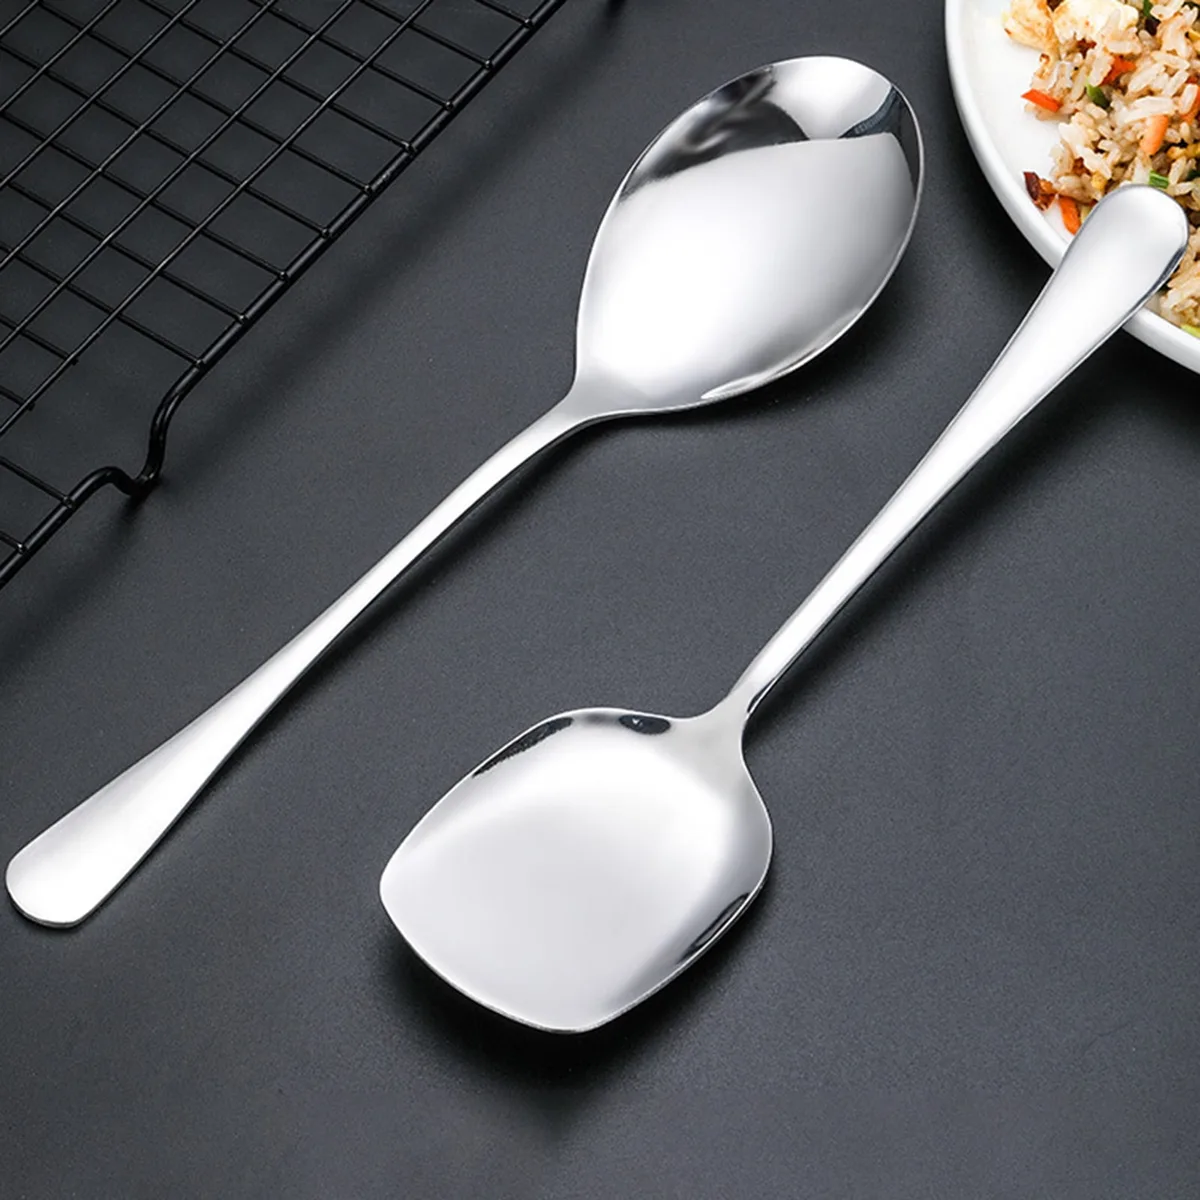
Handle length depends on your cookware depth and serving style. Short handles (7, 9 inches) suit shallow pans and tabletop serving. Medium handles (10, 12 inches) are the sweet spot for most pots and deep skillets.
Long handles (13+ inches) keep your hands far from splattering oil or boiling liquids. These are essential for frying or candy making.
Grip comfort involves shape, texture, and thickness. Rounded grips dig into palms during prolonged use. Contoured or pistol‐grip handles distribute pressure evenly.
Textured surfaces improve wet‐hand traction. Avoid overly thick handles if you have smaller hands. They force your grip tight and tire faster.
Balance is often overlooked. A utensil with a heavy head and light handle feels front‐heavy and awkward. Look for tools where the weight centers near your fingers.
This gives you better control when lifting heavy portions or maneuvering around pot edges.
Construction quality matters too. Riveted handles can loosen over time, trapping food debris. One‐piece molded utensils eliminate crevices and are easier to clean.
Check that the joint between head and handle is seamless or tightly sealed.
If you frequently host outdoor gatherings, consider how utensils fit into your outdoor serving tray arrangements. Longer handles clear deeper trays without tipping. Compact designs store neatly alongside other camping kitchen gadgets when space is limited.
Finally, test grip before buying if possible. Hold the utensil as if you’re stirring a thick stew. Does it feel natural?
Do your fingers rest comfortably? If not, skip it. Your hands will thank you later.
Building Your Set: Coordinated Matches vs. Modular Mix‐and‐Match Systems
Most retailers sell serving utensils as coordinated sets. They look neat and promise compatibility. But matching sets often force you to buy items you’ll never use.
Modular systems let you pick individual pieces tailored to your actual cooking habits.
A matched set typically includes 4 to 8 pieces: slotted spoon, solid spoon, spatula, ladle, tongs, and sometimes a pasta fork. All share the same color, material, and handle shape. This uniformity pleases aesthetics‐focused cooks.
However, you might end up with three wooden handles and no silicone option for high‐heat baking.
Modular systems offer interchangeable heads and handles. You can swap a silicone head onto a long wooden handle for frying. Then attach a stainless steel slotted spoon for draining pasta.
This flexibility reduces the total number of utensils you own while increasing versatility.
Before investing, identify your core tasks. Do you boil pasta weekly? Prioritize a sturdy slotted spoon and pasta server.
Do you bake bread often? A dough scraper and proofing basket matter more. Build your set around frequency, not fantasy.
Essential starter sets for everyday cooks should include:
- A medium‐length slotted spoon for draining and skimming
- A solid ladle for soups and sauces
- A wide turner for flipping and lifting
- A pair of locking tongs for grabbing and turning
That’s four pieces. Add a pasta fork and a cake server only if you regularly entertain. Stop there.
Extra matching sets just accumulate in drawers.
To keep your collection organized, store utensils handle‐down in a crock or hang them on a rail. This prevents heads from knocking together and preserves edge integrity. When you’re done, follow basic maintenance guidelines to keep your outdoor dining set looking sharp.
Those same principles apply indoors.
Common Mistakes When Buying Serving Utensils
Even seasoned cooks repeat the same errors when selecting serving tools. These pitfalls cost money, create frustration, and compromise food safety. Learn from others’ mistakes instead of making them yourself.
Ignoring cookware compatibility. Many shoppers buy shiny stainless steel sets without checking their pan type. If you own non‐stick or ceramic coatings, metal utensils will scratch and degrade the surface over time. The resulting damaged coating loses effectiveness and may require replacement.
Choose wood or silicone if your pans have delicate surfaces.
Overlooking handle length. A short‐handled ladle forces your hand close to hot soup. You risk burns, especially when stirring deep pots. Conversely, an excessively long handle becomes unwieldy on a small stovetop.
Measure your pot depth before buying. Aim for handles that extend 2 to 3 inches past the rim for safe maneuvering.
Prioritizing looks over function. Matching sets look beautiful displayed together. But uniform designs often sacrifice specialized functionality. A set with five identical spoons won’t serve you well when you need a slotted skimmer one day and a solid ladle the next.
Break the matching aesthetic for better performance.
Skipping durability checks. Cheap utensils often feature thin materials and weak joints. Press down on the head. If it flexes noticeably, the utensil may bend under normal use.
Examine rivets and seams. Loose connections trap food particles and harbor bacteria. Spend a little more upfront for tools built to last.
Neglecting cleaning requirements. Some utensil designs collect grease in hidden crevices. Slotted spoons with tiny perforations clog quickly if not rinsed immediately. Wooden handles absorb moisture and crack if dishwasher‐washed repeatedly.
Read care instructions before purchasing. Avoid designs that complicate your cleaning routine.
Pricing Guide: What to Expect at Different Price Points
Serving utensil prices vary widely based on material, brand, and construction quality. Understanding price tiers helps you allocate your budget wisely without overspending or sacrificing essential features.
Budget options ($10, $25) typically include basic plastic or coated metal utensils. These sets offer four to six pieces with minimal ergonomic consideration. They suit casual cooks who entertain infrequently or students living in shared housing.
Expect shorter lifespans, often 1 to 2 years with regular use.
Mid‐range selections ($25, $75) deliver better materials and thoughtful design. You’ll find stainless steel with reinforced joints, hardwood handles, and silicone heads rated for higher heat. Sets usually include five to eight pieces covering most kitchen tasks.
This tier represents the best value for home cooks who prepare meals daily.
Premium choices ($75, $200+) feature professional‐grade materials like forged stainless steel, premium hardwoods, or medical‐grade silicone. Brands often offer lifetime warranties and modular systems with interchangeable components. Commercial kitchens and serious enthusiasts invest in this tier for durability and performance consistency.
When comparing prices, factor in cost per piece rather than total set cost. A $40 four‐piece set may seem cheaper than a $60 six‐piece set. But the per‐unit value tells a different story.
Calculate the price per utensil to make informed decisions about which investment makes sense for your needs.
Also consider resale value and warranty coverage. High‐quality stainless steel utensils retain functional value for decades. Wooden tools may need refinishing every few years.
Silicone items generally maintain their properties longer if cared for properly. Check manufacturer warranty terms. Reputable brands stand behind their products with clear return policies.
Care and Maintenance Tips for Long‐Lasting Utensils
Proper maintenance extends utensil lifespan significantly. Simple habits prevent premature wear, preserve material integrity, and keep your tools food‐safe. Follow these guidelines based on material type.
Stainless steel requires minimal upkeep. Wash after each use with warm soapy water. Dry immediately to prevent water spots, especially in hard‐water areas.
Occasional polishing with a soft cloth restores shine. Store in a dry drawer or hang on a rack to avoid edge damage.
Wooden utensils demand more attention. Hand‐wash only, because dishwasher detergents strip natural oils and cause cracking. Dry thoroughly after washing, then apply food‐grade mineral oil monthly.
This nourishes the wood and creates a moisture barrier. Store in a ventilated space. Never leave wood wet in a closed container.
Silicone tools need gentle handling despite their reputation. Avoid abrasive scrubbers that scratch the surface. They are dishwasher safe, but place them on the top rack away from heating elements.
Inspect periodically for cuts or tears, which can harbor bacteria. Replace damaged items promptly.
Plastic utensils show wear fastest. Stop using them once discoloration appears or edges become rough. Heat warping indicates the material has degraded.
Replace every 12 to 18 months for food safety reasons. Never expose plastic to open flame or broiler temperatures.
Regardless of material, establish a consistent inspection routine. Monthly checks catch small problems before they become major issues. Look for loose heads, cracked handles, frayed edges, or persistent odors.
Address concerns immediately rather than hoping they resolve themselves. Good maintenance habits also apply when you’re maintaining your camping kitchen gadgets.
Safety Guidelines: Food‐Safe Materials and Practices
Utensil safety extends beyond personal injury prevention. It encompasses chemical exposure risks, bacterial contamination, and proper handling procedures. Understanding these factors protects your health and ensures food integrity during preparation and service.
FDA regulations govern materials that contact food directly. Stainless steel must meet specific alloy compositions to resist corrosion and leaching. Wood should come from approved species without toxic treatments.
Silicone must be food‐grade and free of fillers that compromise safety. Always verify certifications before purchasing unfamiliar brands.
BPA and phthalate exposure remains a legitimate concern with plastic utensils. Cheaper formulations may contain these chemicals, which leach into acidic or fatty foods over time. Look for products explicitly labeled BPA‐free and phthalate‐free.
When in doubt, choose alternative materials like wood or stainless steel.
Cross‐contamination prevention requires proper storage practices. Never store utensils touching raw meat residue. Wash thoroughly after contacting allergens like shellfish or nuts.
Keep separate sets for raw and cooked food handling if your cooking workflow involves both. Color‐coding handles can help prevent accidental mixing.
Heat safety matters during cooking and serving. Metal handles conduct electricity and heat. Use caution when working near induction cooktops or leaving utensils resting in hot pans.
Silicone offers better thermal insulation but degrades above manufacturer‐specified limits. Follow temperature guidelines strictly to avoid melting or deformation.
Children and elderly users face unique risks. Sharp edges, heavy weights, or slippery grips increase accident potential. Choose utensils with rounded edges and comfortable, textured grips.
Train young cooks on proper handling techniques. Regularly inspect aging utensils for wear that could create sharp points or unstable balance.
Frequently Asked Questions
Are wooden utensils really safer for non‐stick pans?
Yes, hardwood utensils won’t scratch most non‐stick coatings. They’re gentle on ceramic, Teflon, and granite surfaces while providing sturdy leverage. Just remember to hand‐wash and oil them regularly to prevent cracking and bacterial growth.
Can silicone utensils melt or release harmful chemicals?
Food‐grade silicone withstands temperatures up to 450°F without melting or leaching. Lower‐quality versions may contain fillers that degrade at high heat. Stick to reputable brands that certify BPA‐free, phthalate‐free, and FDA‐compliant silicone for safe everyday use.
What handle length works best for deep pots?
Handles around 12 to 14 inches safely clear deep stockpots and Dutch ovens without exposing your hands to steam or splashes. Shorter handles work fine for shallow pans and side dishes. Measure your deepest cookware before deciding on the ideal length.
How do I clean slotted utensils without trapped grease?
Rinse slotted spoons and skimmers immediately after use while residues are still soft. Use a narrow brush or toothpick to dislodge particles from perforations. For stubborn buildup, soak in warm soapy water for 10 minutes before scrubbing.
Dry completely to prevent rust or odor retention.
Should I buy a full matching set or mix materials?
Mix materials based on your actual cooking tasks rather than aesthetics. Pair stainless steel for durable tasks with silicone for non‐stick protection. Invest in quality individual pieces over cheap matched sets.
This approach saves money long‐term and improves your cooking experience significantly.