How to Use an Outdoor Serving Tray: Tips & Tricks
How to use outdoor serving tray effectively means keeping your food safe and your guests happy without turning your patio into a spill zone. Most people rush through setup and skip the small details that actually prevent disasters. A warped tray, a tipped platter, or lukewarm sides can ruin an otherwise great gathering.
Per USDA food safety guidelines, hot foods must stay above 140°F and cold foods below 40°F to remain safe for serving. Understanding how to use outdoor serving tray properly means mastering surface stability, temperature control, and smart organization before your guests arrive.
Quick Answer
Knowing how to use outdoor serving tray effectively comes down to three key steps. A flat, non-slip base prevents tipping. Separating hot and cold items preserves food safety.
Positioning the tray within easy reach keeps guests from clogging your serving area.
Step 1: Stabilize Your Base (No More Tipping)
Outdoor surfaces are rarely level. Grass slopes, deck boards gap, and stone patios wobble underfoot. Placing a serving tray directly on an uneven surface invites disaster.
Even a slight tilt can send a wine glass rolling or a platter sliding off the edge.
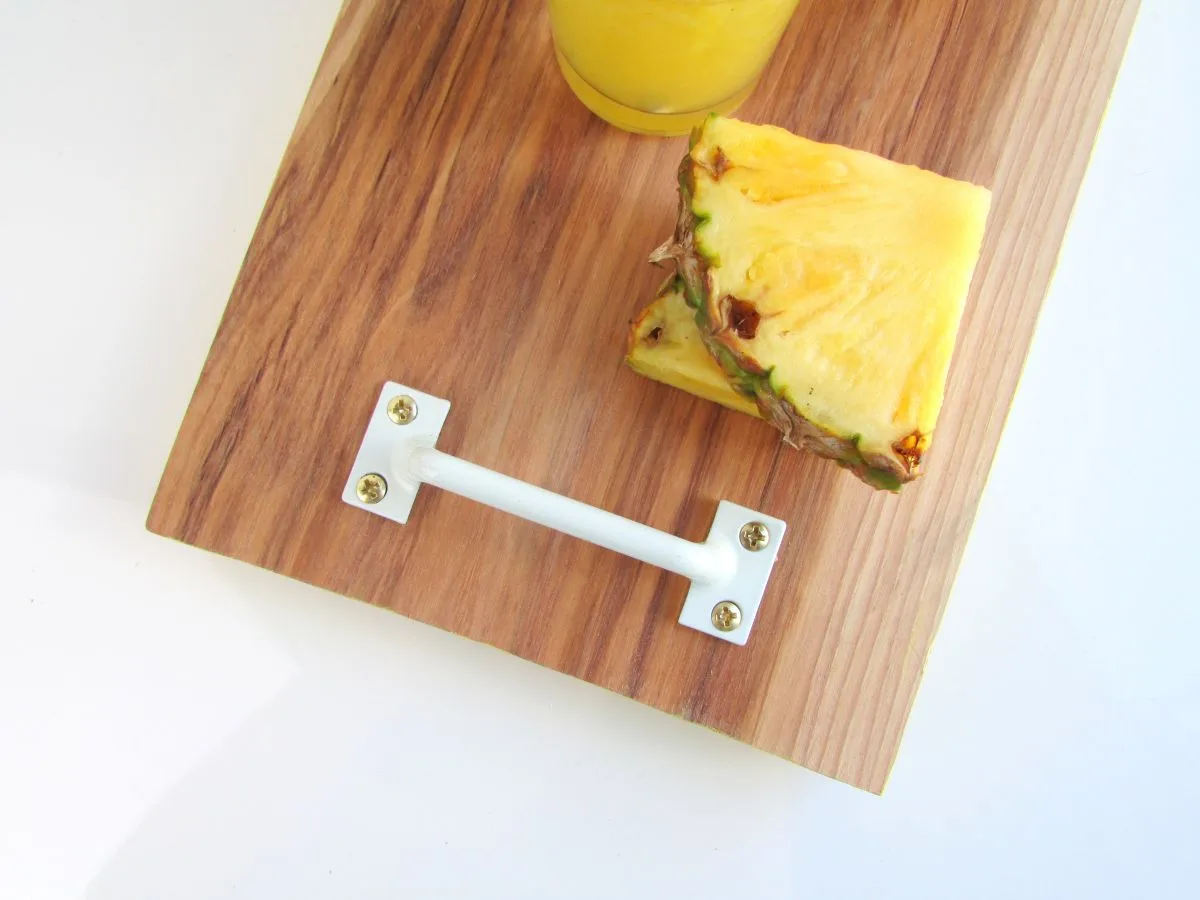
Image source: Bing (Web (fair-use with source credit))
Start by choosing your spot carefully. Look for a flat section of deck or patio. If you are setting up on grass, find the flattest patch available.
Then take one of these stabilizing steps before loading anything heavy.
- Place a rigid board or tray mat underneath to create a level platform
- Use a folding table as your base whenever possible
- Engage locking casters if your tray cart has wheels
- Weight down lightweight trays with a centered heavy dish
Lightweight resin or plastic trays tip easily when partially loaded. Heavier options like solid teak or aluminum hold their ground better on uneven surfaces. Most quality outdoor serving trays list a recommended weight capacity between 25 and 50 pounds as of 2026.
Check that number before overloading.
A simple trick many hosts forget involves checking stability before adding food. Push the tray gently with one hand while it is empty. If it rocks or tilts noticeably, fix the base first.
Fixing a wobbly foundation takes thirty seconds. Recovering from a spilled tray takes much longer.
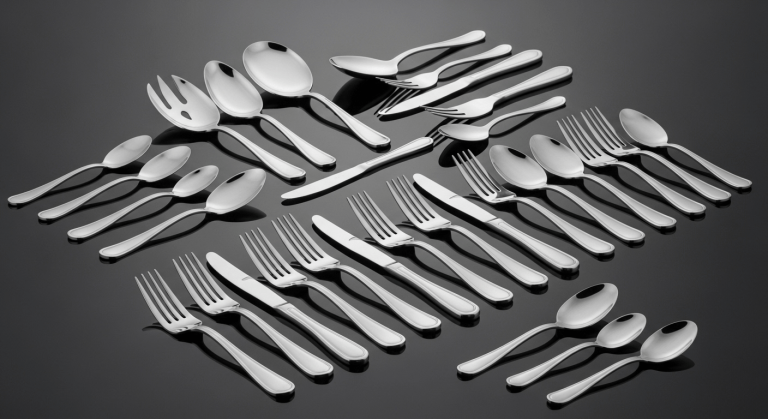
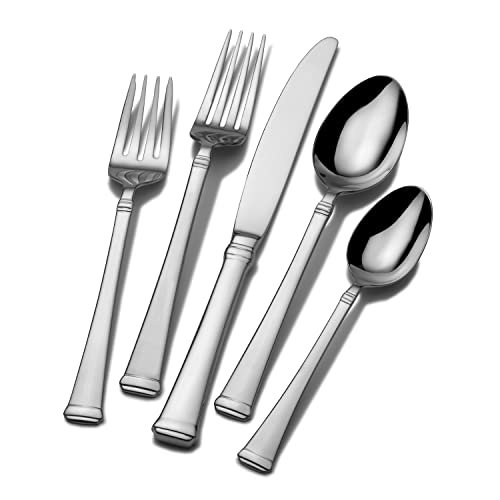
Keep a spare set of leveling pads or coasters nearby for quick adjustments. Those little rubber feet make a real difference on slick surfaces like glass table tops or smooth stone. This approach pairs well with thoughtful flatware selection that matches your serving style without weighing down the tray.
Step 2: Control Temperatures for Safety & Quality
Temperature control separates a good outdoor spread from a risky one. Per FDA Food Code standards, perishable foods should not sit in the danger zone between 40°F and 140°F for more than two hours. In hot weather above 90°F, that window shrinks to just one hour.
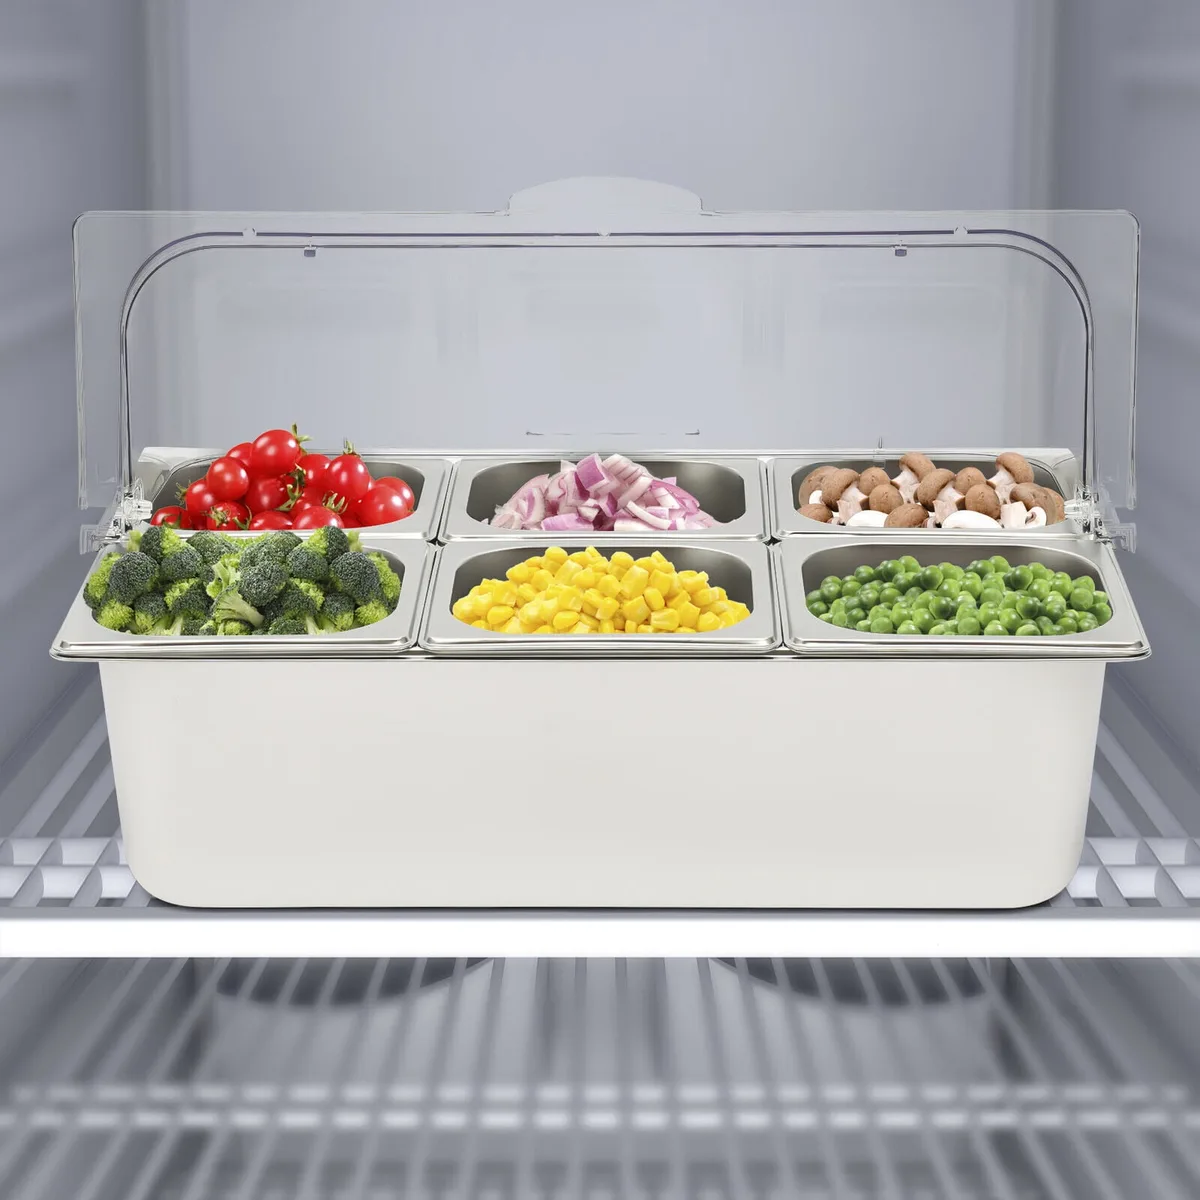
Image source: Bing (Web (fair-use with source credit))
Hot dishes need protection from both cooling down and damaging your tray surface. Cold dishes need insulation against warming up quickly in sun or heat. Here is how to handle each situation.
For hot foods, use these approaches:
- Place heat-resistant pads or trivets between hot pots and the tray
- Transfer steaming dishes into pre-warmed chafing dishes or thermal containers
- Keep lids on whenever possible to retain heat
- Rotate fresh batches instead of leaving everything out
For cold items, try these methods:
- Set serving bowls inside larger bowls filled with ice
- Use chilled platters stored in the refrigerator beforehand
- Group cold items together away from direct sunlight
- Refresh ice packs or frozen gel inserts throughout the event
Most resin and plastic trays cannot handle direct contact with hot cookware. Heat warps the surface and can leach chemicals into your food. Metal and teak trays resist heat better but still benefit from padding.
Always double-check the manufacturer specifications before placing anything warm directly on your tray material.
A practical rule most experienced hosts follow is setting up a two-zone system. Hot foods go on one side, cold items on the other. This layout simplifies restocking and keeps temperatures stable longer.
It also reduces cross-contamination risk between raw and ready-to-eat foods.
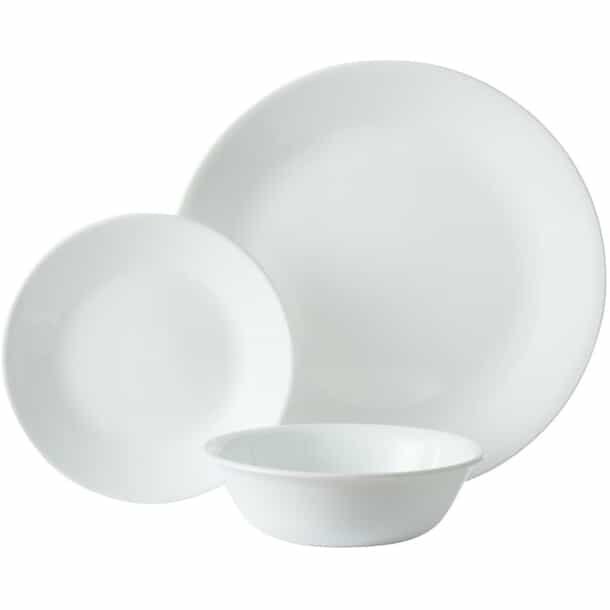
When planning your menu, consider which dishes hold temperature best outdoors. Root vegetables, roasted meats, and breads stay warm longer than leafy salads or seafood. Pairing sturdy hot dishes with durable dinnerware keeps everything looking put-together even as the party continues.
For official guidance on safe food holding temperatures, refer to USDA food safety resources.
Step 3: Organize for Your Crowd Size and Flow
A crowded tray causes bottlenecks. Guests cluster around a single station and block access to other food. Smart organization keeps traffic moving smoothly through your serving area.
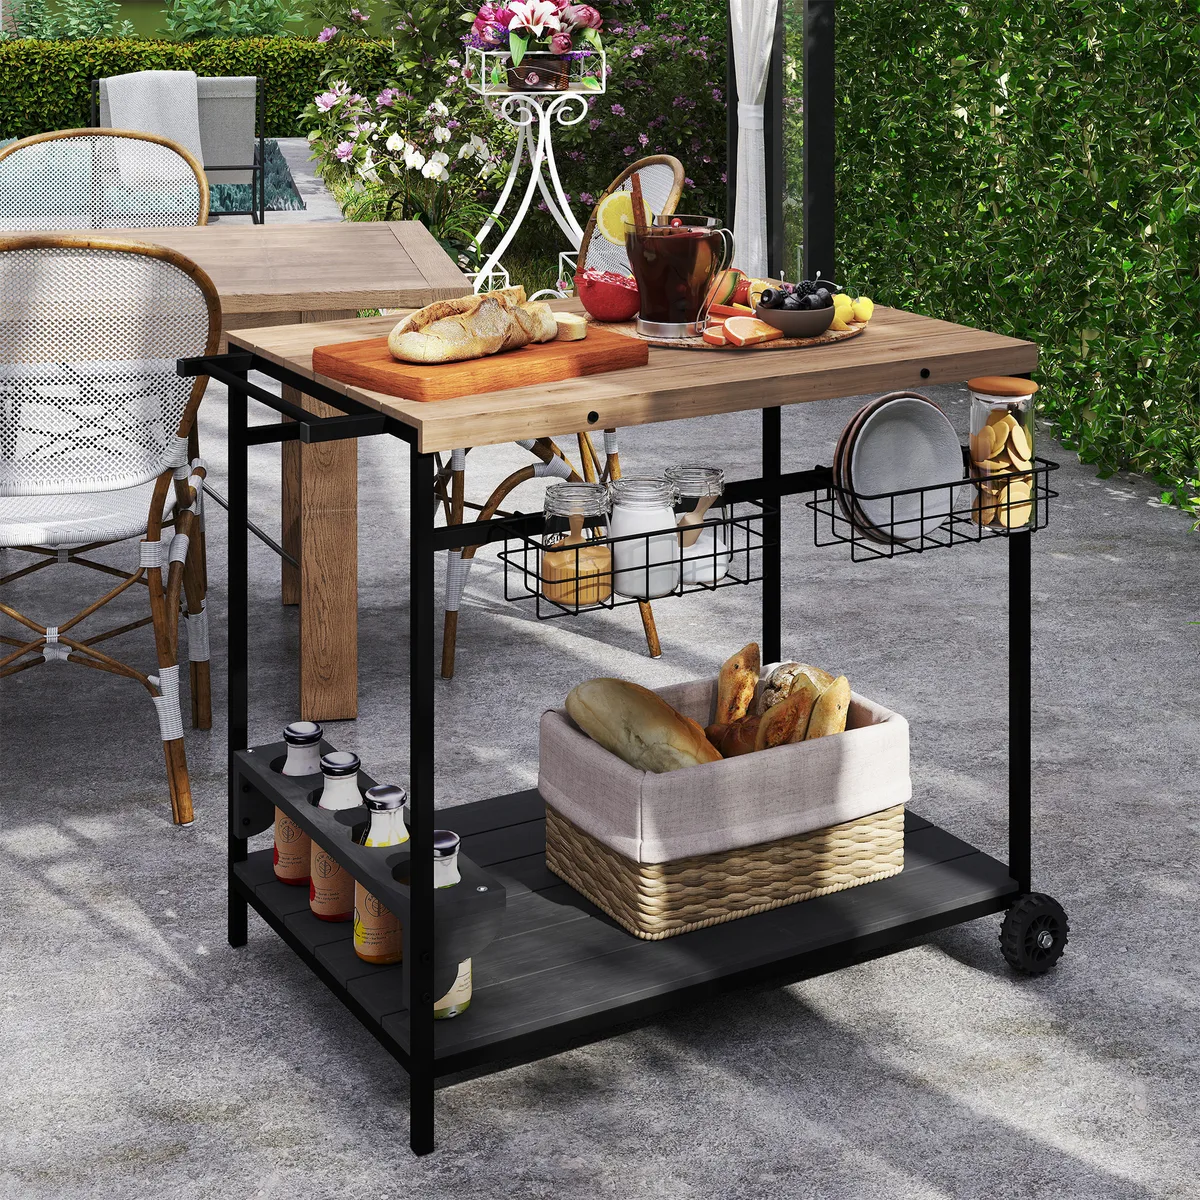
Image source: Web (Bing) / aosom.com (Web image (fair-use with source credit))
Match your tray strategy to your guest count. Small gatherings of six to eight people work well with one mid-size tray positioned near the main seating area. Larger parties of ten or more benefit from multiple stations or a rolling cart that can move between groups.
Consider these layout principles when organizing your tray:
- Place frequently used items within arm's reach of the center
- Position utensils on the far side to prevent arm traffic over food
- Keep trash or waste disposal near but separate from serving zones
- Route high-traffic paths away from delicate or spill-prone items
A two-tray rotation system works well for bigger events. Fill tray one, set it out, then rotate to tray two once the first starts running low. This keeps the display looking full without constant refilling trips back to the kitchen.
Think about your guests' natural movement patterns too. People tend to flow clockwise around a party space. Position your tray where it catches traffic early rather than forcing guests to backtrack.
A well-placed tray at the entrance to your outdoor dining area gets used more consistently than one tucked in a corner.
Adding elegant table settings to your tray arrangement ensures everything stays organized during transport and service. Proper spacing between items also prevents accidental knocks and spills. Matching your tray setup with complete flatware collections ensures every serving element works together seamlessly.
Mistakes to Avoid With Outdoor Serving Trays
Even experienced hosts make preventable mistakes with outdoor serving setups. Learning from common errors saves you time, food, and embarrassment.
Here are the most frequent mistakes and how to sidestep them:
- Setting trays directly on grass without leveling: uneven ground causes tilting and spills every time
- Ignoring condensation rings: cold drinks sweat on warm surfaces and damage both the tray and furniture underneath
- Overloading beyond weight capacity: sagging trays warp over time and may crack under stress
- Placing hot dishes without protection: direct heat warps plastic and damages wood finishes permanently
- Forgetting about wind: lightweight trays and loose napkins blow away easily on breezy days
- Neglecting to secure wheels: rolling carts drift when brake locks are left disengaged
- Leaving perishables out too long: food safety windows shrink fast in outdoor heat
One mistake that costs hosts more than any other is poor timing. Loading the tray and walking outside ten minutes before guests arrive leaves no buffer for spills, adjustments, or last-minute fixes. Set up at least twenty minutes ahead of your serving time.
That window lets you test stability, rearrange items, and grab a drink before the crowd arrives.
Another overlooked error is using indoor trays outdoors. Trays designed for indoor use often lack UV-resistant coatings and weatherproof seals. Prolonged sun exposure fades colors, weakens adhesives, and cracks materials not built for outdoor conditions.
Invest in trays rated for exterior use if you plan to leave them outside regularly.
Choosing the Right Tray Type for Your Situation
Different hosting styles call for different tray designs. Picking the right type simplifies setup and improves performance throughout your event.
Here is a quick breakdown of the most common options:
| Tray Type | Best For | Pros | Cons |
|---|---|---|---|
| Folding tray table | Small patios, limited storage | Easy to store, portable | Lower weight capacity |
| Rolling serving cart | Large parties, multiple rooms | Mobile, high capacity | Bulky when stored |
| Stationary bar cart | Dedicated outdoor bar areas | Sturdy, stylish, multiple tiers | Requires permanent spot |
| Standard rectangular tray | Picnics, casual gatherings | Affordable, versatile | Needs flat surface |
| Tiered standing tray | Small spaces, appetizers | Space-saving, visual impact | Limited surface area |
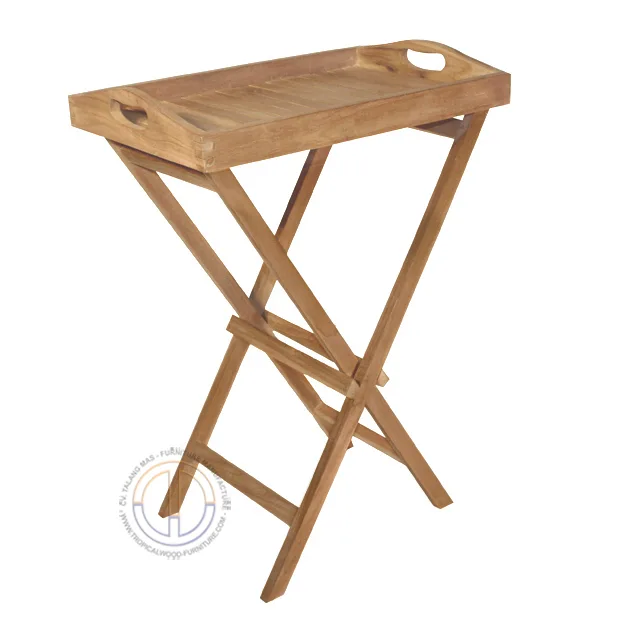
Folding tray tables work well for tight spaces and occasional use. They collapse flat for storage and set up in under a minute. The trade-off is lower weight capacity and less stability on soft ground.
Rolling serving carts excel at large gatherings. Multiple shelves hold dishes, drinks, and utensils separately. Locking wheels keep them stationary during service.
The downside is storage space. A rolling cart needs room when not in use.
Stationary bar carts suit hosts who entertain frequently in the same outdoor area. They double as decorative pieces and provide ample surface and storage. However, they require a consistent location and heavier footprints.
Standard rectangular trays offer the most flexibility. They fit on any flat surface and cost the least. You will need a separate table or stand to elevate them for comfortable serving.
Tiered standing trays maximize vertical space in compact areas. They look impressive and keep appetizers visible. They sacrifice horizontal room and may feel cramped for larger platters.
When evaluating options, weigh your typical guest count, available storage space, and how often you host outdoors. A host who throws monthly dinner parties benefits from a durable rolling cart. An occasional grill master may prefer a simple folding tray that stows away easily.
Maintenance & Long-Term Care
Proper maintenance extends the life of your outdoor serving tray significantly. Different materials require different care routines.
For wooden trays including teak and bamboo:
- Clean with mild soap and warm water after each use
- Dry completely before storing to prevent mold growth
- Apply teak oil or sealant every three to four months
- Store indoors or under cover during harsh weather
For metal trays including aluminum and stainless steel:
- Wipe down with soapy water and dry immediately
- Remove hard water stains with a vinegar solution
- Inspect wheels and hinges for corrosion or wear
- When handling stainless steel components, stainless steel serving pieces that resist corrosion pair naturally with matching tray materials for a cohesive look
For resin and plastic trays:
- Wash with dish soap and a soft sponge
- Avoid abrasive cleaners that scratch the surface
- Check for cracks or warping after extreme temperature changes
- Store flat to prevent deformation over time
Regardless of material, always inspect your tray before each use. Look for cracks, loose joints, worn casters, or damaged surfaces. A compromised tray risks sudden failure while loaded with food and drinks.
Replacement parts for casters and handles are widely available for most popular models.
Storing your tray properly matters as much as cleaning it. Keep it in a dry, shaded location when not in use. Cover it with a breathable cloth if stored outdoors.
Never stack heavy objects on top of an open tray for extended periods.
Regular maintenance prevents the most common long-term problems. Wood rot, metal rust, and plastic brittleness all develop slowly. Catching early signs and addressing them promptly keeps your tray performing well for years rather than seasons.
FAQs About Using Outdoor Serving Trays
Can I put a hot pot directly on a plastic tray?
No. Direct heat from hot pots warps plastic and can release harmful chemicals into your food. Always use a heat-resistant pad or trivet between hot cookware and plastic surfaces.
Metal and teak trays tolerate heat better but still benefit from protective padding.
How do I stop my tray from sliding on a glass table?
Use silicone grip pads or a non-slip tray liner underneath. These create friction that keeps the tray in place. You can also place a heavy, stable item near the edge opposite your main dishes to act as a counterweight.
What is the ideal tray size for a party of twelve?
A large rectangular tray measuring approximately 48 by 24 inches works well for a group of twelve. Alternatively, two smaller trays of 24 by 36 inches each positioned at opposite ends of the table prevent congestion and allow multiple guests to serve simultaneously.
How long can food sit on an outdoor tray before it becomes unsafe?
Per USDA guidelines, perishable foods should not remain in the temperature danger zone for more than two hours. In outdoor temperatures above 90°F, reduce that window to one hour. Discard any perishable items left out beyond these time limits.
Can I leave my outdoor serving tray outside all year?
Most manufacturers do not recommend year-round outdoor exposure. Sun, rain, and temperature fluctuations degrade materials over time. Teak and powder-coated aluminum resist weather better than resin or unfinished wood.
Store trays indoors or under waterproof covers during winter months for longest lifespan.
How do I clean crevices and hinges on a rolling serving cart?
Use a soft brush and soapy water to reach into joints and wheel housings. Rinse thoroughly and dry completely to prevent moisture buildup. For stubborn residue, a mixture of equal parts white vinegar and water works safely on most materials without damaging finishes.

Sophia Martinez is a culinary lifestyle writer and product reviewer for DiningGadgets.com. Passionate about blending style with functionality, she explores the latest dining essentials, kitchen décor, and cleaning hacks that transform everyday cooking spaces. With a background in home organization and design, Sophia brings readers expert advice on creating beautiful, practical kitchens that truly feel like the heart of the home.