How to Maintain Your Camping Kitchen Gadgets (Easy Tips)
Keeping your camp kitchen gear in shape doesn't have to feel like a second job. Learning how to maintain camping kitchen gadgets properly means you spend less time replacing broken equipment and more time enjoying meals around the fire. Every piece, from cast iron skillets to portable stoves, has a different maintenance routine based on what material it's made from and how you use it.
Research from the CDC and food safety organizations shows that improper cleaning of coolers and utensils contributes to foodborne illness outbreaks in outdoor settings. Meanwhile, manufacturer specifications for stoves like MSR and JetBoil indicate that regular descaling extends fuel system life by up to 50 percent. Here's exactly how to handle each gadget type so nothing fails when you need it most.
Quick Answer
How to maintain camping kitchen gadgets depends on the item. Clean cast iron with salt and oil, never submerge seasoned pans. Wipe portable stoves after every use and descale burners annually.
Wash coolers inside and out between trips. Sanitize cutting boards with dilute bleach solution. Dry all gear completely before storage.
Inspect fuel lines yearly for cracks. Follow each manufacturer's guide for best results.
Why Your Camp Kitchen Gear Fails—and How to Actually Fix It
Most camping kitchen failures come from one source: skipping the cleanup step after a trip. We've seen it happen season after season. A cast iron pan gets tossed in a damp bag without drying.
A stove sits with leftover fuel residue that hardens over months. A cooler develops black mold in the drains because nobody opened it to air out.
The fix starts with understanding that each gadget type follows its own maintenance clock. Some items need attention after every single use. Others survive on a seasonal deep-clean schedule.
The trick is knowing which category yours falls into before something breaks mid-trip.
| Gadget Type | After-Each-Trip Care | Annual Deep Clean |
|---|---|---|
| Cast iron cookware | Wipe, oil, store dry | Re-season if sticky |
| Portable stoves | Wipe exterior, check seals | Descale burners, replace gaskets |
| Coolers | Empty, rinse, air dry | Sanitize interior, replace drain plug |
| Utensils and boards | Wash, dry completely | Inspect for cracks and warping |
| Non-stick pans | Soft sponge only, no abrasives | Replace if coating scratches deeply |
| Water filters | Rinse filter media | Replace membranes per spec sheet |
Starting with the right rhythm prevents most problems before they begin. Let's walk through each gadget category and what actually works.
Cast Iron and Dutch Ovens: Seasoning, Cleaning, and Rust Prevention
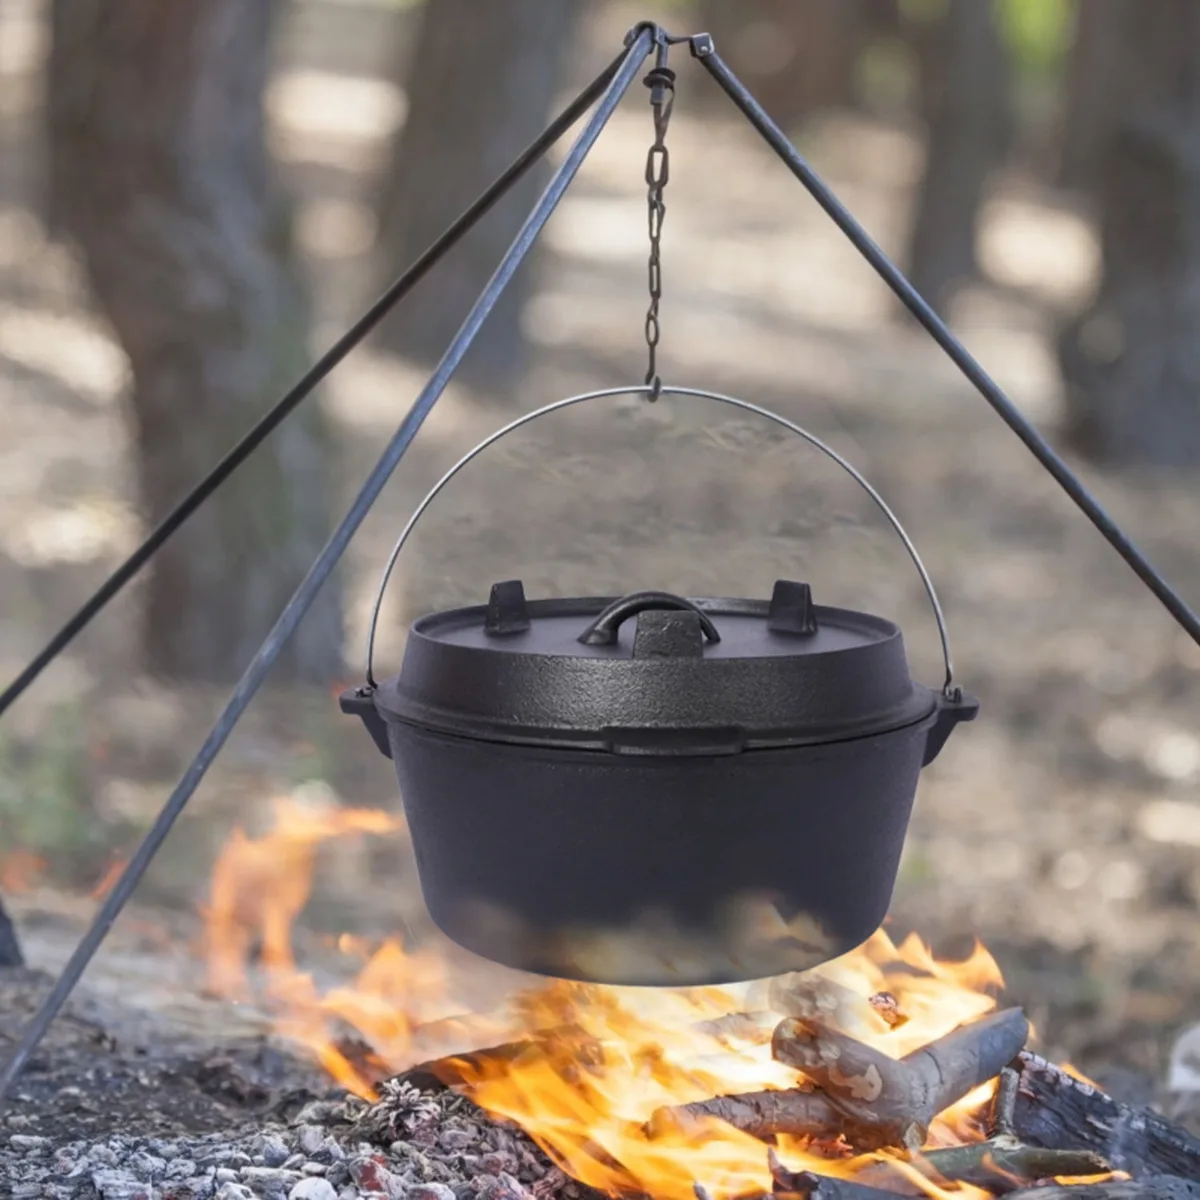
Cast iron demands respect, but that doesn't mean it needs to be complicated. The seasoning layer, a polymerized coating of oil baked into the metal, is your first line of defense against rust and sticking. When you damage that layer, you're not just losing non-stick performance.
You're exposing bare metal to moisture, which means rust follows fast.
The CDC's food safety guidance emphasizes that smooth, clean cooking surfaces reduce bacterial harborage points. A well-maintained seasoned surface creates that barrier naturally. A cracked or flaking finish does the opposite.
What NOT to Do With Cast Iron
First, stop soaking your cast iron. Submerging a seasoned pan in water breaks down the polymerized layer and invites rust within hours. Second, skip the dish soap if you can avoid it.
Modern soaps are milder than old formulas, but hot soapy water still strips fresh seasoning faster than plain warm water and a stiff brush. Third, never put cast iron in the dishwasher. The combination of harsh detergent and prolonged moisture will destroy years of careful seasoning in one cycle.
The Right Way to Clean and Store
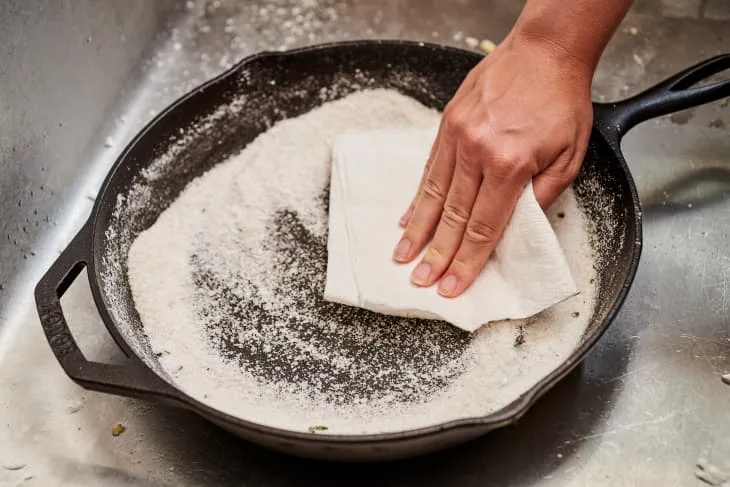
After cooking, let the pan cool until warm, not hot and not cold. Warm is the sweet spot where food residue loosens without risking thermal shock. Sprinkle coarse kosher salt inside and scrub with a damp cloth or soft brush.
The salt acts as a gentle abrasive that lifts stuck-on bits without harming the seasoning. For stubborn residue, add a splash of water and scrape with a steel chain scrubber, similar to a best watch spring bar tool for easy band repair and replacement, that grips curves and corners better than flat brushes.
Rinse with hot water. Dry immediately on low stove heat for two minutes. Apply a thin coat of cooking oil while warm using a paper towel.
Wipe off any excess. The pan should look satiny, not greasy. Store in a dry place with a paper towel inside the lid to absorb ambient moisture.
When seasoning looks patchy or food starts sticking again, rebuild it. Coat the entire pan thinly with flaxseed or grapeseed oil. Place upside down in a 450-degree oven for one hour.
Let cool completely inside the oven. Repeat two to three times for a durable new layer.
Portable Stoves: Descaling Burners, Cleaning Nozzles, and Fuel System Care
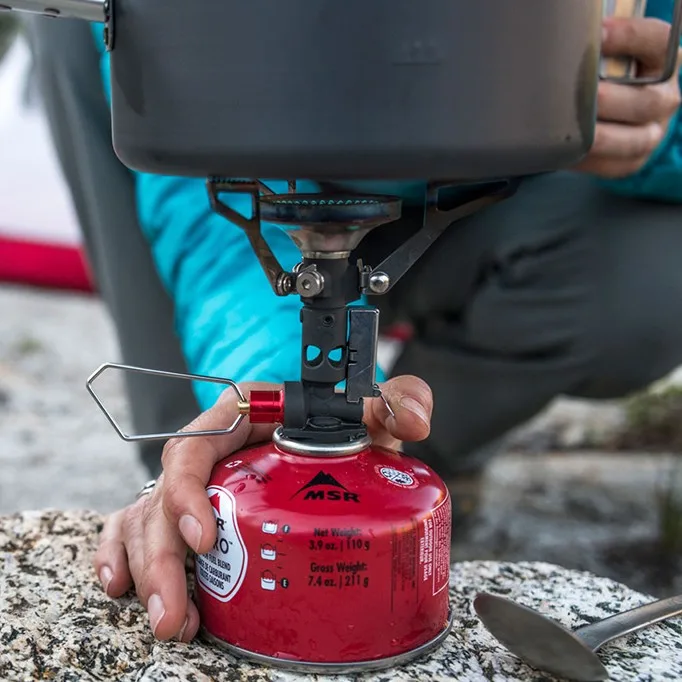
Image source: Bing (Web (fair-use with source credit))
A finicky stove ruins more trips than a broken tent or a leaky cooler. The difference between a reliable burner and a frustrating one usually comes down to maintenance discipline. Portable camping stoves, whether canister, liquid fuel, or multi-fuel, share one enemy: mineral buildup and fuel residue clogging the airflow paths.
Canister stoves are the simplest to maintain. After each trip, wipe the exterior with a damp cloth. Check the burner head for debris.
If the flame looks weak or uneven, the nozzle is likely partially blocked. Remove the nozzle cap and clear it with a clean stiff bristle or compressed air. Never use a pin or wire.
That can permanently enlarge the orifice and create an unsafe fuel mixture.
Liquid fuel stoves demand more attention. The USDA Outdoor Safety Guidelines recommend annual inspection of all fuel lines and gaskets. Look for cracks, brittleness, or discoloration on rubber components.
Replace worn parts before your next trip. This isn't optional maintenance, it's a safety requirement.
Annual Deep Clean Routine for All Stove Types
| Step | What to Check | Action if Needed |
|---|---|---|
| Burner jets | Mineral deposits, soot | Soak in white vinegar, brush gently |
| Fuel lines | Cracks, stiffness | Replace per manufacturer specs |
| O-rings and gaskets | Flattening, tears | Lubricate with silicone grease or swap |
| Wind screens | Mesh blockage | Brush or soak in soapy water |
| Ignition system | Spark strength, electrode gap | Clean electrode tip, adjust gap to spec |
| Regulator (propane) | Freeze buildup, leakage | Defrost at room temp, replace if corroded |
For hardwater areas, descale your stove's fuel distribution ports every six months. Mix equal parts white vinegar and water. Run the solution through the system following the manufacturer's flush procedure.
Rinse thoroughly with clean water afterward. Let everything air-dry completely before reassembly.
Never store a stove with fuel attached for extended periods. Residual pressure accelerates seal degradation. Pair good stove maintenance with a best gold flatware set for elegant dining and stylish table settings and your car-camping feasts run smoothly from lighting the fire to clearing the table.
Coolers, Utensils, and Cookware: Mold, Odor, and Cross-Contamination Control
Coolers are the silent germ factories of any camp kitchen. They sit damp, dark, and full of spilled drinks and melting ice between uses. That environment is a perfect breeding ground for mold and bacteria.
The CDC notes that improper food storage temperatures in coolers are a leading cause of outdoor foodborne illness. A clean cooler isn't just about smell. It's about staying safe.
Cooler Cleaning Protocol
Empty the cooler completely. Remove all drains, dividers, and removable parts. Wash the interior with warm water and a few squirts of biodegradable camp soap.
Use a soft brush to scrub the corners and gasket channels where mold loves to hide. For persistent stains and odors, make a paste of baking soda and water. Spread it inside, let it sit for thirty minutes, then scrub and rinse.
Sunlight is your best natural sanitizer. Leave the open cooler in direct sun for two to four hours after cleaning. UV radiation kills remaining spores and speeds drying.
Moisture left sealed inside a cooler guarantees return visits from mildew.
Check the drain plug and gasket regularly. A worn drain gasket leaks ice water onto your gear and creates a constant damp zone where bacteria thrive. Replace cheap plastic drain plugs with silicone versions.
They seal tighter and last longer.
Utensils and Cutting Boards
Cross-contamination happens fast when you're cooking chicken and vegetables on the same board without washing between uses. Use separate boards for raw protein and ready-to-eat foods. Color-code them if possible.
Red for meat, green for produce, blue for seafood.
Wash cutting boards immediately after use. Wooden boards need a different approach than plastic. Sanitize plastic boards with a dilute bleach solution, one tablespoon of unscented bleach per gallon of water.
Let sit for two minutes, rinse thoroughly, and stand upright to dry. Wooden boards get a generous sprinkle of coarse salt and a cut lemon rub. The salt abrades.
The citric acid disinfects. Rinse and oil with food-grade mineral oil monthly to prevent cracking.
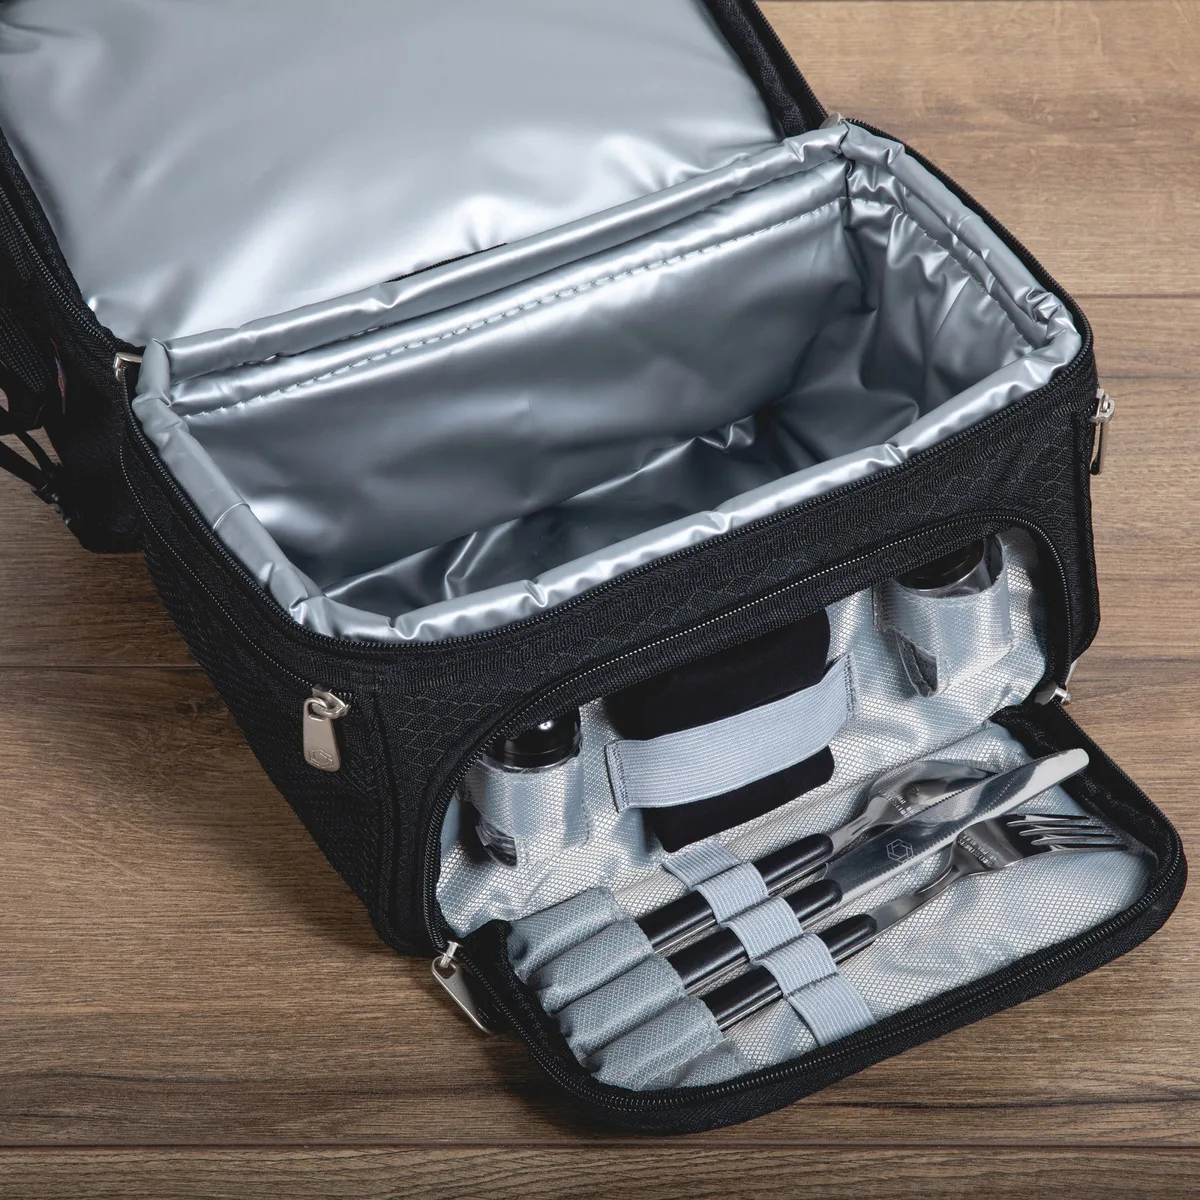
Stainless steel and titanium utensils are the easiest group to maintain. Hand-wash with camp soap, dry immediately, and inspect for bent tips or sharp edges that could scratch non-stick surfaces. If you prefer best American made flatware for durable and stylish dining experiences, keep those camping tools simple.
Metal handles won't melt near an open flame.
Five Maintenance Mistakes That Destroy Camping Kitchen Gear
Some mistakes are so common that almost every camper makes them at least once. Recognizing them early saves gear and probably a trip or two.
Mistake one: storing damp gear. This is the number-one culprit behind ruined cast iron, moldy coolers, and corroded stove parts. Everything needs to dry completely before it goes back in a bag. If it feels even slightly cool to the touch after wiping, it's not dry yet.
Air it out for another hour.
Mistake two: using metal utensils on non-stick. Even titanium spatulas can scratch non-stick coatings over time. Once that coating chips, the underlying aluminum is exposed to food and becomes harder to clean. Stick to silicone or wood with non-stick surfaces.
The trade-off is worth the extra fifty dollars you won't spend replacing pans every season.
Mistake three: ignoring small parts. That tiny O-ring on your stove fuel line costs three dollars. Ignoring a cracked one costs you a stalled stove at altitude. Keep a small repair kit with spare O-rings, nozzle washers, and a spare igniter piezo element.
It fits in a ziplock bag and has saved more trips than anything else.
Mistake four: using the wrong cleaning agent on cast iron. Dishwasher detergent is the worst offender. Even some harsh camp soaps contain degreasers strong enough to strip fresh seasoning. Stick to hot water, salt, and a stiff brush.
Occasional soap is fine on well-established seasoning, but don't make it a habit.
Mistake five: overlooking the exterior. You clean the inside of the pan but leave cooked-on grease baked onto the bottom. That crust transfers to your stove grate, drips into flames, and creates smoke that flavors everything you're cooking. Wipe the outside of every pot and pan after each use.
It takes thirty seconds and prevents smoky surprises.
Frequently Asked Questions
How often should I clean my camping stove between trips?
Wipe the exterior after every use. Deep clean the burner and fuel lines once per season or after any trip where you cooked with residues like butter or oil. Descale hardwater-prone stoves every six months if you camp frequently.
Can I put a cast iron pan in the dishwasher?
No. Dishwashers strip seasoning and introduce prolonged moisture that causes immediate rust. Hand-wash with hot water and salt, dry completely on the stove, then apply a light oil coat before storing.
What's the best way to remove cooler odor without bleach?
Baking soda works well for mild odors. For stronger smells, use a paste of baking soda and hydrogen peroxide, let sit for twenty minutes, then rinse. Sun-drying the open cooler for several hours also neutralizes stubborn odors naturally.
How do I know when my non-stick camping pan needs replacing?
Replace it when the coating shows visible scratching, flaking, or peeling. Light scuff marks are cosmetic and don't require action. Any area where bare metal shows through the coating should be considered done.
Those spots will stick and may release particles into food.
Should I store my propane stove with the canister attached or detached?
Always detach the canister. Storing fuel connected keeps pressure in the lines and stresses seals over time. It also creates a hazard if a slow leak develops in an enclosed space.
Store canisters separately in a cool, ventilated area.

Sophia Martinez is a culinary lifestyle writer and product reviewer for DiningGadgets.com. Passionate about blending style with functionality, she explores the latest dining essentials, kitchen décor, and cleaning hacks that transform everyday cooking spaces. With a background in home organization and design, Sophia brings readers expert advice on creating beautiful, practical kitchens that truly feel like the heart of the home.