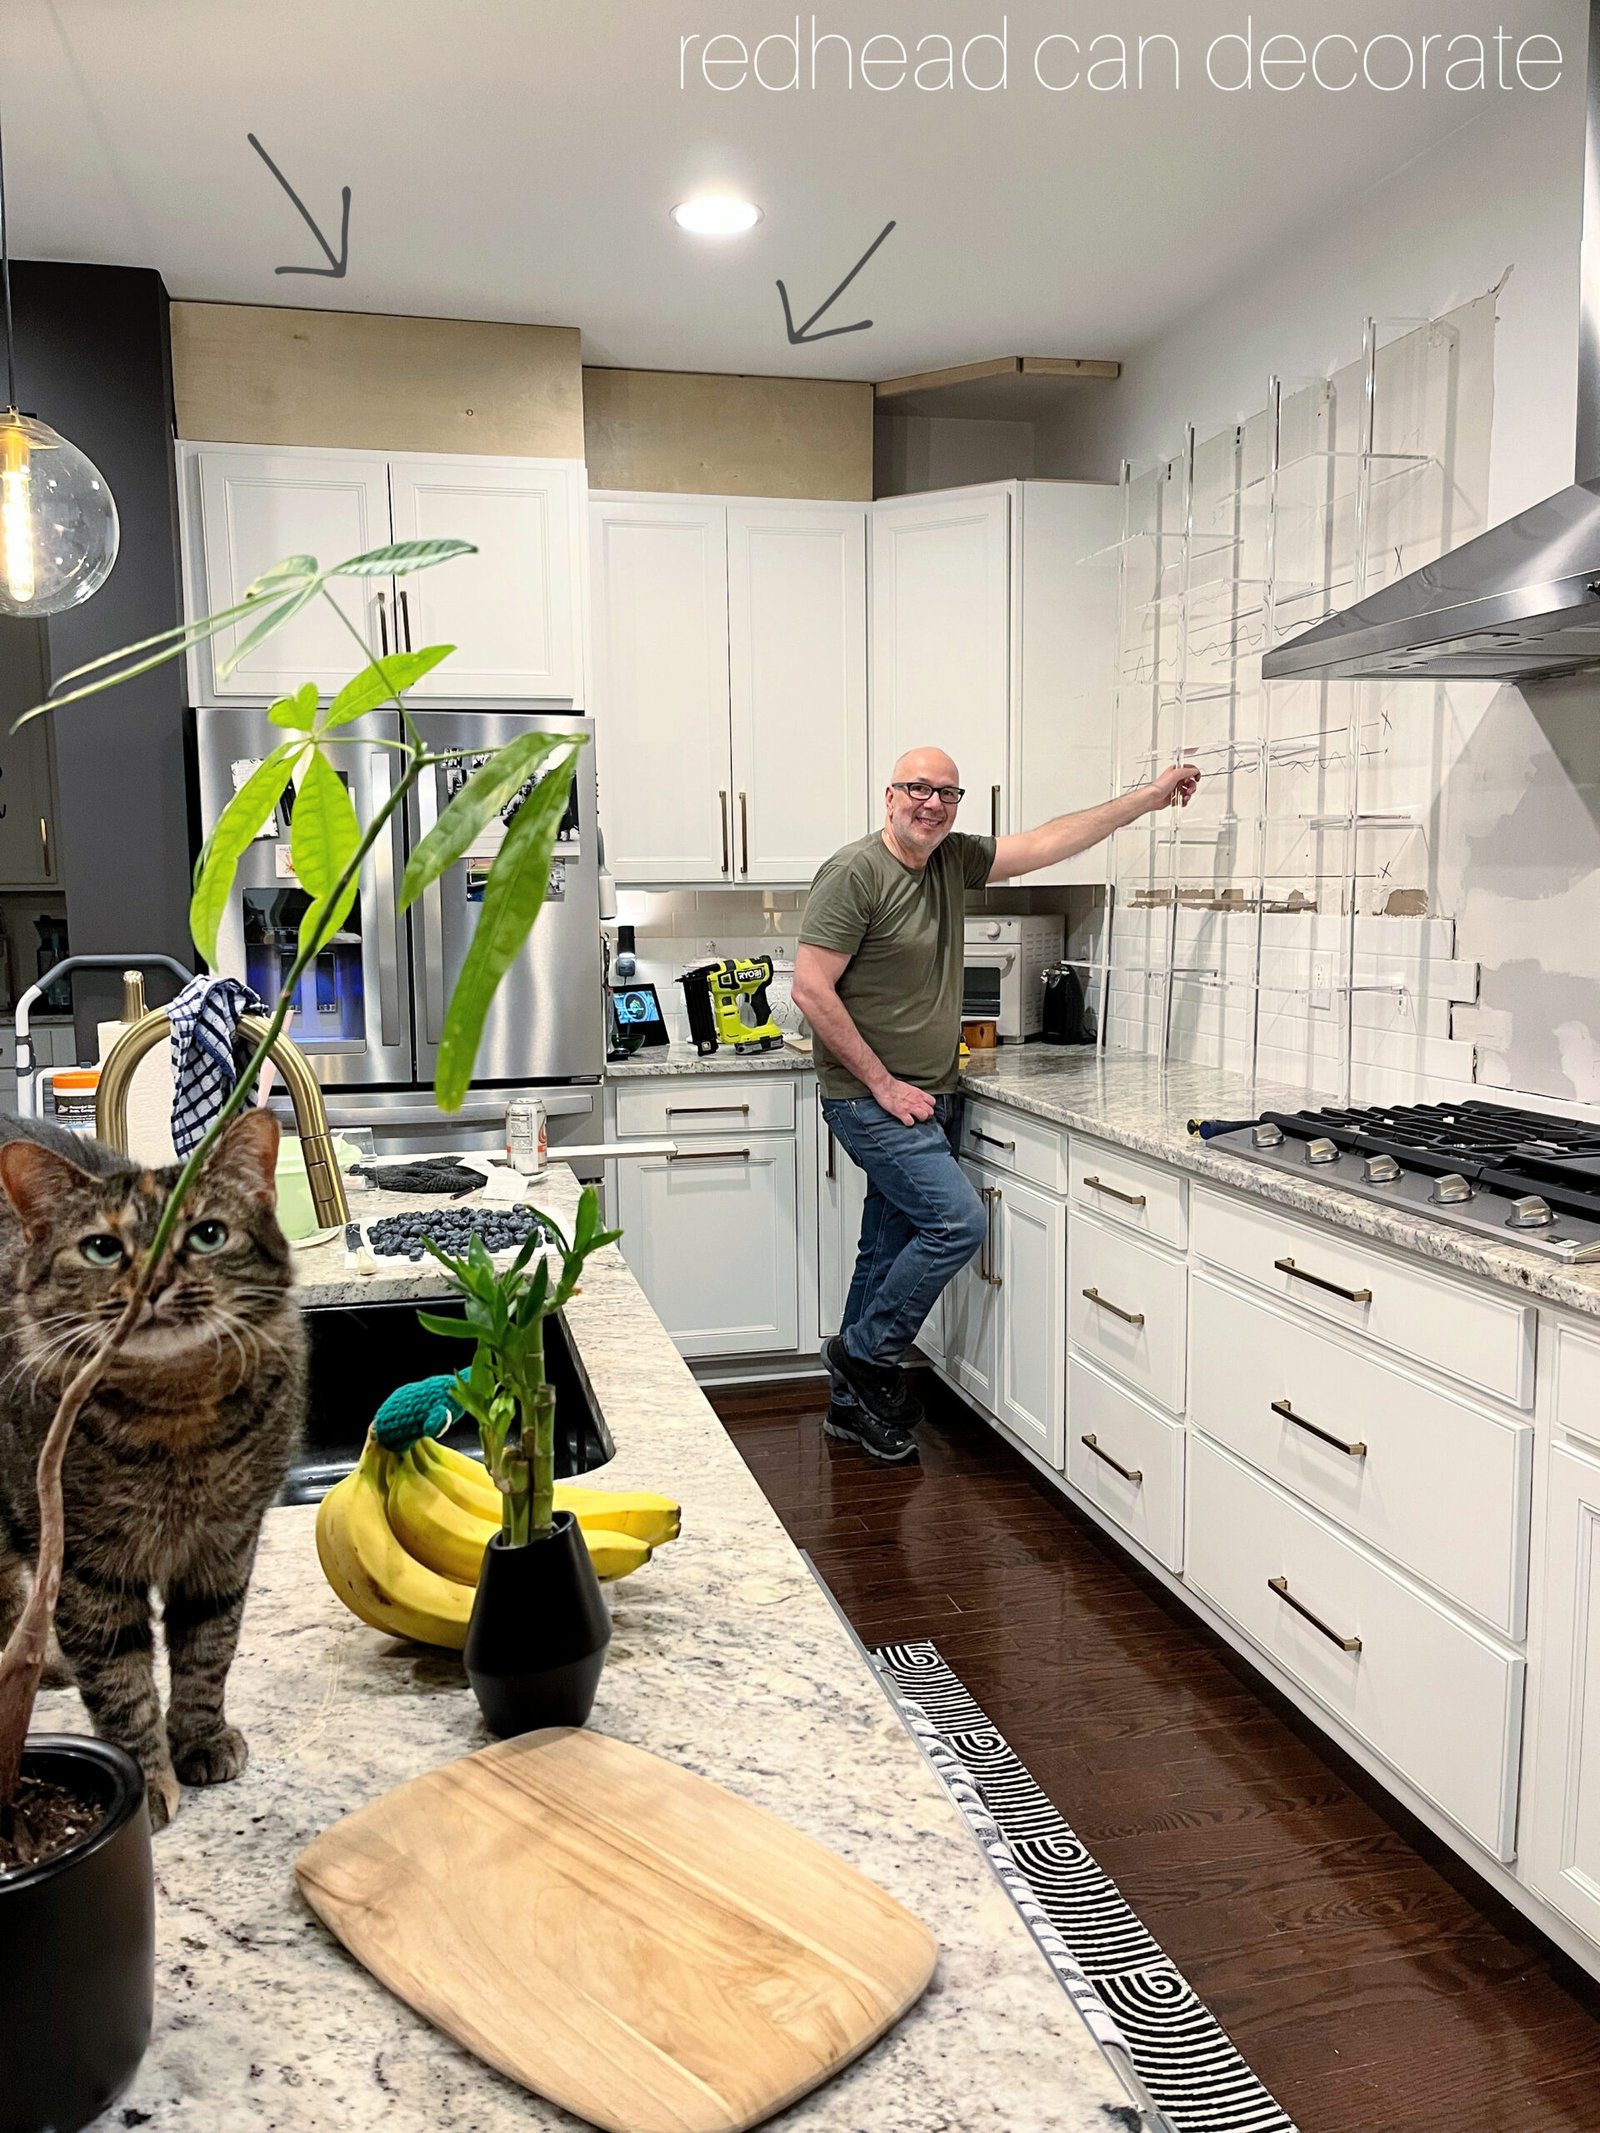
How to Take down Kitchen Wall Cabinets: Easy Steps for Success
Removing kitchen wall cabinets is a high-impact, low-cost upgrade that can open up your kitchen, simplify cleaning, or set the stage for a full renovation. But for many DIYers, the process feels intimidating: worries about denting cabinet faces, tearing drywall, or injuring yourself with a heavy falling unit are common. This guide walks you through every step of the process, from pre-removal prep to wall repair and responsible disposal, with pro tips to avoid the costly mistakes that trip up most first-timers. Whether you’re reusing your cabinets in a garage or pantry, or tossing them to make way for open shelving, these steps will help you get the job done safely and with minimal damage to your home.
Pre-Removal Safety & Prep
Skipping pre-work is the fastest way to damage your walls, cabinets, or yourself. Taking 30 minutes to assess your space and mitigate risks will save you hours of repair work later. For more on this, see our guide on how to regrout kitchen wall tiles easy steps.
Check for Lead Paint
If your home was built before 1978, cabinets and adjacent walls may contain lead-based paint. Follow the U.S. EPA’s lead-safe renovation guidelines to avoid exposure to toxic lead dust during removal: seal off the work area with plastic sheeting, wear a N95 respirator, and wet sand any painted surfaces instead of dry sanding.
Shut Off Utilities
Even if you don’t see visible outlets behind your cabinets, under-cabinet lighting or hidden wiring may be present. Turn off power to the kitchen at the circuit breaker, and use a non-contact voltage tester to confirm no power is running to the area before you start prying. If your cabinets are adjacent to plumbing (such as under a sink), shut off the water supply and disconnect any supply lines or drains attached to the cabinet first. For more on this, see our guide on how to take kitchen cabinets off wall.
Clear and Protect the Workspace
Remove all small appliances, decor, and items from countertops within 3 feet of the work area. Cover countertops and flooring with drop cloths or old blankets, secured with painter’s tape to prevent slipping. Move any freestanding furniture out of the room entirely to give yourself full range of motion.
Tools & Materials You’ll Need
Having all your supplies on hand before you start will cut down on project time and reduce safety risks.
Essential Tools
- Power drill with screwdriver and drill bits
- Stud finder
- 6-inch putty knife and flat pry bar
- Hammer
- Non-contact voltage tester
- Utility knife
- Measuring tape
- Reciprocating saw with metal cutting blade (for adhesive-fastened cabinets)
Safety Gear
- ANSI-rated safety goggles
- Cut-resistant work gloves
- N95 respirator (required for pre-1978 homes with lead paint)
- Closed-toe steel-toe shoes
Pro-Tip Additions
A 2×4 scrap piece (6-12 inches long) is a game-changer for protecting your walls: place it between the pry bar and drywall to distribute pressure and avoid dents. A small parts organizer with labeled compartments will keep screws, hinges, and hardware from getting lost during removal.
Step 1: Empty and Prep Cabinets for Removal
Properly prepping your cabinets before you touch a single screw will make the removal process faster and preserve the cabinets if you plan to reuse them.
Remove Contents and Hardware
Start by emptying every cabinet, sorting items into three piles: keep, donate, and toss. Most people discover expired spices, broken dishware, or duplicate gadgets during this step, making it a perfect opportunity to declutter before your kitchen update. Next, remove all hardware (handles, knobs, and hinge covers) and store them in a labeled bag if you plan to reinstall the cabinets later.
Take Off Doors and Shelves
Unscrew cabinet doors from their hinges, and set them aside padded with moving blankets to avoid scratching the finish. Remove all adjustable shelves first: they add unnecessary weight and can crack or fall during removal. Fixed shelves can stay in place if you’re disposing of the cabinets, as they add structural rigidity and reduce the risk of the cabinet twisting or breaking mid-removal.
Label Components for Reuse
If you plan to reinstall the cabinets, label each door and hinge set with painter’s tape marked with the cabinet’s original location (e.g., “upper left corner”). This will save you hours of guesswork during reinstallation and ensure doors align properly with their original frames.
Step 2: Locate and Release Wall Fasteners
Upper cabinets are almost always secured to wall studs with wood screws, though some newer builds use construction adhesive for extra stability.
Find Hidden Screws and Nails
Most cabinet screws are hidden behind a thin trim piece along the top interior edge of the cabinet, or behind adjustable shelf supports. Gently pry off the trim piece with a putty knife to access the screws, then use a power drill to remove every screw you find. Finishing nails are sometimes used along the top edge for alignment, but they hold minimal weight: tap them out with a hammer and flat pry bar once all screws are removed.
Handle Adhesive Fasteners
If you don’t find any screws after checking the interior top and bottom edges of the cabinet back, the unit is likely glued to the wall (common in homes built after 2000). A standard pry bar won’t break the adhesive bond without damaging the wall: instead, use a reciprocating saw with a metal cutting blade to slice through the adhesive 1 inch behind the cabinet back, then gently pry the unit free.
Step 3: Safely Detach Cabinets From the Wall
This is the most high-risk part of the project, so prioritize safety over speed.
Work With a Helper
Upper wall cabinets typically weigh 30-50 pounds when fully assembled, and awkward angles make them even harder to lift safely. Always enlist a second person to support the cabinet as you pry it free, especially for cabinets over 30 inches wide. If you’re working alone, use a cabinet dolly to support the weight as you unscrew fasteners. Follow OSHA’s safe manual handling guidelines to reduce risk of strains, sprains, and injury when lifting heavy units.
Pry Without Damaging Cabinets or Walls
In practice, the most common DIY mistake is prying against the cabinet’s front face or side panels, which dents the finish and makes the cabinet unusable for reuse. Always place your pry bar against the flat rear mounting panel, and use your 2×4 spacer between the pry bar and the wall to distribute pressure and avoid tearing drywall. Cut through any caulk or paint seal between the cabinet and wall with a utility knife before prying to reduce resistance.
 A wooden spacer between the pry bar and wall prevents drywall damage during removal
Image source: inmyownstyle.com
A wooden spacer between the pry bar and wall prevents drywall damage during removal
Image source: inmyownstyle.com
Remove Joined Cabinet Runs
If your cabinets are part of a continuous run (connected to adjacent cabinets with screws on the sides), unscrew the connecting brackets between cabinets first before removing individual units. Label each cabinet with its original position to make reinstallation or disposal easier.
 Removing cabinets in a small kitchen requires extra care to avoid damaging adjacent countertops and appliances
Image source: inmyownstyle.com
Removing cabinets in a small kitchen requires extra care to avoid damaging adjacent countertops and appliances
Image source: inmyownstyle.com
Step 4: Repair Wall Damage After Removal
Even with careful removal, you’ll likely be left with small holes, cracks, or uneven paint where cabinets were attached. Repairing these now will make your next renovation step (painting, backsplash installation, or new cabinet hanging) much easier.
Patch Small Holes and Anchor Damage
Use a putty knife to apply a thin layer of spackling compound to small screw holes and nail holes. For larger holes (over 2 inches) from removed toggle bolts or drywall anchors, apply a self-adhesive wall repair patch first, then cover with spackling compound. Press the compound firmly into the hole to avoid air bubbles, and smooth it with the putty knife so it sits flush with the surrounding wall.
Sand and Smooth Repaired Areas
Let the spackling dry completely (check the product label for drying time, usually 1-2 hours), then sand the area with 120-grit sandpaper to blend it with the surrounding wall. Wipe away dust with a damp cloth, and apply a second thin layer of spackling if needed to fill any low spots. If you’re working in a home built before 1978, wet sand instead of dry sanding to avoid releasing lead dust into the air.
Prep for New Finishes
Once the patched areas are smooth, apply a thin coat of primer to seal the spackling and create an even base for new paint or backsplash adhesive. This step prevents patch marks from showing through your final finish.
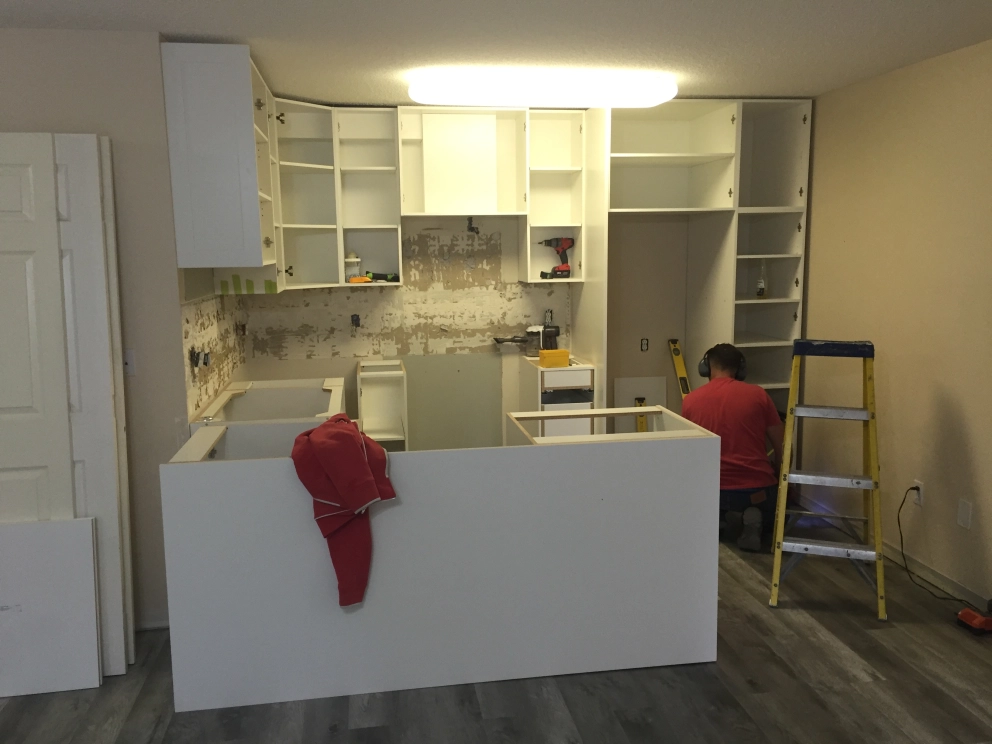 Spackling and sanding patched holes creates a smooth surface for new paint or backsplash installation
Image source: cut2size.ca
Spackling and sanding patched holes creates a smooth surface for new paint or backsplash installation
Image source: cut2size.ca
Responsible Disposal and Reuse Options
Old cabinets don’t have to end up in a landfill: many components can be reused, recycled, or donated.
Donate or Repurpose
Gently used solid wood cabinets are in high demand at local Habitat for Humanity ReStores, which accept donations for free and often offer pickup for large sets. You can also repurpose cabinet doors as decorative wall shelves, cabinet boxes as garage storage, or cabinet frames as garden planters for a low-cost, eco-friendly upgrade.
Recycle Cabinet Materials
Solid wood panels, metal hardware, and glass shelves can be recycled at most municipal recycling facilities. Note that particleboard, MDF, and laminate cabinets cannot be recycled due to their resin content, and must be disposed of via trash.
Schedule Bulk Trash Pickup
Most cities offer free or low-cost bulk waste pickup for large items like cabinets, as long as you schedule the service in advance and place items curbside on the scheduled day. Break down cabinet frames to save space, and remove all hardware before pickup to avoid injury to sanitation workers.
Next Steps for Your Kitchen Renovation
With your old cabinets removed and walls repaired, you’re ready to move on to the fun part of your kitchen refresh. If you’re installing new cabinetry, choosing the right wall paint is one of the most impactful decisions you’ll make. For new green cabinetry, our guide to wall colors that complement green kitchen cabinets breaks down foolproof pairings for every design style, from modern farmhouse to minimalist. If you’re opting for warm brown cabinet tones, this curated wall color roundup offers contractor-vetted shades that make both cabinet and wall pop. If your full renovation includes swapping out an old wall-mounted faucet, follow our step-by-step faucet removal tutorial to avoid water leaks and damage to your sink area.
Frequently Asked Questions
How Do I Safely Remove Kitchen Wall Cabinets?
First, confirm all utilities are shut off, and clear the area of people and pets. Empty all cabinet contents, remove doors and hardware, and label each component if you plan to reuse it. Use a stud finder to locate all fasteners, then unscrew each screw holding the cabinet to the wall before prying it free. Always enlist a helper for cabinets over 30 pounds, and never stand directly under a cabinet while prying to avoid injury if it falls.
What Tools Are Needed To Take Down Wall Cabinets?
At minimum, you’ll need a power drill, stud finder, pry bar, hammer, non-contact voltage tester, safety goggles, work gloves, and a 2×4 scrap piece to protect your walls. A step ladder is required for upper cabinets, and a furniture dolly is helpful if you’re moving cabinets to another location.
How Can I Avoid Damaging Walls When Removing Cabinets?
Always place a wooden spacer between your pry bar and the wall to distribute pressure, and pry only against the cabinet’s rear mounting panel, not the drywall. Cut through any caulk or paint seal between the cabinet and wall with a utility knife before prying to avoid tearing drywall paper. Patch small holes with spackling compound before painting for a seamless finish.
Should I Disconnect Plumbing Or Electrical First?
Yes. Turn off power to the kitchen at the circuit breaker, even if you don’t see visible outlets behind cabinets, as under-cabinet lighting or hidden wiring may be present. Use a non-contact voltage tester to confirm power is off before prying cabinets loose. If your cabinets are adjacent to plumbing (such as under a sink), shut off the water supply and disconnect any supply lines or drains attached to the cabinet before removal. If you’re unsure about handling utilities, consult a licensed plumber or electrician.
Can I remove wall cabinets alone?
Upper wall cabinets typically weigh 30-50 pounds when fully assembled, and awkward angles make them even harder to lift safely. We always recommend working with a helper to avoid injury or accidental damage. Lower wall cabinets (such as those above a countertop) can be removed alone if they’re empty, using a furniture dolly to support the weight as you unscrew them from the wall.
Do I need to remove fixed shelves before taking down cabinets?
No, fixed shelves can stay in place if you’re disposing of the cabinets, as they add structural rigidity and reduce the risk of the cabinet twisting or breaking during removal. If you’re reusing the cabinets, remove fixed shelves carefully to avoid chipping the interior finish, and pad them with moving blankets for transport.
Conclusion
Removing kitchen wall cabinets is a straightforward weekend project when you take the time to prep properly and work safely. By following these steps, you’ll avoid unnecessary wall damage, keep your cabinets intact for reuse if desired, and set yourself up for a smooth next phase of your renovation. If you’re moving on to picking new finishes, check out our guides to wall color pairings for green and brown cabinetry, or learn how to remove an old wall-mounted faucet to complete your kitchen refresh.