How to Put Mosaic Tiles on Kitchen Wall: Easy Steps for Stunning Results
Installing a mosaic tile kitchen wall is a low-cost, high-impact DIY project that adds personalized style and boosts your home’s appeal without the expense of a full kitchen remodel. Whether you’re updating a small area behind your stove or covering an entire feature wall, this beginner-friendly guide walks you through every step, with pro tips to avoid common pitfalls like lippage, grout haze, and adhesive failure. You don’t need prior tiling experience to get a professional-looking finish that lasts for years.
Pre-Project Planning: Choose the Right Mosaic Tiles for Your Kitchen
Picking the right mosaic tiles sets the tone for your entire project, and ensures your backsplash holds up to daily kitchen use. The right choice balances style, durability, and maintenance needs for your space. For more on this, see our guide on how to regrout kitchen wall tiles easy steps.
Popular Mosaic Tile Materials for 2026
2026 trends lean toward sustainable, low-maintenance options that work for both modern and traditional kitchens. Below is a comparison of the most common materials to help you pick the best fit for your needs:
| Material | Durability | Maintenance | Best Use Case |
|---|---|---|---|
| Recycled glass | High (chip-resistant) | Wipe with mild soap; no sealing needed | High-moisture areas behind sinks, modern kitchen styles |
| Glazed ceramic | Very high (stain and scratch-resistant) | Wipe with any non-abrasive cleaner | Busy family kitchens, high-heat zones behind stoves |
| Natural stone (marble, slate) | Medium (porous, prone to staining) | Seal annually; avoid harsh chemicals | Low-use accent walls, rustic kitchen designs |
| Metal (aluminum, stainless steel) | High (dent-resistant) | Wipe with vinegar water to remove water spots | Modern industrial kitchens, accent borders |
| Porcelain | Very high (non-porous, heat-resistant) | Wipe with any cleaner; no sealing needed | All kitchen zones, high-traffic areas |
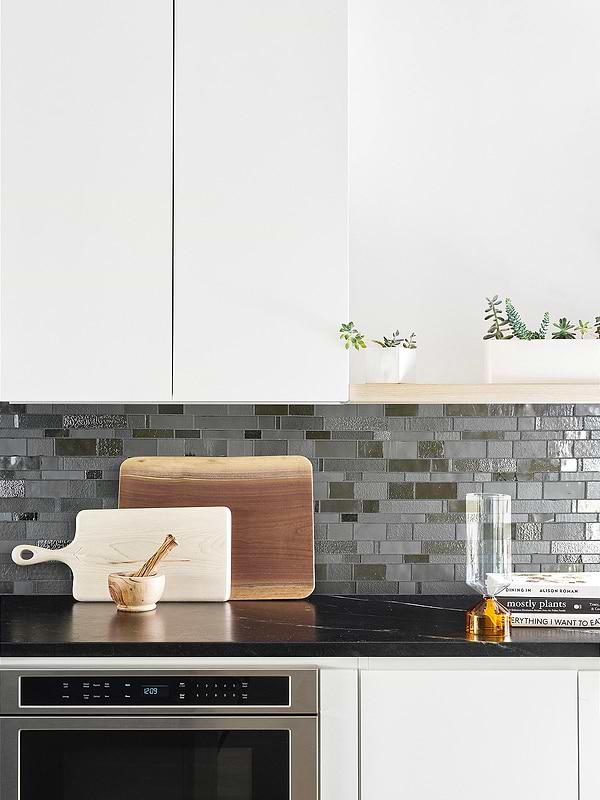 Credit: www.backsplash.com
Matte glass tiles resist fingerprints and grease, making them a top pick for busy family kitchens in 2026.
Credit: www.backsplash.com
Matte glass tiles resist fingerprints and grease, making them a top pick for busy family kitchens in 2026.
Size, Color, and Pattern Selection for Long-Term Style
Tile size and color dramatically impact how your kitchen feels. Small 1×1 inch mosaic tiles create intricate, detailed patterns and are forgiving for slightly uneven walls, while larger 2×4 inch tiles give a clean, minimalist look but require a perfectly flat surface to avoid lippage (uneven tile edges). For color, light grout paired with dark tiles hides food splatters and grease, while dark grout with light tiles creates bold contrast. If you have small kitchen cabinets, opt for light, reflective glass or ceramic tiles to make the space feel larger; for large, open kitchens, bold patterned tiles add visual interest. If you’re coordinating your new backsplash with existing cabinetry, our coordinating wall colors for brown cabinetry guide has tailored palettes to match your style. For more on this, see our guide on how to put wall tiles in kitchen.
Durability Considerations for High-Use Kitchen Zones
If you’re tiling directly behind your stove or sink, prioritize heat-resistant, non-porous tiles like glazed ceramic or porcelain. Avoid unsealed natural stone in these areas unless you’re willing to reseal it every 6-12 months to prevent water damage and staining. For renters, removable adhesive-backed mosaic tiles are a low-commitment option that won’t damage walls when removed.
Step 1: Prep Your Kitchen Wall for Flawless Adhesion
Proper wall prep is the most important step to avoid loose tiles and peeling adhesive months after installation. Rushing this stage is the top cause of DIY mosaic tile failures.
Deep Clean and Repair the Surface
Start by removing all grease, dust, and cooking oil residue from the wall. For built-up grime, use a trisodium phosphate (TSP) degreaser instead of mild soap, as oil residue will prevent thin-set mortar from sticking. If you have existing glossy paint, sand it lightly with 120-grit sandpaper to create a rough "tooth" for the adhesive to grip. Next, fill any cracks, holes, or dents with spackle, let it dry fully, then sand smooth until the surface is evenly flat. In high-moisture zones near sinks or dishwashers, University of Minnesota Extension home improvement experts recommend priming porous plaster or drywall with a masonry primer before tiling to create a reliable bonding surface and prevent adhesive failure over time (University of Minnesota Extension).
Mark Your Layout and Remove Fixtures
Before spreading adhesive, remove all outlet covers, cabinet hardware, and wall-mounted kitchen faucets to ensure clean, unobstructed installation lines and avoid cutting tiles around fixtures mid-project. Use a tape measure to mark the top and bottom edges of your tiling area, then snap horizontal chalk lines every 12 inches across the wall to keep tiles aligned as you work. For a symmetrical look, mark the center vertical line of your backsplash area first, and start laying tiles from that center point outward.
Step 2: Gather Your Tools and Materials
Having all your supplies on hand before you start will save you time and avoid interruptions mid-project. For a standard 30-square-foot kitchen backsplash, you’ll need:
- Mosaic tiles (pre-mounted 12×12 inch mesh sheets cut down installation time by 30% for beginners)
- Polymer-modified thin-set mortar (wall-rated, flexible to resist cracking from temperature changes)
- 1/4-inch notched trowel (use 1/2-inch notches for tiles larger than 2 inches)
- Tile spacers (skip if using pre-spaced mesh sheets)
- Tile nippers and glass cutter (for small cuts and edges)
- Rubber grout float and sponge
- Epoxy grout (stain-resistant, no sealing required for kitchen use)
- Safety glasses, N95 mask, and knee pads
- Bucket for mixing mortar, mixing drill with paddle attachment (optional, speeds up mixing)
Step 3: Apply Adhesive and Set Your Mosaic Tiles
This step requires precision to ensure tiles stay level and adhere permanently to the wall. For installation standards that ensure long-term adhesion and resistance to kitchen temperature fluctuations, follow guidelines from the Tile Council of North America TCNA when selecting and applying thin-set mortar.
Choose and Mix the Right Thin-Set Mortar
Always use a wall-rated thin-set mortar, not general-purpose construction glue, as it’s formulated to hold up to kitchen moisture, heat, and weight. For glass or translucent tiles, use a white thin-set mortar to avoid discoloration showing through the tile surface. Mix the mortar with water per package instructions until it reaches a smooth, peanut butter-like consistency. Mix only half a 25-pound bag at a time to avoid the mortar drying out before you can use it; leftover dry mortar can be stored in an airtight container for up to 6 months.
Spread Adhesive Evenly for Maximum Grip
Work in 1-square-foot sections to avoid letting the mortar skin over and lose its grip. Use the notched trowel to spread adhesive in consistent, parallel ridges across the wall, pressing firmly to ensure full contact with the surface. If you’re working with uneven plaster walls, back-butter each tile by spreading a thin layer of mortar on its back before pressing it to the wall; this fills small gaps in the wall surface and prevents hollow, cracking tiles later. A common mistake DIYers make is spreading mortar over an entire 10-square-foot section at once; by the time you place the last tile, the adhesive will have dried enough to lose its bond.
Place Tiles Precisely to Avoid Lippage
Start laying tiles from the center vertical line you marked earlier, pressing each tile firmly into the adhesive with a slight twisting motion to ensure full contact. If using individual tiles, place 1/8-inch spacers between each tile for even grout lines; pre-mounted mesh sheets are pre-spaced, so you can skip this step. Check alignment with a level every 3-4 tiles, especially if you’re working with patterned or color-shifted tiles. If a tile is sitting too high or low, adjust it immediately before the mortar sets — once it dries, you’ll have to chisel it off and start over.
Credit: jackdu2021.medium.com
Small-format glass mosaic tiles with light grout create a low-maintenance, light-reflecting backsplash perfect for small kitchens.
Step 4: Cut Tiles for Edges, Outlets, and Corners
Precise cuts ensure your backsplash looks seamless and professional, even around outlets, corners, and countertop edges.
Essential Cutting Tools for Different Tile Materials
The right tool for the job depends on your tile material:
- Glass tiles: Tungsten carbide glass cutter or manual tile nippers for small curves
- Ceramic/porcelain tiles: Wet saw for straight cuts (reduces dust and prevents chipping)
- Natural stone tiles: Wet saw with a diamond blade for clean, smooth edges
- All tile types: Tile nippers for small, irregular cuts around outlets
Always wear safety glasses and a N95 mask when cutting tiles to avoid inhaling dust or sharp shards.
Measuring and Marking Cuts Accurately
Measure the exact space you need to fill (e.g., the gap between the edge of the last full tile and the wall) and subtract 1/8 inch for grout space. Mark the cut line on the tile with a fine-tip marker, and apply masking tape over the line if the tile is glossy to prevent the marker from smudging. For outlets, hold the tile you’re cutting over the outlet box and mark the outline of the box on the tile’s back, then transfer those marks to the front for cutting. Double-check all measurements before cutting — a single miscalculation can waste an entire tile.
Safe Cutting Techniques to Avoid Waste
For straight cuts with a glass cutter or wet saw, score the tile only once with firm, even pressure; multiple scores increase the risk of chipping. For curved cuts, use tile nippers to gradually nibble away small pieces of tile until you reach your marked line, rather than trying to cut the full shape in one go. If you’re using pre-mounted mosaic sheets, score through the mesh backing with a sharp utility knife first before cutting individual tiles; this prevents the tiles from shifting out of alignment while you cut. Practicing on a scrap piece of tile first will help you get a feel for how much pressure to use to avoid cracking.
Step 5: Grout, Seal, and Finish Your Mosaic Wall
Grouting fills the gaps between tiles, locks them in place, and gives your backsplash a polished, finished look. Proper grouting also protects your wall from moisture and dirt.
Mixing and Applying Grout Correctly
Epoxy grout is the best choice for kitchen walls: it’s stain-proof, mold-resistant, and never needs sealing, though it costs 2-3x more than cement grout. Mix the grout with water per package instructions until it reaches a smooth, spreadable paste (similar to peanut butter). Use a rubber grout float to press grout diagonally into the gaps between tiles, working in 2×2 foot sections to avoid the grout drying out before you can clean it. Hold the float at a 45-degree angle to scrape excess grout off the tile surface as you go.
Cleaning Grout Haze and Curing Properly
Let the grout set for 15-30 minutes, then wipe the tile surface with a damp sponge using circular motions to remove grout haze. Rinse the sponge frequently in clean water to avoid spreading haze back onto the tiles. Avoid using vinegar to clean grout haze, as it can etch natural stone and glass tile surfaces. Let the grout cure fully for 24-72 hours (per package instructions) before exposing it to water or cooking splatters. Once cured, polish the tiles with a dry microfiber cloth to remove any remaining residue.
Sealing for Long-Term Stain Resistance
If you used cement grout instead of epoxy, apply a penetrating grout sealer with a small brush to cover all grout lines thoroughly. Wipe off excess sealer from tile surfaces immediately to avoid residue, and let it dry for 2 hours before using the kitchen. For epoxy grout, sealing is not required.
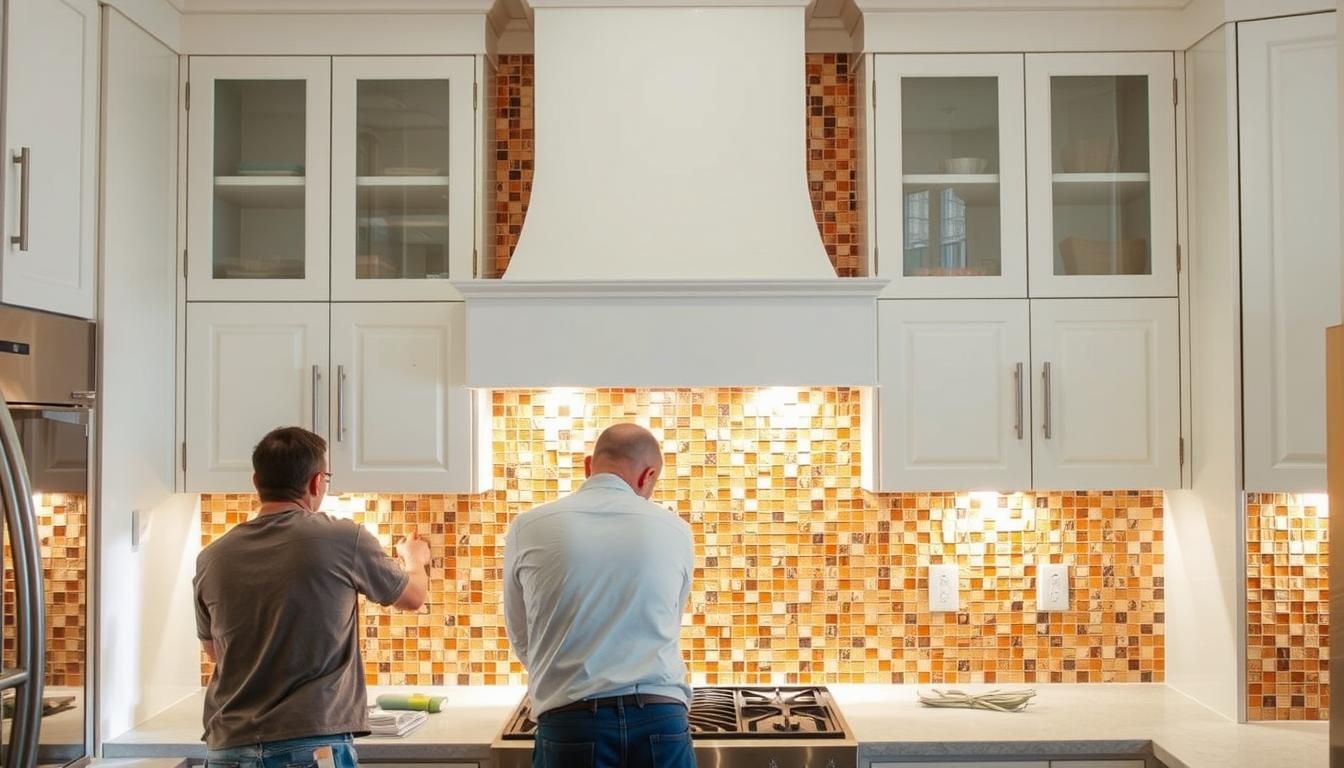 Credit: www.elevatedtileandremodelingcoloradosprings.com
Even grout lines and properly sealed joints prevent moisture damage and make wiping down splatters fast.
Credit: www.elevatedtileandremodelingcoloradosprings.com
Even grout lines and properly sealed joints prevent moisture damage and make wiping down splatters fast.
Pro Tips for Long-Lasting, Stunning Results
A few extra steps during and after installation will keep your mosaic backsplash looking new for decades.
Avoid These Common DIY Mistakes
- Don’t skip the wall degreasing step: oil residue is the top cause of adhesive failure and peeling tiles.
- Don’t spread thin-set mortar over large sections at once: work in 1-square-foot increments to stay ahead of drying time.
- Don’t grout before the thin-set is fully cured: waiting 24 hours prevents tiles from shifting and grout from cracking.
- Don’t use vinegar to clean natural stone or glass tiles: it etches the surface and causes permanent dullness.
- Don’t forget to caulk the gap between your backsplash and countertop/cabinets with silicone caulk matching your grout: this allows for natural expansion and contraction of materials and prevents water damage.
If you’re working with an uneven wall or complex custom pattern, hire a professional tiler to avoid costly mistakes; for kitchens with green cabinetry, our wall color pairings for green cabinetry can help you pick a shade that complements both your cabinets and new backsplash.
Maintenance Care to Keep Tiles Looking New
Wipe up grease and food splatters within 24 hours to prevent staining, especially with cement grout. Clean tiles weekly with a soft sponge and mild dish soap, avoiding abrasive scrubbers that can scratch glass or ceramic finishes. Check grout lines annually for cracks or discoloration, and reapply sealer to cement grout once a year to maintain stain resistance.
When to Call A Professional
Hire a professional if you’re tiling a wall larger than 40 square feet, working with uneven plaster or concrete surfaces, or installing complex curved patterns. Professional tilers have the tools and experience to cut tiles precisely and ensure even adhesion, which is especially important for high-value homes.
Frequently Asked Questions
How Do I Prep a Kitchen Wall for Mosaic Tiles If It Has Glossy Paint?
First, sand the glossy surface lightly with 120-grit sandpaper to create a "tooth" for the adhesive to grip. Next, clean away all sanding dust with a damp cloth, then degrease the wall with a trisodium phosphate (TSP) solution to remove hidden cooking oil residue. Repair any cracks or holes with spackle, sand smooth, and let the surface dry completely for 24 hours before starting tiling.
What Tools Do I Actually Need for a Small DIY Mosaic Tile Project?
For walls under 20 square feet, you won’t need expensive professional equipment: a 1/4-inch notched trowel, polymer-modified thin-set mortar, pre-mounted 12×12 inch mosaic sheets, tile nippers for small cuts, a rubber grout float, sponge, and safety glasses are all you need. A wet saw is only required for cutting natural stone or thick porcelain tiles.
How Much Thin-Set Mortar Do I Need for a Typical Kitchen Backsplash?
For a 30-square-foot kitchen backsplash, you’ll need one 25-pound bag of polymer-modified thin-set mortar. Mix only half the bag at a time to avoid the mortar drying out before you can use it; leftover dry mortar can be stored in an airtight container for up to 6 months.
How Long Does the Entire Mosaic Tile Installation Process Take?
Active work time for a 30-square-foot backsplash is 4-6 hours: 2 hours for wall prep, 1 hour for setting tiles, and 1-2 hours for grouting and cleanup. However, you’ll need to let thin-set mortar cure for 24 hours before grouting, and grout needs 24-72 hours to fully cure before exposing it to water or cooking splatters, so the full project spans 3-4 days from start to finish.
Conclusion
Installing a mosaic tile kitchen wall is a manageable, rewarding DIY that transforms your space without the cost of a full remodel. By prepping your wall properly, using the right materials, and following these step-by-step instructions, you’ll get a stunning, long-lasting finish that adds personality to your kitchen. Ready to tackle more home upgrades? Explore our full library of easy DIY home improvement guides to transform your space on a budget.