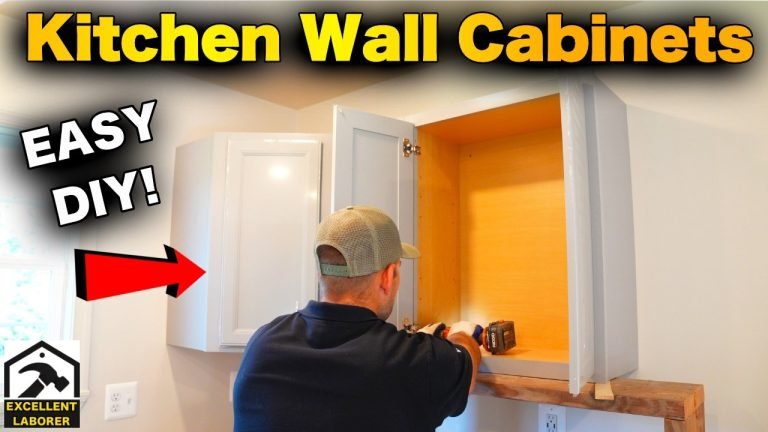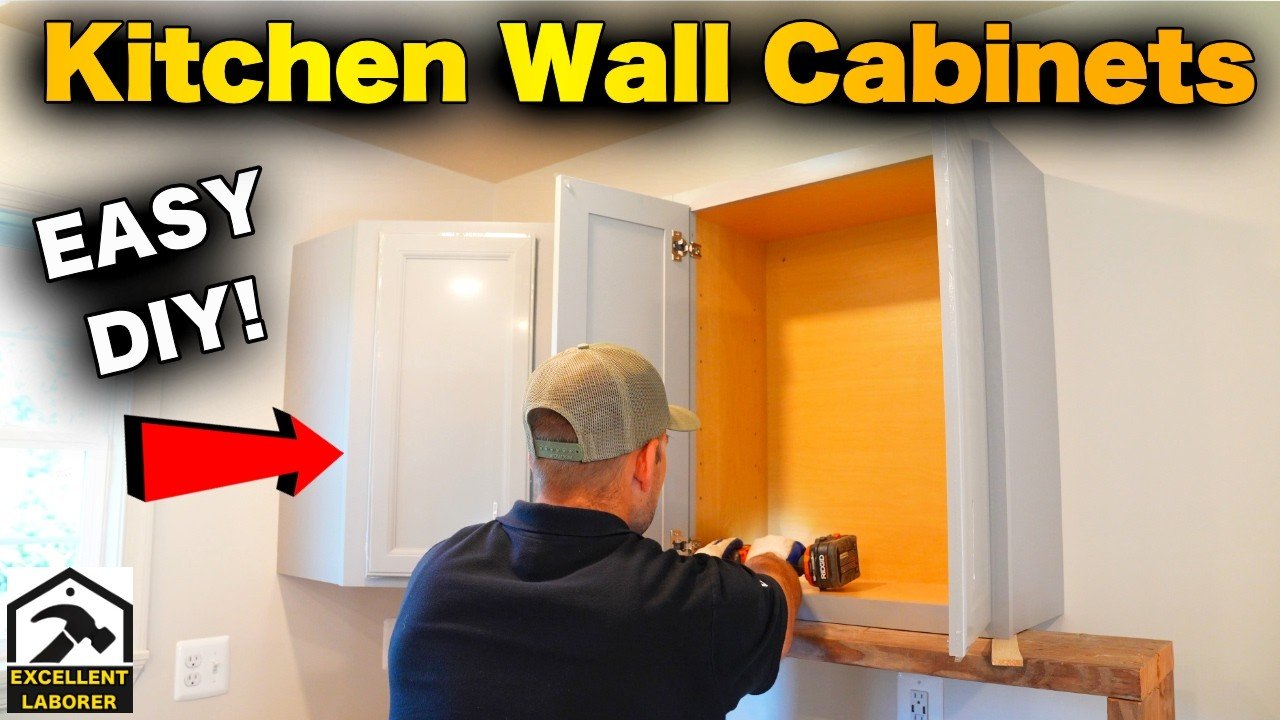
How to Install Wall Kitchen Cabinets: Easy Step-by-Step Guide
Upgrading your kitchen with new wall cabinets is one of the highest-impact, lowest-cost renovation projects you can tackle as a DIYer — but a misaligned, unsecure install will leave you with crooked doors, damaged drywall, and cabinets that pull away from the wall over time. Whether you’re a first-time DIYer or have tackled small home projects before, this 2026 updated guide walks you through every step to get a professional, long-lasting result, no prior carpentry experience required. We’ll cover common pitfalls to avoid, precise measurements for a flawless finish, and safety best practices to keep you injury-free throughout the project.
Pre-Installation Prep: Tools, Materials, and Wall Checks
If you’re removing old cabinets as part of your reno, start by turning off power to any outlets behind the cabinet area and disconnecting any hardwired cabinet lighting to avoid electrical hazards. Remove all cabinet doors, drawers, and hardware first to reduce the weight of the units you’ll be lifting later. Patch any holes from old cabinet screws with spackle, sand smooth, and wipe the wall clean of grease, dust, or debris that could interfere with mounting. For more on this, see our guide on how to install ikea kitchen cabinets on wall.
Essential Tools
You don’t need a full workshop to install wall cabinets, but having the right tools on hand will cut your install time in half and prevent frustrating errors:
- 4-foot laser level (far more accurate for long wall runs than a standard 24-inch bubble level)
- Electronic stud finder (preferably one that detects both wood/metal studs and live wiring behind walls)
- Cordless drill/driver with Phillips and 1/8-inch drill bits
- Measuring tape and carpenter’s square
- Bar clamps (2–4, depending on cabinet run length)
- Cabinet lifting strap (critical if working alone, reduces strain on your back)
- Safety glasses and work gloves
- Pencil for marking walls
Required Materials
- Your chosen wall cabinets (confirm all parts are included before starting; ready-to-assemble (RTA) cabinets will include all hardware, while pre-assembled units will not)
- #8 or #9 coarse-thread wood screws, 2 ½ to 3 inches long (for wood studs; use fine-thread self-tapping screws for metal stud framing)
- Plastic shims (1/8-inch and 1/16-inch; plastic won’t compress like wood shims, keeping cabinets level long-term)
- Wood glue (optional, for extra hold on cabinet joining points)
- Spackle and sandpaper (for patching old cabinet screw holes or wall damage)
- Painter’s tape (to mark stud locations and layout lines without damaging walls)
Pro Prep Tip
In practice, the most common cause of delayed cabinet installs is missing or incorrect fasteners. Before you start, count your screws and confirm they’re long enough to penetrate your wall studs by at least 1 ½ inches — a 3-inch screw is ideal for standard ½-inch drywall over 2×4 studs. If you’re working with metal studs, use self-tapping metal screws and toggle bolts for areas between studs to ensure a secure hold. If you’re replacing an old wall-mounted faucet as part of your kitchen update, follow our guide to swap out an old wall-mounted faucet before installing cabinets to avoid damaging new finishes.
Step 1: Plan Your Cabinet Layout and Mark Reference Lines
A poorly planned layout will lead to misaligned cabinets, uneven gaps, and doors that don’t close properly, even if you mount every unit perfectly. Taking 30 minutes to map your layout now will save you hours of rework later.
Map Your Cabinet Layout
Start by measuring the total width of your wall space, accounting for obstructions like windows, outlets, or range hoods. Leave at least 1/16 to 1/8 inch of gap between each cabinet for a uniform reveal (the visible gap between cabinet doors) — guessing at spacing will lead to uneven gaps that are impossible to fix after mounting. If you’re installing cabinets above a cooktop, the National Kitchen and Bath Association (NKBA) requires a minimum 30-inch clearance between the cooktop surface and the bottom of the wall cabinets to prevent heat damage and ensure safe cooking access. National Kitchen and Bath Association (NKBA) kitchen design standards For multi-cabinet runs, build a quick story pole: cut a 1×2 board to the height of your wall, then mark every cabinet height, width, and clearance point on it. This lets you test your layout on the wall before making any permanent marks, catching errors before they cause costly rework.
Mark Your Level Reference Line
The standard height for the bottom edge of wall cabinets is 54 inches from the finished floor, per NKBA accessibility guidelines, but adjust this up or down 1–2 inches if you’re significantly shorter or taller than average. To mark your reference line:
- Measure 54 inches up from the floor at one end of your cabinet run.
- Use your laser level to project a perfectly straight, level line across the entire wall — this accounts for uneven floors common in older homes, which a standard bubble level will miss.
- Mark the top and bottom edges of each cabinet on the wall using your layout sketch, and pencil in the location of every wall stud along the line. Mark both the left and right edges of each stud, as most cabinet mounting rails are 1–2 inches wide, so you’ll need to hit the stud at multiple points to secure the cabinet.
Account for Backsplashes and Wall Irregularities
If you’re installing a new backsplash after mounting cabinets, add the backsplash thickness (usually 1/4 to 1/2 inch) to your reference line height so the bottom of the cabinets sits flush against the finished backsplash. For uneven plaster or drywall, circle any high spots on the wall — you’ll need extra shims in these areas when mounting to ensure the cabinet sits flush.
 Laser levels ensure perfectly straight layout lines even on uneven older walls
Credit: www.create-enjoy.com
Laser levels ensure perfectly straight layout lines even on uneven older walls
Credit: www.create-enjoy.com
Step 2: Install the Ledger Support Board
A ledger board (also called a temporary support ledge) holds the full weight of your cabinets while you fasten them to the wall, eliminating the need to balance heavy units on a ladder or ask a helper to hold them for hours.
Install the Ledger Correctly
- Cut a 1×4 board to the length of your cabinet run.
- Position the board so its top edge sits 1/8 inch below your marked cabinet bottom line (this gives you room to shim the cabinet up to the correct height later).
- Drive 2 ½-inch screws through the ledger into at least three wall studs, spacing screws 16 inches apart (standard stud spacing) to ensure it can hold 50+ pounds of cabinet weight.
- Use your laser level to confirm the ledger is perfectly level front to back and side to side — an unlevel ledger will lead to crooked cabinets.
Pro safety note: If you’re working above a ladder, follow OSHA ladder safety guidelines to avoid falls: always maintain three points of contact, and never stand on the top two rungs of a step ladder. OSHA ladder safety for home improvement projects
 A secure 1×4 ledger board holds cabinet weight while you fasten it to studs
Credit: www.youtube.com
A secure 1×4 ledger board holds cabinet weight while you fasten it to studs
Credit: www.youtube.com
Step 3: Mount Your First Wall Cabinet
Start with the corner cabinet (if you have one) to set the baseline for the entire run, then work outward to the ends of the wall to avoid alignment gaps.
Position and Secure the Cabinet
- Lift the cabinet onto the ledger board, aligning its bottom edge with your reference line. Use a cabinet lifting strap if working alone to reduce strain on your back and arms.
- Check that the cabinet is plumb (perfectly vertical) using your level — adjust its position slightly as needed before driving any screws.
- Drill 1/8-inch pilot holes through the cabinet’s built-in mounting rail into the marked stud locations. Pilot holes prevent the wood from splitting and make driving screws easier.
- Drive your #8 wood screws through the mounting rail into the studs, tightening until the cabinet is snug against the wall but not so tight that you crush the mounting rail or strip the screw hole. You’ll need a minimum of two screws per stud, so a standard 30-inch wide cabinet that crosses two studs will need four screws total for secure mounting.
- If your wall has high spots or uneven drywall, slide 1/8-inch plastic shims between the mounting rail and the wall before driving screws to ensure full contact across the entire rail.
Verify Level and Adjust
After securing the cabinet, check its level front to back and side to side with your laser level. Even a 1-degree tilt will cause cabinet doors to swing open on their own or items to slide off shelves. If the cabinet is unlevel, loosen the screws slightly, add or remove shims behind the mounting rail, and retighten once it’s perfectly level. A common mistake new DIYers make is only checking side-to-side level, ignoring front-to-back tilt — always check both axes before moving to the next cabinet.
Step 4: Join Adjacent Cabinets for a Seamless Look
Joining cabinets together eliminates gaps between units, creates a uniform reveal, and adds structural stability to the entire run.
Align and Clamp Cabinets
- Set the next cabinet on the ledger board, butting it up against the first cabinet. Use a 1/8-inch spacer block between the two cabinets to ensure an even reveal across the entire run — guessing at spacing will lead to uneven gaps that are impossible to fix later.
- Clamp the two cabinets together with two bar clamps, one at the top and one at the bottom, to hold them in place while you join them.
Join the Cabinets Permanently
Most cabinets have pre-drilled holes in the side panels for joining. Use cabinet connector bolts (included with most cabinet sets) to fasten the two cabinets together:
- Insert the bolt through the hole in the first cabinet’s side panel, then into the corresponding hole in the second cabinet’s side panel.
- Tighten the bolt with a screwdriver until the two cabinets are flush against each other, with no gaps.
- Repeat for both the top and bottom rails of the cabinet — joining only the top rail will lead to sagging and misalignment over time.
Fill and Sand Joints (Optional)
If you have small gaps between the joined cabinets, use a small amount of wood filler or color-matched caulk to fill them, then sand smooth once dry. This creates a seamless look, especially for painted cabinet finishes.
 Even 1/8-inch gaps between cabinets create a professional, seamless finish
Credit: www.familyhandyman.com
Even 1/8-inch gaps between cabinets create a professional, seamless finish
Credit: www.familyhandyman.com
Step 5: Add Hardware and Final Touches
Once all cabinets are mounted and joined, it’s time to add the finishing details that make your install look professional and function smoothly.
Install Cabinet Hardware
For consistent, professional-looking hardware placement:
- Knobs: Place 2 inches from the top edge of the door on the left side, and 2 inches from the bottom edge on the right side (for cabinets with two doors).
- Pulls: Place 3 inches from the top and bottom edges of the door, centered horizontally. Use a hardware installation jig to drill consistent holes and avoid misalignment, which is the most common mistake when installing hardware. If you’re installing soft-close hinges, adjust the hinge screws after mounting to ensure doors close smoothly without slamming, and align perfectly with the cabinet face.
Touch Up and Clean
Inspect all cabinet surfaces for scratches, dents, or marks from installation. Use a color-matched touch-up marker or laminate repair kit (for thermofoil or laminate cabinets) to fix small imperfections, blending carefully to avoid patchy spots. Once all touch-ups are dry, remove all protective films from cabinet doors, drawers, and hardware — leftover film will leave sticky residue and is a pain to remove later.
Final Function Check
Open and close every cabinet door and drawer to ensure they operate smoothly, with no rubbing or misalignment. Adjust hinge screws as needed to fix any rubbing. If you’re installing under-cabinet lighting or cabinet organizers, install them now before you load the cabinets with dishes and supplies. To nail a cohesive kitchen look, pair your new cabinets with complementary wall tones — we have guides for pair green cabinets with wall tones and warm wall shades for brown cabinets to help you pick the perfect finish.
Frequently Asked Questions
How do I prepare the wall for kitchen cabinet installation?
Start by removing any old cabinets, turning off power to outlets behind the install area, and disconnecting any hardwired cabinet lighting. Patch any holes from old cabinet screws with spackle, sand smooth, and clean the wall of grease, dust, or debris that could interfere with mounting. Use a stud finder to locate all wall studs, marking both edges of each stud for reference, and mark your level layout line with a laser level to account for uneven floors.
What tools are needed to install wall kitchen cabinets?
You’ll need a 4-foot laser level, electronic stud finder, cordless drill/driver, measuring tape, bar clamps, cabinet lifting strap (if working alone), safety glasses, and work gloves. For materials, stock #8 wood screws, plastic shims, and spackle for patching walls.
How high should wall kitchen cabinets be installed?
The standard height for the bottom edge of wall cabinets is 54 inches from the finished floor, per National Kitchen and Bath Association (NKBA) accessibility guidelines. Adjust this height up or down 1–2 inches if you’re significantly shorter or taller than average, or if you’re installing cabinets above a cooktop (add 2–3 inches to meet the 30-inch minimum clearance requirement).
Can I install wall cabinets alone, or do I need help?
You can install cabinets alone with a lifting strap and ledger board, but having a helper makes the process far faster and safer, especially for heavy cabinet units. A helper can hold cabinets in place while you drive screws, and spot you on a ladder if needed to reduce fall risk.
What if I can’t find studs where I need to mount cabinets?
If your cabinet layout doesn’t align with standard 16-inch stud spacing, use heavy-duty toggle bolts rated for 50+ pounds each to secure the cabinet to drywall between studs. For very heavy cabinet loads (like full of dishes or glassware), add a wood backing board between the cabinet and drywall to distribute weight across a larger area.
Can I install wall cabinets over tile?
Yes, but you’ll need a masonry drill bit to drill pilot holes through the tile into the wall studs behind it. Use concrete screws rated for tile and masonry to secure the cabinet, and seal any gaps around the mounting points with silicone caulk to prevent moisture damage to the drywall behind the tile.
Conclusion
Installing wall kitchen cabinets is an achievable DIY project that can transform your kitchen’s look and storage for a fraction of the cost of a full renovation. By taking the time to plan your layout carefully, secure every cabinet to wall studs, and check level at every step, you’ll get a professional, long-lasting result that holds up to daily use for years. The most important rules to remember: always mount cabinets to studs with at least 2 ½ inches of screw penetration, use a laser level for all layout lines to avoid crooked cabinets, and join adjacent cabinets with connector bolts for a seamless, stable run. If you run into alignment issues, don’t hesitate to loosen screws and adjust with shims — small tweaks now will save you from frustrating door rubbing and uneven gaps later. If you’re tackling more kitchen updates as part of your reno, our guides to swap out an old wall-mounted faucet and pick complementary wall tones for your new cabinet style will help you finish the space with a polished, cohesive look. With careful preparation and attention to detail, you’ll be opening your new cabinet doors with pride for years to come.