How to Grout Tile Wall Kitchen: Easy Steps for a Flawless Finish
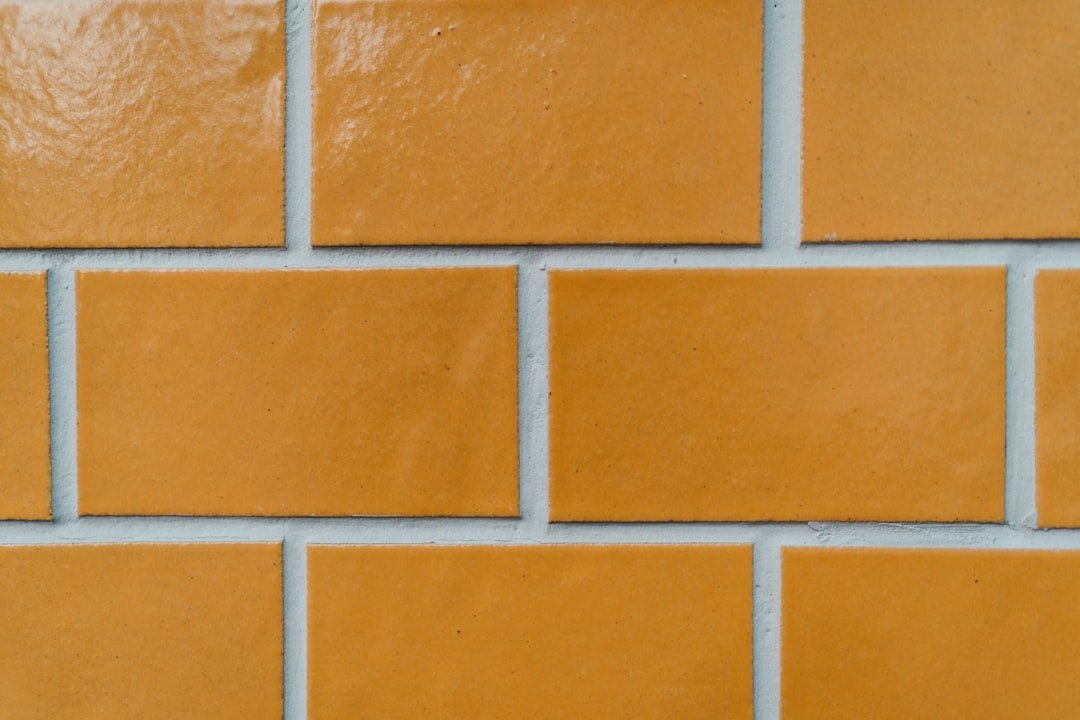
If your kitchen tile backsplash looks dull, stained, or has cracked, crumbling grout, you don’t need to hire a professional to fix it. Grouting a kitchen tile wall is a straightforward DIY project that costs a fraction of a professional installation, and with the right steps, you can get a smooth, durable, professional-grade finish that lasts for years. Whether you’re installing brand new tile or refreshing existing grout, this guide walks you through every step, from prepping the surface to sealing for long-term protection, with pro tips to avoid common mistakes.
Pre-Grouting Prep: The Foundation of a Flawless Finish
Skipping or rushing prep is the top cause of uneven grout, poor adhesion, and early cracking. Taking 30 minutes to gather materials and prep your surface will save you hours of cleanup and rework later. For more on this, see our guide on how to regrout kitchen wall tiles easy steps.
Prioritize Safety First
Grout contains cement and additives that can irritate skin and lungs, especially when removing old grout, which may release silica dust. Wear non-slip gloves, safety glasses, and a dust mask for any demolition work. A knee pad is helpful for lower backsplash sections, and old clothes or coveralls will protect your outfit from splatters.
Choose the Right Grout for Your Kitchen Wall
Grout type and color have a huge impact on durability and aesthetics. For industry-standard guidance on grout selection for residential tile, the Tile Council of North America (TCNA) recommends these options for kitchen walls:
- Sanded grout: The most durable, affordable choice for joints 1/8 inch or wider. The sand additive resists cracking and shrinkage, making it ideal for most standard kitchen tile installations.
- Unsanded grout: Smooth, non-abrasive formula for joints narrower than 1/8 inch, perfect for delicate tile like glass or polished ceramic that could be scratched by sanded grout.
- Epoxy grout: Stain-resistant, waterproof, and extremely durable, making it the best pick for high-moisture zones directly behind sinks or stovetops. It has a shorter working time and higher cost than cementitious grout, so it’s best reserved for high-traffic areas.
- Premixed grout: Convenient for small touch-ups, but not recommended for full wall installations due to lower durability and a 10–15 minute working time.
For color, test grout samples on a small, hidden section of tile first—grout dries 1–2 shades darker than its wet color. Light grout makes tiles pop but shows grease and stains, while dark grout hides dirt but can highlight imperfections in uneven tile edges. Opt for a mildew-resistant formula for kitchens to reduce long-term maintenance. For more on this, see our guide on how to clean kitchen wall tile grout.
Gather Your Essential Tools and Supplies
Having all tools on hand before you start mixing grout will keep you from scrambling mid-project. You’ll need:
- 9-inch non-porous rubber grout float
- 5-gallon mixing bucket with measurement markings
- Drill with a mixing paddle attachment (for large batches)
- Margin trowel for scraping grout and filling small joints
- Grout saw or rotary tool with grout removal bit (for old grout)
- Non-abrasive cellulose sponges
- Microfiber cloths for haze removal
- Water-based grout sealer formulated for kitchen use
- Painter’s tape to protect countertops and cabinet edges from splatter
Step 1: Prep the Tile Surface for Grouting
A clean, stable tile surface is non-negotiable for grout adhesion. Even small amounts of grease, dust, or loose tile will cause grout to fail prematurely.
Remove Old Grout and Surface Debris
If you’re refreshing existing grout, remove all old, cracked grout down to 1/2 inch deep with a grout saw or rotary tool to ensure new grout bonds properly. Vacuum all dust and debris from the joints with a shop vac, then wipe the tile surface with a dry cloth to remove remaining fine dust. Check that all tiles are firmly attached to the wall by tapping them lightly with a knuckle—if they sound hollow, re-adhere them with thin-set mortar before proceeding.
Clean and Dry the Tile Thoroughly
Kitchen tile is coated in grease, food splatters, and soap residue that will block grout adhesion. Scrub the entire surface with a degreaser (like trisodium phosphate, or TSP) mixed with warm water, then rinse thoroughly with clean water to remove all cleaning residue. Let the wall dry completely for 24 hours—test for leftover moisture by pressing a dry cloth to the tile; if it comes away damp, wait longer to cure. Avoid oily cleaners, as they will create a barrier between grout and tile.
Verify Tile Spacing and Stability
Standard kitchen wall tile spacing is 1/8 inch. Use a ruler or grout spacer to check that all joints are even, and remove any leftover plastic spacers from the original tile installation. Clear any dried thin-set mortar from the joints with a utility knife. If joints are uneven, fill low spots with thin-set mortar before grouting to avoid gaps where grout can crack later.
 A rubber grout float pressed at a 45-degree angle pushes grout deep into tile joints for full coverage on vertical surfaces.
Credit: www.familyhandyman.com
A rubber grout float pressed at a 45-degree angle pushes grout deep into tile joints for full coverage on vertical surfaces.
Credit: www.familyhandyman.com
Step 2: Mix Grout to the Perfect Consistency
Incorrectly mixed grout is the most common cause of cracking, shrinking, and poor adhesion. Follow these steps to get a consistent, workable mix every time.
Follow the Manufacturer’s Water Ratio
Every grout bag lists a specific water-to-powder ratio tailored to that formula. Start by adding 75% of the recommended water to your mixing bucket, then slowly add the remaining water 1 tablespoon at a time while mixing. Use distilled water if you have hard tap water, as minerals in hard water can cause permanent grout discoloration over time. Too much water weakens the grout and leads to crumbling as it cures; too little makes it stiff and impossible to push into joints.
Let the Grout Slake for Best Results
After mixing, let the grout sit (slake) for 5–10 minutes. This allows the powder to fully absorb water, eliminating lumps and air bubbles for a smooth, even mix. The University of Minnesota Extension recommends this slaking step to ensure grout won’t shrink or crack during curing. Stir the grout one more time after slaking before use.
Test Consistency Before Applying
The ideal grout consistency is thick peanut butter: it should hold its shape when scooped with a trowel, but still be easy to push into joints. If it’s too runny, add a small amount of grout powder; if too stiff, add 1 teaspoon of water at a time. Mix only as much grout as you can apply in 30 minutes, as cementitious grout begins to set after that time at standard room temperature.
Step 3: Apply Grout to Your Kitchen Tile Wall
Vertical kitchen walls require a slightly different technique than floor tiling to avoid drips and smudges. Work carefully in small sections for the best results.
Load the Grout Float Correctly
Scoop a generous amount of grout onto the rubber float, holding it at a 45-degree angle to the tile. For vertical walls, always start at the bottom of the backsplash and work your way up to avoid grout dripping onto tiles you haven’t worked on yet. A common DIY mistake is working top to bottom, which causes smudges and uneven grout lines that are hard to fix.
Press Grout Into Joints Evenly
Push the float firmly into the tile joints, using diagonal strokes across the tiles to avoid pulling grout out of the joints you just filled. Use the edge of the float to scrape excess grout off the tile surface as you go. Check for hollow or unfilled joints by tapping the float lightly over the area—if you hear a hollow sound, add more grout and press firmly to fill the gap. Work in 3-foot by 3-foot sections to keep the grout from drying before you can clean it.
Step 4: Clean Excess Grout and Remove Haze
Cleaning too early or too late will ruin your grout lines, so timing is critical for this step.
First Wipe: Remove Excess Grout While It’s Still Damp
Wait 15–20 minutes after applying grout before the first wipe. Use a barely damp (not soaking) cellulose sponge, and wipe the tile surface in a gentle circular motion to lift excess grout without eroding the grout lines. Rinse the sponge frequently in clean water to avoid smearing grout back onto the tiles. Don’t press too hard, as this can pull grout out of the joints. For textured tile, use a soft-bristle brush to work grout out of the textured surface before wiping.
Second Wipe: Eliminate Remaining Haze
Wait another 10–15 minutes for the grout to set slightly, then do a second wipe with a clean, damp sponge to remove any remaining grout residue. For stubborn haze, use a microfiber cloth slightly dampened with water—avoid harsh chemicals at this stage, as they can weaken uncured grout.
 Sealed grout lines resist kitchen moisture, grease, and stains for a low-maintenance, long-lasting finish.
Step 5: Cure and Seal for Long-Lasting Protection
Curing and sealing are the final steps that ensure your grout stays flawless for years, not weeks.
Let Grout Cure Fully Before Use
Cementitious grout needs 24–72 hours to cure completely, depending on humidity and temperature. Keep the area well-ventilated, avoid touching the grout lines, and don’t expose the wall to direct sunlight, water, or steam during this time. The University of Minnesota Extension notes that consistent temperatures between 60°F and 80°F and low humidity during curing prevent cracking, shrinking, and discoloration. Rushing this step is the most common cause of cracked, crumbly grout, even for experienced DIYers.
Apply Grout Sealer for Stain and Moisture Resistance
Sealing is non-negotiable for kitchen walls, which are exposed to grease, water, and food splatters daily. Use a water-based grout sealer formulated for kitchen use, and apply it with a small foam brush, working it into the grout lines in a circular motion. Avoid getting sealer on the tile surface, as it can cause hazy residue. Let the sealer penetrate for 10 minutes, then wipe off any excess with a clean microfiber cloth. Apply a second coat if the manufacturer recommends it for extra protection. Reseal your grout every 1–2 years to maintain its stain resistance and appearance.
Troubleshooting Common Grouting Issues
Even with careful prep, small issues can pop up during or after grouting. Fix them quickly to avoid long-term damage.
Fix Cracks and Gaps in Grout
Cracks and gaps appear from tile movement, poor adhesion, or rushed curing. Small cracks can let water seep behind tiles, leading to mold or structural damage.
- Remove all loose, cracked grout with a grout saw, cleaning out the joint down to 1/2 inch deep.
- Vacuum dust and debris from the gap, then wipe with a damp cloth to remove fine particles.
- Mix fresh grout to the correct consistency, and press it firmly into the gap with a grout float or small spatula.
- Wipe excess grout with a damp sponge before it dries, then let cure fully for 24 hours before resealing. For gaps wider than 1/4 inch, fill them with flexible kitchen-rated caulk before grouting to accommodate natural tile movement.
Remove Grout Discoloration and Stains
Grout discoloration comes from grease, mold, or hard water stains. For light dirt, scrub with a soft-bristle brush and pH-neutral tile cleaner. For tough grease stains, make a paste of baking soda and water, apply to the grout, let sit for 10 minutes, then scrub and rinse. For mold or mildew, use a diluted bleach solution (1 part bleach to 10 parts water), scrub gently, then rinse thoroughly and ventilate the area well. Always dry the grout completely after cleaning, then reapply sealer to prevent future staining.
Treat Efflorescence (White Powdery Residue)
Efflorescence is a common issue in kitchens, caused by water dissolving salts in the grout or subfloor and depositing them on the surface as it evaporates. To fix it, scrub the affected area with a stiff brush and a 1:1 solution of white vinegar and water, rinse thoroughly, then let the area dry completely before resealing. To prevent efflorescence, use a low-absorption grout and ensure the wall is fully dry before grouting.
 Regular sealing and gentle cleaning prevent grout discoloration and mold growth in high-moisture kitchen areas.
Credit: www.create-enjoy.com
Regular sealing and gentle cleaning prevent grout discoloration and mold growth in high-moisture kitchen areas.
Credit: www.create-enjoy.com
Frequently Asked Questions
How do I prepare a tile wall for grouting?
Start by removing all old, loose grout and surface debris, clean the tile with a degreaser to remove kitchen grease, and let the wall dry completely for 24 hours. Remove all tile spacers, and check that all tiles are firmly attached to the wall before mixing grout.
What type of grout is best for kitchen tile walls?
For standard 1/8-inch joints, sanded cementitious grout is the most durable, affordable option. For joints narrower than 1/8 inch or delicate tile like glass, use unsanded grout. For high-moisture areas behind sinks or stovetops, epoxy grout offers the best stain and water resistance.
How long should grout cure before cleaning?
Do a first wipe of excess grout 15–20 minutes after application, then a second haze removal wipe 30–40 minutes after application. Wait 24–72 hours for full curing before exposing the grout to water, steam, or heavy use.
Can I grout over existing grout on kitchen tiles?
No, grouting over old grout leads to poor adhesion, cracking, and early failure. Always remove all old grout down to 1/2 inch deep before applying new grout to ensure a strong, long-lasting bond.
Can I use floor grout on kitchen walls?
Yes, most sanded floor grout is suitable for kitchen walls, as it’s formulated for durability. However, unsanded wall grout is a better choice for narrow joints or delicate tile to avoid scratching the surface.
How do I remove dried grout haze?
For dried haze that wasn’t removed during initial cleaning, use a grout haze remover formulated for your grout type, or a solution of equal parts white vinegar and water. Scrub gently with a soft-bristle brush, rinse thoroughly, and dry the area before resealing if needed. Avoid abrasive scrubbers, as they can scratch the tile surface.
Final Thoughts
Grouting your kitchen tile wall is a high-impact, low-cost DIY project that can transform the look of your space while protecting your tile from moisture, grease, and daily wear. By following these steps—prepping the surface thoroughly, choosing the right grout, applying it correctly, and sealing for protection—you can achieve a smooth, even, professional-grade finish that lasts for years. Pairing freshly grouted tile with a complementary wall color can make your whole kitchen feel cohesive: our guide to matching wall paint for green cabinets walks you through foolproof pairings for bold cabinet tones. If you’re also updating your kitchen fixtures, our step-by-step guide to removing a wall-mounted faucet makes that upgrade just as straightforward. For homeowners with warm wood tones, paint options for brown cabinets pair beautifully with light or dark grout for a timeless look. Avoid common mistakes like rushing curing time or skipping the sealer, and your grout will stay crisp and clean with minimal maintenance for years to come.