How to Fix Gap between Kitchen Counter And Wall: Easy DIY Tips
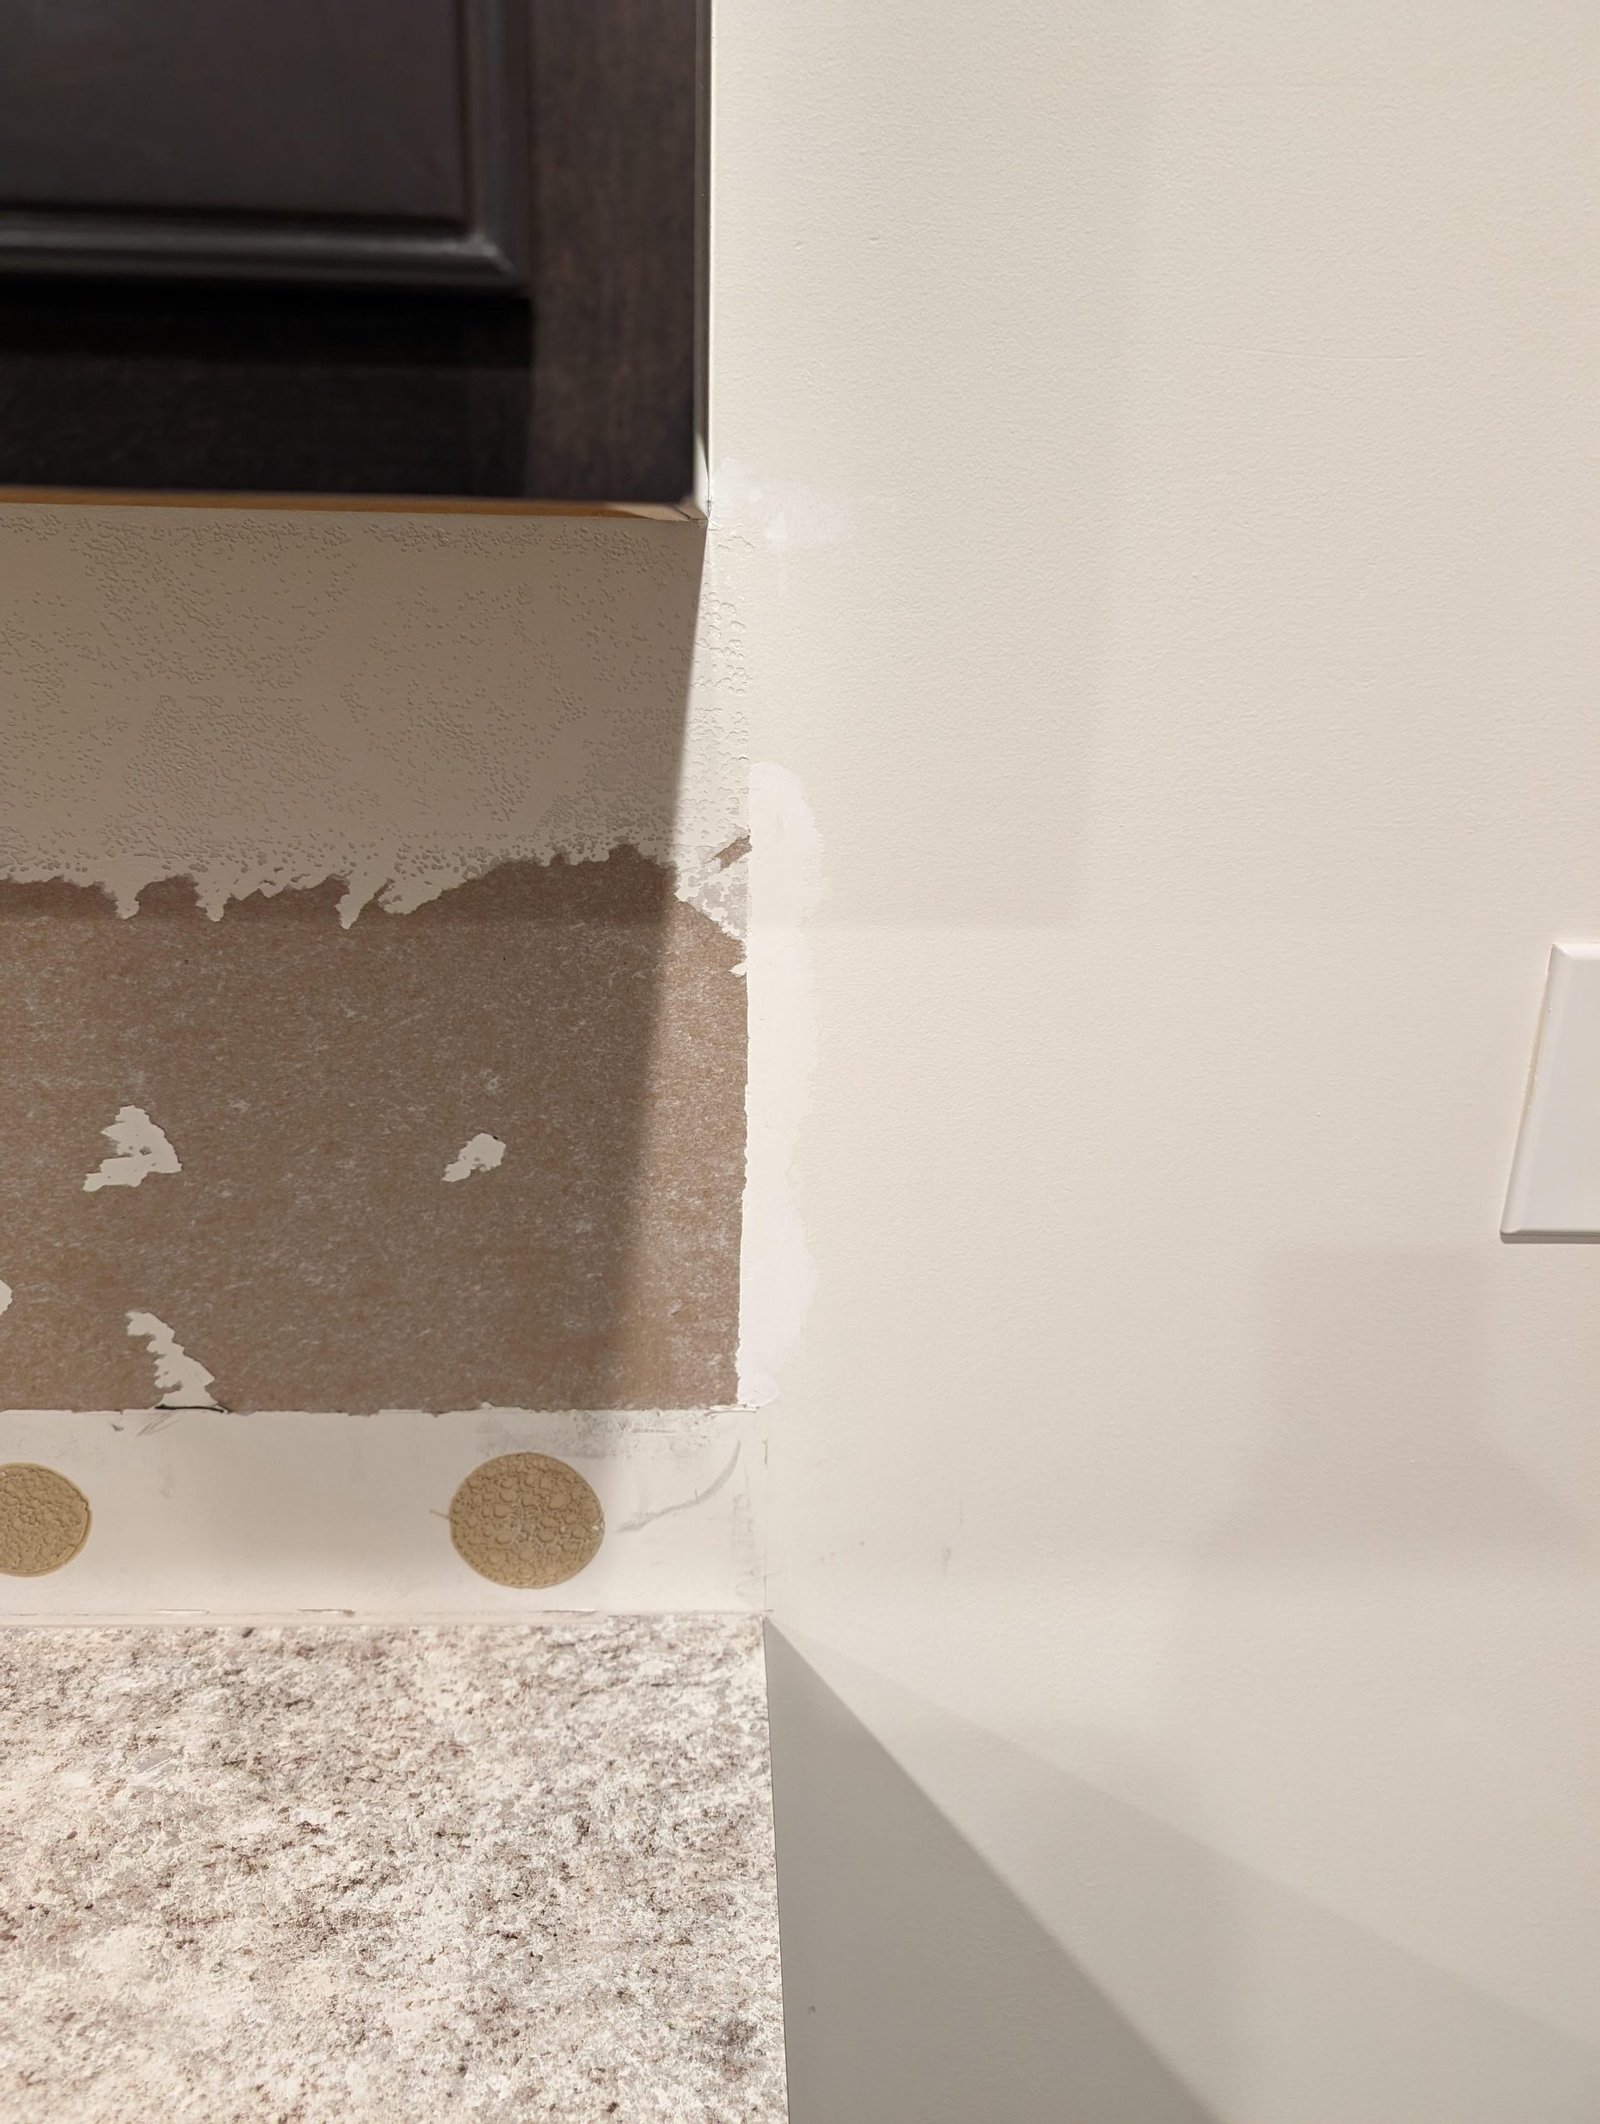
That narrow space between your kitchen counter and wall is more than just an unsightly eyesore. Unsealed gaps collect food crumbs, grease, and moisture, creating a breeding ground for mold and attracting pests like ants and cockroaches. Over time, water seeping into these gaps can damage your subfloor, lower cabinets, and even cause structural wood rot if left unaddressed.
Most counter-to-wall gaps are straightforward to fix as a DIY project, with repairs taking 1–2 hours for standard sizes. The right solution depends on the gap’s width, root cause, and your kitchen’s style. This guide covers diagnosis, step-by-step repair methods for every gap size, and maintenance tips to keep your kitchen sealed for years.
What Causes Gaps Between Kitchen Counters and Walls?
Gaps form for three primary reasons, and identifying the root cause ensures your repair lasts instead of failing a few months later:
- Installation misalignment: Even professionally installed countertops can have small gaps if walls are uneven or measurements were slightly off during fitting. These gaps are almost always 1/8 inch or smaller and consistent along the entire counter run.
- Structural settling or shifting: Older homes often experience subtle foundation settlement over time, which can pull cabinets and countertops away from walls. Humidity fluctuations also cause wood cabinets and countertops (like butcher block) to expand and contract, opening up gaps over time. These gaps may start small but grow wider if unaddressed.
- Water damage or rot: Leaks under sinks or behind appliances can soften wall studs or cabinet back panels, causing them to pull away from the countertop. If you notice soft, discolored drywall or a musty smell near the gap, water damage is likely the culprit.
To diagnose the cause, run a straight edge or level along the wall to check for bumps or curves. If the gap is only present in one section of the counter, it’s likely due to local wall unevenness or water damage. If the gap runs the full length of the counter, it’s probably from installation misalignment or structural shifting.
When to DIY vs. Call a Professional
While most counter-to-wall gaps are DIY-friendly, there are cases where professional help is necessary to avoid costly long-term damage:
- Gaps larger than ½ inch with visible signs of foundation settlement, such as cracks in interior drywall, doors that stick in their frames, or uneven floors
- Gaps accompanied by soft, rotting wood or active water leaks behind the counter
- Gaps that have grown more than ¼ inch in the past 6 months, indicating ongoing structural movement
For all other gaps, standard DIY methods will deliver a durable, professional-looking result with basic tools and minimal cost.
Tools and Materials You’ll Need
The supplies you need depend on your gap’s width, but most repairs only require items available at any local hardware store. Use the table below to match your gap size to the right solution:
| Gap Width | Recommended Fix | Required Tools/Materials |
|---|---|---|
| Under 1/8 inch | Caulk only | Painter’s tape, caulk (silicone or acrylic latex), caulking gun, utility knife, wet finger or caulk finishing tool |
| 1/8 to ½ inch | Backer rod + caulk | All above, plus foam backer rod (sized to fit your gap), putty knife |
| Over ½ inch | Trim molding or low-expansion foam + caulk | All above, plus PVC/wood trim, miter saw, finishing nails or construction adhesive, paint/stain |
Choosing the Right Caulk
Not all caulk is created equal for kitchen use. A common mistake DIYers make is using standard acrylic caulk near sinks, which will peel within 6 months when exposed to repeated moisture. For most kitchen gaps:
- Silicone caulk: 100% waterproof, flexible, and resistant to mold. Ideal for gaps near sinks, dishwashers, or other wet areas. It cannot be painted over, so choose a clear or white finish that matches your surfaces.
- Acrylic latex caulk: Easier to apply and clean up, and can be painted over to match walls or countertops. Best for dry gaps away from water sources.
- Polyurethane caulk: Extremely durable and flexible, making it a good choice for gaps in high-movement areas (like near expanding wood countertops). It has a stronger odor during application, so use it in a well-ventilated space.
For gaps within 6 inches of food prep surfaces, opt for a food-safe, low-VOC caulk certified for kitchen use. The University of Minnesota Extension recommends checking product labels for suitability for food-adjacent areas when selecting sealants for home repairs University of Minnesota Extension home repair guide.
Step 1: Prep the Gap for Repair
Proper surface preparation is the difference between a repair that lasts 10 years and one that peels in 6 months. Skipping this step is the most common cause of DIY caulk failure.
Clear Debris and Old Sealant
Start by removing all loose crumbs, dust, and old caulk or debris from the gap. Use a stiff-bristled brush or a vacuum with a crevice tool to reach deep into the space. For old, hardened silicone caulk, use a dedicated caulk remover and a plastic scraper to avoid damaging your countertop or wall surface. If you notice mold or mildew in the gap, scrub the area with a 50/50 mix of bleach and water, then let it dry fully.
If you have a wall-mounted faucet located near the gap, removing your wall-mounted faucet for full access will make cleaning and applying materials much easier.
Dry and Clean the Surface
Wipe the gap and surrounding 2 inches of counter and wall with rubbing alcohol to remove grease and residue. Let the area air dry completely for at least 1 hour, or use a clean dry cloth to speed up the process. If you suspect hidden moisture behind the gap (e.g., from a past leak), use a moisture meter to confirm the area is fully dry before proceeding. The EPA recommends keeping indoor humidity between 30% and 50% to prevent mold growth and wood warping in kitchen spaces official EPA indoor air quality standards, which also helps prevent future gap formation.
Step 2: Fix Small Gaps (Under 1/8 Inch)
These narrow gaps are almost always caused by minor wall unevenness or installation misalignment, and can be sealed completely with caulk alone for a nearly invisible finish.
- Apply painter’s tape: Run a strip of painter’s tape along the edge of the countertop and a second strip along the wall, leaving a 1/8-inch gap between them where the seal will go. Press the tape firmly to prevent caulk from seeping underneath.
- Apply the caulk bead: Load your caulk tube into a caulking gun, cut the nozzle at a 45-degree angle to create a 1/8-inch opening, and apply a steady, even bead of caulk into the gap. Move the gun smoothly along the entire length of the gap without stopping, to avoid lumpy, uneven application.
- Smooth and cure: Wet your finger or a caulk finishing tool, and run it along the bead to push the caulk deep into the gap and create a smooth, concave shape. Immediately peel away the painter’s tape before the caulk starts to set. Let the caulk cure for 24 hours before exposing it to water, and 72 hours before heavy use near the gap. In practice, a thick bead of caulk can take up to 5 days to fully cure, so avoid scrubbing or placing heavy objects near the repair during this time.
Step 3: Fill Wide Gaps (1/8 to ½ Inch)
Gaps wider than 1/8 inch will sink and crack if you apply caulk directly, as the caulk has no support behind it. A foam backer rod provides a solid base to fill the space, so you use less caulk and get a more durable seal.
- Choose the right backer rod: Select a backer rod slightly wider than your gap (e.g., a 3/8-inch rod for a 1/4-inch gap) so it compresses snugly into the space. Closed-cell foam backer rods are best for kitchens, as they repel water and won’t absorb moisture.
- Insert the rod: Use your fingers or a blunt putty knife to push the backer rod into the gap, leaving ¼ inch of space between the rod and the surface of the counter/wall. This space will be filled with caulk to create a smooth finish.
- Seal with caulk: Apply a bead of caulk over the backer rod, then smooth it with a wet finger or caulk tool as described in the small gap section. For gaps over ½ inch, you can use low-expansion spray foam to fill the space first, but trim any excess foam with a utility knife after 1 hour of curing, then seal with caulk to prevent moisture entry. Avoid standard high-expansion foam, as it will bulge out of the gap and damage surrounding surfaces.
Step 4: Cover Gaps With Trim or Molding
For gaps wider than ½ inch, or for homeowners who want to hide a rough gap and add a decorative touch, trim molding is a durable, long-lasting solution. It also works well for gaps along the entire length of the counter where caulk alone may look uneven.
- Measure and cut the trim: Measure the full length of the gap, and cut your trim to size with a miter saw for clean, straight edges. For corners, cut 45-degree miter joints to ensure a seamless fit.
- Attach the trim: For PVC or vinyl trim (ideal for moisture-prone areas like around sinks), use a strong construction adhesive to secure it to the wall or counter edge. For wood trim, use a nail gun or hammer with 1-inch finishing nails to attach it to the wall, taking care not to split the wood. Press the trim firmly against the counter to close any remaining small gaps.
- Finish the trim: Fill any nail holes with wood filler, then paint or stain the trim to match your cabinets or wall. If you have warm wood cabinetry, coordinating warm cabinet and wall tones will help the new trim blend seamlessly into your existing aesthetic. Use a semi-gloss or satin finish for easy cleaning and moisture resistance.
Step 5: Prevent Future Gaps
A small amount of maintenance will keep your counter-to-wall seal intact for years, avoiding the need for repeat repairs:
- Control indoor humidity: Keep your kitchen’s humidity between 30% and 50% using an exhaust fan while cooking or a dehumidifier in humid climates. Extreme humidity fluctuations cause wood countertops and cabinets to expand and contract, opening up new gaps over time.
- Inspect seals annually: Check the caulk or trim around your counters every 6 months for signs of cracking, peeling, or mold. Reapply caulk every 2–3 years as a low-effort maintenance task to avoid water damage.
- Address leaks immediately: Fix any leaks under sinks or behind appliances as soon as you notice them. Standing water behind cabinets softens wood and drywall, causing cabinets to shift and gaps to form.
Troubleshooting Common DIY Failures
Even with careful preparation, repairs can fail if you use the wrong materials or techniques. Here’s how to fix the most common issues:
- Peeling caulk: Usually caused by applying caulk to a dirty or damp surface, or using the wrong caulk type for the area. Scrape all old caulk away, clean the surface with rubbing alcohol, let it dry fully, and reapply with a caulk rated for kitchen use.
- Cracked caulk: Almost always means the gap was too large for caulk alone, or the caulk was applied too thinly. Scrape out the cracked caulk, insert a backer rod if needed, and reapply a thicker bead of caulk.
- Mold growth under caulk: This indicates moisture was trapped during application, or there is an active leak behind the gap. Remove all old caulk, fix any underlying leaks, dry the area completely, and reapply with a mold-resistant silicone caulk.
Frequently Asked Questions
How long does caulk take to cure?
Most kitchen caulk is touch-dry in 1 hour, but takes 24 hours to cure enough for light exposure to water, and 72 hours for full durability. High-humidity environments will extend cure time, so avoid using the area near the gap for 3–5 days if possible.
Can I paint over caulk to match my wall?
Yes, acrylic latex caulk can be painted over once fully cured. Silicone caulk cannot be painted, so choose acrylic if you need to match the caulk to a colored wall or backsplash.
What causes gaps to come back after repair?
Gaps reappear most often due to unaddressed structural shifting, ongoing water damage, or failure to control humidity. If your gap returns within a year, inspect for foundation settling or hidden leaks behind the counter.
Can I use expanding foam to fill the gap?
Yes, for gaps larger than ½ inch, low-expansion spray foam works well to fill empty space. Trim any excess foam after 1 hour of curing, then seal the gap with caulk to prevent moisture entry. Avoid standard high-expansion foam, as it will bulge out of the gap and damage surrounding surfaces.
Conclusion
Fixing the gap between your kitchen counter and wall is a low-cost, high-impact DIY project that protects your kitchen from water damage, pests, and mold while improving its overall appearance. Start by identifying the gap’s root cause and size, then use the right materials and preparation steps for a repair that lasts for years.
If you’re planning other kitchen updates alongside this repair, pairing wall hues with green cabinetry will create a cohesive, polished look that makes your newly sealed counters feel even more intentional.
 A narrow, unsealed gap between a countertop and backsplash can collect food debris, moisture, and pest entry points.
Improperly applied caulk will peel and crack within months if surface preparation is skipped.
 Wide gaps (over 1/4 inch) require backer rod before caulking to avoid seal failure and wasted material. Once your counter gap is sealed and your kitchen looks refreshed, it’s the perfect time to plan your next hosting project. If you’ve been curious about making your own wine at home, top-rated home winemaking sets make it easy to get started with minimal equipment. For a unique twist, fruit-focused winemaking bundles let you craft custom flavors using seasonal produce. And if you need to restock supplies between batches, you can find all the winemaking essentials you need online for fast delivery to your door.