How to Maintain a Serving Tray: Simple Care Tips
Learning how to maintain serving tray properly can be the difference between a piece that lasts for years and one that warps, stains, or cracks after a single season. The truth is that most tray damage comes from one simple mistake: treating every surface the same way. A wooden charcuterie board needs completely different care than a stainless steel serving tray or a glass platter.
Get the material right and the rest follows.
Manufacturer specifications and tested care protocols show that regular conditioning can extend a wood tray's life by three to five years. Improper cleaning methods are cited as the leading cause of premature finish failure. Whether you are hosting weekend guests or running a busy hospitality venue, knowing your tray's material is the first step toward protecting your investment.
Let us walk through exactly how to identify what you have and then care for it properly.
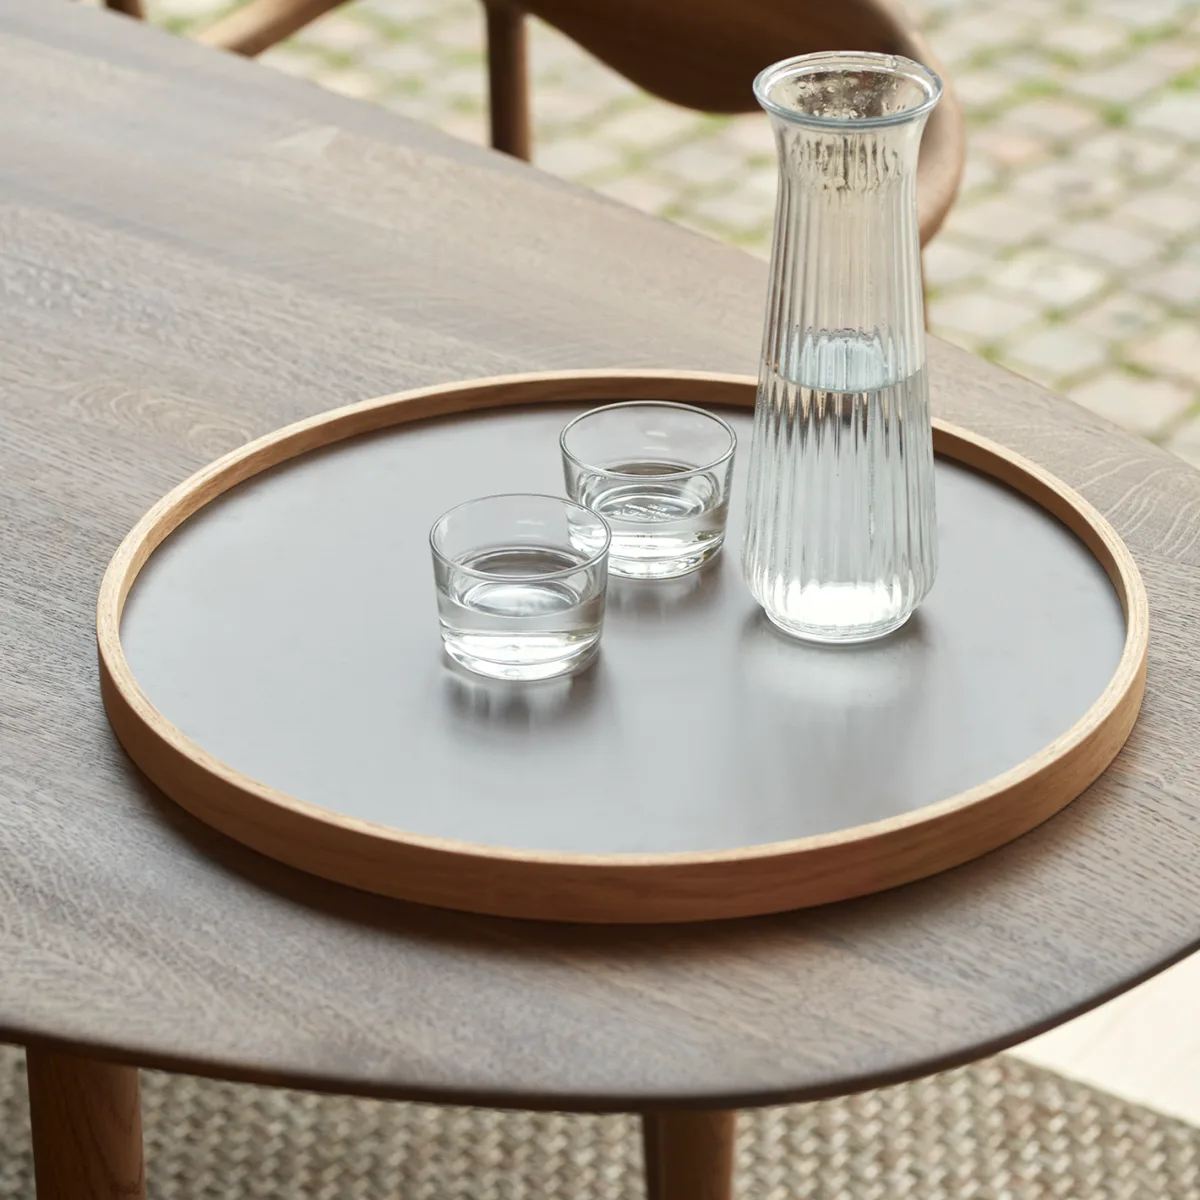
Image source: Web (Bing) / brdr-kruger.com (Web image (fair-use with source credit))
Quick Answer
Learn how to maintain serving tray by identifying the material first. Clean wooden trays with a damp cloth and food-safe mineral oil monthly. Wipe metal trays with mild soap and dry immediately.
Polish glass and plastic with non-abrasive cleaners. Store all trays in a dry environment away from direct heat.
Identify Your Tray's Material First
Why This Is the Most Important Step
Every serving tray material demands its own cleaning routine. Using the wrong method on the wrong surface causes real damage. Wood absorbs water and swells.
Metal tarnishes when exposed to harsh chemicals. Glass clouds from abrasive scrubbing. Plastic scratches easily and retains odors.
Starting with the correct material identification saves you from costly mistakes down the line.
Quick Guide: How to Tell Wood, Metal, Glass, and Plastic Apart
The quickest way to identify your tray is through touch, sound, and weight. Run your fingers across the surface and check for grain patterns. Natural wood shows visible grain lines and feels slightly textured.
Bamboo trays have a tighter, more uniform grain. Metal trays feel cold to the touch and make a ringing sound when tapped. Glass and ceramic feel smooth and cool with a heavier heft.
Plastic trays are lightweight and often show mold marks or seams along the edges.
| Material | Touch Test | Sound Test | Weight Feel |
|---|---|---|---|
| Wood | Slightly textured grain | Dull tap | Moderate |
| Metal | Cold and smooth | Ringing click | Heavy |
| Glass | Smooth and cool | Sharp clink | Heaviest |
| Plastic | Smooth, sometimes flexible | Dull thud | Lightest |
Checking these basic properties takes thirty seconds and prevents you from applying the wrong cleaning method. If your tray has a labeled finish type like varnished, lacquered, or raw, note that before moving forward. Some materials also come with composite surfaces that blend wood veneer over particle board.
Those require gentler handling than solid hardwood.
A quick inspection also reveals existing damage like cracks, loose handles, or worn finish. Addressing those issues early stops small problems from becoming costly replacements. You can also check whether your tray is dishwasher safe by looking for a label or consulting broader care guides for outdoor dining sets.
Care Guide for Wooden and Bamboo Trays
The Washing Rule: Damp Cloth Only, Never Submerge
Wood and bamboo are porous materials that absorb water quickly. Submerging a wooden tray in soapy water causes the fibers to swell and warp as they dry. This warping happens because water enters the open grain structure and expands unevenly.
The result is a twisted tray that no longer sits flat on your table. Even bamboo, which is technically a grass, shares this vulnerability to excess moisture.
Clean wooden trays by wiping with a damp cloth using a small amount of mild dish soap. Avoid soaking the surface or running water directly over it. For stuck-on food residue, sprinkle baking soda on the spot and gently rub with a soft cloth.
Never use a steel wool pad or harsh scrub brush on any wood surface. These tools scratch the finish and create tiny grooves where bacteria can hide.
After cleaning, dry the tray immediately with a clean towel. Then let it air-dry completely in an upright position. Standing the tray vertically allows airflow on both sides and prevents moisture from pooling on a flat surface.
This technique mirrors best practices for maintaining outdoor tableware where airflow during drying prevents mold growth.
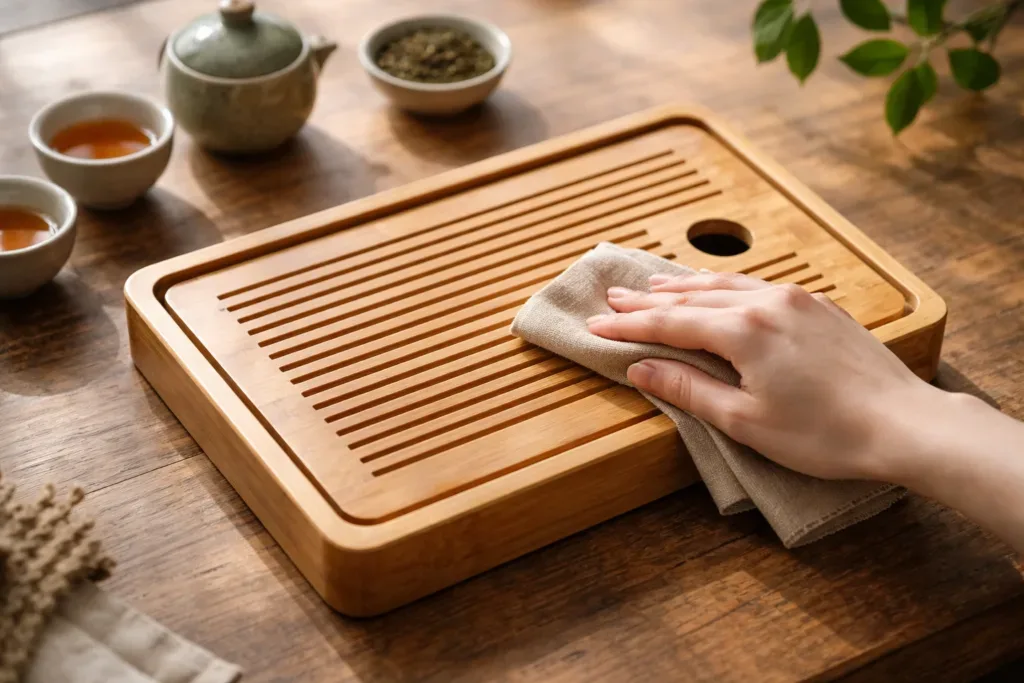
Image source: Web (Bing) / bamboowood.art (Web image (fair-use with source credit))
Removing Stains and Odors from Open-Grain Wood
Open-grain woods like acacia, walnut, and teak absorb liquids faster than closed-grain varieties. Red wine, olive oil, and tomato-based foods leave stains that sit deep in the pores. The fix is a paste made from baking soda and water.
Apply the paste to the stained area and let it sit for fifteen to twenty minutes. The baking soda lifts the discoloration without damaging the wood fibers.
For lingering odors from garlic, onion, or strong cheeses, sprinkle coarse salt over the surface and rub gently with a cut lemon half. The acid neutralizes odor compounds while the salt acts as a mild abrasive. Wipe clean with a damp cloth and dry thoroughly afterward.
This two-step approach works on both raw and finished wood surfaces.
Deep wine stains that have set for hours may need a stronger treatment. A diluted vinegar solution applied with a soft cloth can help break down the pigment. Use only a light mist and wipe dry immediately.
Avoid letting any liquid sit on wood longer than necessary. Food safety guidelines from the FDA recommend against using bleach or ammonia on food-contact wood surfaces.
Deep Conditioning: Restoring the Finish with Food-Safe Oil
Food-safe mineral oil is the standard conditioner for wooden and bamboo trays. It penetrates the wood fibers without going rancid and creates a protective barrier against moisture. Apply oil to a clean, dry tray using a soft cloth.
Rub it in following the grain direction until the wood looks evenly saturated. Let the oil absorb for at least one hour before wiping off any excess.
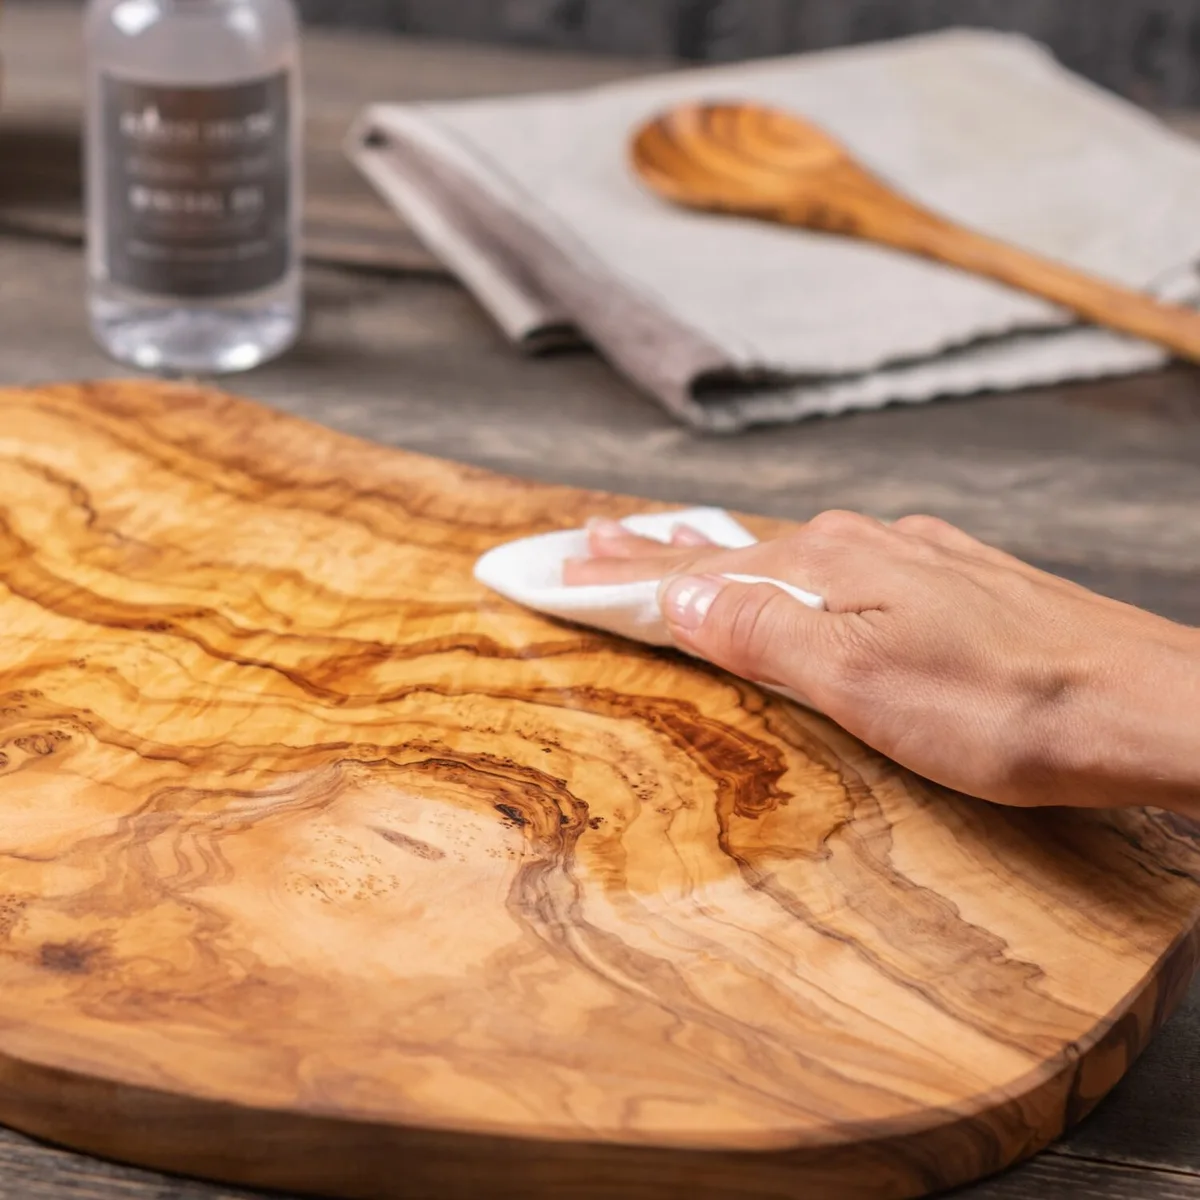
Image source: Web (Bing) / forest-decor.com (Web image (fair-use with source credit))
Condition your tray every one to three months depending on how often you use it. High-use trays that see weekly entertaining may need monthly conditioning. Light-use trays used once a month can go three months between applications.
Beeswax blends work well too and add a subtle shine. Mix one part food-grade beeswax with two parts mineral oil for a thicker protective coating.
Never use vegetable oil, olive oil, or cooking spray as a tray conditioner. These oils oxidize and turn rancid inside the wood grain. That rancidity produces off odors and attracts pests.
Mineral oil stays stable and is inert once absorbed. If your tray feels dry or looks faded after washing, a fresh coat of oil restores both protection and appearance in under ten minutes.
Care Guide for Metal Serving Trays
Cleaning Stainless Steel, Brass, Copper, and Aluminum
Metal trays fall into two categories: stainless steel and reactive metals like brass, copper, and aluminum. Stainless steel is the most low-maintenance option. It resists corrosion and tolerates mild soap and warm water without fear of damage.
Clean with a soft cloth and dry promptly to prevent water spots. A few drops of rubbing alcohol on a cotton pad removes fingerprints and smudges quickly.
Brass and copper develop a natural patina over time that many people find attractive. If you prefer the original shine, use a commercial metal polish or a paste of equal-parts vinegar and salt. Apply with a soft cloth and buff in circular motions until the desired luster returns.
Rinse with water and dry completely. Skipping the rinse leaves acidic residue that accelerates further tarnishing.
Aluminum trays are lightweight and affordable but scratch easily. Clean them with a non-abrasive sponge and mild detergent only. Avoid steel wool or scouring powders that leave visible marks.
If your tray has a polished or chrome finish, treat it like silver and polish with a dedicated metal polish cloth. For coated or painted metal, stick to gentle soap and water to preserve the finish.
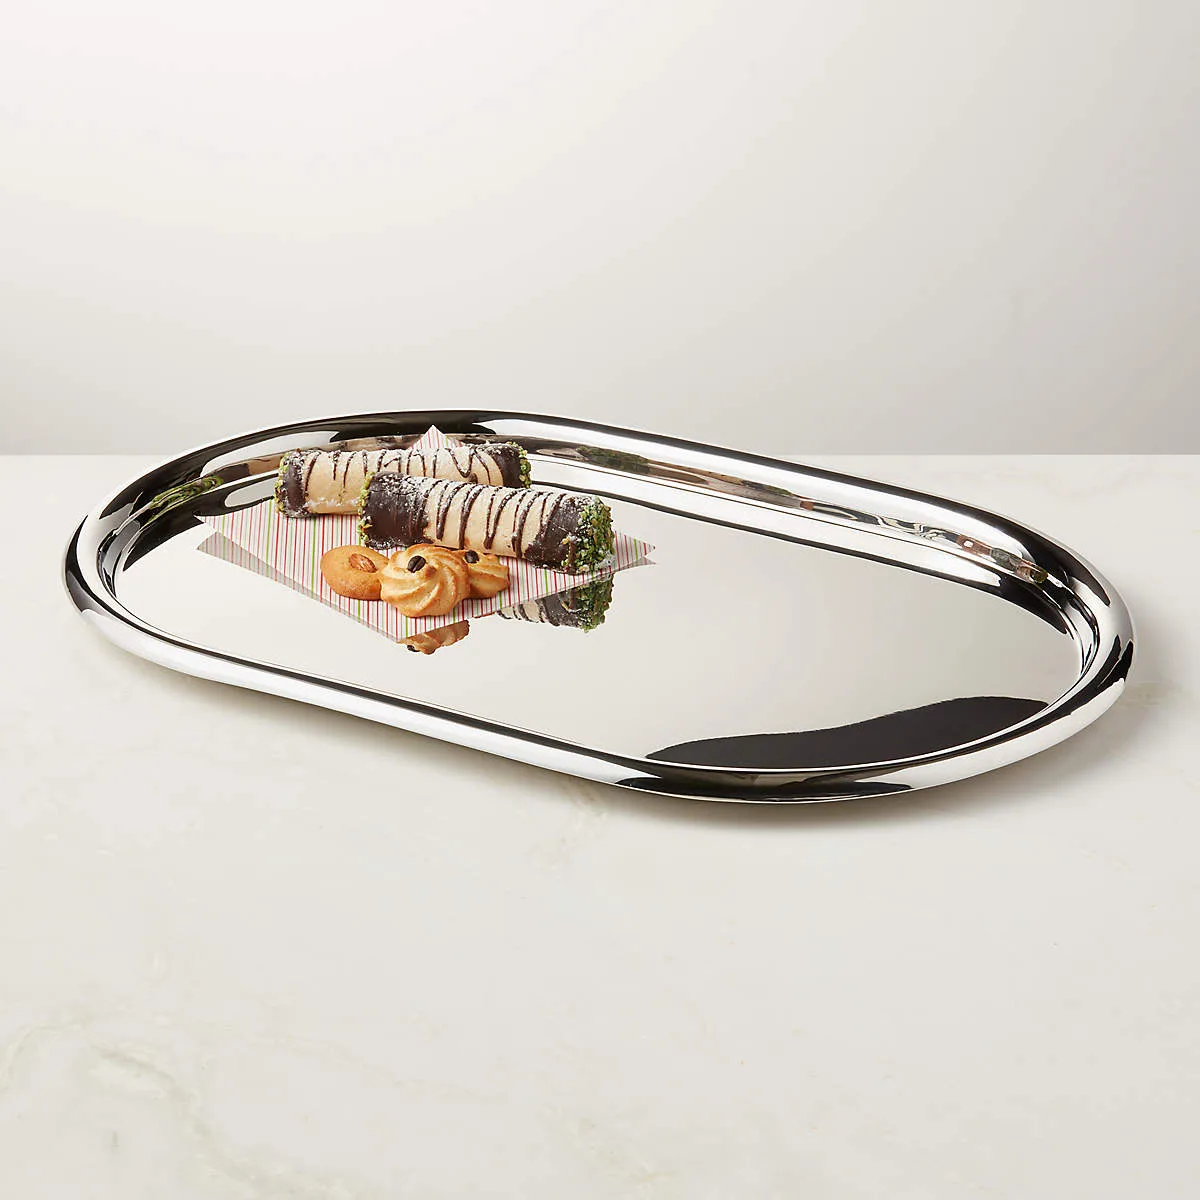
Image source: Web (Bing) / cb2.ca (Web image (fair-use with source credit))
Tackling Tarnish and Oxidation on Reactive Metals
Tarnish on brass and copper is an oxidation reaction that forms when the metal exposes itself to air and moisture. A thin layer of verdigris or dull brown patina is cosmetic and not harmful. However, heavy buildup makes the tray look neglected and can transfer discoloration onto food or linens.
Regular polishing every few months keeps reactive metals looking sharp.
For copper trays, a lemon dipped in coarse salt works as an effective household cleaner. The citric acid breaks down tarnish while the salt provides gentle abrasion. Rub the surface lightly, rinse with warm water, and dry immediately.
This method is safe for food-contact surfaces as long as you rinse thoroughly afterward. The USDA does not restrict food-safe acidic cleaners on copper when used as directed.
Brass requires less frequent attention than copper because it tarnishes more slowly. A dedicated brass polish applied with a microfiber cloth restores shine in under two minutes. For trays with intricate engraved details, use a soft-bristle brush to reach into crevices.
Never soak brass or copper trays overnight. Prolonged water exposure causes pitting and accelerates uneven oxidation.
Preventing Rust and Protecting Coated Surfaces
Iron and carbon steel trays rust when exposed to moisture and oxygen. Even a thin layer of water left on the surface can start rust spots within hours. Always dry steel trays immediately after washing and store them in a low-humidity environment.
A light coat of food-safe mineral oil after cleaning creates a moisture barrier that slows oxidation significantly.
Many modern metal trays feature powder-coated or enamel finishes that protect the base metal underneath. These coatings resist chipping better than paint but can still crack if dropped or stacked improperly. Inspect the coating regularly for any chips or scratches that expose bare metal.
Touch up exposed areas with matching enamel paint to prevent rust from starting beneath the coating.
Avoid stacking metal trays directly on top of each other without a protective barrier. The bottom tray scratches easily when pressed against another metal surface. Use felt pads, paper towels, or cloth between stacked trays.
This simple habit preserves the finish and prevents unsightly scoring marks that accumulate over time. Proper storage techniques like these align with maintaining camping kitchen gadgets where protecting surfaces from contact damage extends equipment life.
Care Guide for Glass, Ceramic, and Plastic Trays
Cleaning Glass and Ceramic Without Scratches or Cloudiness
Glass and ceramic trays are among the easiest to maintain. Their non-porous surfaces resist staining and do not absorb odors. Wash with warm soapy water and a soft sponge for routine cleaning.
For stubborn residue, a paste of baking soda and water works safely on both materials. Rinse thoroughly and dry with a lint-free cloth to prevent water spots on glass.
Cloudiness on glass trays usually signals one of two problems: hard water mineral deposits or etching from dishwasher detergents. Hard water buildup wipes away with a vinegar solution applied and rinsed promptly. Etching is permanent microscopic damage caused by harsh chemicals or high heat.
Prevention matters here. Hand-wash glass trays whenever possible and skip the heated dry cycle if you must use a dishwasher.
Ceramic trays with glazed finishes handle soap and water without issue. Unglazed or matte ceramic requires gentler care since the porous surface can absorb colors from strongly pigmented foods. Dark sauces like beet juice and turmeric can stain matte ceramic permanently.
Wipe spills immediately and avoid letting colored foods sit on unglazed surfaces for more than an hour. Treat these trays more carefully than you would outdoor dinnerware meant for rough daily use.
Removing Tough Stains and Residue from Plastic and Acrylic
Plastic and acrylic trays stain easily from oily foods and strong dyes. They also scratch from abrasive cleaners, which creates tiny grooves that trap dirt and make future cleaning harder. The safest approach uses only soft cloths and mild detergents.
For set-in stains, soak the tray in warm soapy water for thirty minutes before gently wiping. Do not use scouring pads on any plastic surface.
Acrylic trays require special attention since they scratch far easier than standard plastic. Use only microfiber cloths and liquid cleaners designed for acrylic. Rubbing alcohol diluted fifty-fifty with water removes adhesive residue without damaging the surface.
Avoid acetone, nail polish remover, and ammonia-based cleaners entirely. These solvents craze acrylic and create permanent cloudiness that cannot be reversed.
Odor absorption is another plastic weakness. Foods like garlic, onion, and aged cheese leave smells that linger in the material. Remove odors by filling the tray with a solution of one part white vinegar to four parts water and letting it sit for two hours.
Empty, rinse, and air-dry. Repeat if the smell persists. This method works because vinegar neutralizes odor-causing compounds without leaving its own scent behind.
Handling Heat and Temperature Shock Safely
Temperature shock occurs when a tray experiences rapid temperature changes. Glass and ceramic trays crack when moved directly from a hot oven to a cold countertop. Always let heated trays cool gradually on a heat-resistant surface before washing.
Thermal shock from cold water hitting a hot glass tray creates internal stress fractures that spread quickly.
Plastic trays have lower heat tolerance than glass or ceramic. Most food-grade plastics begin to warp at temperatures above one hundred sixty degrees Fahrenheit. Never place hot dishes directly onto plastic trays or slide them into a broiler.
Check the manufacturer's temperature rating before exposing the tray to any heat source. When in doubt, use a heat-resistant serving board instead.
Stacking hot trays on top of each other also causes warping. The bottom tray softens under the heat radiating from the tray above. Allow all trays to reach room temperature before stacking them for storage.
This applies to glass, ceramic, and especially plastic trays that lose structural integrity faster when warm.
Common Mistakes That Damage Serving Trays
Why Soaking and Dishwashers Ruin Most Trays
Soaking a serving tray is the single fastest way to destroy it. Water seeps into wood joints and weakens the glue bond. Wood fibers swell and then shrink unevenly as they dry, causing warping and cracking.
Even trays labeled dishwasher safe suffer over time because the prolonged heat and water exposure degrade finishes and loosen handles.
Dishwashers expose trays to temperatures above one hundred forty degrees Fahrenheit combined with harsh detergents. These conditions strip protective oils from wood and dull polished metal finishes. Glass trays may survive occasional dishwasher cycles but develop micro-chips from bouncing against other items.
Plastic trays release microplastics and warp under intense heat. Hand washing takes five minutes longer and saves trays from premature replacement.
The exception is trays explicitly marked dishwasher safe by the manufacturer. Check for that designation on the bottom label before loading anything. Even dishwasher-safe trays benefit from hand washing when you want them to last many years.
Treating your trays with the same care you give outdoor tableware ensures consistent performance across all your serving pieces.
Avoiding Harsh Chemicals and Abrasive Tools
Harsh chemicals like bleach, ammonia, and oven cleaner damage almost every tray material. Bleach weakens wood fibers and breaks down finishes. Ammonia clouds glass and dissolves metal plating.
Oven cleaner leaves chemical residues that contaminate food contact surfaces. Stick to mild dish soap, baking soda, vinegar, and food-safe mineral oil for all routine cleaning.
Abrasive tools include steel wool, scouring pads, and stiff-bristled brushes. These scratch wood finishes, groove metal surfaces, and leave micro-scratches on glass that collect grime. A soft sponge, microfiber cloth, and silicone brush cover ninety percent of cleaning needs.
Reserve the stiff brush only for heavily soiled outdoor serving trays where dried food crust demands more aggressive action.
Always test a new cleaner on a small inconspicuous area first. A corner on the underside reveals whether a product discolors or damages the finish before you apply it across the entire surface. This five-second test prevents expensive mistakes and helps you build a trusted toolkit of safe cleaning products over time.
The Dangers of Improper Storage and Stacking
Storing trays flat in a humid cabinet invites moisture trapped between surfaces. That trapped humidity promotes mold growth on wood and accelerates tarnish on metal. Store trays upright when possible to promote airflow.
If stacking is necessary, place a soft cloth or felt pad between each tray to prevent scratches and allow air circulation.
Extreme temperature swings during storage also harm trays. Placing wooden trays next to ovens, stoves, or heating vents dries out the wood rapidly and causes cracking. Cold garages in winter make wood brittle and prone to snapping.
Keep trays in a climate-controlled indoor space with stable humidity levels between forty and sixty percent relative humidity.
Overloading shelves or stacking too many trays creates pressure points that warp thinner boards. Distribute weight evenly and never stack heavier stone or marble trays on top of lightweight wood or plastic ones. Consider using a tray stand or wall mount to display frequently used pieces while keeping less-used trays protected.
Proper storage habits keep your collection in serving-ready condition year after year.
Pro Tips for Long-Term Tray Maintenance
How Often to Condition and Polish Different Materials
Conditioning frequency depends entirely on material and usage intensity. Wood trays used weekly need mineral oil every one to three months. Metal trays benefit from polishing every one to two months to prevent tarnish buildup.
Glass and plastic require conditioning only when they appear dull or dry. Check your tray's surface monthly by sprinkling water on it. If the water beads up, the protective layer is intact.
If it absorbs quickly, it is time to reapply conditioner.
Storing Trays Correctly to Prevent Warping and Scratches
Proper storage prevents most long-term damage. Store wooden trays upright in a dry cabinet with good airflow. Avoid leaning them against walls where moisture can accumulate.
Stack metal trays with felt spacers between each piece to prevent scratching. Keep glass and plastic trays flat in a clean, dust-free environment. Never store trays in damp basements or hot attics where temperature swings warp materials.
A simple cloth barrier between stacked trays preserves finishes and extends lifespan. This practice aligns with best practices for outdoor dining sets where proper stacking prevents damage during seasonal storage.
Spotting When a Tray Is Beyond Repair and Needs Replacement
Some damage cannot be fixed and signals it is time to replace the tray. Deep cracks in wood compromise structural integrity and harbor bacteria. Loose handles that wobble after tightening indicate failed joints.
Persistent odors that survive thorough cleaning suggest deep contamination inside porous materials. Chips on glass or ceramic expose sharp edges and create food safety hazards.
If a tray has any of these issues, retiring it prevents injury and maintains hygiene standards. The cost of a replacement tray is far less than risking foodborne illness or further damage to other serving pieces. Regular inspection catches problems early before they become irreparable.
Frequently Asked Questions
Can I Put Any Serving Tray in the Dishwasher?
No. Only trays explicitly labeled dishwasher safe by the manufacturer should go through a cycle. Wood, bamboo, and raw metal trays absorb water and degrade inside dishwashers.
Even dishwasher-safe glass and ceramic trays lose finish clarity over repeated cycles. Hand washing remains the safest method for preserving every tray material long-term.
How Do I Get Red Wine Stains Out of Wood?
Apply a baking soda and water paste to the stain immediately. Let it sit for fifteen minutes, then gently rub with a soft cloth. Rinse with a damp towel and dry completely.
For set-in stains, repeat the process twice. Finish with a light coat of food-safe mineral oil to restore the protective barrier.
What's the Best Product to Shine Metal Trays?
Use a commercial metal polish formulated for your specific metal type. Stainless steel responds well to dedicated stainless steel cleaners. Brass and copper benefit from vinegar-salt pastes or specialized brass polish.
Always apply polish with a soft cloth, buff gently, and rinse thoroughly before returning the tray to food service.
Why Does My Wooden Tray Smell Like Old Food?
Wood pores absorb odor molecules from strong foods like garlic, onion, and cheese. Salt and lemon juice neutralize these odors when rubbed into the surface. Let the mixture sit for twenty minutes, then wash and dry thoroughly.
Prevent future smells by wiping the tray immediately after use and conditioning it regularly to seal the grain.