Keep Your Camping Coffee Maker in Top Shape: Care Guide
Keeping your camping coffee maker in shape is simpler than most people think. Whether you're pulling up to a trailhead or setting up at a family campsite, knowing how to maintain camping coffee maker equipment properly means hotter mornings and better-tasting brews all season long.
Manufacturer specifications from brands like AeroPress and Stanley indicate that most gear fails not from rough handling, but from neglected cleanup. Proper care prevents oil buildup, mineral deposits, and seal deterioration. Here is what you need to know before your next adventure.
Quick Answer
How to maintain camping coffee maker? Clean it after every use, descale monthly, and store it dry. Rinse your brewer immediately after pouring the last cup.
Disassemble removable parts for a quick wash with warm water. Perform a deep clean with descaling solution every three months, or more often if you brew with hard water. Replace worn gaskets and filters before they fail on the trail.
Store everything loosely capped in a ventilated bag. This routine takes under five minutes daily and protects your investment for years.
1. Why Your Camping Coffee Tastes Like Campfire (And What to Actually Do)
That bitter, ashy flavor haunting your morning brew? It's rarely the coffee itself. More often, it's stale coffee oils coating your equipment from last week's trip.
Coffee contains natural oils called cafestol and kahweat. These compounds give coffee its body and richness. On your kitchen counter, you wash them away easily.
In the backcountry, those same oils bake onto metal, glass, and plastic surfaces. They turn rancid quickly, especially when exposed to heat and sunlight.
Campfire soot adds another problem. If you brew over an open flame or near a cooking fire, fine carbon particles settle into filter baskets and crevices. You cannot see most of it.
That invisible layer changes flavor with every pour.
Mineral buildup from trail water creates a third issue. Stream water often carries high levels of calcium and magnesium. These minerals precipitate onto heating surfaces and inside filters.
Scale reduces heat transfer in stovetop brewers. It clogs flow channels in press-style makers. Within weeks, your percolator cycles slower and your French press plunges roughly.
The fix is straightforward but demands consistency. Rinse immediately after brewing while residues are still wet. Deep clean weekly during active trips.
Full teardown and descaling happens monthly or whenever you notice flavor decline. FDA guidance on food-surface hygiene supports these intervals for home food equipment.
Your gear will reward that habit with cleaner taste and longer life. Skipping cleanup saves thirty seconds today and costs you a ruined brew tomorrow.
2. The Quick Fix: A 60-Second Rinse Routine That Works Anywhere
This is the non-negotiable step most campers skip. You pour your last sip, toss the brewer in your pack, and forget about it until next weekend. By then, coffee oils have already started oxidizing.
Here's what happens if you skip that immediate rinse. Residue dries onto surfaces within twenty minutes in warm weather. Once dry, it bonds to metal and plastic.
Removing it later requires soaking, scrubbing, and sometimes descaling. That five-minute deep clean becomes fifteen minutes of elbow grease.
The sixty-second routine is brutal in its simplicity:
- Empty all grounds and liquid immediately after brewing
- Fill the vessel with warm water (stream water works in a pinch)
- Swirl vigorously for ten seconds to loosen loose residue
- Pour out the dirty water through the filter or plunger
- Repeat once if the water comes out dark or cloudy
- Shake out excess water and leave the lid off to air-dry
That's it. No soap required for the daily rinse. Dishwasher detergent breaks down silicone seals over time.
Soap residue also lingers in micro-scratches where bacteria hide. Warm water alone removes fresh coffee residue effectively.
If you brewed with creamer, sugar, or anything outside black coffee, add a drop of dish soap to that second swirl. Rinse thoroughly afterward. Leave every component disassembled while drying.
Trapped moisture inside a sealed chamber breeds mold faster than you might expect.
Keep a small cleaning brush or spork in your kit for stubborn grounds stuck in filter baskets. A quick scrape takes three seconds and prevents clogs on your next brew.
3. How to Maintain Your Coffee Maker by Type (Branch Based on Your Gear)
Different brewers demand different maintenance approaches. A French press and a percolator share one goal: remove oils and scale. They reach that goal through very different steps.
French Press & Plunger Makers
Glass carafes crack under thermal shock. Never pour boiling water into a cold French press. Let the vessel warm gradually.
Stainless steel models tolerate temperature swings better but still benefit from preheating with warm water first.
The mesh screen assembly holds the most problematic residue. Coffee fines wedge between the screen and the O-ring seal. Over time, that packed sediment turns sour.
Remove the plunger completely after each use. Separate the disc, the screen, and any gaskets. Use a small brush or toothpick to clear trapped grounds from the screen mesh.
Descaling frequency matters most here. French presses handle hot water directly, so scale accumulates on interior walls and the plunger shaft. Soak removable parts in a vinegar-water solution (one part white vinegar to three parts water) for twenty minutes, then rinse thoroughly.
AeroPress & Vacuum Brewers
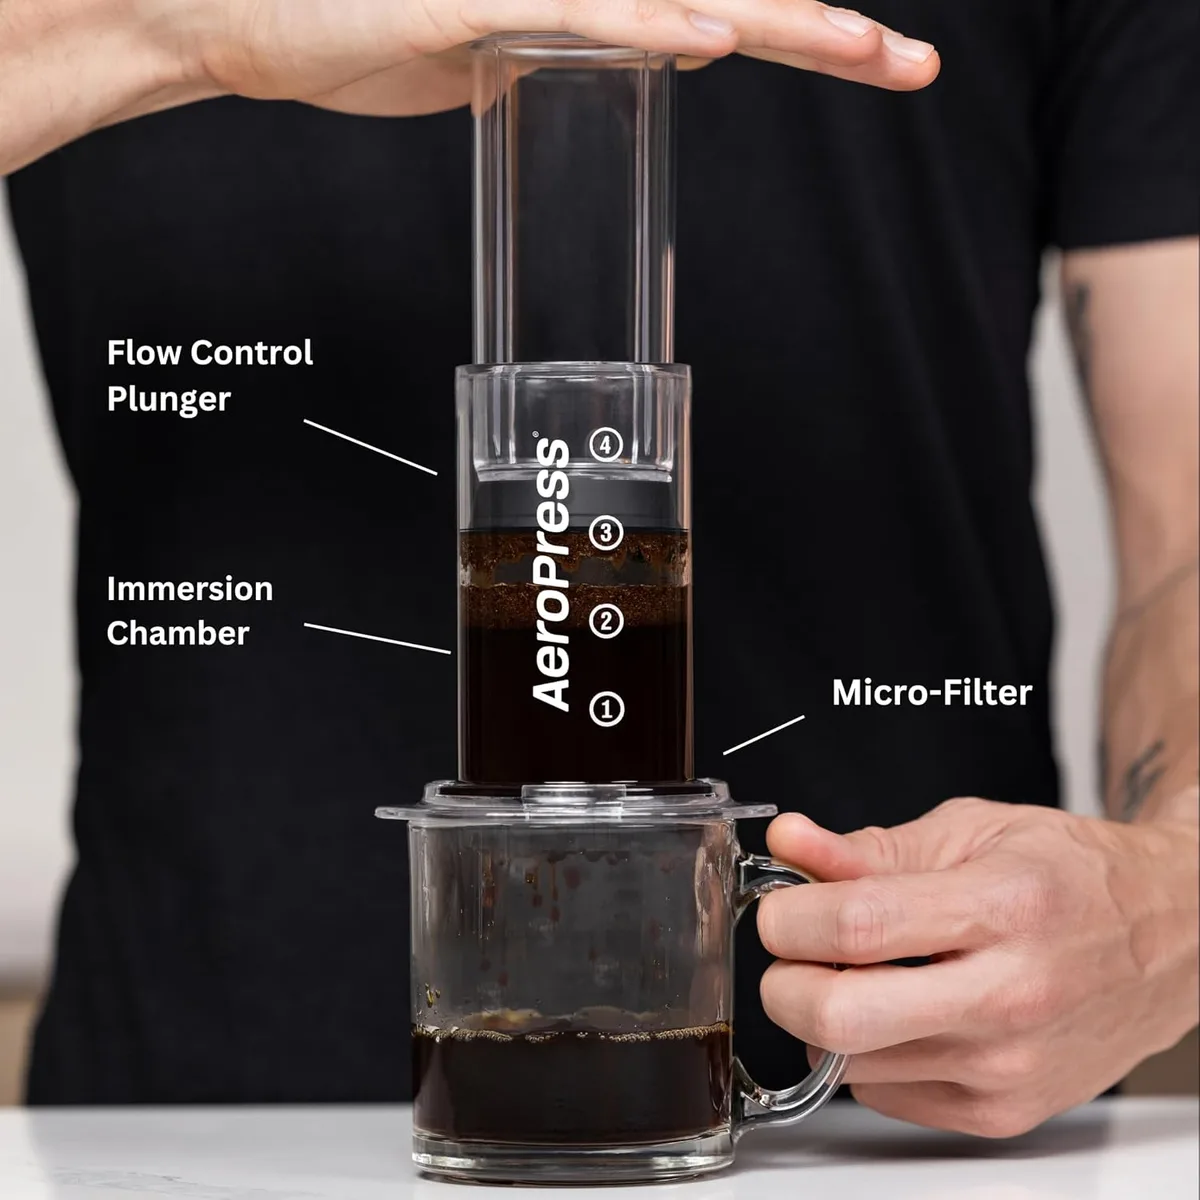
AeroPress components are forgiving and simple. The filter cap unscrews cleanly. The rubber seal pops out with gentle finger pressure.
Run warm water through every piece after brewing. Inspect the seal monthly for cracks or flattening. A degraded seal lets water bypass the filter entirely, producing weak, gritty coffee.
Vacuum brewers carry more complexity. The lower bulb collects scale on heated surfaces. The upper chamber accumulates oils on interior walls.
Cloth filters require thorough rinsing and occasional replacement. Paper filters eliminate that task but add ongoing cost. Descale both chambers separately using citric acid solution diluted according to package directions.
Stovetop & Drip Styles (Percolators, Moka Pots, Travel Drippers)
Percolators cycle boiling water repeatedly through grounds. That action deposits heavy scale on the stem and basket. Disassemble completely before cleaning.
Remove the spray head, the stand pipe, and the filter disk. Soak all metal parts in descaling solution. Use a pipe cleaner or narrow brush to clear the stem interior.
Moka pots operate under pressure and build dense scale fastest. Aluminum models develop pitting if soaked too long in acidic solutions. Limit descaling soaks to fifteen minutes, then neutralize with a baking soda rinse.
Stainless steel moka pots tolerate longer descaling but still require thorough neutralization and rinsing.
Travel drip brewers resemble small kitchen pour-over cones. Their main vulnerability is the fabric or metal filter holding compacted grounds. Remove the filter after each use and shake out spent grounds into compost or waste.
Rinse the cone itself with hot water.
4. Troubleshooting Flow: Figuring Out What's Wrong Before You Panic
Something feels off with your morning brew? Walk through this sequence before grabbing a replacement part or abandoning your gear entirely.
Problem: Coffee tastes bitter or harsh.
First check: Have you descaled recently? Mineral scale does not taste bad on its own, but it interferes with proper water-to-coffee contact. Water pools in pockets rather than flowing evenly through grounds.
That uneven extraction produces harsh compounds. Descaling usually resolves this immediately.
Second check: Are old oils present? Look at the interior surface of your brewer. A brownish film means coffee oils have built up.
Scrub with a small amount of baking soda and warm water. Rinse completely. Baking soda lifts oils without leaving chemical residue.
Third check: Did you use boiling water on a delicate brewer? Water above two hundred degrees Fahrenheit scorches coffee grounds instantly. That scorching creates unmistakable bitterness.
Aim for water just off the boil, around two hundred degrees, whenever possible.
Problem: Coffee flows too slowly or not at all.
Check the filter first. Fine grounds pack densely against paper or cloth filters and create a barrier. Switch to a slightly coarser grind next time.
Clean your reusable filter now by soaking it in warm water with a drop of dish soap, then rinse thoroughly.
Check for scale blockage in the stem or spout. Descale following the method appropriate for your brewer material.
Check that gaskets sit properly. A misaligned seal forces water through unintended paths or blocks flow entirely.
Problem: Your brewer leaks from the bottom or side.
Inspect every rubber seal and O-ring. Look for cracks, flattening, or hard spots. Silicone degrades with UV exposure and repeated heating.
Replacement parts cost less than five dollars for most common brewers. Order spares before your trip rather than discovering a failure at the trailhead.
Tighten threaded connections gently. Over-tightening strips threads on aluminum models. Hand-tight plus a quarter turn is sufficient.
Problem: Musty or mildew smell even after rinsing.
Moisture trapped inside stored gear creates this odor. Empty your brewer completely after every use. Leave all lids and caps open during drying.
Store in a breathable bag, never sealed in plastic. If mildew has already formed, soak components in a one-percent hydrogen peroxide solution for ten minutes, then rinse and dry thoroughly.
5. When to Deep Clean (Descaling, De-Oiling, and Part Replacements)
Daily rinsing keeps things functional. Deep cleaning keeps your gear performing like new. This is where most campers fall behind, and where small habits create big differences over a season.
Cleaning Coffee Oils
Coffee oils are sticky and slow to remove once oxidized. Dish soap handles fresh oils. Rancid oils need more help.
Mix warm water with one teaspoon of food-grade citric acid per cup of water. Soak disassembled parts for thirty minutes. Agitate gently.
The acid breaks the polymerized oil bonds without damaging metal or food-safe plastics.
For stubborn deposits on glass French press carafes, add a handful of coarse salt to the citric solution. The salt acts as a mild abrasive. Swirl and scrub.
The salt dissolves during rinsing, leaving no grit behind.
Never use bleach on coffee equipment. Residual bleach reacts with coffee compounds to produce chlorinated flavors that persist for weeks. Even thorough rinsing cannot guarantee complete removal from microscopic scratches.
Removing Hard Water Scale
Scale appears as white or chalky deposits on heating elements, inside tubes, and on filter screens. The visible buildup tells you water hardness exceeded about one hundred parts per million. Many trail sources run higher.
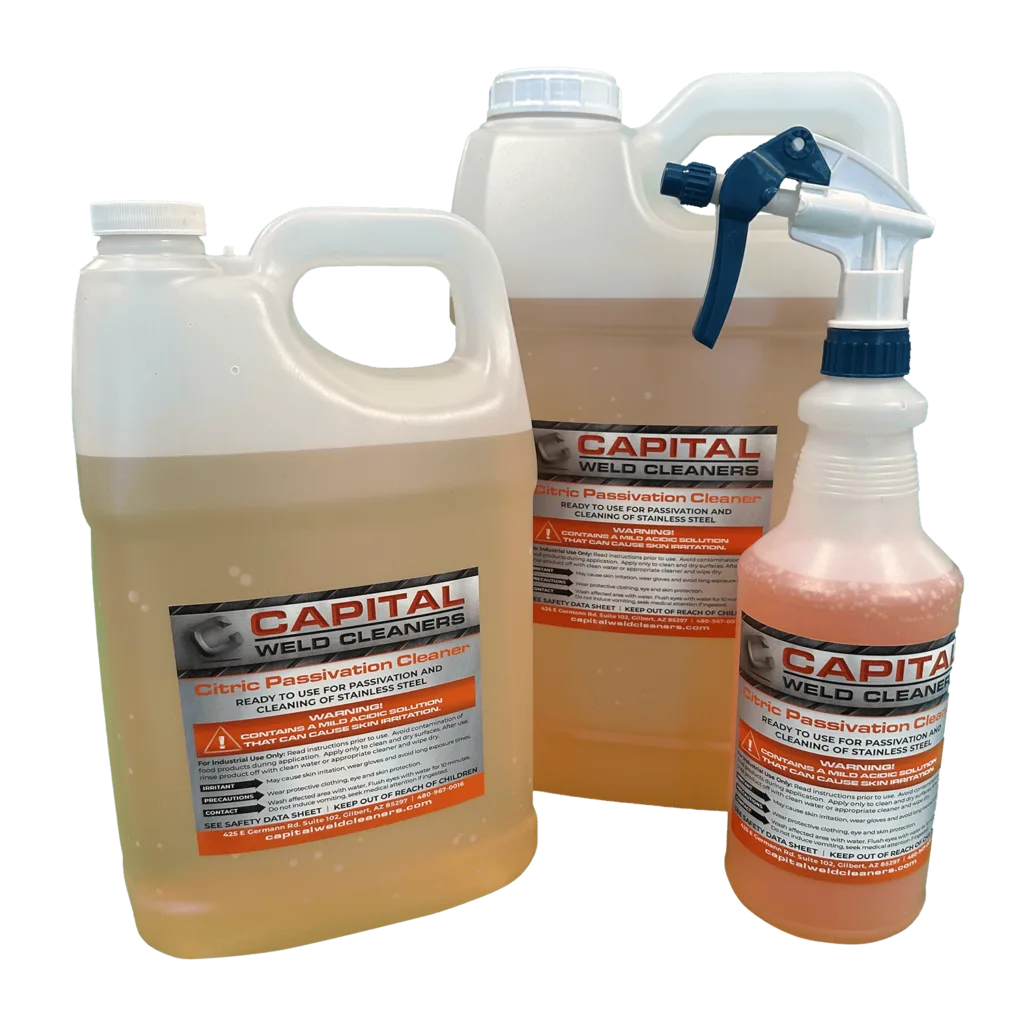
Food-grade citric acid works safely across all brewer materials. Dissolve one tablespoon in sixteen ounces of warm water. Soak affected parts for twenty minutes.
Scrub loose deposits with a soft brush. Rinse thoroughly with clean water.
White vinegar is effective but leaves odor if not rinsed well enough. If you choose vinegar, follow the acid soak with a baking soda rinse to neutralize any residual acidity. This two-step process prevents off-flavors in your next brew.
Descaling frequency depends on your water source. Soft water areas need monthly attention. Hard water regions may require descaling every two weeks during heavy use.
Replacing Gaskets, Filters, and Seals
Replacement parts extend brewer life significantly. A two-dollar silicone gasket can restore leak-free performance to a five-year-old French press. Keep a basic repair kit in your pack: spare O-rings for your specific brewer model, a spare filter disk, and a small roll of plumber's tape for threaded connections.
Inspect seals at the start of every trip. Press your thumb into the rubber. If it stays indented instead of springing back, replace it before packing.
A flattened seal will fail mid-brew, wasting precious hot water and coffee grounds.
Paper filters should be replaced every trip if budget allows. Reusable metal and cloth filters require the full deep-clean routine described above between uses. Expect cloth filters to last three to six months with regular camping use before fibers thin enough to let sediment through.
6. Best Practices for Storing Your Coffee Gear Between Trips
Proper storage prevents the problems that ruin your gear over time. Moisture trapped in sealed bags breeds mold. Dust settles into crevices where cleaning will not reach.
UV exposure degrades silicone seals faster than you might expect.
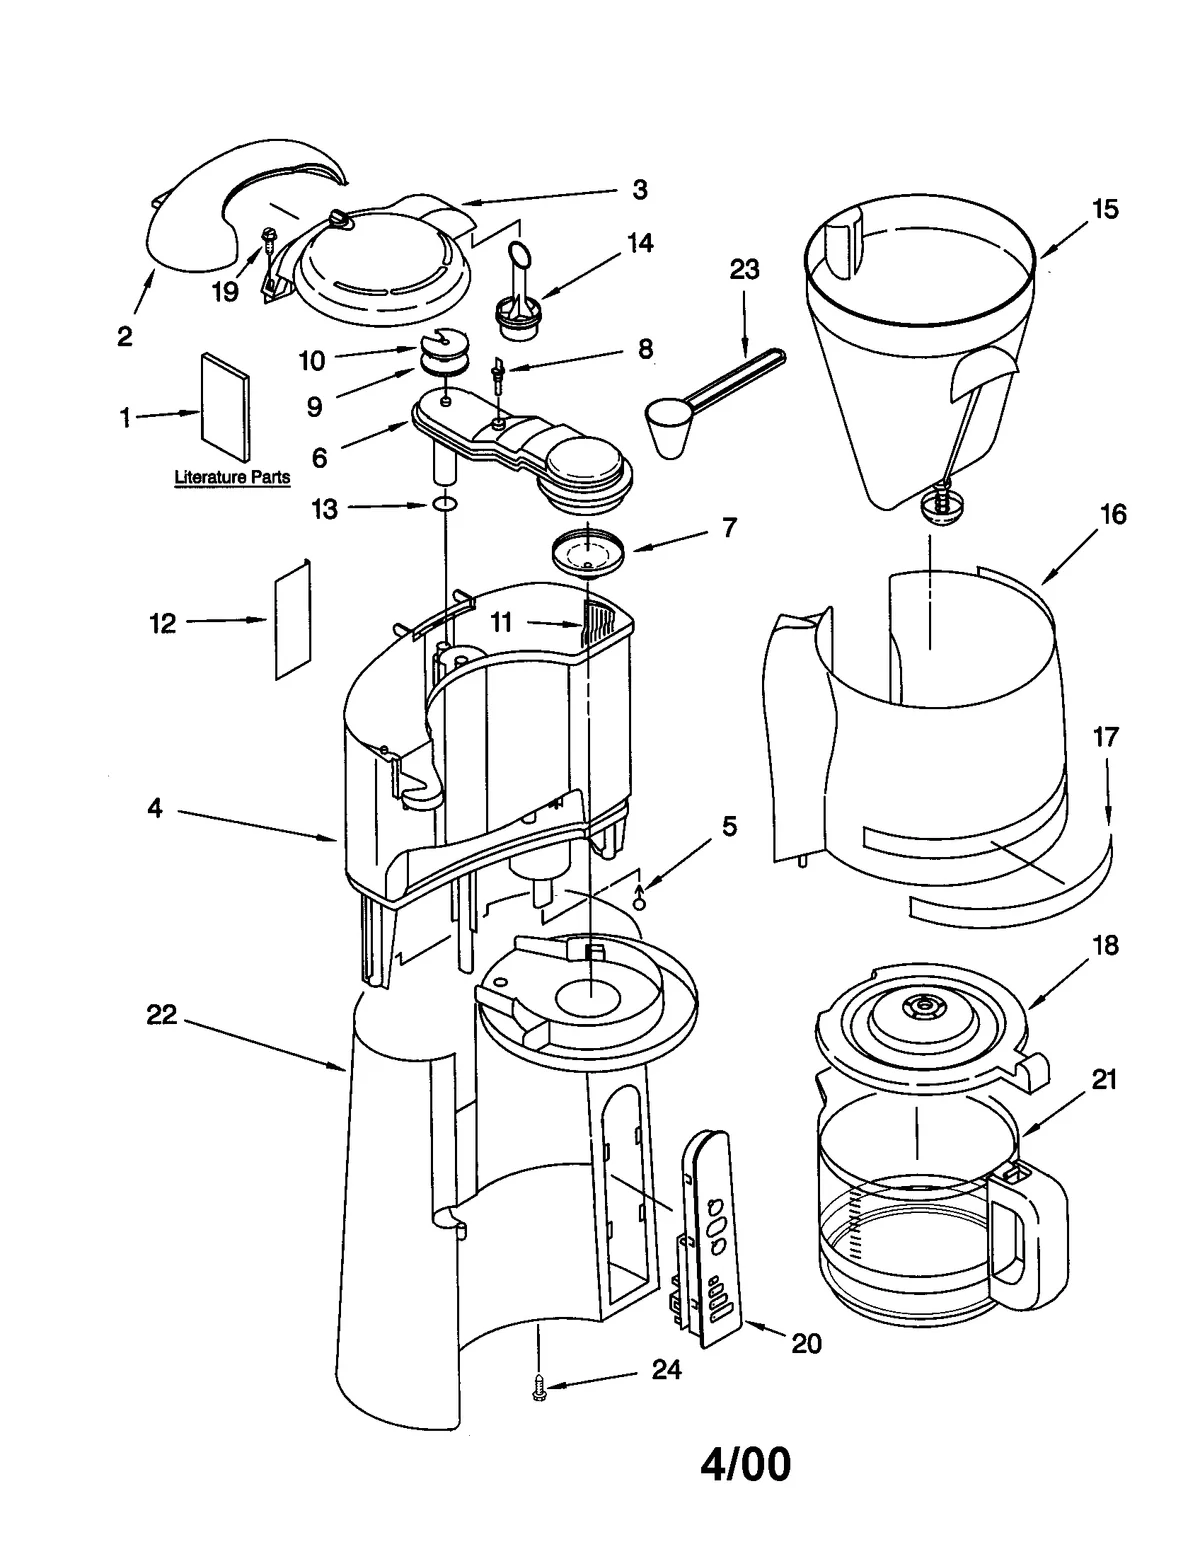
The golden rule is simple: store everything completely dry. Leave lids, caps, and plungers off or loosely placed so air circulates. Never pack a brewer away damp, even if it looks mostly dry on the surface.
Residual moisture inside filter baskets or under rubber seals creates ideal conditions for microbial growth within twenty-four hours.
Use breathable storage solutions instead of airtight containers. A mesh bag or cotton pillowcase lets air flow while keeping dust out. If you must use plastic bags for organization, leave them partially open or punch a few small vents.
Vacuum sealing coffee gear traps any lingering humidity and guarantees stale flavor and potential mold.
Separate components when possible. Store filters in their own small envelope or bag. Keep gaskets and O-rings in a labeled zip pouch.
This prevents loss and makes inspection easier before your next trip. Packing everything loose together leads to misplaced parts and last-minute scrambling.
Protect glass carafes from impact. Wrap them in a soft cloth or sleeve before placing them in your pack. Glass breaks easily when other gear shifts during transport.
Stainless steel and titanium brewers are more durable but still benefit from protective wrapping to prevent scratches on cooking surfaces.
Store your equipment in a cool, dry place away from direct sunlight. Heat accelerates degradation of silicone seals and plastics. UV rays break down polymers faster than ambient temperature alone.
A dedicated shelf in your garage or closet works better than leaving gear in a hot car or sunny tent vestibule.
Consider a small desiccant packet in your storage container for humid climates. Silica gel packets absorb ambient moisture and keep your gear drier during long storage periods. Replace or reactivate those packets according to manufacturer instructions before each season.
7. FAQs: Camping Coffee Maker Maintenance
How often should I deep clean my camping coffee maker?
Deep clean your camping coffee maker every one to three months during regular use. Frequency depends on water hardness and how often you brew. Hard water requires monthly descaling.
Soft water allows quarterly maintenance. Signs like bitter taste, slow flow, or visible scale mean you should deep clean immediately.
Can I use dish soap every day on my brewer?
Daily dish soap is unnecessary and may degrade silicone seals over time. Warm water alone removes fresh coffee residue effectively. Reserve soap for rinses after brewing anything besides black coffee, or during weekly deep cleans.
Thorough rinsing prevents soap film that traps odors and affects flavor.
What is the best descaling solution for camping brewers?
Food-grade citric acid is the safest and most effective descaling agent for most camping brewers. It removes mineral scale without harsh chemicals and rinses cleanly. White vinegar works but requires thorough neutralization to prevent off-flavors.
Avoid bleach entirely, as residual chlorine reacts with coffee compounds permanently.
How do I remove a stubborn clog in my percolator stem?
Soak the disassembled stem in warm descaling solution for thirty minutes. Then clear it with a pipe cleaner, flexible brush, or straightened wire coat hanger. Blow through the stem gently to dislodge loosened deposits.
If flow remains restricted after cleaning, replace the stem or entire unit, as mineral buildup inside aluminum threads is often permanent.
Should I replace my reusable filter after each trip?
Reusable metal and cloth filters do not need replacement after each trip if cleaned properly. Inspect them for thinning, holes, or warping before packing. Paper filters are single-use by design and should be replaced every brew.
As EPA guidelines on household water treatment note, maintaining clean filtration media prevents bacterial growth and ensures optimal brew quality.
How do I know when my silicone gasket needs replacing?
Pinch the gasket gently with your fingers. If it stays indented rather than springing back to shape, replace it immediately. Also look for cracks, flattening, or visible brittleness.
A compromised seal causes leaks, uneven extraction, and grounds escaping into your cup. Keeping spare gaskets on hand costs little and prevents trip disruptions.

Sophia Martinez is a culinary lifestyle writer and product reviewer for DiningGadgets.com. Passionate about blending style with functionality, she explores the latest dining essentials, kitchen décor, and cleaning hacks that transform everyday cooking spaces. With a background in home organization and design, Sophia brings readers expert advice on creating beautiful, practical kitchens that truly feel like the heart of the home.