

How to Clean Sticky Kitchen Walls: Quick & Easy Solutions
Sticky kitchen walls are one of the most common—and most frustrating—headaches for home cooks. That tacky, grimy layer near your stovetop, above your sink, or around your range hood doesn’t just make your kitchen feel dingy: over time, it can seep into paint, harbor bacteria, and even cause mold growth if left unaddressed. The good news? You don’t need harsh chemicals or hours of scrubbing to restore your walls to a fresh, clean state. This guide covers proven, wall-safe methods for every type of kitchen wall, from quick spot treatments to full deep cleans, plus simple habits to stop stickiness from coming back.
What Actually Makes Kitchen Walls Sticky?
Understanding the root cause of sticky walls makes cleaning easier and helps you prevent buildup long-term. Three core factors are almost always to blame:
Airborne Cooking Grease
When you fry, sear, sauté, or even cook at high heat, tiny lipid particles from cooking oils and fats release into the air. These particles settle on nearby walls, where they combine with airborne dust to form a thin, tacky greasy film. This buildup is most severe within 3 feet of your stovetop and range hood, where grease concentration is highest. Over time, layers of this film thicken, making walls feel sticky to the touch and attracting even more dirt. If you’re planning to repaint greasy kitchen walls after cleaning, proper degreasing first is non-negotiable for long-lasting results. You can also read our guide on how to clean greasy kitchen walls.
Food Splatter And Sugary Residues
Sauces, pancake batter, sugary drinks, and starchy cooking liquids often splatter onto walls during meal prep. When these residues dry, they form a sticky base that grabs grease and dust, creating a stubborn, hard-to-remove film. Sugary splatters are especially problematic, as they attract insects and bacteria if not cleaned quickly.
Humidity And Poor Ventilation
Steam from boiling water, running dishwashers, and hot cooking raises kitchen humidity levels. When this moisture combines with airborne grease and food particles on walls, it creates a damp, sticky surface that is far harder to clean. Kitchens without a vented range hood or adequate airflow are far more likely to develop persistent wall stickiness, as trapped moisture prevents grease from drying and being wiped away. You can also read our guide on how to clean kitchen wall grease.
Wallpaper is far more prone to sticky buildup than painted drywall, as its textured surface traps more grease and moisture over time. If you’re coordinating your kitchen refresh, pairing wall colors with beige cabinetry can make your space feel brighter while hiding minor residual grime.
Supplies You’ll Need (Wall-Safe And Budget-Friendly)
You don’t need specialty products to clean sticky kitchen walls effectively. Most of the supplies you need are already in your home, and all are safe for standard painted and wallpapered surfaces when used correctly. You can also read our guide on how to remove grease from walls in kitchen.
Gentle Cleaning Solutions
- Mild dish soap (e.g., Dawn): Formulated to cut through grease without stripping paint or wallpaper adhesive.
- Distilled white vinegar (5% household acidity): Breaks down greasy film, deodorizes, and is non-toxic.
- Baking soda: A gentle, pH-neutral abrasive that lifts stuck-on grime without scratching surfaces.
- 70% isopropyl rubbing alcohol: Perfect for spot-treating adhesive residue or ink stains.
- Optional: Commercial kitchen degreaser (look for labels stating "safe for painted walls" to avoid damage).
- Optional: Fresh lemon juice: Citric acid boosts grease-cutting power and leaves a fresh, clean scent.
Tools For Easy Application
- Lint-free microfiber cloths: Absorb dirt and moisture without leaving lint or scratches. For extra absorbency, our top-rated absorbent dish cloths work perfectly for wiping down walls.
- Soft cellulose sponge: Non-abrasive, ideal for scrubbing without damaging paint.
- Soft-bristled toothbrush: Reaches corners, baseboards, and grout lines easily.
- Spray bottle: For even, mess-free application of cleaning solutions.
- Bucket: For mixing cleaning solutions and holding rinse water.
- Rubber gloves and safety goggles: Protect skin and eyes from splashes, especially when using commercial cleaners.
- Drop cloths or old towels: Protect your flooring from drips and stains. For kitchen floors, a non-slip sink area rug can also catch small splatters during cleaning.
Safety Gear To Use
- Rubber gloves: Protect hands from irritation from cleaning solutions.
- Safety goggles: Shield eyes from splashes, especially when working above eye level.
- Face mask: Prevents inhaling fumes from commercial degreasers if you have respiratory sensitivities.
- Old clothes: Avoid staining your regular clothing with grease or cleaning product residue.
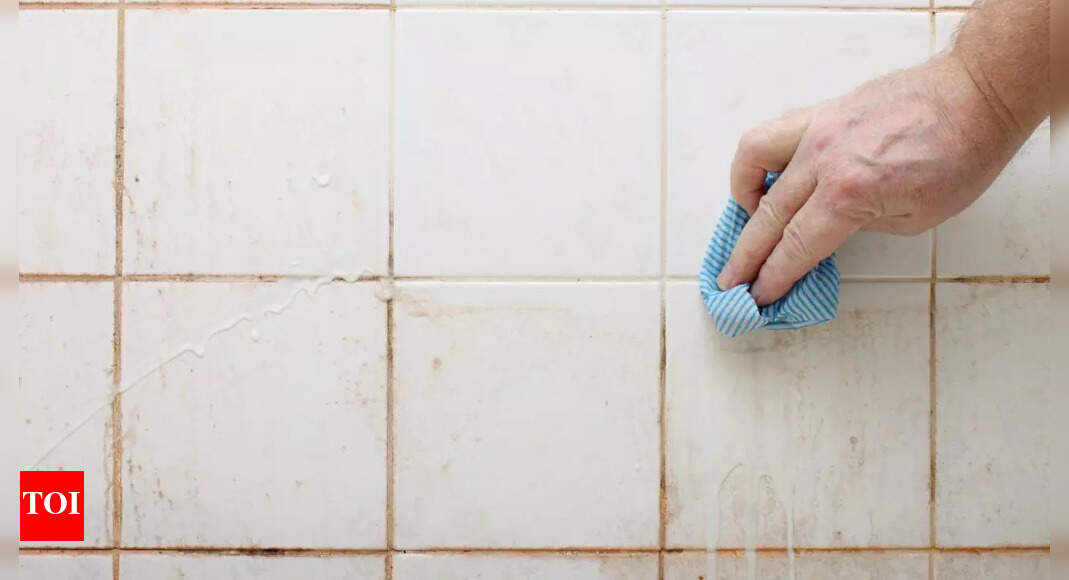 This gentle, grease-cutting solution works on most painted kitchen walls
Step-by-Step Cleaning Process For Every Wall Type
Skipping prep or using the wrong cleaning method can damage your walls or leave streaks. Follow these steps for spotless, undamaged results, whether you have painted drywall or wallpaper.
Prep Your Space First
A few minutes of prep saves you time and avoids mess later:
- Move all furniture, appliances, and rugs at least 2–3 feet away from the walls you’re cleaning.
- Lay drop cloths or old towels along the base of the wall to catch drips and protect your flooring.
- If you have outlets or light switches near the work area, turn off power to the circuit at your breaker and cover outlets with plastic outlet covers to avoid water damage.
- Open windows or turn on your range hood for ventilation, especially if you’re using commercial cleaners.
- Put on rubber gloves to protect your skin from cleaning solution irritation.
If you’re cleaning the area behind your kitchen sink, removing a wall mounted faucet first will let you clean behind it thoroughly before resealing or repainting. You can also read our guide on how to regrout kitchen wall tiles.
Cleaning Painted Drywall
Painted walls are the most common kitchen wall type, and they respond well to gentle cleaning:
- First, dust the entire area with a dry microfiber cloth or soft duster to remove loose dust and debris. Skipping this step will just spread dirt around when you wet clean.
- Mix your cleaning solution: for light stickiness, use 1 gallon of warm water + 1 tsp mild dish soap + ¼ cup distilled white vinegar. For heavy, long-standing grease, bump the recipe up to 2 tbsp dish soap + ½ cup vinegar per gallon of water.
- Test the solution on a small, hidden spot (e.g., behind a cabinet) to ensure it doesn’t discolor your paint. For persistent grease stains on kitchen walls, let the solution sit for an extra 1–2 minutes before scrubbing.
- Apply the solution to the wall with a soft sponge or spray bottle, working in 2×2 foot sections to avoid drying. Our top-rated gentle dish sponges are gentle enough for painted walls and don’t scratch surfaces.
- Let the solution sit for 1–2 minutes on stubborn sticky spots to break down grease—don’t scrub immediately, as this can spread the grime.
- Gently scrub the wall in circular motions with the sponge, using a soft-bristled toothbrush for corners, baseboards, and textured walls.
Cleaning Wallpapered Walls
Wallpaper requires extra care to avoid damaging its adhesive or surface:
- Skip vinegar and abrasive cleaners, as their acidity and grit can peel wallpaper or fade patterns.
- Mix 1 tsp mild dish soap per gallon of warm water.
- Dampen a microfiber cloth with the solution, then wring it out almost completely so it is barely damp to the touch.
- Wipe the wallpaper in straight, gentle lines—never rub, as this can lift the wallpaper adhesive.
- For stubborn spots, dab a cotton ball dipped in the solution directly onto the stain, then blot with a dry cloth.
Rinsing And Drying Properly
Soap residue will attract new dirt and leave streaks if left on walls, so rinsing is a critical step:
- After cleaning a section, wipe it immediately with a clean, damp microfiber cloth to remove all soap residue.
- Dry the wall with a second dry, lint-free drying cloth to prevent water spots and mineral streaks from hard water.
- Let walls air dry completely for 1–2 hours before moving furniture back to avoid trapping moisture against the wall, which can cause mold growth. Once dry, you can decorate your kitchen walls with art, shelves, or other decor without worrying about sticky residue attracting dust.
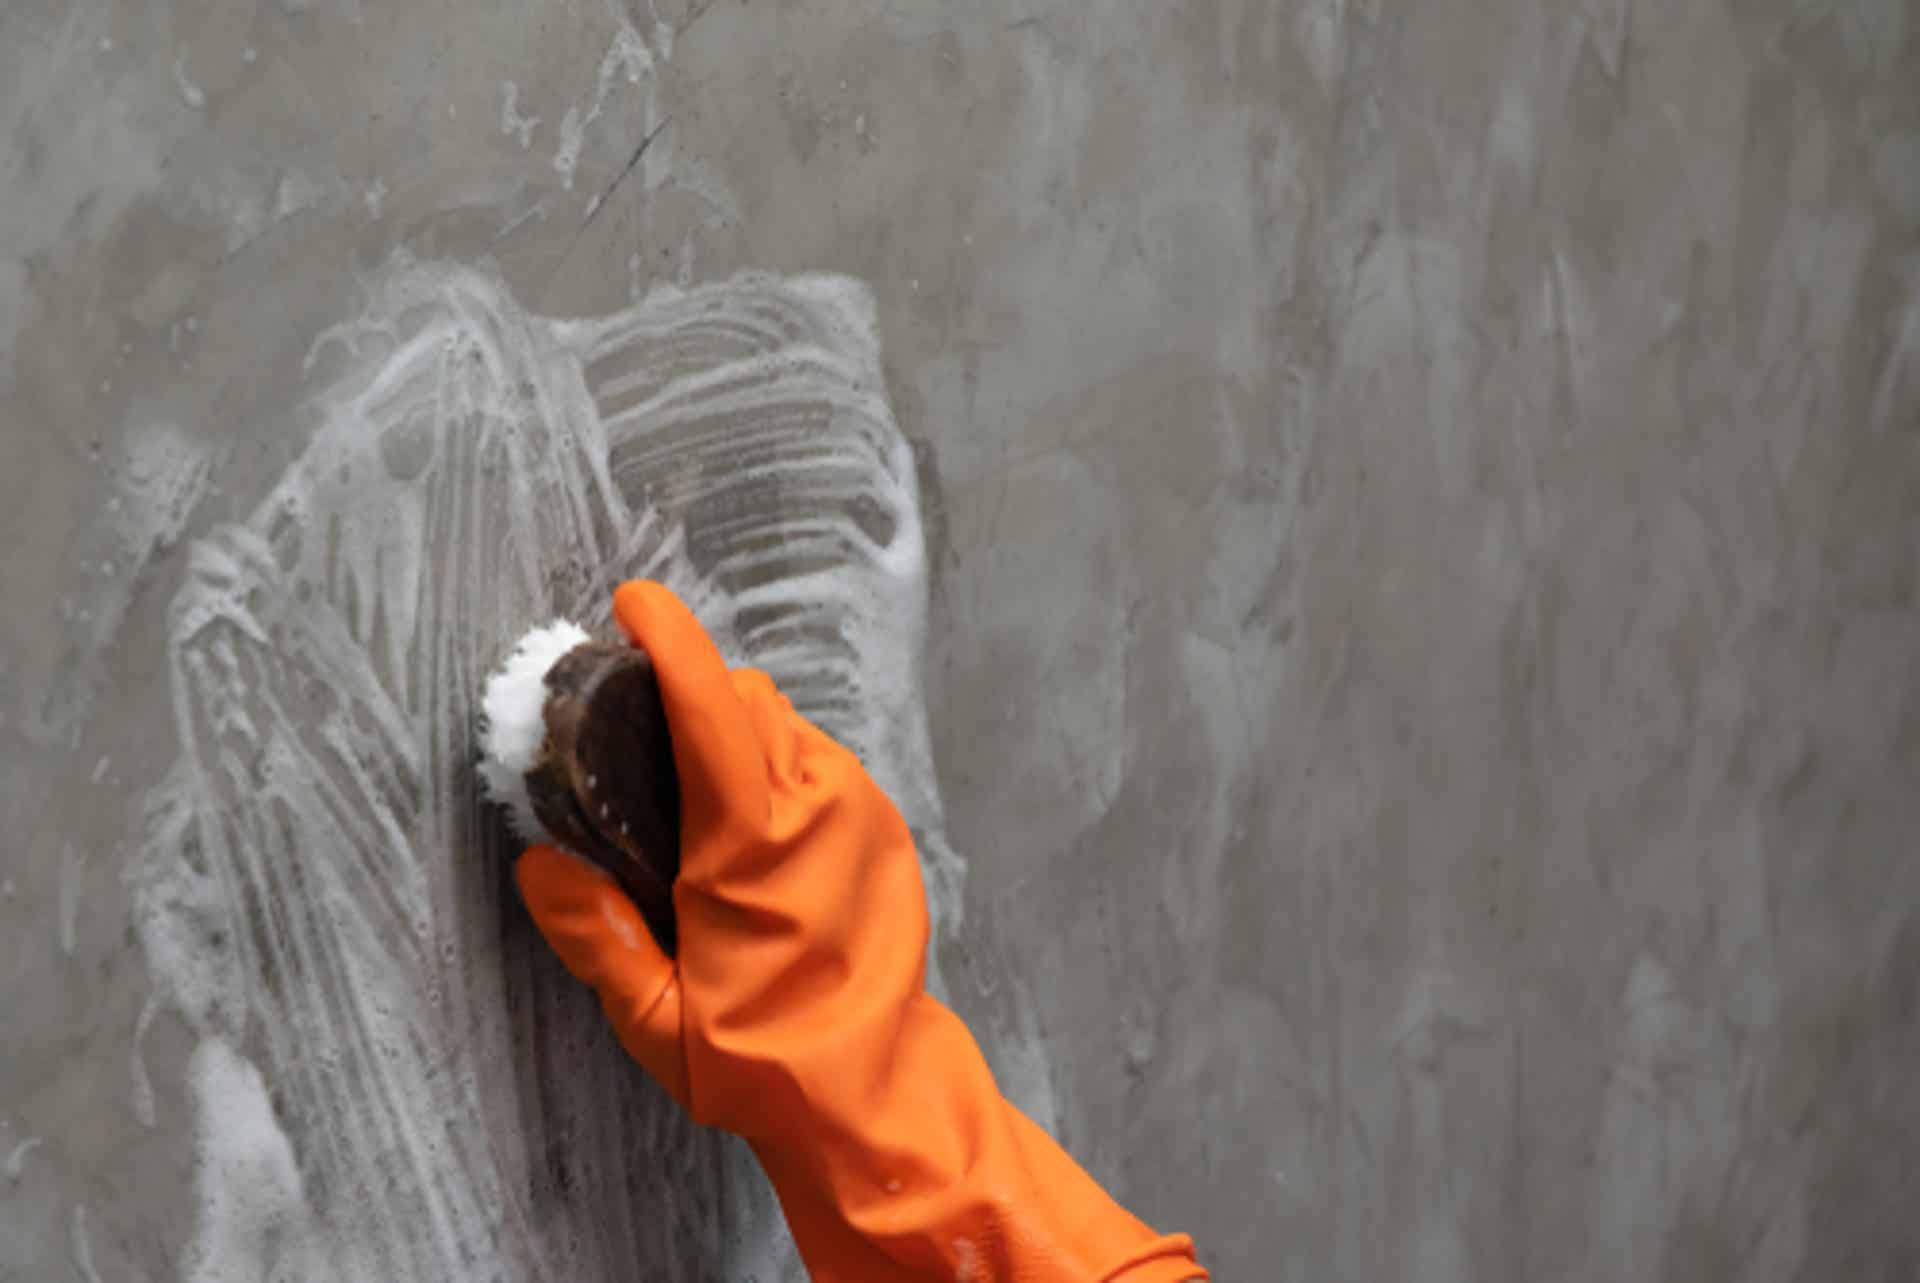 Gentle scrubbing with a soft sponge avoids scratching painted wall surfaces
Image source: Reddit r/Cooking
Gentle scrubbing with a soft sponge avoids scratching painted wall surfaces
Image source: Reddit r/Cooking
Quick Fixes For Common Sticky Hot Spots
Some areas of your kitchen accumulate stickiness far faster than others. These targeted fixes will tackle even the most stubborn buildup without extra elbow grease:
Stove Adjacent Walls And Range Hood Areas
This is the most grease-prone area in your kitchen. For light stickiness, use the standard vinegar dish soap solution and let it sit for 2 minutes before scrubbing. For caked-on, months-old grease, make a thick paste of baking soda and warm water, apply it to the stain, let it sit for 5 minutes, then gently scrub with a soft-bristled brush before rinsing. This method works well for oil stains on kitchen walls from small cooking splatters.
Above The Kitchen Sink
These walls face constant splashes of soapy water, food grease, and moisture, making them prone to both stickiness and mold. Use the standard vinegar solution to clean, then dry thoroughly with a microfiber cloth after rinsing. For small mold or mildew spots (from persistent moisture), mix 1 part bleach with 10 parts water, apply with a sponge, let sit for 5 minutes, then rinse completely. Only use this solution on painted walls, and test a hidden area first, as bleach can discolor paint and damage wallpaper. After cleaning, you can adjust cabinet hinges if you’re adding new shelves or decor near the sink to avoid scuffing your freshly cleaned walls. You can also read our guide on what colour walls for a white kitchen.
Adhesive Residue And Stuck-On Grime
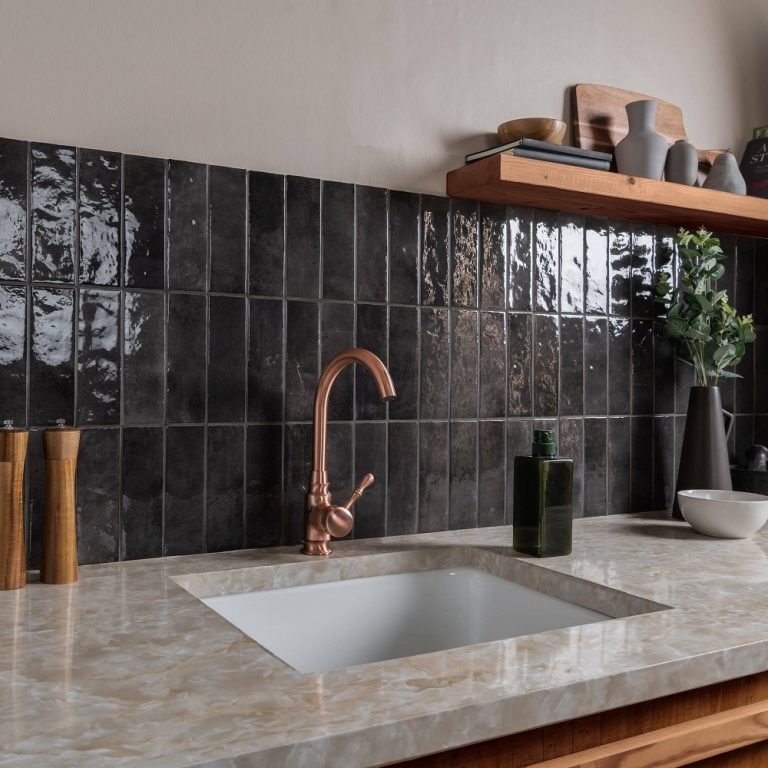
Stickers, tape, or dried-on sugary spills (like jam or honey) leave behind stubborn sticky residue. Dab a cotton ball with 70% isopropyl rubbing alcohol, rub the residue gently, then wipe the area with soapy water and rinse. For extra-stubborn adhesive, let the alcohol sit on the spot for 1–2 minutes before rubbing to loosen the bond. For glazed tile walls, the same method works for cleaning kitchen wall tiles easily without damaging the surface.
Natural Vs. Commercial Cleaners: Which Should You Use?
Both natural and commercial cleaners can effectively remove sticky kitchen walls, but each has trade-offs depending on your needs:
Natural Cleaning Solutions
Natural options like vinegar, baking soda, dish soap, and lemon juice are non-toxic, fume-free, and safe for households with children or pets. They work well for light to moderate stickiness and regular maintenance, and cost a fraction of commercial products. The only downside is they may require more scrubbing for heavy, long-standing grease buildup that has set for months or years. You can also read our guide on best non slip chair pads.
Commercial Kitchen Degreasers
Commercial degreasers are formulated to cut through heavy, caked-on grease quickly, reducing the amount of scrubbing needed. They are ideal for walls that haven’t been cleaned in 6+ months or for commercial kitchen spaces with frequent heavy cooking. The trade-offs are that many have harsh fumes, can damage paint or wallpaper if not labeled safe for those surfaces, and may leave chemical residue if not rinsed thoroughly. Always test commercial degreasers on a hidden spot first, and follow product instructions carefully.
Long-Term Prevention To Keep Walls From Getting Sticky Again
Cleaning your walls is only half the battle. These simple, low-effort habits will stop stickiness from building up in the first place, cutting down on how often you need to deep clean:
Weekly Maintenance Wipes
The easiest way to prevent sticky buildup is to wipe down your walls once a week with a damp microfiber cloth dipped in warm, soapy water. Focus on areas within 3 feet of your stovetop, above your sink, and around your range hood, where grease and splatters land most often. If you cook 3+ times a week, doing a quick 2-minute wipe-down 2–3 times a week will stop grime from hardening into sticky residue. You can also read our guide on how to clean oil grease from kitchen wall.
Optimize Kitchen Ventilation
Airborne grease and moisture are the top causes of sticky walls, so proper ventilation is non-negotiable. Run your range hood 5 minutes before you start cooking and leave it on for 10–15 minutes after you finish to pull out grease and steam. Vented range hoods (which exhaust air outside, rather than just recirculating it) remove up to 90% of airborne cooking pollutants, per EPA indoor air quality guidance. If your current range hood only recirculates air, consider upgrading to a vented model for long-term improvement. Opening windows while cooking on high heat can also boost airflow. If you need to install a new vent, installing a wall vent is a straightforward DIY project for most homeowners.
Use Protective Wall Coatings
If you’re repainting your kitchen walls, choose a scrubable, satin or semi-gloss paint labeled for kitchen and bath use. These formulations have a higher sheen that repels grease and moisture far better than flat or matte paint, making wipe-downs faster and more effective. For existing painted walls, you can apply a clear, water-based sealant to create a barrier against grease and splatters—just test a hidden spot first to ensure it doesn’t discolor your current paint. If you’re focused on protecting sink area walls, a bead of clear silicone caulk around the sink edge can also prevent water damage and stickiness. You can also read our guide on how to clean kitchen grease off walls.
Reduce Splatter During Cooking
Simple habits during meal prep can cut down on wall mess drastically: use a splatter guard when pan-frying or sautéing to catch airborne grease particles, avoid overfilling pots when boiling to reduce steam, and wipe up any spills on the wall as soon as they happen, before they dry and harden. If you host frequent dinner parties or make homemade wine, you’ll want to keep beginner-friendly winemaking kits on hand for low-mess, consistent results, so you don’t have to deal with sticky grape or wine spills as often. For larger-scale or commercial kitchen spaces, commercial winemaking equipment often leads to more frequent grease and sugar splatters, so weekly wall wipes are even more important to prevent buildup. You can also read our guide on how to clean kitchen grease off painted walls.
Natural cleaning solutions like vinegar and dish soap are non-toxic and safe for homes with children or pets, per EPA Safer Choice guidance. You can also read our guide on how to decorate kitchen wall tiles.
Frequently Asked Questions
How often should I deep clean my kitchen walls?
For homes where you cook 3+ times a week, deep clean your walls every 3–4 months. For lighter cooking (1–2 times a week), a deep clean every 6 months is enough. Weekly quick wipe-downs will extend the time between deep cleans significantly, especially if you use wall colors that hide minor grime well, like grey kitchen wall tones for busy spaces. You can also read our guide on how to clean kitchen walls for painting.
Can I use bleach to clean sticky kitchen walls?
Only for mold or mildew spots on painted walls, and only after testing a hidden area first. Bleach can discolor paint and dissolve wallpaper adhesive, so never use it as an all-purpose cleaner for greasy sticky residue. When you do use it, dilute 1 part bleach with 10 parts water, wear gloves, and rinse the area thoroughly after 5 minutes of sit time. If you’re cleaning walls before prepping walls for paint, avoid bleach entirely, as it can prevent new paint from adhering properly. You can also read our guide on kitchen apron for women cotton.
Will cleaning sticky walls damage my paint?
Not if you use gentle, non-abrasive cleaners and avoid harsh scrubbing. Always test any new cleaning solution on a hidden spot behind a cabinet first, and never use steel wool or scouring pads, which can scratch paint. Flat or matte paint is more prone to staining than satin or semi-gloss, so take extra care when cleaning walls with these finishes. You can also read our guide on how to paint wall tiles in kitchen.
What should I do if stickiness returns immediately after cleaning?
This almost always means you didn’t rinse off all soap residue, or there is still a thin layer of grease left on the wall. Rinse the area again with clean water, dry thoroughly, and make sure you’re using your exhaust fan while cooking to reduce new grease buildup. If the stickiness is on wallpaper and persists after cleaning, the issue may be failing adhesive behind the wallpaper, which requires replacing the affected sections. You can also read our guide on what to use to clean grease off kitchen walls.
Can I use a steam cleaner on sticky kitchen walls?
Yes, but only on sealed painted walls—never use a steam cleaner on wallpaper or unsealed drywall, as excess moisture can cause peeling or mold growth. Use a low-heat setting, hold the steam cleaner 6–8 inches away from the wall, and wipe the area with a dry cloth immediately after steaming to avoid water damage. Steam is a great low-scrub option for breaking down heavy grease, but oversaturating the wall can cause long-term damage. You can also read our guide on how to fix a leaking wall mounted kitchen faucet.
Conclusion
Cleaning sticky kitchen walls doesn’t have to be a time-consuming, harsh chore. With the right gentle cleaners, a simple step-by-step process, and small prevention habits, you can keep your walls spotless for months at a time. Always test new cleaners on hidden spots first, avoid abrasive scrubbing tools to protect your paint, and add a quick weekly wipe-down to your cleaning routine to stop buildup before it starts. If you’re planning a larger kitchen refresh after tackling the grime, our guides to pairing wall colors with green cabinetry and matching wall hues to brown cabinetry can help you create a cohesive, inviting space you’ll love spending time in. You can also read our guide on best cloth napkins for everyday use.




One Comment