How to Get Rid of Grease Stains on Kitchen Walls: Easy & Fast Tips
That sticky, yellowish residue splattered behind your stovetop or above the sink doesn’t just make your kitchen look dull—it’s a breeding ground for bacteria if left unaddressed. Grease stains are one of the most common kitchen cleaning headaches, but you don’t need harsh chemicals or hours of scrubbing to banish them for good. In this guide, we’ll break down exactly where these stains come from, step-by-step removal methods for every level of buildup, and simple prevention tips to keep your walls clean for months to come.
What Causes Grease Stains on Kitchen Walls?
Grease buildup isn’t a sign of a messy kitchen—it’s an inevitable byproduct of cooking, even for home chefs who only cook a few times a week. Understanding where these stains come from makes it easier to remove them and stop them from coming back. You can also read our guide on how to clean kitchen walls grease.
Common Cooking Culprits
Grease on kitchen walls comes from a mix of intentional and accidental sources during cooking. The most common contributors include:
- Hot oil splatters from frying, sautéing, or searing meat, which can travel 2–3 feet from the cooktop
- Grease-laden steam from boiling, braising, or using a slow cooker, which carries tiny oil particles into the air
- Accidental contact with greasy utensils, fingers, or food packaging after handling oily ingredients
- Splashes when transferring food from pans to plates or draining grease from cookware
The area within a foot of your stovetop and range hood sees the vast majority of kitchen grease buildup, which is why those spots get stained first.
Why Grease Clings to Wall Surfaces
Even smooth, matte interior paint is slightly porous, so tiny oil particles seep into the surface rather than sitting on top where they can be wiped away easily. Grease is also hydrophobic, meaning it repels water—so plain water won’t break down the sticky residue, and scrubbing without a degreaser will just spread the oil around. Warm air from cooking keeps grease particles airborne longer, giving them more time to settle into porous wall surfaces. Poor ventilation makes this problem far worse: without proper exhaust, grease particles linger in the kitchen and settle on every surface, not just the area around the stove.
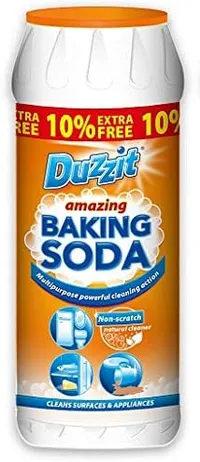 Fresh grease splatters behind a stovetop are easiest to remove when treated within 24 hours.
Credit: www.realhomes.com
Fresh grease splatters behind a stovetop are easiest to remove when treated within 24 hours.
Credit: www.realhomes.com
Essential Supplies for Wall-Safe Grease Removal
You don’t need expensive specialty products to remove grease stains—most of the supplies you need are already in your kitchen. The key is choosing gentle, non-abrasive options that won’t damage paint, wallpaper, or drywall.
Gentle Household Cleaners
These non-toxic options break down grease without harsh chemicals:
- Mild dish soap (like Dawn): Cuts through oily residues without stripping paint
- White distilled vinegar: Acetic acid breaks down grease and deodorizes stale cooking smells
- Baking soda: A mild abrasive that lifts stains without scratching surfaces
- Lemon juice: Natural acidity boosts cleaning power and cuts through sticky residue
- Warm (not hot) water: Dissolves cleaning agents without warping drywall
Avoid bleach-based cleaners, as they can yellow light-colored paint over time and won’t effectively dissolve grease. For natural stone backsplashes (marble, granite), skip vinegar entirely, as its acidity can etch the surface.
Tools That Won’t Damage Your Walls
The right tools make cleaning faster and prevent accidental damage to your wall finish:
- Soft cellulose sponge: Cleans without scratching paint or wallpaper
- Lint-free microfiber cloths: Trap grease and absorb moisture without leaving fibers behind
- Spray bottle: Applies cleaning solutions evenly without over-saturating walls
- Soft-bristle toothbrush: Reaches grout lines, outlet edges, and crown molding
- Plastic putty knife: Scrapes thick, caked-on grease without nicking paint
Always test any cleaner or tool in an inconspicuous spot (like behind the refrigerator) first to check for discoloration or paint peeling. Having these essentials ready helps you tackle even set-in grease-stained painted surfaces without scrubbing off your finish.
Step-by-Step Methods to Remove Grease Stains
The best cleaning method depends on how long the stain has been sitting on your wall. Start with the gentlest option first to avoid damaging your wall finish.
Fresh Grease Stains (Under 24 Hours Old)
Fresh splatters are by far the easiest to remove, often requiring no scrubbing at all:
- Blot any excess wet grease with a paper towel first—never rub, as this pushes oil deeper into porous paint
- Mix 1 tsp mild dish soap with 2 cups warm water in a spray bottle
- Spray the stain lightly, let sit for 2 minutes to break down the grease
- Wipe with a damp microfiber cloth, rinsing the cloth frequently to avoid spreading grease
- Dry the area with a clean towel to prevent water spots
Most fresh splatters will lift completely with this method in under 5 minutes.
Set-In Grease Stains (Weeks to Months Old)
For stains that have had time to seep into paint, use one of these targeted solutions:
- Vinegar degreaser: Mix equal parts white vinegar and warm water, spray on the stain, let sit 5 minutes (don’t let it dry), then wipe clean with a damp cloth. Repeat for stubborn spots.
- Baking soda paste: Mix 3 parts baking soda with 1 part water to form a thick paste, apply to the stain, let sit 10 minutes, then gently rub in circular motions with a soft sponge before wiping clean.
- Commercial kitchen degreaser: For stains that don’t respond to homemade solutions, opt for a food-safe, EPA Safer Choice certified kitchen degreaser to avoid harsh chemical residue near food prep areas. Spray on, let sit per package directions, wipe clean, then rinse with warm water to remove leftover residue.
Caked-On, Years-Old Grease Buildup
Thick, sticky buildup behind the stove or above the sink that has accumulated over years of cooking will require more heavy-duty methods:
- Steam cleaning: Use a handheld steam cleaner set to low heat for painted walls. Hold the nozzle 6 inches from the wall, move slowly over the stain, and wipe away dissolved grease with a microfiber cloth as you go. Avoid holding the nozzle in one spot, as high heat can cause paint to bubble.
- Trisodium phosphate (TSP) solution: For unpainted drywall or very tough stains on painted walls (test first!), mix 1/4 cup TSP with 1 gallon of warm water. Wear rubber gloves, apply with a sponge, let sit 5 minutes, scrub gently, then rinse thoroughly with clean water and dry completely. Never use TSP on wallpaper or delicate paint finishes, as it can cause discoloration.
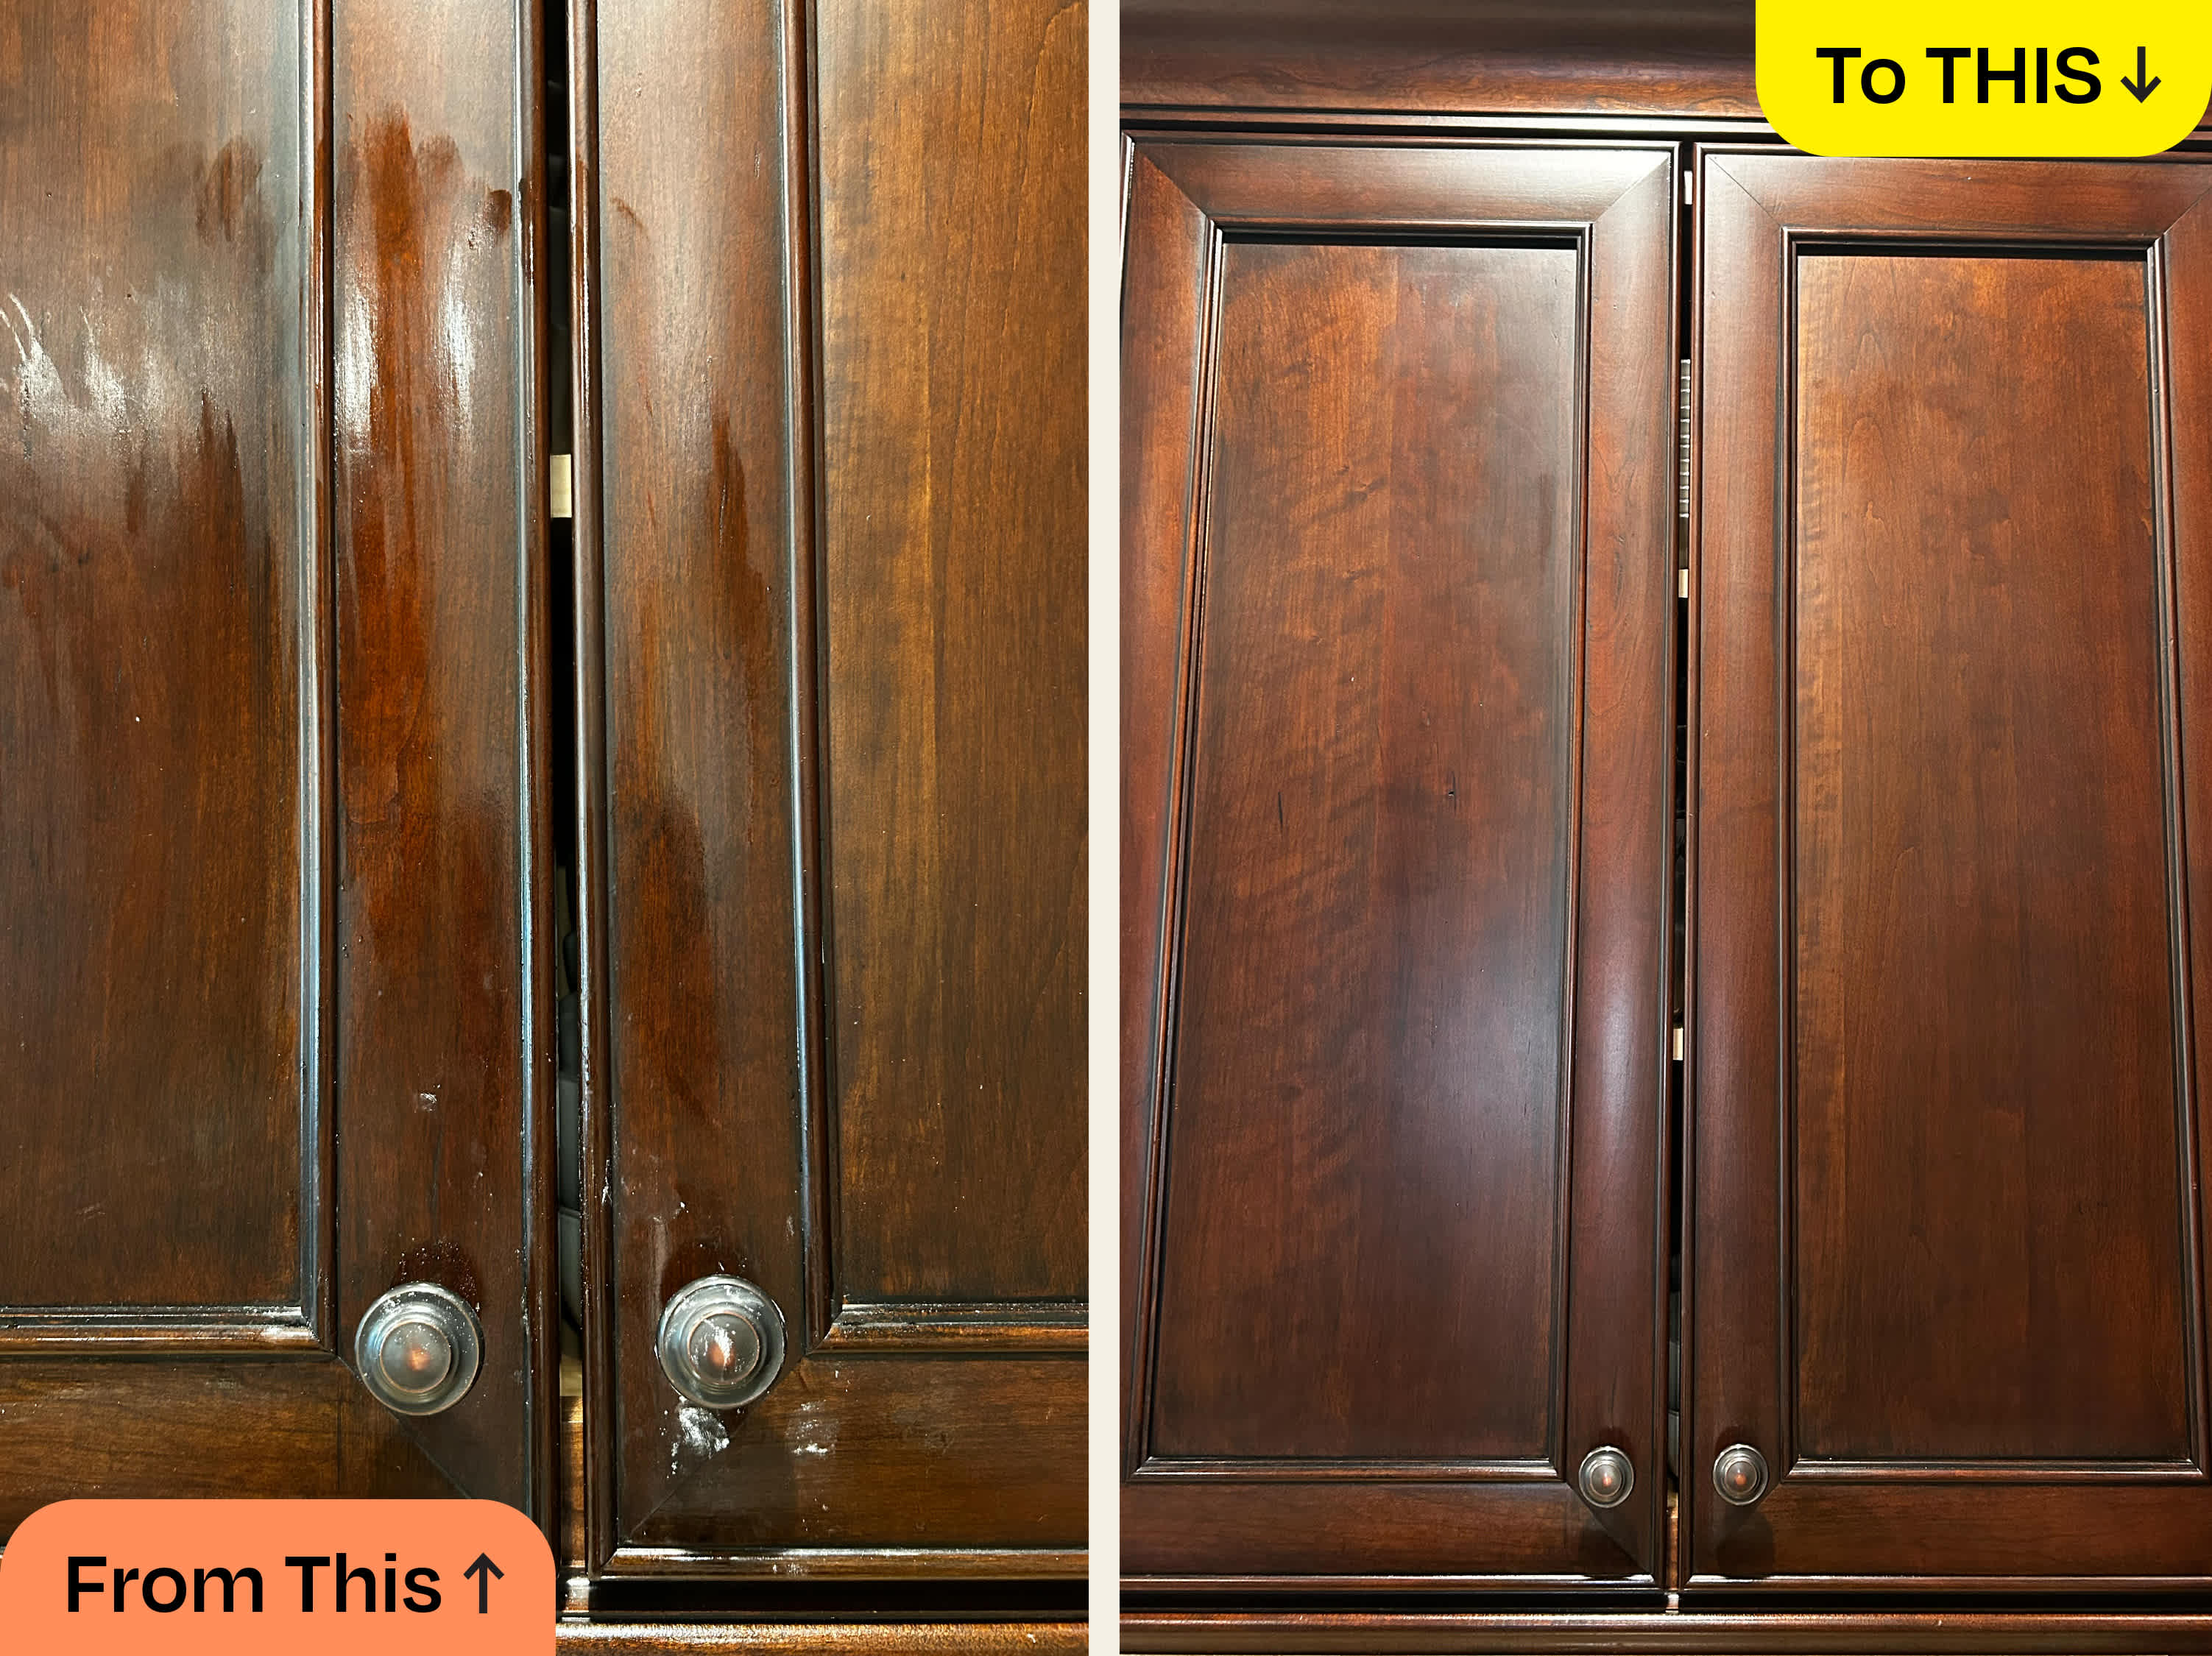 A soft sponge and mild dish soap are all you need for most fresh grease stains.
Credit: www.thekitchn.com
A soft sponge and mild dish soap are all you need for most fresh grease stains.
Credit: www.thekitchn.com
How to Prevent Future Grease Stains on Kitchen Walls
Preventing grease buildup is far easier than removing set-in stains. These small changes will cut down on your cleaning work drastically.
Optimize Your Kitchen Ventilation
A properly vented range hood that exhausts grease and moisture outside (rather than just recirculating air) captures the vast majority of airborne grease particles before they can settle on walls. To make the most of your ventilation:
- Run the exhaust fan for 10–15 minutes after cooking ends to clear residual grease and steam
- Clean range hood filters monthly with hot soapy water to keep them working efficiently
- If you don’t have a vented hood, place a small window fan facing outward while cooking to pull grease-laden air outside
Add Protective Wall Coatings
If you’re repainting your kitchen soon, choose a washable, semi-gloss or satin paint formulated for kitchens and bathrooms. These non-porous finishes repel grease, so splatters wipe right up with a damp cloth. For existing walls, apply a clear, food-safe matte sealer to high-splash zones (behind the stovetop, above the sink) to create a barrier that prevents grease from seeping into paint.
Adopt Simple Daily Habits
The easiest way to prevent tough stains is to wipe away splatters before they set in:
- Wipe down the wall behind your stove and sink with a damp microfiber cloth after every cooking session—this takes 30 seconds and prevents fresh grease from bonding to paint
- Keep a small spray bottle of diluted dish soap solution under your sink for quick touch-ups of small splatters
- Install a tile, stainless steel, or glass backsplash in high-splash areas: these non-porous surfaces wipe clean in seconds, no scrubbing needed
Preventing future grease buildup is the easiest way to maintain long-term wall cleanliness without spending hours scrubbing each week.
When to Repaint Instead of Clean
If you’ve scrubbed the same spot 3+ times and the stain is still visible, or if the paint is peeling, chipping, or has a sticky residue even after cleaning, repainting is your best long-term solution. Before repainting, you must remove all grease first—paint will not adhere to a greasy surface, and will peel within months if applied over leftover residue. Scrub the entire wall with a TSP solution (if appropriate for your surface), rinse, let dry completely, then apply a stain-blocking primer to seal any remaining grease and old stains, then paint with a kitchen-grade washable finish.
If you’re choosing a new wall color to complement your existing cabinetry, our guides to pairing walls with green kitchen cabinets and matching walls to brown kitchen cabinets make picking a low-maintenance, cohesive shade simple.
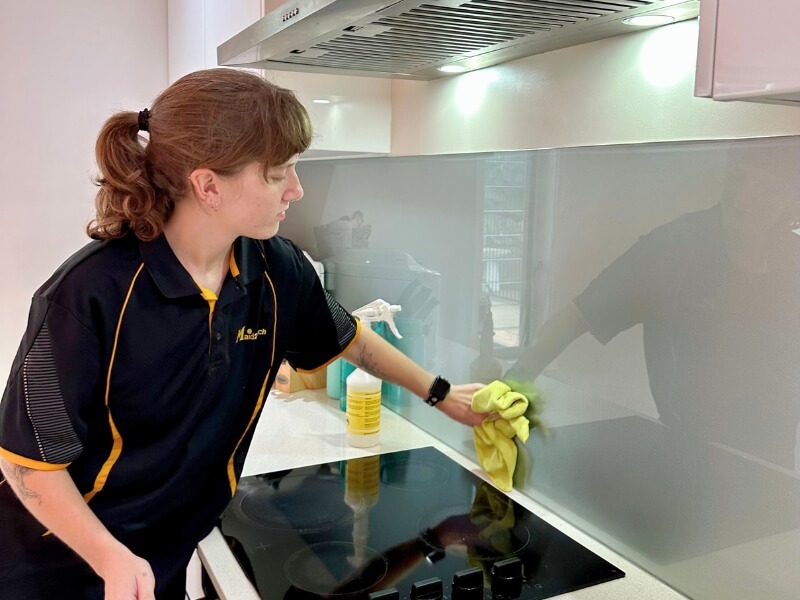 Caked-on grease behind the stove may require steam cleaning or a TSP solution for full removal.
Credit: www.maid2match.com.au
Caked-on grease behind the stove may require steam cleaning or a TSP solution for full removal.
Credit: www.maid2match.com.au
Frequently Asked Questions
Can I use bleach to remove grease stains from kitchen walls?
No. Bleach can yellow white or light-colored paint over time, and it won’t break down grease effectively, as grease is hydrophobic and bleach is designed for disinfecting rather than dissolving oily residues. Stick to dish soap, vinegar, or kitchen-specific degreasers for safe, effective results.
Will magic erasers remove grease stains from painted walls?
Magic erasers (melamine foam) are mildly abrasive, so they can remove light grease stains, but scrubbing too hard will wear through paint over time. Test in an inconspicuous spot first, and use light pressure only. For painted walls, stick to soft sponges and mild cleaners to avoid permanent damage.
How do I remove grease stains from kitchen wallpaper?
Avoid water-based cleaners on non-washable wallpaper, as they can cause peeling or discoloration. For washable wallpaper, mix 1 tsp dish soap with 1 cup warm water, dab (don’t rub) the stain with a soft cloth, then blot dry with a clean towel. For non-washable wallpaper, use a grease-specific dry cleaning solvent (test first) or consult a professional to avoid damage.
Can steam cleaning damage painted kitchen walls?
No, as long as you use low heat and hold the steam nozzle at least 6 inches away from the wall. High-heat steam can cause paint to bubble or peel, so always test on a hidden area first, and avoid holding the nozzle in one spot for too long.
How often should I clean my kitchen walls to prevent grease buildup?
Wipe down high-splash zones (behind the stove, above the sink) with a damp cloth after every cooking session to prevent fresh splatters from setting in. Do a deeper clean with a vinegar solution once a month to remove any residual grease before it builds up. If you’re planning a kitchen refresh, make sure to complete proper prepping walls for fresh paint to avoid peeling and ensure your new finish lasts for years.
Conclusion
Grease stains on kitchen walls are an inevitable part of cooking, but they don’t have to be a permanent eyesore. Start with the gentlest cleaning method first—mild dish soap and warm water—before moving to stronger solutions like vinegar or degreasers for set-in stains. Always test cleaners in an inconspicuous spot first to avoid damaging your wall finish, and pair spot cleaning with daily quick wipes and proper ventilation to prevent buildup from starting in the first place. If stains have penetrated the paint or caused peeling, repainting with a kitchen-grade washable paint is a long-term solution that will save you hours of scrubbing down the line. Tackling sticky grease residue as soon as you see it keeps your kitchen walls clean and prevents permanent staining over time.
Ready to restore your kitchen’s fresh, clean look? Grab your supplies and tackle that first splatter today—you’ll be amazed at how fast you can get your walls looking like new.