How are Kitchen Cupboards Attached to Wall: Expert Installation Tips
Understanding how kitchen cupboards are secured to walls is critical for DIY renovators, new homeowners, and anyone looking to update their kitchen storage safely. Improper mounting is the leading cause of cabinet failures, including sagging, misaligned doors, and even full collapses that can damage property and cause injury. This guide breaks down the mounting anatomy, step-by-step installation processes, wall-specific requirements, and expert tips to ensure your cupboards stay secure for decades, no matter what they hold.
Core Mounting Anatomy: What Holds Your Cupboards to the Wall
Every secure kitchen cupboard installation relies on a few core components working together, rather than a single screw or bracket. For wall-mounted cabinets, the primary load-bearing element is the hanging rail: a reinforced 1/2-inch plywood or metal bar pre-installed by the manufacturer along the top back edge of the cabinet. This rail distributes the full weight of the cabinet and its contents across the mounting points. For base cabinets, a horizontal wooden mounting cleat attached to the wall supports the top of the cabinet, with additional screws driving through the back panel into wall studs to prevent pulling away. Tall pantry or appliance cabinets use a combination of wall screws and floor anchoring to resist tipping, especially when doors are opened fully. Shims (thin plastic or cedar wedges) are placed between the cabinet back and the wall during installation to level uneven surfaces without compressing over time. If you’re updating your cabinet finish as part of a renovation, pairing the right wall paint can make your new installation look seamless — check our guide to coordinating wall finishes for a fresh, cohesive look.
Common Kitchen Cupboard Types and Their Unique Mounting Requirements
Each style of kitchen cupboard has slightly different mounting needs based on its weight, height, and intended use:
Wall-Mounted Cabinets
These upper cupboards hang above countertops with no floor contact, so they rely entirely on the hanging rail and stud-mounted screws for support. Per National Kitchen and Bath Association (NKBA) guidelines, standard mounting height places the bottom of the cabinet 18 inches above the countertop, leaving enough clearance for food prep. Most wall cabinets hold 50–75 pounds per linear foot when properly mounted to studs; overloading with heavy cast iron cookware or bulk dry goods can cause sag over time.
Base Cabinets
These floor-mounted units support countertops and store heavy pots, pans, and small appliances. They are secured to the wall via a mounting cleat or screws through the back panel into studs, and connected to adjacent base cabinets with cabinet screws to create a rigid, unified unit that distributes weight evenly. Most base cabinets have adjustable feet that can be leveled with shims before securing to the wall, preventing wobble.
Tall Pantry and Appliance Cabinets
These floor-to-ceiling or near-ceiling units house ovens, refrigerators, or bulk storage. They require both wall mounting (screws through the back panel into studs) and floor anchoring (screws through the cabinet base into subfloor) to prevent tipping. For units over 6 feet tall, many manufacturers recommend adding a diagonal support brace from the top of the cabinet to the wall stud for extra stability.
 These wall cabinets are mounted flush to the ceiling, requiring precise stud alignment and shorter mounting hardware.
Credit: www.reddit.com
These wall cabinets are mounted flush to the ceiling, requiring precise stud alignment and shorter mounting hardware.
Credit: www.reddit.com
How to Identify Your Wall Type for a Secure Mount
The material of your kitchen wall dictates what fasteners and anchors you need, as well as the maximum weight your cabinets can hold. Using the wrong hardware for your wall type is one of the most common causes of cabinet failure.
Drywall (Most Common in Modern Homes)
Standard 1/2-inch drywall has no structural strength on its own, so you cannot rely on it to hold cabinet weight alone. All mounting screws must drive directly into the wooden wall studs behind the drywall, which are typically spaced 16 or 24 inches apart horizontally. For areas between studs where you need extra support (like for a long cabinet run), use heavy-duty toggle bolts rated for at least 50 pounds each. A common DIY mistake is using short drywall screws that only penetrate the drywall, not the stud, leading to sag within 1–2 years.
Plaster and Lath (Common in Homes Built Before 1950)
Plaster is denser and more brittle than drywall, with a wood lath backing behind it. Driving screws directly into plaster can cause cracking and crumbling, so always locate the studs or lath behind the plaster first. If you cannot hit a stud, use specialized plaster anchors that expand behind the lath for a secure hold; avoid standard plastic drywall anchors, as they will pull out of the soft plaster backing.
Brick, Concrete, and CMU Walls
Masonry walls are extremely strong but require specialized tools and fasteners. You will need a hammer drill with a masonry bit to drill pilot holes, then use masonry screws (like Tapcon) or sleeve anchors to secure the cabinet mounting rail. These fasteners create a permanent, vibration-resistant hold ideal for heavy cabinet loads. Always drill into the mortar joints between bricks or blocks, not the brick itself, to avoid cracking the masonry. For warm wood or neutral cabinet tones, our tips for matching wall tones to cabinet finishes help avoid clashing and make your space feel larger, even if you’re working with uneven plaster or drywall.
Step-by-Step Expert Kitchen Cupboard Installation Process
Most homeowners searching for this guidance want actionable, step-by-step instructions they can follow themselves. This process works for all standard wall and base cabinet installations:
- Pre-Installation Prep: First, remove all doors, shelves, and hardware from the cabinets to reduce weight and prevent damage. If you’re replacing existing cabinets, remove old fixtures first — our guide to removing old fixtures first walks you through disconnecting plumbing and electrical components safely. Mark all wall stud locations with a pencil, and use a 4-foot spirit level to draw a faint horizontal line where the bottom of your wall cabinets will sit, ensuring consistent height across the entire run.
- Install the Mounting Rail (if required): Many wall cabinets come with a pre-installed hanging rail, but if yours does not, attach a 1×3 or 1×4 wood cleat to the wall, aligned with your marked studs, using 3-inch wood screws. This rail will support the full weight of the cabinet while you secure it.
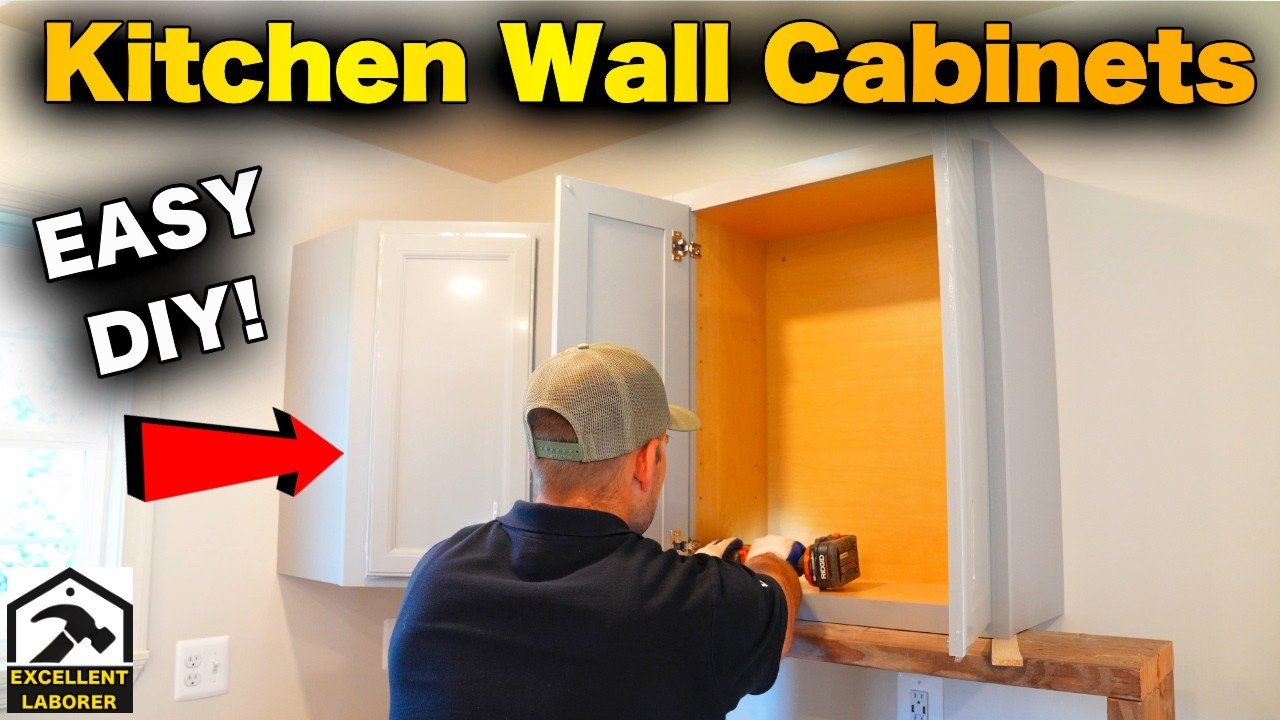
- Hang the Cabinet: Lift the cabinet onto the mounting rail or hanging brackets, aligning it with your level line. Have a helper hold the cabinet in place while you drive 2.5–3 inch wood screws through the hanging rail into the wall studs. Do not fully tighten the screws yet, so you can adjust the cabinet for level.
- Level and Shim: Place your 4-foot spirit level across the top and bottom of the cabinet to check for horizontal and vertical alignment. If the cabinet is uneven, slide thin plastic or wooden shims between the back of the cabinet and the wall to adjust it. For long cabinet runs, level each cabinet individually, then check the entire run for evenness across all units.
- Secure and Connect Cabinets: Once level, fully tighten all mounting screws. Connect adjacent cabinets together using cabinet screws through the side panels, creating a rigid, unified unit that distributes weight evenly across all studs. This prevents individual cabinets from pulling away from the wall under load.
- Reattach Doors and Shelves: Once all cabinets are mounted and connected, reattach doors and shelves, adjusting hinge pins as needed to ensure doors align perfectly and close smoothly.
 Brackets linking adjacent cabinets eliminate gaps and distribute weight evenly across the wall.
Credit: www.reddit.com
Brackets linking adjacent cabinets eliminate gaps and distribute weight evenly across the wall.
Credit: www.reddit.com
For detailed, research-backed installation guidance from university extension experts, the University of Minnesota’s home improvement resource outlines best practices for cabinet mounting across all common wall types, including masonry and plaster.
Essential Tools and Materials for a Professional-Grade Install
Skipping the right tools leads to misaligned cabinets, stripped screws, and unstable mounts. Stock your toolkit with these essentials before starting:
- Cordless drill/driver with hammer drill setting: For drilling pilot holes in wood, drywall, and masonry. A hammer drill is required for brick or concrete walls to break through the hard material.
- 4-foot spirit level: Longer levels are more accurate for checking horizontal alignment across long cabinet runs.
- Electronic stud finder: Look for a model that detects both wood/metal studs and live electrical wires to avoid accidental drilling into plumbing or wiring.
- 3-inch premium wood screws: Use these for mounting into wood studs; avoid drywall screws, as they are brittle and prone to snapping under heavy load.
- Wall anchors: Keep a mix of heavy-duty toggle bolts (for drywall between studs), plastic anchors (for light loads in plaster), and masonry sleeves (for brick/concrete) on hand.
- Shims: Thin plastic or cedar shims are ideal for leveling, as they won’t compress over time like cardboard.
- Cabinet screws and connecting brackets: For joining adjacent cabinets together and securing base cabinets to wall cleats.
- Tape measure and pencil: For marking stud locations, level lines, and cabinet placement before drilling.
Critical Safety and Stability Best Practices
Proper mounting is about more than just getting cabinets to stay up — it’s about preventing accidents and ensuring long-term durability. Follow these expert tips:
Prioritize Stud Mounting Over Drywall Anchors
While heavy-duty toggle bolts can hold 50+ pounds each in drywall, mounting directly to wall studs is far more reliable, especially for heavy cabinets or high-traffic kitchens. In practice, most DIYers underestimate how much wall movement occurs in standard wood-framed homes over time — even small shifts from temperature changes or minor settling can loosen drywall anchors, leading to sag or collapse.
Distribute Weight Evenly
Avoid storing all heavy items (like cast iron skillets, canned goods, or small appliances) in one area of the cabinet. Spread weight across shelves and multiple cabinets to avoid putting excess stress on a single mounting point. For base cabinets holding heavy appliances like stand mixers or toaster ovens, add a secondary mounting screw through the cabinet back into a stud directly below the appliance.
Secure Cabinets for Child Safety
The U.S. Consumer Product Safety Commission (CPSC) identifies unsecured heavy cabinets as a top cause of home tip-over injuries, making proper mounting a critical safety step for households with children or pets. Always use anti-tip brackets or additional wall screws for tall cabinets, even if they feel stable on their own.
Check for Clearance
When mounting wall cabinets, leave at least 18 inches of clearance between the bottom of the cabinet and the countertop for food prep, per NKBA guidelines. For cabinets mounted under wall-mounted range hoods, leave the clearance recommended by the hood manufacturer to avoid fire hazards.
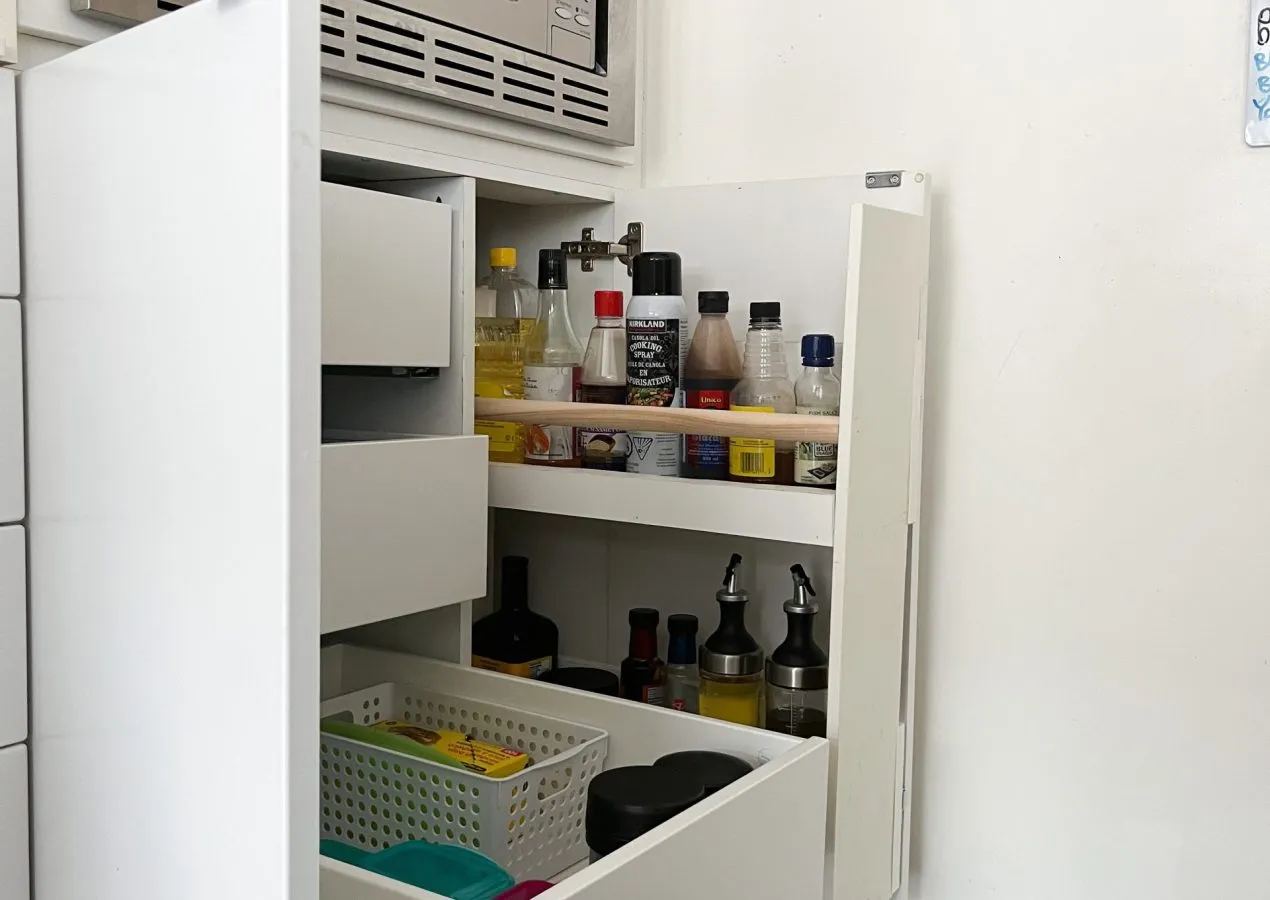 Proper leveling and stud attachment prevent sagging and ensure doors align correctly.
Credit: hanashappyhome.com
Proper leveling and stud attachment prevent sagging and ensure doors align correctly.
Credit: hanashappyhome.com
Common Installation Mistakes to Avoid
Even experienced DIYers make these errors, which can lead to costly repairs or safety hazards down the line:
- Skipping stud location checks: Never assume drywall can hold cabinet weight on its own. Even heavy-duty anchors can fail over time if the cabinet is overloaded. Always use a stud finder to locate studs, and mark their positions clearly before drilling.
- Using incorrect fasteners: Drywall screws are not rated for structural loads, and masonry screws will not grip wood studs properly. Match your screws and anchors to both your wall material and the weight of your cabinets.
- Not pre-drilling pilot holes: Drilling screws directly into hardwood cabinet frames or masonry walls can split the wood or crack the wall. Always drill a pilot hole slightly smaller than the screw diameter first.
- Overlooking wall unevenness: Even seemingly flat walls have small bumps or slopes. Skipping shims will lead to misaligned doors and uneven weight distribution, causing cabinets to pull away from the wall over time.
- Overtightening mounting screws: Tightening screws too much can strip the wood of the stud or crack the cabinet hanging rail, reducing holding power. Tighten screws until the cabinet is snug against the wall, but do not overcompress any shims.
Long-Term Maintenance to Keep Cabinets Secure
Proper maintenance will extend the life of your cabinet installation and catch small issues before they become major problems:
- Inspect fasteners every 6 months: Use a screwdriver to check for loose mounting screws, bracket bolts, or cabinet connector screws. Tighten any that feel wobbly, and replace any rusted or damaged fasteners immediately.
- Check for sag annually: Place a level across the top of your wall cabinets every 6–12 months to check for sagging. If you notice a drop of more than 1/8 inch, re-tighten the mounting screws or add additional screws into nearby studs for extra support.
- Avoid hanging heavy items on cabinet doors: Hanging pot racks, heavy decor, or even wet dish towels on cabinet doors puts extra stress on the hinges and mounting points, leading to loosening over time. Use dedicated wall hooks for heavy items instead.
- Address wall movement promptly: If you notice new cracks in plaster or drywall around your cabinets after a minor earthquake, home renovation, or extreme temperature change, inspect the mounting screws to ensure they are still fully secured to the studs.
Frequently Asked Questions
Can I mount kitchen cupboards without studs?
Yes, but only for light-duty wall cabinets holding minimal weight (like decorative dishware or glassware). Use heavy-duty toggle bolts rated for at least 50 pounds each, spaced no more than 12 inches apart along the mounting rail. For base cabinets, tall pantries, or any cabinet holding heavy appliances or cookware, mounting directly to studs is required for safety.
How high should wall kitchen cupboards be mounted?
Standard mounting height places the bottom of the wall cabinet 18 inches above the countertop, which puts the top of the cabinet roughly 90 inches from the floor for standard 36-inch countertops. This height keeps commonly used items within easy reach while leaving enough clearance for food prep. For households with shorter or taller users, adjust this height by 2–3 inches as needed.
Do I need a professional to install kitchen cupboards?
For standard wall and base cabinets in good condition, DIY installation is achievable for most homeowners with basic tool experience. However, hire a professional if you are working with uneven walls, masonry, or very heavy custom cabinets, as improper installation can lead to costly damage or injury.
Can I mount cupboards on plaster walls without finding studs?
While specialized plaster anchors can hold light loads, mounting to the wood lath or studs behind plaster is far more reliable. Plaster is brittle and can crack easily if overloaded, so always prioritize hitting a stud or lath backing for any cabinet holding more than 20 pounds.
How much weight can kitchen cupboards hold?
Weight limits vary by manufacturer and mounting method, but standard wall cabinets hold 50–75 pounds per linear foot when mounted to wall studs, and 20–30 pounds per linear foot when mounted only with drywall anchors. Base cabinets typically hold 100–150 pounds per shelf when properly secured to both the wall and floor. Always check your cabinet’s user manual for specific weight limits.
Conclusion
Securely attaching kitchen cupboards to the wall comes down to three core principles: mounting directly to wall studs whenever possible, using hardware matched to your wall type, and taking the time to level and connect cabinets properly for even weight distribution. By following the step-by-step process and best practices outlined above, you can avoid common DIY pitfalls and ensure your cabinets stay safe, sturdy, and functional for decades. If you’re planning a full kitchen refresh alongside your cabinet installation, pairing the right wall paint with your new cabinet finish can completely transform the space. Check our guides to coordinating wall finishes with green kitchen cabinets or matching wall tones to brown kitchen cabinets for design inspiration that complements your new secure storage.

Sophia Martinez is a culinary lifestyle writer and product reviewer for DiningGadgets.com. Passionate about blending style with functionality, she explores the latest dining essentials, kitchen décor, and cleaning hacks that transform everyday cooking spaces. With a background in home organization and design, Sophia brings readers expert advice on creating beautiful, practical kitchens that truly feel like the heart of the home.