How to Remove Kitchen Cabinets Without Damaging Wall: Easy Steps
Upgrading your kitchen doesn’t have to include a pricey drywall repair bill afterward. Most wall damage from cabinet removal is completely avoidable with the right prep, tools, and slow, deliberate work—no professional experience required. Whether you’re reusing old cabinets, prepping for a full remodel, or just clearing out outdated fixtures, this guide walks you through every step to lift cabinets without cracking drywall, tearing paint, or damaging wall studs. For a standard 10×10 kitchen, the full process takes 2 to 4 hours, and the only special skill needed is patience.
Pre-Removal Prep: Set Yourself Up for a Scratch-Free Job
Assess Your Cabinet Mounting Type
Before you grab a pry bar, identify how your cabinets are attached to the wall, as this changes how much force you’ll need to apply. The three most common mounting styles are:
- Direct-to-stud: The most common setup for kitchens built before 2010, with 2 to 4 screws per cabinet driven directly through the cabinet back into wall studs. These require gentle prying to avoid pulling screws out of studs and tearing drywall.
- French cleat: A metal or wood rail is screwed to the wall studs, and the cabinet hangs on the rail via a matching cleat on the cabinet back. These lift straight up once mounting screws are removed, with minimal prying needed.
- Adhesive-mounted: Common for budget or rental-friendly cabinets, with construction adhesive behind the cabinet back instead of (or in addition to) screws. These require extra caulk cutting and low-heat softening to avoid ripping drywall paper off the wall. Knowing your mounting type upfront helps you adjust your prying force and avoid unnecessary wall stress.
Clear and Protect Your Workspace
Start by emptying every upper and lower cabinet, removing all dishes, small appliances, and pantry items to a separate room. Unplug all under-cabinet lighting, range hoods, and any small appliances wired into the cabinet area to avoid electrical hazards. You can also read our guide on how to remove grease stains from painted kitchen walls. Next, protect your floors and adjacent walls:
- Lay 1/4-inch plywood sheets under drop cloths in front of lower cabinets to prevent floor dents from heavy cabinet units.
- Apply 2-3 layers of painter’s tape along the top edge of the wall where it meets the cabinet backs, then cover adjacent walls with foam padding if cabinets are within 6 inches of shared surfaces.
- If your kitchen has heavy grease buildup on kitchen walls around cabinet edges, wipe it down with a kitchen degreaser first to improve tape adhesion and prevent dust from sticking during removal. For stubborn tough grease stains on painted walls behind cabinets, apply a paste of baking soda and water before taping to prevent stains from seeping through new paint later.
Lead Paint Safety for Pre-1978 Homes
If your home was built before 1978, it may contain lead-based paint under newer layers. Disturbing this paint during cabinet removal can create toxic lead dust that poses serious health risks. Follow EPA lead-safe work practices for pre-1978 homes to seal off the work area with plastic sheeting, use a HEPA vacuum for dust collection, and wear a NIOSH-approved respirator instead of a basic dust mask. Avoid sanding or dry-scraping painted surfaces to minimize dust generation.
Essential Tools and Safety Gear (No Unnecessary Gadgets)
Having the right tools on hand eliminates the need for risky workarounds that damage walls. Skip the fancy gadget kits—you only need these core items:
Tool Checklist
- Drill with screwdriver bits: A cordless drill with Phillips and flat-head bits speeds up fastener removal; a magnetic bit set helps retrieve screws from hard-to-reach spots.
- 1/4-inch thin pry bar: Thicker pry bars put too much pressure on drywall; a thin bar slides behind cabinet molding without gouging.
- 12-inch putty knife: Wider blades distribute pressure better than small putty knives when prying cabinet edges.
- Utility knife: For cutting caulk, paint seals, and cabinet scribe molding without chipping drywall.
- Stud finder: Marks stud locations so you know where to expect mounting screws, and can avoid drilling into empty drywall space later.
- 2×4 scrap wood blocks: Place between the pry bar and cabinet to distribute pressure and avoid denting cabinet finishes.
- Magnetic screw pickup tool: Retrieves dropped screws from behind cabinets without fumbling with your hands. Most cabinets are secured with 2 to 2.5-inch wood screws sized for standard wall studs; if you’re replacing cabinets later, confirm you have correct cabinet mounting screws on hand to avoid mismatched hole sizes.
Safety Gear
Don’t skip protective gear, even for short jobs:
- Work gloves to avoid splinters from old wood cabinets and sharp metal edges.
- Safety glasses to shield eyes from drywall dust and falling debris.
- A NIOSH-approved respirator (not just a dust mask) for pre-1978 homes with lead paint.
- Knee pads for lower cabinet removal work.
- A back support belt if you’re lifting heavy lower cabinet units.
Step 1: Remove Cabinet Doors, Drawers, and Hardware First
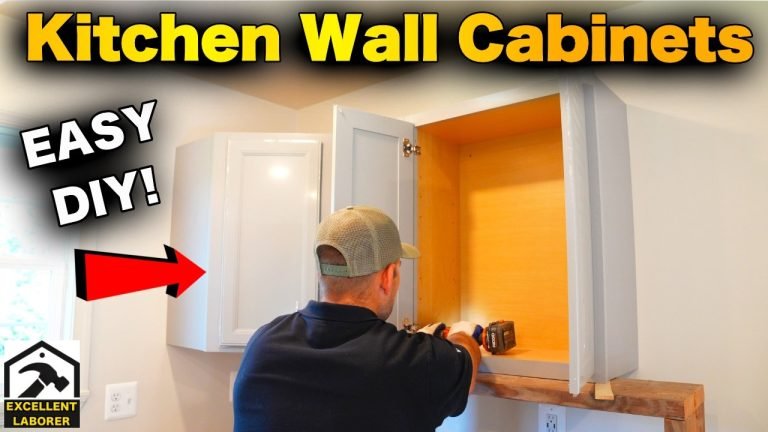
Removing all movable cabinet components first reduces overall weight by 30 to 50 pounds per cabinet, making them far easier to handle without scraping walls. Work from top to bottom to avoid dropping items:
- Open each cabinet door fully, then use a screwdriver or drill to remove hinge screws. For European-style clip hinges, press the small release clip on the hinge arm to detach the door without unscrewing. Take a quick photo of hinge placement before removal if you plan to reuse the doors later.
- For drawers, fully extend each one, then locate the small plastic release tabs on the drawer slides (usually on both sides of the slide). Press both tabs simultaneously to free the drawer, then pull it out completely. For soft-close slides, you may need to pull the drawer out 2 inches before pressing the release tabs to avoid breaking the slide mechanism.
- Remove all handles, knobs, and drawer slides, and store them in a labeled plastic bag to avoid losing small parts. Set all removed components on a soft blanket or drop cloth in a separate room to keep them out of your work area.
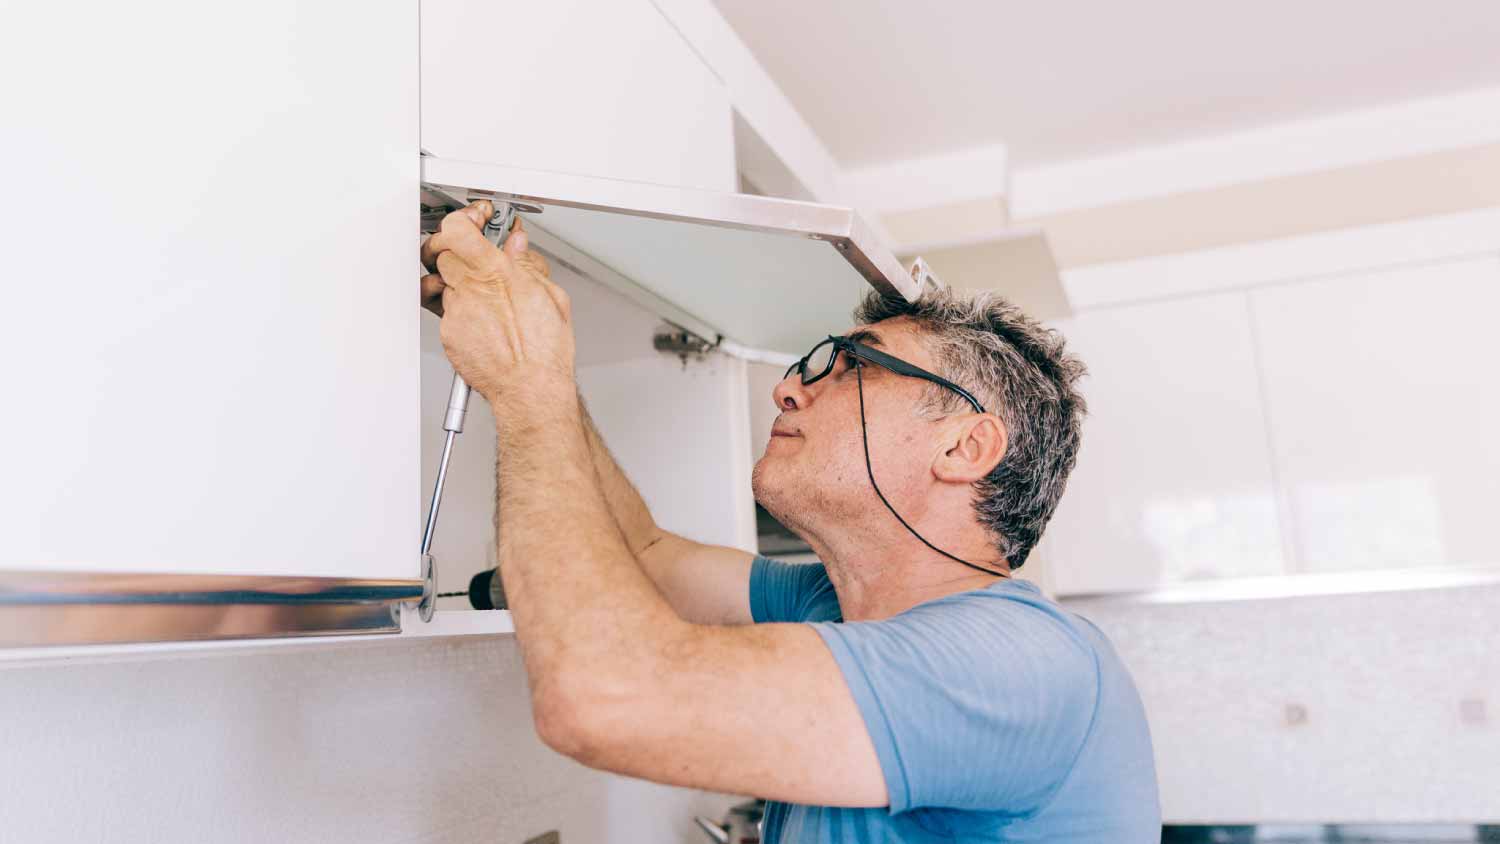 Removing all doors and hardware first reduces cabinet weight and prevents wall scraping during removal.
Image source: www.angi.com
Removing all doors and hardware first reduces cabinet weight and prevents wall scraping during removal.
Image source: www.angi.com
Step 2: Shut Off Utilities to Avoid Accidents
Cutting power and water supply before you start prevents electrical shocks, leaks, and water damage to your walls during removal:
- Locate your home’s main electrical panel and flip the breaker for the kitchen area to the “off” position. Don’t forget to turn off dedicated circuits for under-cabinet lighting, range hoods, and garbage disposals. Use a non-contact voltage tester to confirm power is off before touching any wires.
- Turn off shutoff valves under the sink or near the kitchen’s water entry point (turn clockwise to close). If your home doesn’t have local shutoffs, turn off the main water supply for the house. Place a bucket and towels under any exposed pipes to catch residual water when disconnecting plumbing.
- If you have a wall-mounted kitchen faucet behind your sink, disconnect it and cap the water lines before starting; our guide to removing wall-mounted faucets walks through that process step-by-step.
Step 3: Locate and Remove All Mounting Fasteners
Missing even one hidden fastener can cause you to pull drywall off the wall when prying the cabinet loose. Fasteners are almost always spaced 16 inches apart (matching standard wall stud spacing) and hidden in three common spots:
- Along the top and bottom edges of the cabinet back, often behind a thin scribe molding that covers the gap between the cabinet and wall.
- Inside the cabinet interior, along the back panel.
- Behind hinge plates or drawer slide brackets. Use a stud finder to mark stud locations on the wall first, so you know exactly where to expect screws. If screw heads are painted over, use a utility knife to scrape the paint away first to avoid stripping the screw with your drill bit. A magnetic screw pickup tool makes it easy to retrieve screws from behind cabinets without fumbling with your hands. For nails (common in older homes), use a claw hammer to gently tap them out from the back of the cabinet, or use a pry bar to lift the nail head without pulling drywall.
Step 4: Loosen Cabinets From the Wall Without Gouging Drywall
Ripping a cabinet off the wall without breaking the caulk or paint seal is the #1 cause of preventable drywall damage. Follow these steps for a clean separation:
- Run a sharp utility knife along the entire edge of the cabinet where it meets the wall, cutting through caulk, paint, and old adhesive. You may need to run the knife along the edge 2 to 3 times to cut through thick, layered paint.
- Insert the thin pry bar behind the cabinet frame at one corner, placing a 2×4 scrap wood block between the pry bar and the cabinet to distribute pressure and avoid denting the cabinet finish.
- Gently tap the pry bar with a hammer, working just 1/4 inch at a time along the entire edge of the cabinet to break the seal. For adhesive-mounted cabinets, use a heat gun on a low setting to soften the adhesive before prying, to avoid pulling drywall paper off the wall.
- Once the cabinet is loose along the entire edge, you should be able to pull it away from the wall with minimal force.
A thin pry bar and wood block prevent drywall gouging when prying cabinets from studs.
Image source: www.diychatroom.com
Step 5: Safely Lift and Remove Cabinet Units
Once the cabinet is fully loose from the wall, lift it carefully to avoid scraping adjacent walls or dropping heavy units:
- For upper cabinets: Have a partner hold the cabinet steady while you remove the last mounting screw, then lift the cabinet straight up (don’t twist it, as this can pull drywall screws out of studs). Carry it out of the room away from walls to avoid scratching paint.
- For lower cabinets: Pull the cabinet forward 1 inch to free it from the toe-kick, then lift the base off the floor before moving it. If the cabinet is heavier than 50 pounds, use a furniture dolly to transport it to avoid floor and wall damage. If you plan to reuse the cabinets, wrap them in moving blankets before moving to prevent scratches and dents.
Common Mistakes That Cause Wall Damage (And How to Avoid Them)
Even experienced DIYers run into avoidable wall damage if they skip these key steps:
- Prying directly against drywall: Always use a 2×4 wood block between your pry bar and the cabinet to distribute pressure and avoid gouging the drywall surface.
- Skipping caulk cuts: Cutting the paint and caulk seal between the cabinet and wall first prevents drywall paper from tearing when you pry the cabinet loose.
- Missing hidden fasteners: Check behind cabinet scribe molding, inside the cabinet interior, and near hinge plates for screws painted over or covered by trim.
- Rushing the prying process: Work 1/4 inch at a time along the cabinet edge, instead of pulling hard on one corner which can rip out drywall screws and tear large holes in the wall.
- Forgetting to turn off utilities: Failing to shut off power to under-cabinet lighting or water supply lines can cause electrical shocks or water damage to walls during removal.
Post-Removal Wall Inspection and Repair
Even with careful removal, you’ll likely have small nail or screw holes to patch. Inspect your walls as soon as cabinets are removed to catch damage early:
- Run your hand over the entire exposed wall surface to feel for rough spots, loose drywall paper, or soft crumbly areas (a sign of water damage behind the cabinets).
- Use a bright flashlight held at a low angle to highlight small cracks, paint chips, and nail holes that are hard to see in normal lighting.
- For holes under 1/2 inch, apply a thin layer of spackling paste with a 12-inch putty knife, let it dry for 1 hour, then sand smooth with 120-grit sandpaper.
- For holes over 1 inch, apply a self-adhesive drywall patch, cover it with a thin layer of joint compound using a 6-inch putty knife, let dry for 4 hours, sand smooth, then apply a second thin coat of joint compound and sand again.
- Prime all patched areas with a stain-blocking primer before painting to avoid tannin bleed from drywall paper showing through new paint. If you find large cracks or missing drywall sections, our guide to advanced drywall repair for tile damage covers patching and resurfacing steps for more severe wear. Pro tip: Use a stud finder to mark all wall stud locations now, so you don’t have to remap them when installing new cabinets later.
 Check for nail holes, cracks, and loose drywall paper before patching and repainting.
Image source: www.reddit.com
Check for nail holes, cracks, and loose drywall paper before patching and repainting.
Image source: www.reddit.com
Responsible Disposal of Old Cabinet Materials
Once removal is complete, dispose of old cabinets responsibly to reduce waste:
- Solid wood cabinets can be donated to local Habitat for Humanity ReStores, sold on secondhand marketplaces, or repurposed for garage or basement storage.
- Particleboard or laminate cabinets can be thrown out with your local bulk trash pickup; check with your waste management provider for scheduled pickup dates.
- If your cabinets have lead paint, follow EPA disposal guidelines to avoid contaminating landfills—many areas require lead-painted materials to be taken to a hazardous waste facility.
- Recycle metal hinges, screws, and drawer slides at a local scrap yard to reduce metal waste.
Frequently Asked Questions
How Do I Safely Remove Kitchen Cabinets?
Start by emptying all cabinets and removing doors, drawers, and hardware. Cut the caulk and paint seal between the cabinet and wall with a utility knife before prying, use a wood block between your pry bar and the cabinet to avoid drywall damage, and work slowly from corner to corner. Always turn off utilities and wear safety gear before starting.
What Tools Are Needed To Remove Cabinets?
Core tools include a drill with screwdriver bits, 1/4-inch thin pry bar, 12-inch putty knife, utility knife, stud finder, and 2×4 scrap wood blocks for prying. Safety gear includes work gloves, safety glasses, a dust mask (or NIOSH respirator for pre-1978 homes), and knee pads for lower cabinet work.
How To Protect Walls During Cabinet Removal?
Apply painter’s tape along the top edge of the wall where it meets the cabinet, use a wood block between your pry bar and the cabinet to avoid pressing directly into drywall, and cut all caulk seals before prying to prevent drywall paper from tearing. Patch any small nail holes immediately after removal to avoid moisture damage.
Can I Remove Cabinets Without Damaging Drywall?
Yes—locating all hidden fasteners first, cutting caulk seals before prying, and working slowly from the corners inward eliminates almost all risk of drywall damage. Even if small nail holes do occur, these patch in 10 minutes with spackling paste and sanding.
Final Tips for a Seamless Kitchen Refresh
With careful prep and slow, deliberate work, you can remove your kitchen cabinets with zero major drywall repairs needed. Once your walls are smooth and primed, check out our guide to coordinating wall colors for green kitchen cabinets to finish your kitchen refresh, or browse our coordinating wall colors for brown kitchen cabinets for a warm, timeless look.