How to Clean Grease off Kitchen Walls: Easy, Effective Tips
Sticky, yellowish grease buildup on kitchen walls is one of the most universal—and frustrating—cleaning challenges homeowners face. Even if you wipe down your counters and stove daily, fine grease aerosols from cooking settle on walls near your cooktop, trapping dust and cooking smoke to create a dull, grimy layer that regular all-purpose cleaners can’t touch. Over time, this buildup can discolor paint, damage wallpaper, and make your entire kitchen feel unhygienic, no matter how well you clean other surfaces. The good news? With the right tools, solutions, and techniques tailored to your wall type, you can remove even set-in grease without scrubbing off paint or damaging finishes. This guide covers everything from the science of why grease sticks to walls to step-by-step removal methods, surface-specific tips, and simple habits to stop buildup from coming back.
What Causes Kitchen Wall Grease Buildup?
Grease accumulation on kitchen walls follows a predictable pattern tied to how you cook. When you fry, sauté, broil, or simmer fatty foods, cooking oils and fats vaporize into fine, lightweight grease aerosols that rise with hot air. These particles cool as they travel, then settle on vertical surfaces within a 3–6 foot "grease zone" around your cooktop, range hood, and sink. The U.S. Environmental Protection Agency's indoor air quality guidance lists cooking as a top source of indoor air pollution, with grease particles settling on surfaces up to 10 feet from the heat source during high-heat cooking.
Unlike water-based splatters, grease is hydrophobic, meaning it does not dissolve in water, which is why regular soap and water often fail to remove it. Over time, layers of fresh grease mix with household dust, cooking smoke, and humidity to form a hard, gummy film that bonds tightly to wall surfaces. Porous, matte painted walls and unsealed grout hold grease far more tightly than smooth, semi-gloss surfaces, which is why kitchen walls with flat paint often develop stubborn stains faster.
Common Kitchen Grease Sources
- High-heat frying, deep frying, or sautéing with large amounts of oil
- Broiling or grilling fatty meats and vegetables that release splatter and smoke
- Boiling or simmering fatty soups, sauces, or stocks for long periods
- Using aerosol cooking sprays, which release even finer grease particles than liquid oil
- Cooking with open flames (gas stoves, griddles) that produce more smoke and aerosolized grease than electric cooktops
How Grease Adheres To Walls
Warm cooking air keeps grease in a liquid state longer, allowing it to spread and seep into porous surfaces before cooling and hardening. Matte and unprimed painted walls have tiny pores that trap grease deep in the surface, while glossy, sealed finishes only hold grease on the outer layer. Grease also acts as a binder for dust and dirt, so buildup gets darker and stickier the longer it sits, making it far harder to remove than fresh splatters.
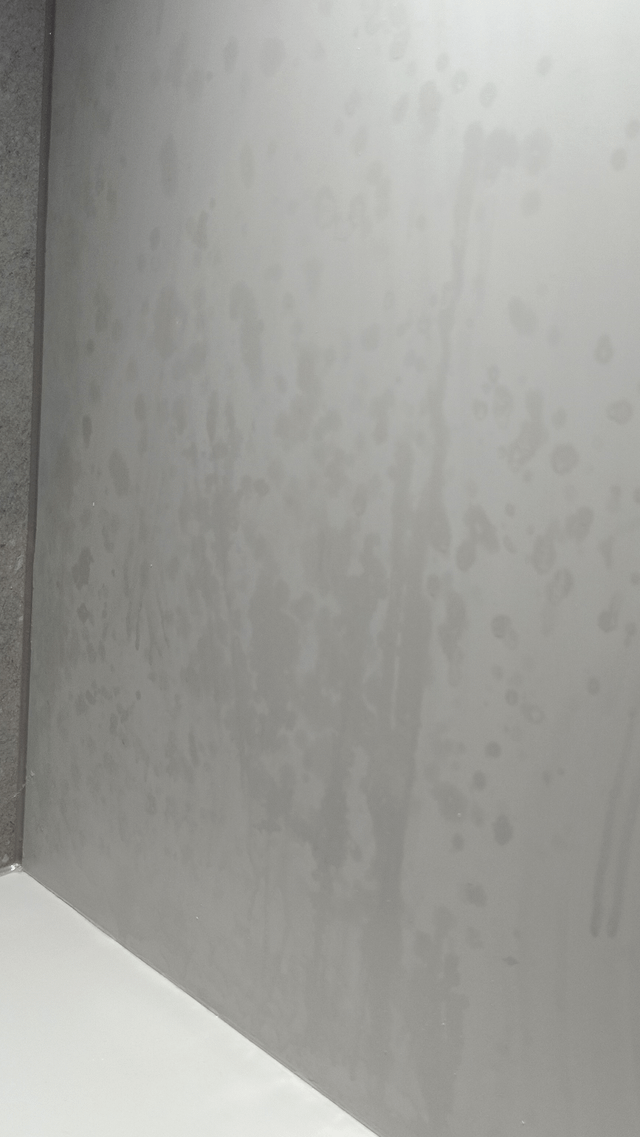
 Sticky yellow grease buildup above a stovetop, the most common area for kitchen wall grease accumulation.
Credit: www.youtube.com
Sticky yellow grease buildup above a stovetop, the most common area for kitchen wall grease accumulation.
Credit: www.youtube.com
Essential Tools & Supplies (No Damage to Your Walls)
Using the wrong tools is the #1 cause of accidental wall damage during grease cleaning. A common mistake is reaching for steel wool, metal scrapers, or abrasive scouring pads for baked-on grease, which will permanently scratch painted drywall and dull tile finishes. Stick to the gentle, surface-safe tools below to remove grease without ruining your walls:
- Gentle cleaning tools: Lint-free microfiber cloths (trap grease instead of spreading it), soft cellulose sponges with a non-abrasive smooth side, and soft-bristled detail brushes for grout lines, textured wallpaper, and trim work.
- Heavy-duty scraping tools: Plastic putty knives (for scraping thick, hardened grease without scratching paint or tile) and old soft toothbrushes for tight corners and baseboards.
- Protective gear: Nitrile gloves (resist grease penetration far better than latex, per OSHA's chemical safety guidelines), safety goggles to protect eyes from cleaner splashes, and drop cloths or old towels to protect floors and countertops from drips.
If you have wallpaper, avoid any tool with a rough edge, and always test all cleaners in a hidden spot first to avoid dissolving wallpaper adhesive.
Best Cleaning Solutions for Every Wall Type
Not all cleaners work for every surface, and using the wrong formula can discolor paint, peel wallpaper, or damage grout. Below are the most effective options, organized by strength and surface compatibility.
Natural, Pantry-Friendly Solutions (Safe for Painted Walls, Tile, Most Wallpaper)
These low-cost, low-fume options work for light to moderate grease buildup and are safe for most household surfaces:
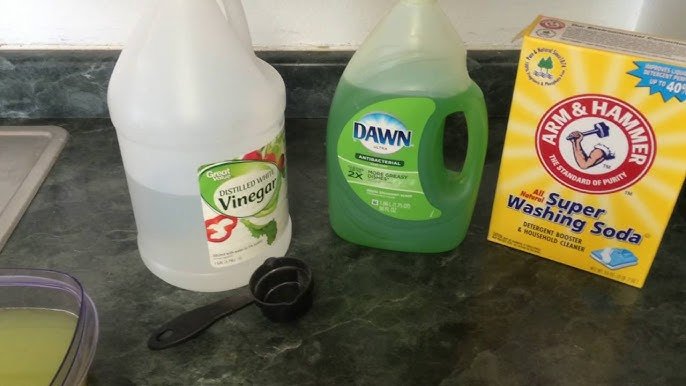
- Vinegar & warm water mix: Combine 1 part white vinegar, 2 parts warm water, and 1 drop of dish soap in a spray bottle. The acetic acid in vinegar breaks the hydrophobic bonds in grease, making it easy to wipe away. Safe for all painted surfaces, ceramic tile, and washable wallpaper. Pro tip: add 10 drops of lemon essential oil to cut the strong vinegar smell and add extra grease-cutting power.
- Baking soda paste: For baked-on, thick grease spots, mix 3 parts baking soda with 1 part warm water to form a thick paste. The mild abrasive lifts grime without scratching. Safe for tile, unglazed ceramic, and matte/satin painted walls (use gentle pressure to avoid micro-scratches on glossy paint).
- Lemon juice & dish soap mix: Mix 1/4 cup fresh lemon juice, 1 tsp mild dish soap, and 1 cup warm water. The citric acid cuts through grease and deodorizes, leaving a fresh, citrus scent. Ideal for lighter splatters and walls near food prep areas.
Commercial Degreasers (For Heavy, Set-In Grease)
For buildup that doesn’t respond to natural solutions, opt for water-based, non-toxic degreasers labeled safe for indoor use and painted surfaces:
- Citrus-based degreasers (such as Zep Heavy-Duty Citrus) use d-limonene derived from orange peel to cut through grease without harsh fumes, making them ideal for homes with kids or pets.
- Alkaline degreasers (such as Simple Green Heavy Duty) work for extremely tough, baked-on grease, but always test in a hidden spot first to check for paint discoloration. Warning: avoid ammonia-based cleaners on wallpaper, as they can dissolve the adhesive behind the paper.
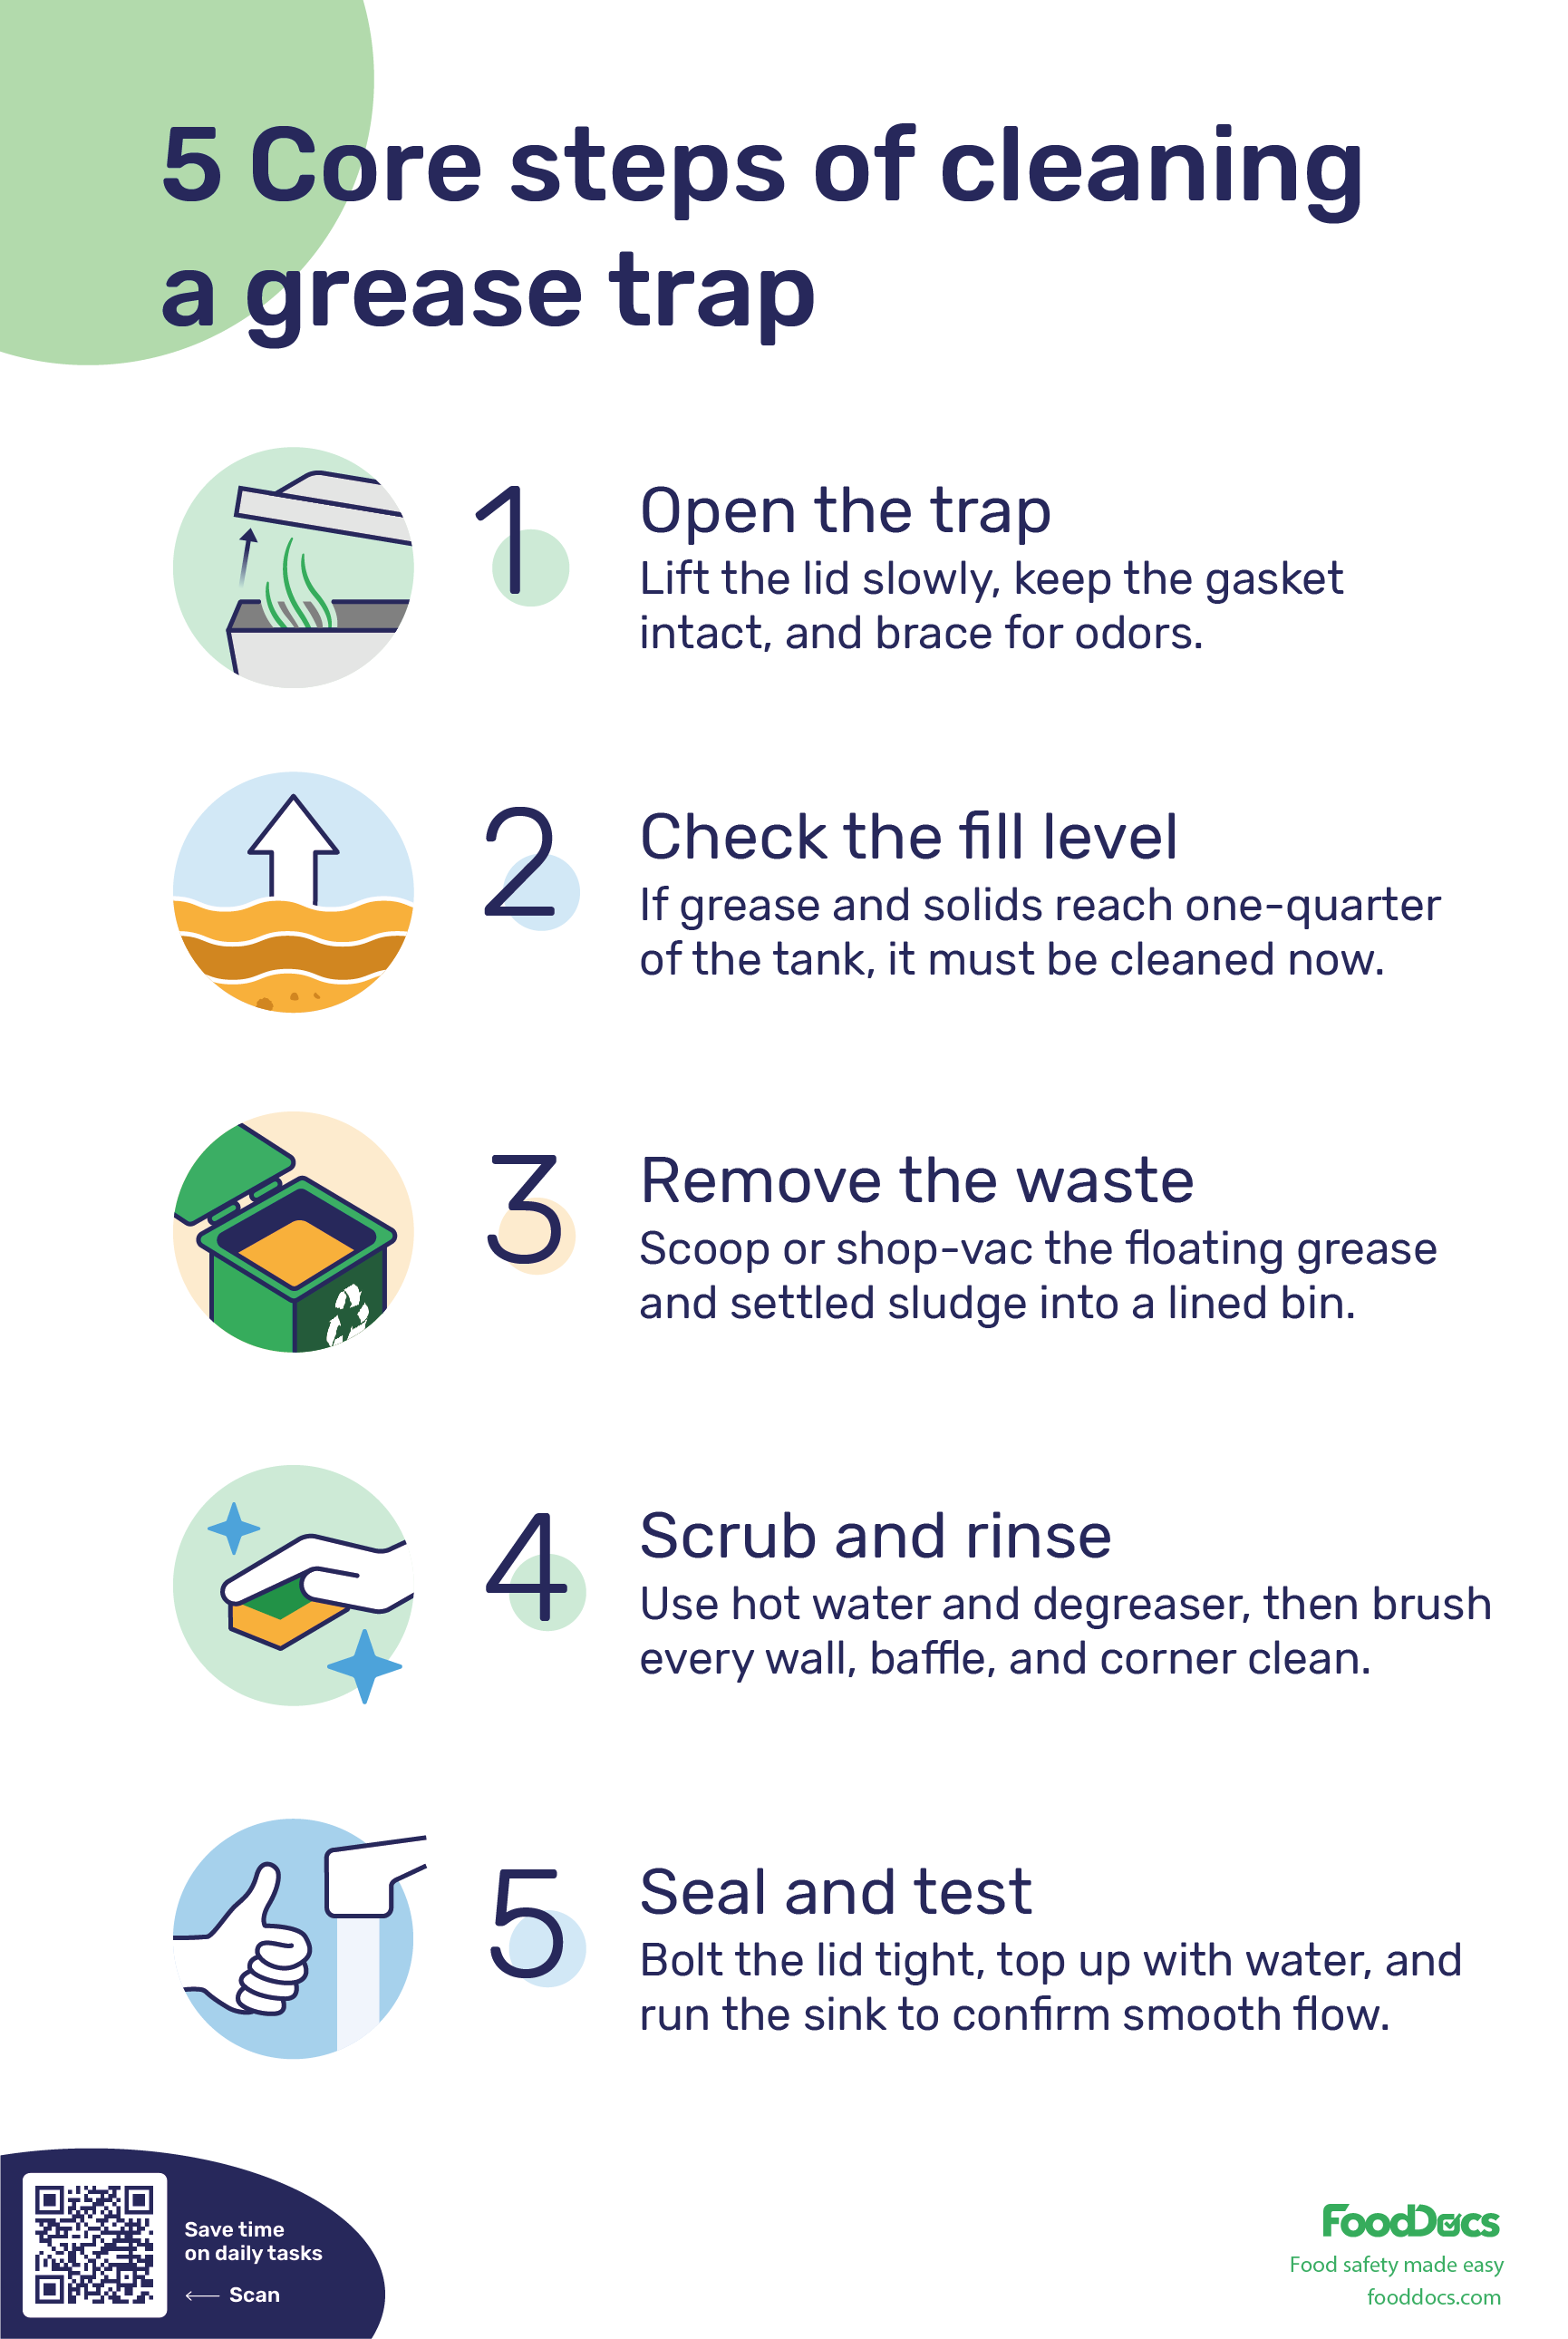 Step-by-step breakdown of effective grease cleaning techniques for kitchen walls and surfaces.
Credit: www.fooddocs.com
Step-by-step breakdown of effective grease cleaning techniques for kitchen walls and surfaces.
Credit: www.fooddocs.com
Step-by-Step Grease Removal Process (No Scrubbing Damage)
Follow this process to remove grease safely, no matter your wall type:
- Prep the area (5 minutes): Clear all items from the wall zone (cabinet fronts, utensil holders, wall art) and lay down drop cloths or old towels on floors and countertops to catch drips. If cleaning near electrical outlets, turn off power to the circuit at the breaker to avoid splashes that could cause short circuits. A common oversight is skipping outlet protection, which can lead to costly electrical damage.
- Pre-treat stubborn spots (10–15 minutes): For thick, hardened grease, apply your chosen cleaner (baking soda paste for baked-on stains, vinegar mix for lighter buildup) directly to the spot. Let it sit for 10–15 minutes to break down grease bonds—do not let the cleaner dry on the wall, as this can leave sticky residue.
- Scrub gently (surface-dependent): Use a soft sponge or microfiber cloth for painted walls and wallpaper, scrubbing in small circular motions (never back-and-forth, as this rubs grease deeper into the surface). For tile or textured surfaces, use a soft-bristled brush to get into grout lines and texture. Apply only light pressure to avoid stripping paint or scratching finishes.
- Rinse thoroughly (2–3 minutes): Wipe the wall with a clean, damp microfiber cloth dipped in plain warm water to remove all cleaner residue. Leftover cleaner will attract more grease over time, so rinse until the cloth comes away completely clean.
- Dry completely (5 minutes + 15 minutes air dry): Pat the wall dry with a clean, dry towel, then let it air dry for 15–20 minutes before moving items back. This prevents water spots and mold growth, especially in humid kitchens.
How to Clean Grease Off Specific Wall Surfaces
Different wall materials require tailored approaches to avoid damage:
- Painted drywall (matte, satin, semi-gloss): Matte paint is most porous, so stick to a vinegar-water mix and avoid abrasive tools. Satin and semi-gloss finishes are more durable, so you can use a soft-bristled brush for tough spots. If paint is peeling from repeated grease exposure, scrape off loose paint, sand the area smooth, prime with a stain-blocking primer, and repaint with a kitchen-specific, grease-resistant paint. If you're unsure which paint finish pairs best with your cabinetry, our guide to wall colors for green cabinets offers foolproof picks that hide minor grease splatters between deep cleans. For kitchens with warm wood tones, our picks for wall colors for brown cabinets include matte and satin finishes that are extra forgiving of grease buildup.
- Ceramic & porcelain tile: Tile is non-porous, so you can use stronger solutions without risk of damage. For grease stuck in grout lines, apply a baking soda paste, let sit 15 minutes, scrub with a soft brush, then rinse. For extremely stained grout, a 1:1 mix of hydrogen peroxide and water will lift grease without bleaching most tile colors (test in a hidden spot first).
- Wallpaper (washable vs. non-washable): Only use a barely damp cloth and mild dish soap for washable wallpaper—never soak it, as water can seep behind the paper and cause peeling. Non-washable wallpaper (such as vinyl-coated styles) can be wiped with a dry microfiber cloth for light grease, but heavy buildup may require professional cleaning to avoid damage.
- Brick or stone kitchen walls: These porous surfaces hold grease deep in their pores. Use a poultice: mix baking soda with hydrogen peroxide to form a thick paste, apply a 1/4-inch layer to the stain, cover with plastic wrap, let sit 2 hours, then scrub gently with a soft brush and rinse.
Prevent Future Grease Buildup (Save Hours of Cleaning Later)
Preventing grease from settling on your walls is far easier than removing set-in stains. Incorporate these habits into your kitchen routine to cut down on cleaning time by 70% or more:
Daily & Weekly Maintenance Habits
- Wipe the 3-foot "grease zone" around your stove, range hood, and sink with a vinegar-water mix after each cooking session, while grease is still fresh. Fresh splatters wipe off with a single pass, no scrubbing required.
- Clean your range hood filter monthly: grease builds up on the filter, and when the fan runs, it redistributes that grease back into the air onto your walls. Most metal filters are dishwasher-safe, so pop them in the top rack once a month for a deep clean.
- Wipe down cabinet fronts above the stove weekly: they catch a large share of grease that would otherwise settle on walls.
Upgrade Your Ventilation
The single most effective way to reduce wall grease is to run your range hood on its highest setting for at least 10 minutes after every cooking session, to pull grease aerosols out of your home before they settle. If you don’t have a range hood, a high-quality portable air purifier with a HEPA and activated carbon filter will capture grease particles, though even a basic exhaust fan only captures about 30% of cooking grease, per EPA guidelines. Pairing regular wall cleaning with routine kitchen fixture upkeep keeps your space running smoothly; if you need to tackle a quick fixture upgrade, our guide to wall-mounted faucet removal makes the process quick and mess-free.
Long-Term Wall Protection
If you’re repainting your kitchen, choose a satin or semi-gloss paint with a mildewcide and grease-resistant additive. These smooth, non-porous finishes repel grease, so splatters wipe off with a damp cloth instead of soaking in. For extra protection, apply a clear, matte topcoat designed for kitchens over your paint to create an invisible barrier that makes cleaning even easier. For tile walls, seal the grout annually with a grout sealer: unsealed grout is porous and soaks up grease, making it almost impossible to clean fully.
What to Do With Set-In, Stubborn Grease Stains
If grease has hardened into a dark, sticky stain that won’t respond to regular cleaning, use these intensive treatments before considering a full wall resurface:
Intensive Spot Treatments for Baked-On Grease
- Baking soda poultice: Mix 1/2 cup baking soda with 2 tbsp warm water to form a thick paste. Apply a 1/4-inch layer to the stain, cover with a damp cloth, let sit 30 minutes (for very tough stains, up to 2 hours), then scrub gently with a soft brush and rinse. This works for painted walls, tile, and grout.
- Vinegar & dish soap soak: For greasy trim or baseboards, soak a microfiber cloth in a 1:1 mix of white vinegar and warm water with a drop of dish soap, wring out so it is damp, lay it over the stain for 15 minutes, then wipe. The vinegar breaks down grease, and the cloth keeps it from drying out.
- Commercial degreaser spot treatment: For stains that don’t respond to natural solutions, use a water-based citrus degreaser, apply directly to the stain, let sit 5 minutes, scrub gently, and rinse thoroughly. Always test in a hidden spot first, as some degreasers can discolor older paint or wallpaper.
When to Repaint or Resurface Your Walls
If the wall is still discolored, has a sticky feel, or the paint is peeling after cleaning, it is time to resurface. For painted drywall, scrape off loose paint, sand the area smooth, prime with a stain-blocking primer, and repaint with a kitchen-grade semi-gloss paint. For tile with stained, unsealable grout, you can regrout the affected area instead of replacing the entire tile. For damaged wallpaper, replace the affected panel to avoid moisture damage behind the wall.
 Using a soft sponge and mild degreaser to clean grease off kitchen tile without scratching the finish.
Credit: www.realhomes.com
Using a soft sponge and mild degreaser to clean grease off kitchen tile without scratching the finish.
Credit: www.realhomes.com
Frequently Asked Questions
How often should I clean grease off my kitchen walls?
For most households, a quick wipe of the grease zone (the 3-foot area around your cooktop) after each cooking session, plus a full deep clean every 1–2 months, is enough to prevent buildup. If you fry or cook with high heat daily, do a quick wipe after every cook session and a deep clean every 2 weeks.
Can I use bleach to clean grease off kitchen walls?
No. Bleach is not effective at breaking down grease (it is a disinfectant, not a degreaser), and it can discolor paint, damage wallpaper adhesive, and release harmful fumes when mixed with other cleaning products like vinegar.
Will vinegar damage my painted kitchen walls?
No, as long as you dilute it properly (1 part vinegar to 2 parts water) and do not let it soak into the wall. Undiluted vinegar or prolonged exposure can strip paint, so always wipe with a damp cloth after cleaning to remove residue.
How do I remove grease from kitchen walls without scrubbing?
For fresh grease splatters, spray a vinegar-water mix on the wall, let sit 2 minutes, then wipe with a microfiber cloth—no scrubbing needed. For older buildup, use a degreaser spray designed to lift grease without elbow grease, but you will still need light scrubbing for set-in stains.
What wall finish is most resistant to grease?
Semi-gloss and satin paint finishes are the most grease-resistant, as their smooth, non-porous surface prevents grease from soaking in. Matte and flat finishes are the most porous, so they hold grease faster and are harder to clean.
Conclusion
Cleaning grease off kitchen walls doesn’t have to be a grueling, paint-damaging chore. Fresh grease wipes away in seconds with a simple vinegar-water mix, while set-in stains only need 10–15 minutes of pre-treatment and gentle scrubbing to lift completely. The key to low-effort kitchen maintenance is consistency: wiping the grease zone around your stove after each cooking session and using proper ventilation will cut down on buildup by 70% or more, according to EPA indoor air quality data.
Once your walls are spotless, you’re all set to host dinner parties, test out new recipes, or even try your hand at homemade wine. If you’re planning a dinner party to show off your newly cleaned kitchen, fruit wine kits make it easy to serve a custom, homemade beverage that pairs perfectly with your menu. More experienced home brewers can upgrade their setup with our oak aging barrels guide to craft perfectly aged batches for special occasions.