How to Fix Wall Tiles in Kitchen: Easy Steps for a Flawless Finish
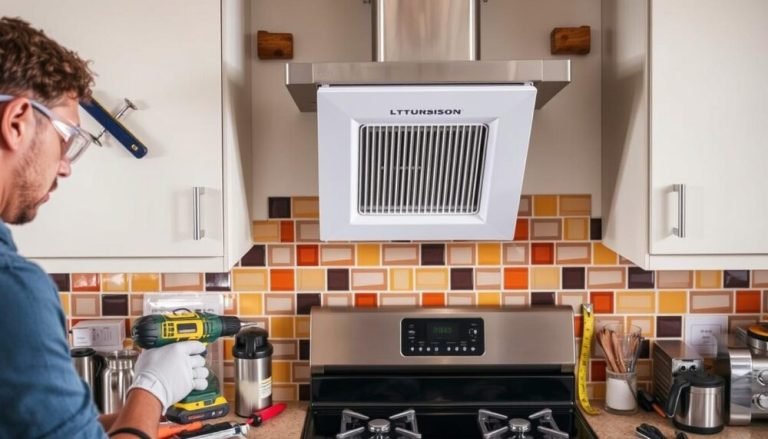
Cracked kitchen wall tiles, loose backsplash pieces, or dingy, stained grout can make even the most updated kitchen feel dated and neglected. Unlike full kitchen renovations, fixing individual or small sections of wall tiles is a manageable DIY project that costs a fraction of hiring a professional, and delivers a flawless finish if you follow proven, industry-backed steps. In this 2026 guide, we’ll walk through every stage of the process, from identifying which tiles can be saved to matching existing patterns, removing damaged pieces, and sealing your work for long-lasting durability. We’ll also highlight common pitfalls that lead to premature tile failure, so you can avoid costly rework down the line. Whether you’re repairing a single cracked tile behind your stove or refreshing an entire tiled backsplash, these steps will help you get a professional-grade result without the professional price tag.
When to Repair vs. Replace Kitchen Wall Tiles
Not all tile damage requires a full tear-out. Determining whether you can fix existing tiles or need to replace them entirely will save you time and money, and ensure your repair lasts for years. You can also read our guide on how to remove tile backsplash from kitchen wall.
Signs a Tile Can Be Repaired
Most minor tile damage falls into this category, and can be fixed in an afternoon with basic tools:
- Cracked or stained grout with fully intact tiles
- A single loose tile with no underlying water damage to the wall
- Minor surface discoloration from grease, heat, or food splatters
Signs You Need Full Replacement
If you notice any of these issues, a simple repair won’t be enough, and you’ll need to replace the affected tiles (and possibly the wall substrate):
- Cracked or chipped tile body (not just surface-level damage)
- Soft, spongy drywall or cement board behind loose tiles (a sign of hidden water damage)
- Widespread loose tiles across a large area, indicating full adhesive failure
In practice, if you can press a screwdriver tip into the wall behind a loose tile and it pushes in easily, you’ll need to replace the substrate as well as the tile. This adds time to the project but prevents future failures.
Matching Your Existing Tiles
For a seamless, professional-looking repair, your new tiles should blend in with your existing kitchen wall tile, whether you choose an exact match or a complementary design. You can also read our guide on what to put on kitchen walls.
Sourcing Exact Matches
If you want an invisible repair, start by checking the manufacturer’s code printed on the back of any removed tile pieces. You can order exact matches directly from the brand, or check local hardware stores and Habitat for Humanity ReStores for leftover stock from discontinued lines.
Using Complementary Tiles for a Fresh Look
If an exact match is unavailable, opt for a tile in the same size, thickness, and finish (glossy, matte, etc.) as your existing tiles. Use a contrasting grout color to make the blend look intentional, rather than mismatched. If you’re pairing new tiles with warm wood cabinets, these complementary cabinet wall colors will help you nail a cohesive, polished look without clashing with your existing decor. You can also read our guide on how to paint wall tiles in kitchen. complementary cabinet wall colors
Essential Tools and Materials
Having the right supplies on hand before you start will speed up the process and ensure a professional result.
Core Tools for Tile Repair
- Notched trowel: Use a 1/4-inch notched trowel for tiles smaller than 8 inches square, and a 1/2-inch notched trowel for larger tiles to ensure full adhesive coverage
- Tile cutter or angle grinder with a diamond blade: A manual tile cutter works for straight cuts on ceramic tiles, while a wet saw or angle grinder is needed for porcelain, glass, or intricate cuts
- Rubber grout float: Opt for a float with a soft rubber edge to avoid scratching tile surfaces
- Tile spacers: Use 1/8-inch spacers for standard grout lines, or 1/16-inch spacers for a tighter, more seamless look
- Grout sealer: A water-based or silicone sealer matched to your grout type to prevent staining and moisture penetration
Safety Gear to Prevent Injury
Tile cutting and installation poses minimal risk if you use proper protection:
- N95 dust mask: Cutting tile releases crystalline silica dust, which is hazardous if inhaled—always wear a mask rated for silica protection
- Safety goggles: Protect your eyes from flying tile shards and dust when cutting
- Cut-resistant gloves: Avoid cuts from sharp tile edges, especially when handling broken pieces
- Knee pads: Essential if you’re working on lower wall sections to avoid discomfort during long work sessions
For official construction safety standards on PPE for tile cutting and installation, refer to OSHA’s guidance to minimize injury risk. official construction safety standards
Step 1: Remove Damaged Tiles
Before you can install new tiles, you’ll need to safely remove any broken, loose, or stained pieces without damaging adjacent tiles. You can also read our guide on how to decorate kitchen wall tiles.
How to Safely Extract Loose or Cracked Tiles
- Score the grout around the damaged tile with a grout saw or utility knife to break the seal between the tile and surrounding grout
- Use a chisel and hammer to gently tap the center of the tile, working from the edges inward to avoid damaging adjacent tiles
- For stubborn tiles, use a pry bar to lift the piece slowly, taking care not to crack nearby tiles
- If the tile is fully intact but loose, you may be able to pry it off without breaking it, which makes matching easier
Cleaning and Prepping the Exposed Substrate
- Scrape away all old adhesive and grout residue from the wall using a putty knife or scraper
- Sand the exposed substrate (cement board, drywall, or plaster) smooth to remove rough spots
- Wipe away all dust with a damp cloth, then let the wall dry completely—any moisture left behind will cause new adhesive to fail
- If the substrate is damaged (e.g., soft drywall from water exposure), cut out the damaged section and replace it with new cement board or drywall before proceeding
A common mistake here is skipping the substrate repair step—if your wall is soft or uneven, even the best adhesive won’t hold tiles long-term. If your damaged tile is located directly behind a kitchen faucet, you may need to complete the faucet removal process first to get full access to the wall and avoid water damage during the repair. faucet removal process
Step 2: Plan Your Tile Layout
Careful planning ensures your new tile blends seamlessly with the existing pattern, and avoids small, uneven cuts at the edges of the repair area.
Measuring and Marking Guidelines
- Measure the height and width of the repair area, plus the spacing of existing grout lines
- Use a level to mark a horizontal reference line at the center of the repair area, aligned with the grout lines of the surrounding tiles
- Mark vertical lines to match the existing pattern, so your new tile aligns perfectly with adjacent pieces
Dry Fitting for Seamless Blending
Lay your replacement tiles on the floor in the same pattern as the existing wall, using spacers to match the existing grout line width. Check that the cuts you need for edges fit perfectly, and adjust your layout if needed to avoid small, uneven slivers of tile at the edges of the repair area. For a subtle, cohesive look, avoid mixing tile finishes—if your existing tiles are glossy, use matching glossy replacements rather than matte, which will stand out.
Step 3: Apply Adhesive and Install Tiles
Proper adhesive application is the most critical step for ensuring your repaired tiles stay in place for years.
Choosing the Right Adhesive for Kitchen Walls
For kitchen walls, you need a polymer-modified thin-set mortar or pre-mixed tile mastic that is water-resistant and rated for wall use. For porcelain or glass tiles, use a latex-modified thin-set for extra bond strength. For natural stone tiles, use a white thin-set (gray thin-set can discolor light stone) and avoid mastic, which can fail in high-moisture areas. For industry-standard installation guidelines on adhesive selection and application, the Tile Council of North America provides detailed compatibility charts for tile and substrate combinations. industry-standard installation guidelines
Application and Tile Placement Tips
- Apply adhesive to the wall in a 1/8-inch thick layer using a notched trowel, holding it at a 45-degree angle to create uniform ridges
- Work in small sections (no larger than 2 square feet) to prevent the adhesive from drying before you place the tile
- Press the replacement tile firmly into the adhesive, twisting it slightly to ensure full contact, and align it with your marked reference lines and adjacent tiles
- Use tile spacers between the new tile and existing tiles to maintain consistent grout lines
- Check that the tile is level with a spirit level, and adjust as needed before the adhesive sets
In practice, the most common DIY mistake here is applying adhesive too thick, which causes tiles to sit higher than surrounding pieces and creates uneven grout lines. If you notice the tile is sitting too high, scrape off excess adhesive and re-press it firmly.
Step 4: Grout and Seal for Long-Lasting Results
Grout fills the gaps between tiles, locks them in place, and creates a watertight seal that protects your wall from moisture and grease.
Selecting the Right Grout for Repairs
For grout lines matching your existing grout, use a sanded grout for lines wider than 1/8 inch, and unsanded grout for narrower lines. For kitchen areas with high moisture (e.g., behind sinks), use epoxy grout or a grout with built-in mildewcide for extra durability. Match the grout color to your existing grout for a seamless blend, or use a contrasting color for a design update.
Applying and Finishing Grout
- Mix grout according to the manufacturer’s instructions, aiming for a smooth, peanut butter-like consistency
- Use a rubber grout float held at a 45-degree angle to press grout firmly into all joints, making sure there are no air pockets
- Wait 10-15 minutes for the grout to slightly set, then wipe away excess grout from the tile surface with a damp sponge, using circular motions to avoid pulling grout out of the joints
- Once the grout is fully cured (usually 24-72 hours, depending on the product), apply a penetrating grout sealer to all grout lines to repel moisture, grease, and stains
Avoid using vinegar or acidic cleaners on new grout for at least 7 days, as these can etch the surface and cause permanent discoloration.
 A clean, dry, and smooth wall substrate is critical for long-lasting tile adhesion.

 A consistent grout line and sealed finish complete a professional-looking tile repair.
Finishing Touches for a Polished Look
Small final steps will make your repaired tile area look intentional and well-maintained for years.
Blending New Tile with Existing
If you used a complementary tile instead of an exact match, add a decorative border or accent tile around the repair area to make the design look intentional, rather than like a patch job.
Long-Term Maintenance
Wipe tiles down with a mild, non-abrasive cleaner weekly to avoid grease buildup, and reseal grout every 1-2 years in high-moisture areas to maintain its protective barrier. Once your tile repair is complete, you can enjoy your refreshed kitchen space—if you love hosting dinner parties, these starter winemaking kits make it easy to craft custom drinks to serve to guests. starter winemaking kits If you love hosting, durable, stain-resistant tiles make cleanup after dinner parties a breeze, so you can spend less time scrubbing and more time enjoying homemade wine with these accessible winemaking supplies. accessible winemaking supplies
Common Tile Repair Mistakes to Avoid
Even small errors can lead to premature tile failure, so watch out for these common pitfalls:
Skipping Substrate Prep
As noted earlier, a dirty, uneven, or damp substrate is the top cause of tile failure in DIY repairs. Always sand, clean, and fully dry the wall before applying adhesive.
Using the Wrong Adhesive or Grout
Mastic, a pre-mixed adhesive, is not suitable for high-moisture kitchen areas or porcelain tiles—it will fail over time due to water exposure. Always use a thin-set mortar rated for your specific tile and substrate. Similarly, using sanded grout for narrow grout lines will leave an uneven, messy finish.
Rushing the Curing Process
Adhesive and grout need time to fully set before exposing them to water or heavy use. Wait at least 24 hours for adhesive to cure, and 72 hours for grout to fully harden before using the area around the repair. For repairs larger than 10 square feet, or complex patterns like herringbone, consider hiring a professional to ensure precise alignment, as small errors are more noticeable over large areas.
Troubleshooting Common Post-Installation Issues
If you notice issues with your repair shortly after installation, you can usually fix them without a full redo:
Tiles Shifting After Installation
If tiles move after 24 hours, the adhesive was not applied correctly, or the substrate was not clean. Remove the affected tiles, re-prep the wall, and reapply adhesive with proper coverage.
Grout Cracking Prematurely
This is usually caused by using the wrong grout type for the gap size, or not mixing grout to the correct consistency. Remove the damaged grout and reapply with the correct product, following the manufacturer’s mixing instructions exactly.
Grout Staining
If grout stains easily, it wasn’t sealed properly. Strip the old sealer, clean the grout with a pH-neutral cleaner, and reapply a high-quality penetrating sealer once the grout is fully dry.
Frequently Asked Questions
How long does tile adhesive take to dry before I can grout?
Most thin-set mortars take 24 hours to cure, but check the manufacturer’s instructions for your specific product—high-moisture areas may require longer cure times.
Can I repair a tile without removing the old one?
For minor cracks in intact tiles, you can use a tile repair epoxy to fill the crack, but this is only a temporary fix for non-structural damage. For loose or badly cracked tiles, removal and replacement is required for a long-lasting result.
Do I need to seal ceramic or porcelain tiles?
Ceramic and porcelain tiles are non-porous and do not require sealing, but the grout between them does. Natural stone tiles, however, need to be sealed before grouting to prevent staining.
What grout color should I choose for repairs?
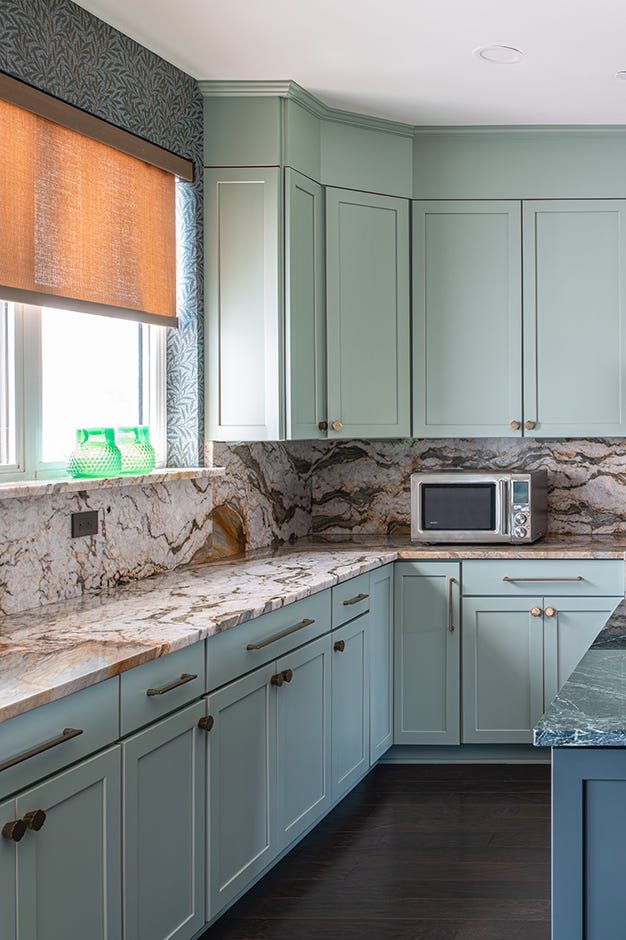
For a seamless blend, match your existing grout color exactly. For a design update, use a contrasting color to make the grout lines a feature—light grout brightens a space, while dark grout hides stains better. If you’re updating your kitchen’s overall color scheme alongside your tile repair, these coordinating wall shades pair perfectly with green kitchen cabinets for a fresh, cohesive look. coordinating wall shades
Conclusion
Fixing wall tiles in your kitchen is a rewarding DIY project that saves you money and transforms your space without the hassle of a full renovation. By starting with proper substrate prep, matching your existing tile pattern, using the right adhesive and grout, and sealing your work, you’ll get a flawless, long-lasting finish that stands up to daily kitchen splatters, heat, and traffic. Avoid common mistakes like rushing cure times or using the wrong products, and you’ll never have to call a professional for small tile repairs again. Ready to tackle your next kitchen project? Once your tiles are fixed, explore these oak aging barrels to add a rustic, functional wine storage nook to your new space. oak aging barrels If you’re planning a full kitchen refresh, these small-batch winemaking kits are perfect for testing out custom recipes to enjoy in your updated space. small-batch winemaking kits