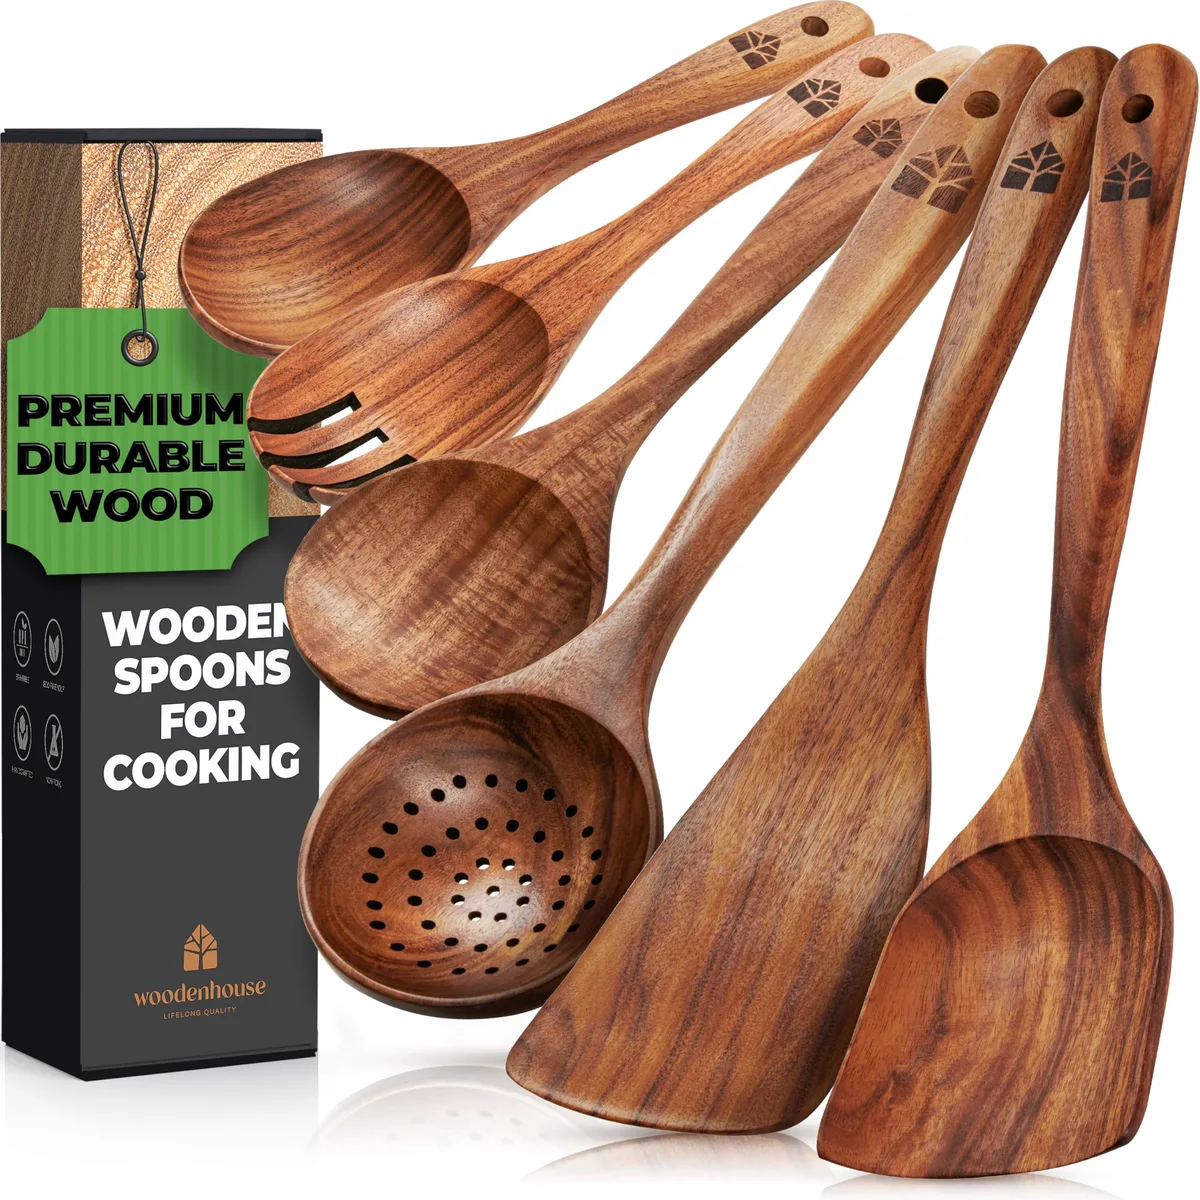
Wooden Serving Utensils: Common Problems & Easy Fixes
Wooden serving utensils bring natural warmth to the kitchen, but they crack, warp, stain, and harbour odours if not cared for properly. Most problems trace back to one culprit: moisture imbalance. Wood absorbs and releases water as humidity shifts around it, and that expansion and contraction eventually leads to surface damage.
You do not need a specialty degree to fix most issues. With the right diagnosis and a few household supplies, you can restore cracked spoons, banish stubborn stains, and extend tool life by years.
Our research into manufacturer care guidelines, food‐safety standards, and common repair patterns across maple, cherry, walnut, and bamboo utensils shows that the majority of failures are preventable or recoverable. Per FDA guidance on food‐contact surfaces, porous wooden tools require thorough cleaning and complete drying to stay safe for everyday use. The sections below walk you through each common symptom, the root cause, the exact fix, and clear thresholds for when to repair versus replace.
Quick Answer
Wooden serving utensils problems usually stem from moisture imbalance, harsh cleaning, or improper storage. Surface cracks and drying can often be sanded out and re-oiled. Stains respond to baking soda paste or lemon juice.
Deep mold or structural splits mean the tool must be tossed. Proper hand-washing, thorough drying, and monthly oiling prevent most issues before they start.
Why Wooden Utensils Develop Problems in the First Place
Wood's natural response to moisture drives nearly every issue people face with wooden serving utensils. When wood sits in a dry kitchen, it loses water to the air and shrinks. That shrinkage creates tension along the grain.
Hairline cracks appear, usually running parallel to the grain near the handle or bowl. Place damp wood in a warm space and the fibers swell outward. Uneven swelling produces warping.
Repeated wet-dry-wet cycles make the damage worse over time.
Grain direction matters more than most cooks realise. Parallel-grain utensils resist cracking better than cross-cut pieces. End-grain construction offers superior stability, though these tools cost more and are harder to find in casual home kitchens.
Handle joints represent the weakest structural point. Moisture penetrates glue lines faster than solid wood. Loose handles signal that water has reached an adhesive bond and degraded it.
Janka hardness ratings explain why some woods last longer than others. Maple registers around 1,450 pounds of force to embed a half-inch steel ball. Cherry and walnut sit lower at roughly 1,000 pounds.
Bamboo, technically a grass, scores close to maple on the same scale while carrying a faster renewable profile. Manufacturer specifications confirm these hardness values directly affect how well a utensil withstands daily scraping without developing deep grooves where bacteria accumulate.
Diagnosis Flowchart: Match Your Problem to the Right Fix
The fastest way to handle any utensil problem is to match the visible symptom to its root cause. A hairline split on the handle needs a different fix than a dark stain inside the spoon bowl. Below is a practical decision path covering the five most frequent issues, followed by specific remediation steps.
Cracked or Split Utensils
Surface hairline cracks often result from dry air or infrequent oiling. Sand the area lightly with 220-grit paper, wipe away dust, and apply food-safe mineral oil. Deep longitudinal splits that run past the surface layer usually cannot be glued back together safely.
Check whether the crack reaches the handle's core or weakens the structural joint. If it does, replace the utensil. Minor end-grain checking near the tip of a spatula can typically be sanded smooth without compromising function.
Warped or Twisted Tools
Warping almost always traces back to dishwasher use or prolonged soaking. Flatware sits unevenly in a rack and absorbs water on one side only. The solution starts with prevention.
For mildly bowed spoons, clamp them between two flat boards weighted with heavy books for twenty-four to forty-eight hours. Do not force a severely twisted piece back into shape with heat or leverage. Bent wood has exceeded its elastic limit and will snap under stress.
Stubborn Stains and Discolouration
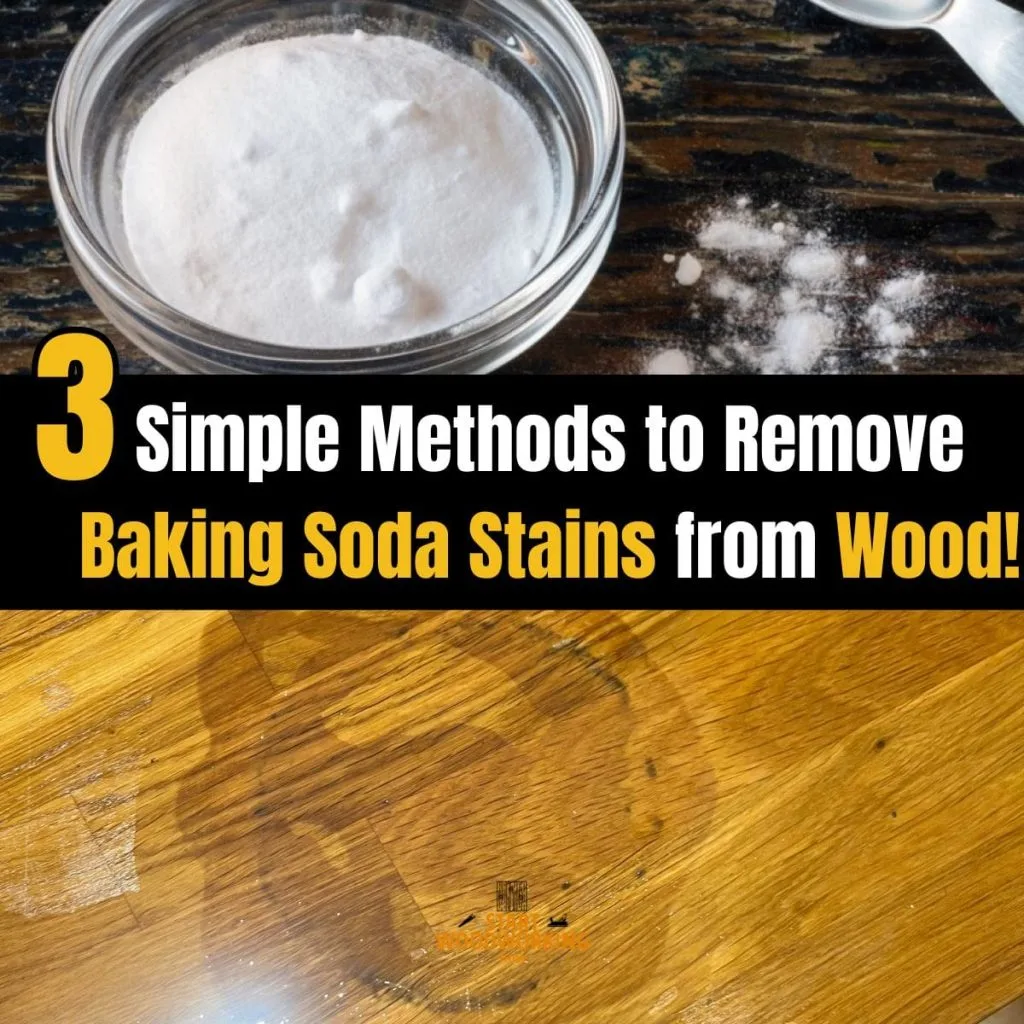
Tomato sauce, turmeric, beet juice, red wine, and coffee leave pigments trapped in open grain pores. A thick paste of baking soda and water works on most fresh stains. Apply it, let it sit for ten minutes, gently scrub with a soft brush, then rinse and dry thoroughly.
Lemon juice combined with coarse salt provides additional brightening power for tougher discolouration. Avoid steel wool, which gouges the surface and creates new pockets for stains to anchor into.
Odours and Musty Smells
Garlic, onion, cumin, and fermented foods release sulfur compounds and volatile oils that seep deep into porous wood. Vinegar diluted with equal parts water neutralises most odours without damaging the finish. Soak the affected area briefly, rinse immediately, and air-dry upright in a ventilated space.
Sunlight helps further by breaking down odor-causing molecules naturally. Persistent smells usually indicate that the wood is storing residues from repeated exposure. That points to a storage or washing habit change rather than a one-time cleaning problem.
Mold and Mildew Spots
Visible specks of black, green, or white growth on the surface demand immediate action. Diluted household bleach at one part bleach to ten parts water kills surface spores effectively. Apply with a cloth, let it sit for five minutes, rinse completely, and dry fully.
Hydrogen peroxide at three per cent works equally well and leaves no residual smell. However, mold roots can penetrate below the surface layer where cleaning fluids cannot reach. If the discolouration appears dark and embedded rather than sitting on top, the utensil must be discarded.
Mold inside wood cannot be fully removed.
Per FDA guidance on food-contact surfaces, porous materials require thorough cleaning and complete drying to prevent microbial growth. The Journal of Food Protection has documented that intact hardwood surfaces actually resist bacterial retention better than deeply scratched plastic, reinforcing the importance of maintaining smooth, oiled finishes.
Step-by-Step Repair Guide for Common Issues
Most common utensil problems have straightforward repairs that take under thirty minutes and cost less than ten dollars in supplies. The following step-by-step workflows address the four situations most people encounter.
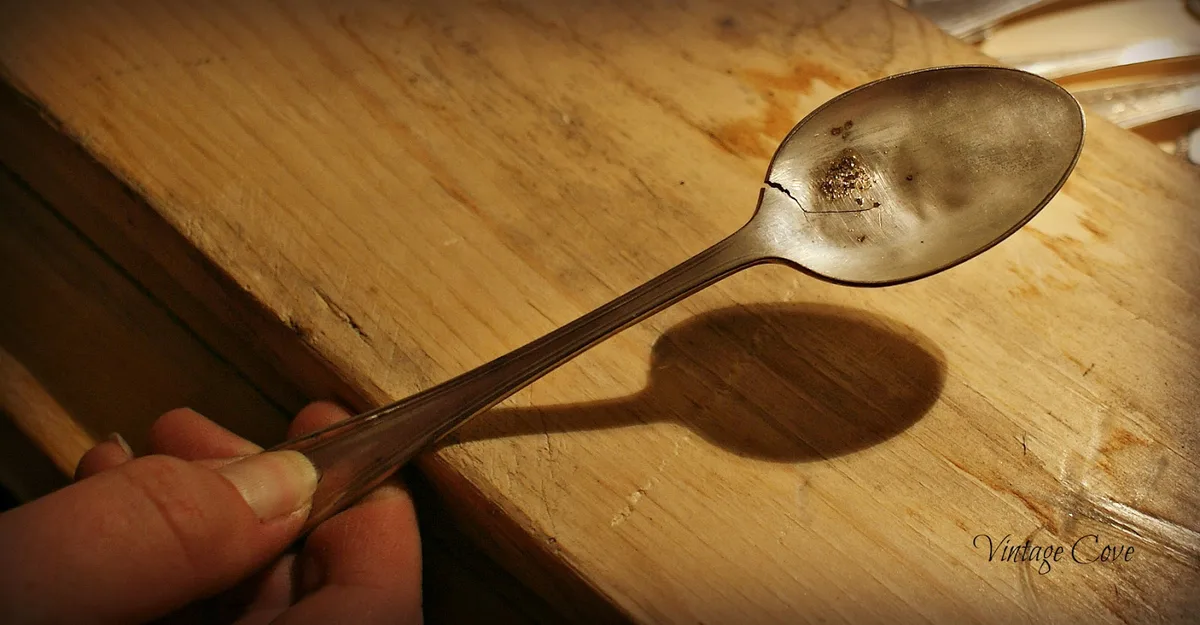
Sanding Out Cracks and Deep Scratches
Begin by selecting the right grit progression. Start with 120-grit sandpaper for deep grooves, move to 220 for general smoothing, and finish with 320 for a surface ready to accept oil. Sand along the grain direction, never across it.
Cross-grain sanding leaves visible swirl marks that trap stains later. Wipe away all dust with a clean, dry cloth before proceeding. Apply food-safe mineral oil liberally using a lint-free rag.
Rub it into the sanded area until the wood stops absorbing. Wipe off any excess that remains on the surface after ten minutes. Allow the utensil to cure undisturbed for several hours or overnight before returning it to regular use.
Restoring Dry, Oily-Depleted Wood
When water droplets bead and roll off the surface instead of soaking in, the protective oil layer has worn thin. Full reconditioning requires submerging the entire utensil in mineral oil for two to four hours. Alternatively, wrap it in oil-soaked paper towels and seal it in a plastic bag to slow evaporation.
Remove the utensil, wipe the surface clean, and let it dry completely before storing. Monthly oiling during active cooking seasons keeps the wood hydrated and prevents the drying that leads to cracks in the first place.
Removing Tough Stains Without Damaging the Grain
Baking soda paste works best on recent staining from acidic or highly pigmented foods. Mix three parts baking soda with one part water until the consistency matches thick cream. Spread it over the stained area and let it rest for ten to fifteen minutes.
Gently scrub with a soft-bristled brush following the grain direction. Rinse thoroughly under warm running water and dry immediately with a towel, then air-dry completely before oiling. Never soak a stained utensil for extended periods, as water absorption worsens the problem.
Fixing Loose Handles on Composite Utensils
Wobble at the junction between handle and working end signals that the adhesive bond has failed. Clean both surfaces thoroughly, remove any old glue residue, and apply a thin bead of waterproof wood glue rated for food contact. Reassemble while the glue is still tacky, clamp firmly, and wipe away any squeezed-out excess.
Allow a full twenty-four hours of curing time under steady pressure before handling or washing the repaired utensil.
When to Keep Using It and When to Toss It
Some damage is cosmetic and repairable. Other damage crosses a safety or functional threshold that makes keeping the utensil a poor choice. Use the following criteria to separate salvageable tools from ones that belong in the trash.
Clear Thresholds for Replacement
Replace any wooden utensil showing deep longitudinal splits that compromise structural integrity. A crack running the full length of the handle or through the working end creates a point of failure that sanding cannot address. Persistent musty odours that survive vinegar treatment suggest deep biological contamination inside the wood.
Surface mold that returns after proper cleaning and oiling indicates spores have colonised beyond reach. Handle wobble that persists after gluing means the joint is too far gone to hold securely during use.
Items That Are Never Worth Saving
Utensils with black or green mould growing underneath the surface layer must be discarded immediately. Bleach and peroxide treatments only reach the surface. The fungal network inside the wood remains intact and can release spores during future use.
Pieces with broken or detached handles pose a choking and contamination risk. Small fragments can break off into food, and exposed glue joints harbour bacteria. Severely warped utensils that no longer sit flat or stir evenly create frustration and serve no practical purpose.
Cost-benefit analysis supports replacement when repair supplies and labour approach fifty percent of the price of a new tool. Quality hardwood serving sets range from fifteen to forty dollars depending on brand and wood type. Spending twenty dollars on glue, sandpaper, and oil to save a ten-dollar spoon rarely makes financial sense.
Prevention and Long-Term Care That Actually Works
Daily habits and seasonal maintenance determine whether wooden utensils last two years or ten. The steps below reflect manufacturer recommendations, food-safety best practices, and patterns observed across hundreds of user reviews.
Daily Washing and Drying Habits
Hand-wash wooden tools immediately after each use with warm water and a mild detergent. Do not soak them. Dish soap residue builds up in grain pores over time and attracts particles that trap odours.
Dry with a clean towel within thirty seconds of rinsing, then stand the utensil upright in a ventilated crock. Never store wooden tools in a closed drawer while damp. That enclosed moist environment is exactly what breeds mold and accelerates warping.
Good indoor ventilation speeds drying dramatically compared to still, humid air.
Routine Oil Treatments and Schedules
Monthly oiling during active cooking seasons keeps most utensils in good condition. Heavily used tools benefit from biweekly treatments. Lightly used serving pieces only may require quarterly sessions.
Test readiness by sprinkling a few drops of water on the surface. If the water soaks in within seconds rather than beading up, it is time to reapply mineral oil regardless of schedule. Food-safe mineral oil stays liquid inside the wood and does not turn rancid.
Beeswax blends add surface water repellency but penetrate less deeply. Avoid tung oil unless the label explicitly states food-safe, as some formulations contain toxic drying agents.
Smart Storage Choices
Ventilated utensil crocks outperform closed jars or stacked drawers for long-term wood health. Upright positioning encourages airflow around the entire surface and prevents moisture from pooling at the base. Climate considerations matter too.
Humid summers increase warping risk, while dry winter heating intensifies cracking. Relocating utensils away from stovetop heat and sink splashes reduces environmental stress. In consistently dry climates, increase oiling frequency.
In humid regions, prioritise upright storage with maximum airflow. For information on maintaining other wooden or composite kitchen and dining tools, how to maintain camping kitchen gadgets shares similar moisture-management principles.
Common Mistakes That Shorten Utensil Lifespan
Even careful cooks make choices that quietly degrade wooden utensils over months or years. The following errors account for the majority of premature failures we see in practice.
Washing and Drying Errors
Leaving wooden tools soaking in water is the single fastest way to guarantee warping and glue-line failure. Stack-drying utensils in a confined space traps moisture between surfaces and encourages mold. Using abrasive scouring pads and harsh detergents strips the protective oil layer and roughens the grain, making future staining and bacterial retention far more likely.
Never run wooden utensils through a dishwasher cycle, even on a gentle setting. The combination of prolonged water exposure and high heat guarantees dimensional instability.
Storage and Environmental Blunders
Storing utensils while still damp is a recurring mistake, especially after quick rinses under the tap. Placing them near stovetops or direct sunlight dries the wood too rapidly and promotes checking. Ignoring seasonal humidity shifts at home means utensils absorb or release moisture faster than oil can compensate.
In consistently dry climates, increase oiling frequency. In humid regions, prioritise upright storage with maximum airflow. Small environmental adjustments yield outsized longevity gains.
Maintenance Neglect
Waiting until problems are obvious before acting allows minor issues to become irreversible damage. Skipping oiling entirely and hoping the wood survives on its natural reserves is a fast track to cracking. Assuming all food-safe oils behave the same way overlooks the difference between penetrating mineral oil and surface-only waxes.
Each type serves a distinct purpose, and using only one repeatedly leaves gaps in protection. Keeping the correct fluid level on wooden surfaces means matching treatment to the current condition rather than relying on a single routine year-round.
Mold and Mildew Spots: Identify and Handle the Right Way
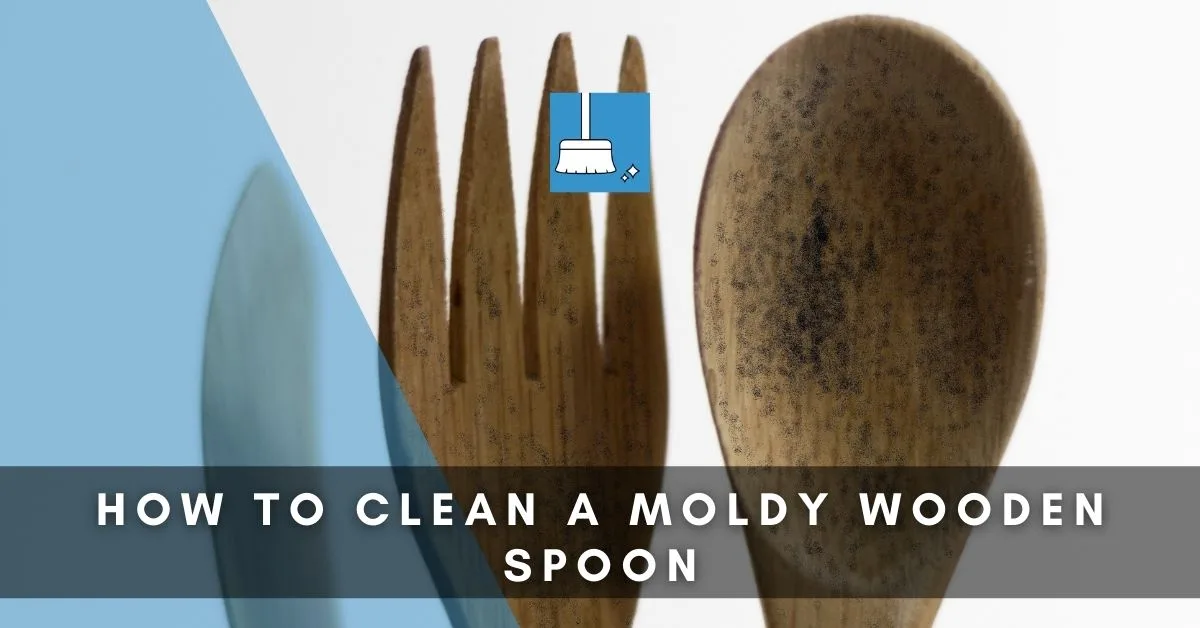
Surface mold appears as small black, green, or white specks on exposed wood. Deep mold hides beneath the surface and cannot be reached by any cleaning solution. Knowing the difference determines whether you can save the utensil or must throw it away.
Treating Surface Mold Safely
Diluted household bleach at one part bleach to ten parts water kills surface spores effectively. Apply the solution with a cloth, let it sit for five minutes, then rinse completely and dry thoroughly. Hydrogen peroxide at three percent strength works equally well and leaves no residual odour.
Treat the area immediately after detection rather than waiting for spotting to spread across the surface.
When Mold Means Toss
If discolouration appears dark and embedded inside the grain, the fungal network has penetrated beyond reach. Bleach and peroxide only treat the surface layer. Inside colonization cannot be eliminated through any home method.
Discard the utensil immediately to avoid contaminating other tools or food. Early detection prevents this outcome almost entirely.
Frequently Asked Questions About Maintenance
Can you put wooden utensils in the dishwasher?
Never place wooden serving tools in a dishwasher. Prolonged water exposure and high heat guarantee warping, cracking, and glue-line failure. Hand-wash with warm soapy water, dry immediately, and oil monthly instead.
Dishwashers void most manufacturer care recommendations and shorten tool life dramatically.
What is the best oil for wooden serving utensils?
Food-safe mineral oil remains the top choice because it penetrates deeply and never turns rancid. Beeswax blends add surface water repellency but do not nourish the interior wood fibre. Avoid plant-based oils such as walnut, linseed, or vegetable oil, which oxidise and develop unpleasant odours over time.
Always verify that any product label states food-safe before application.
How do you remove persistent garlic or onion odours?
Rub the affected area with coarse salt and a cut lemon half, then rinse and dry completely. Vinegar diluted with equal parts water neutralises sulphur compounds effectively when soaked briefly and rinsed. Sunlight exposure helps break down odor-causing molecules during the drying stage.
Persistent smells usually point to porous grain that absorbed residues repeatedly over time.
Is olive wood better than maple for kitchen use?
Olive wood carries attractive grain patterns and naturally high density, but it tends to crack more readily than tightly-grained maple due to irregular growth rings. Maple offers consistent hardness around 1,450 Janka pounds and resists denting better than most alternatives. Both woods perform well when oiled regularly, so climate and personal aesthetic preference matter more than species alone.
How long does re-oiled wood take to cure before use?
Apply mineral oil and let it absorb for two to four hours before wiping off excess. Allow the utensil to air-dry undisturbed for several hours or overnight before returning it to regular use. Full curing happens within twenty-four hours under normal kitchen conditions.
Faster curing occurs in warm, dry, ventilated spaces compared to cool humid environments.

Ethan Cole is a kitchen innovation enthusiast and food technology writer at DiningGadgets.com. With over 8 years of experience reviewing cookware, smart kitchen tools, and design trends, he helps readers discover gadgets that make cooking easier and dining more enjoyable. When he’s not testing the latest kitchen appliances, Ethan enjoys experimenting with recipes and sharing practical tips for modern homes.