How to Use Picnic Table Accessories: The Ultimate Guide
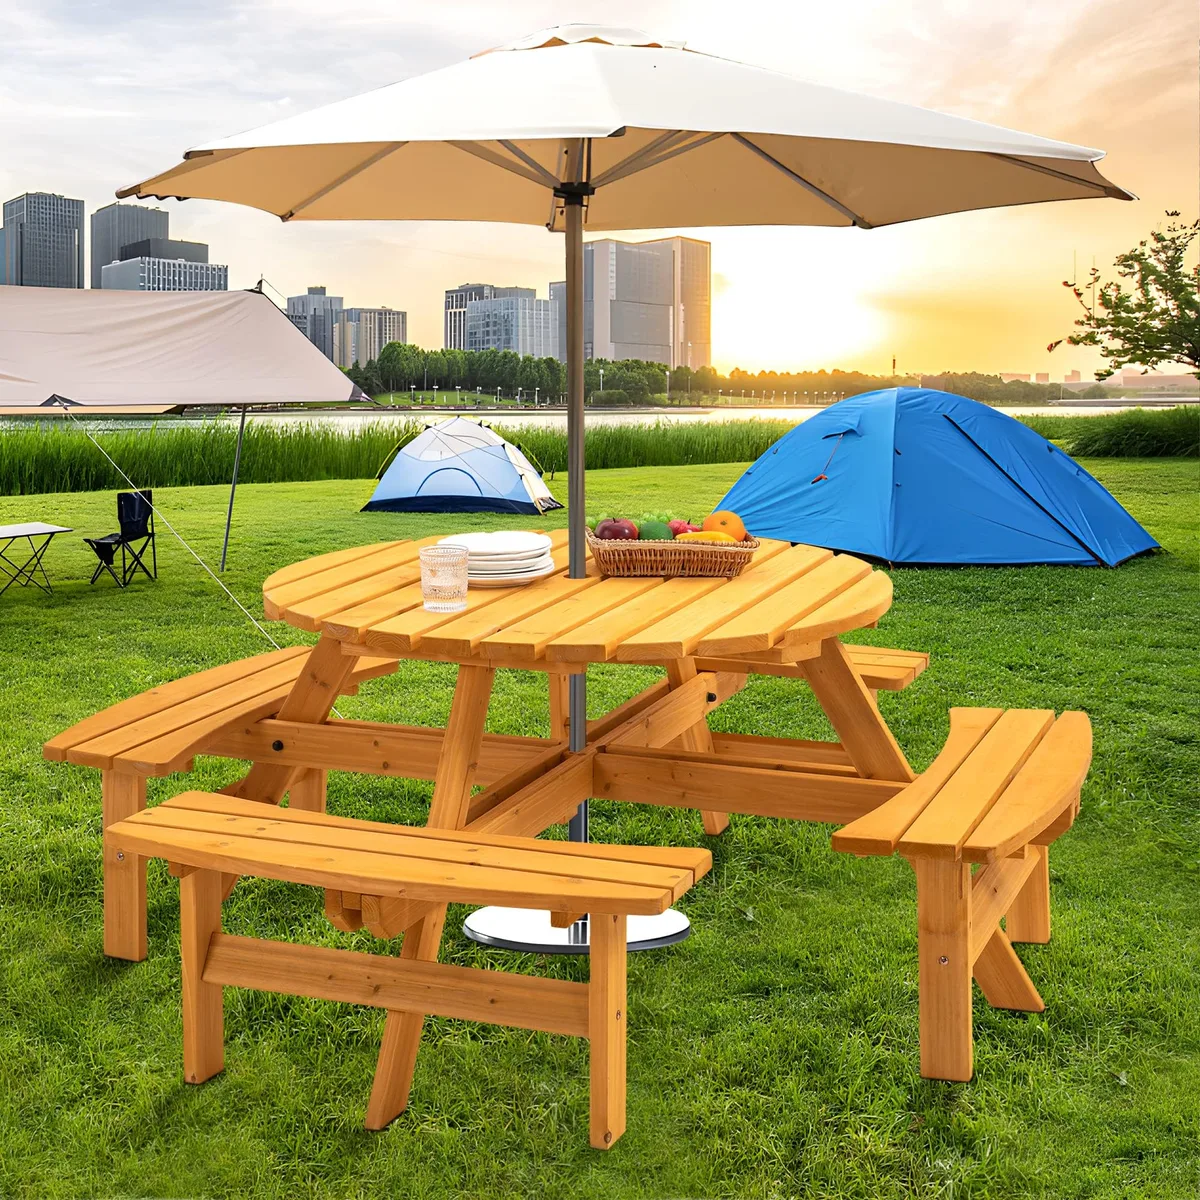
Most people buy picnic table accessories and then struggle to fit them properly. The real question isn't what you should buy. It's how to use picnic table accessories without damaging your table or making it unsafe.
When you get it right, these upgrades turn a basic outdoor table into a shaded, powered, and comfortable space. Start with the basics, then match each part to your table type and climate before you drill any holes or bolt anything on.
A standard backyard picnic table usually has legs that measure between 1.5 inches and 2 inches round, and bench widths run from 24 inches to 36 inches. That means one size rarely fits all when you're adding umbrella inserts, side baskets, or bench cushions. Your next step is figuring out which attachments actually work for your table and how to install them safely.
Let's walk through exactly how to choose, fit, and maintain those pieces so they last several seasons.
Before you spend money on add-ons, clarify what problem you want to solve first. Most buyers jump straight to "umbrella holder" without considering wind, table material, and where you store the table in winter. That approach usually ends with cracked plastic, loose bolts, and a table surface full of unnecessary holes.
A slower approach saves cash and keeps your wood or metal intact.
Start by listing your top three priorities for outdoor meals. Shade matters most in hot climates, while storage and organization matter more in compact yards. If you host game nights often, a built-in cup holder or game tray makes sense.
If you eat outside daily, weatherproof cushions can improve comfort dramatically. Don't try to upgrade everything at once; pick one functional gap and solve it cleanly.
Match each priority to an accessory category before you browse stores. Umbrella inserts, leaf extensions, bench cushions, basket pulls, fan mounts, LED kits, and wheel kits all solve different problems. Each one also carries its own installation complexity and long-term maintenance needs.
A clear list helps you avoid impulse buys and keeps your attention on pieces that fit your actual routine.
When you know what you need, check whether your table design supports that upgrade path. Some tables ship with reinforced legs or pre-drilled holes for accessories. Others have weak joints that simply shouldn't take extra weight or drilling.
Understanding your table's construction now prevents regret later. Many DIY failures come from mismatched mounting points rather than low-quality parts.
Matching Accessories to Your Table Type and Local Climate
Your table material and local weather decide which accessories will survive, not the other way around. Wooden picnic tables react differently to moisture than powder-coated steel frames. An insert that grips perfectly on aluminum may warp or crack on untreated pine.
Similarly, a coastal breeze carries salt that eats cheap fasteners within one season. Climate shapes your choice just as much as your lifestyle does.
Consider UV exposure, rainfall frequency, and seasonal temperature swings in your area. High-UV regions degrade cheap plastics and fade fabric quickly, so choose UV-stabilized materials instead. Heavy rain zones demand quick-drain cushion covers and rust-resistant hardware.
Cold climates require removable accessories that won't split when frozen. Wind-prone areas need anchored tables, heavier base weights, or umbrella locks rather than delicate mounts.
Match your table's leg diameter and joint style to the accessory mounting system. Many inserts assume a 1.5-inch to 2-inch round leg, but commercial park tables sometimes use square or rectangular supports. Clamp-on systems work better on uneven surfaces, while threaded inserts need clean, straight holes.
If your table has detachable benches, avoid permanent modifications that lock the frame permanently.
Check manufacturer guidance before modifying anything. Some brands void warranties if you drill into load-bearing joints or use non-standard hardware. A few tables include accessory rails already, which changes the entire installation approach.
Reading the manual or checking the brand website takes five minutes and can save you from expensive mistakes. When in doubt, stick to no-drill solutions like tension-mounted shades or freestanding umbrella bases placed beside the table.
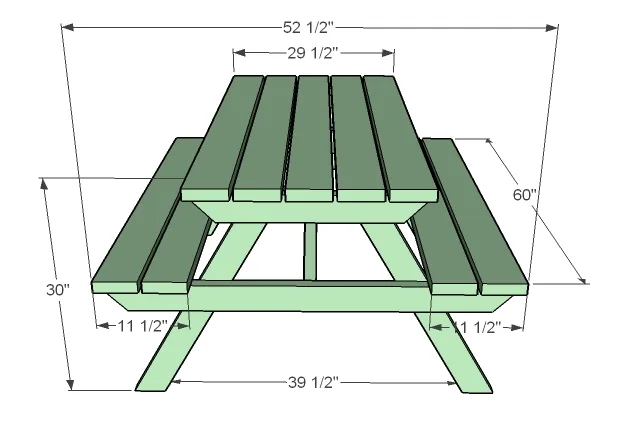
Installing the Essentials Without Compromising Table Structure
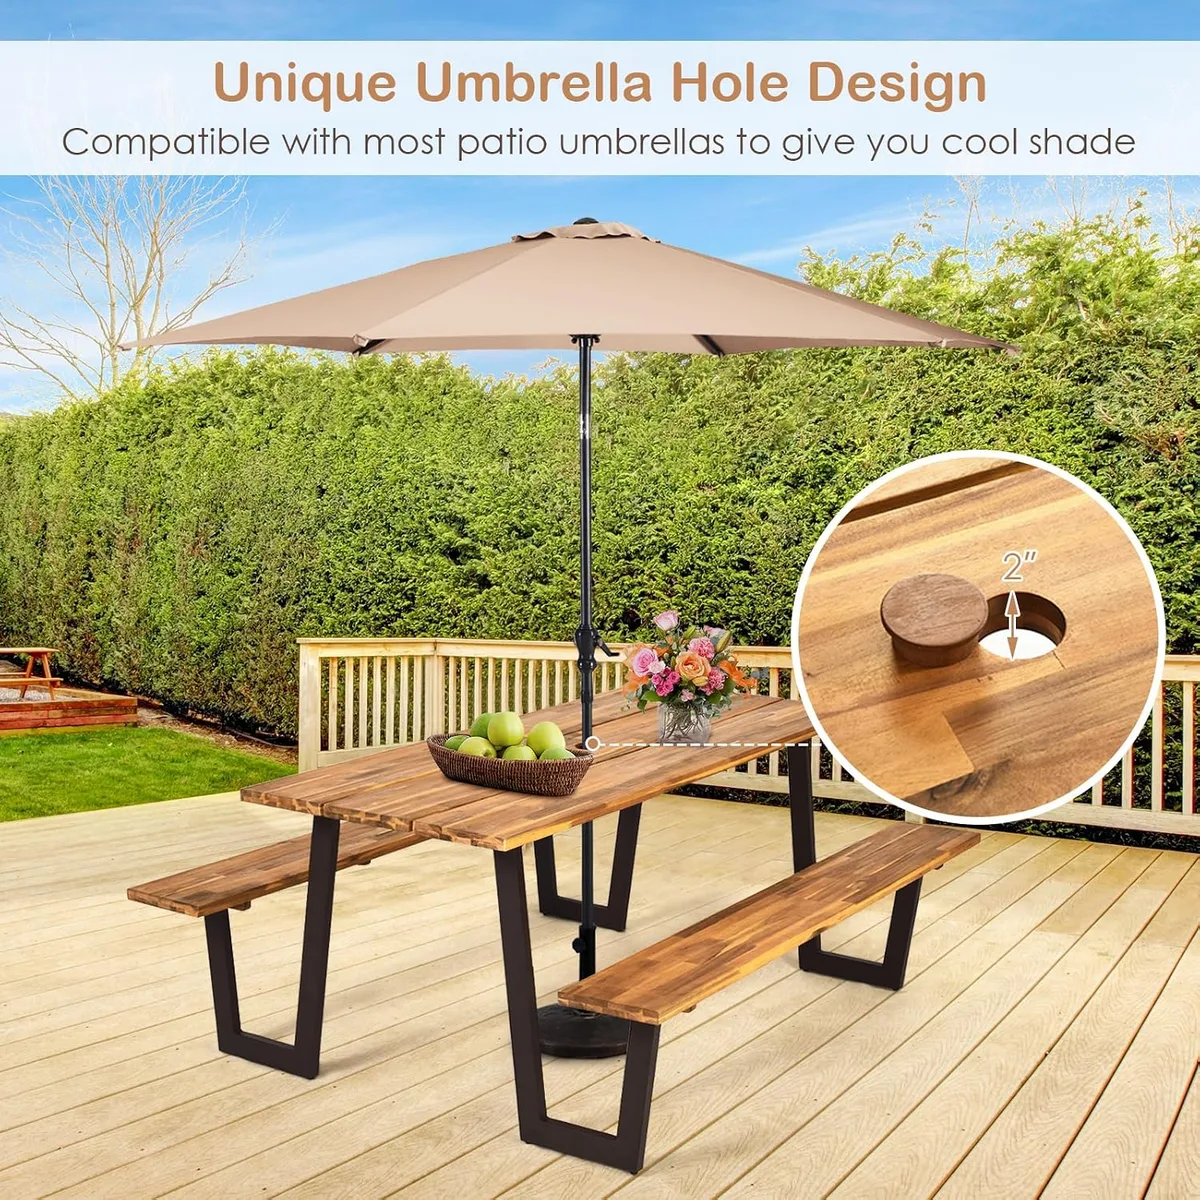
Image source: Web (Bing) / manuals.plus (Web image (fair-use with source credit))
Installation fails mostly because people skip preparation and rush the first bolt. A proper setup protects your table's frame, maintains balance, and keeps warranties intact. The core steps are simple, but each one deserves attention before you move forward.
Start by cleaning the mounting area thoroughly, removing dirt, old finish residue, and any loose splinters.
Measure twice, mark once, and use a pilot hole whenever you're working near solid wood or thin metal. Undersized holes split timber over time, while oversized holes let hardware wiggle loose in wind. Use the correct screw length so you never puncture through the tabletop or bench surface.
If you're installing a power hub near seating, route cords away from foot traffic and secure them with outdoor-rated cable clips.
Choose marine-grade stainless steel or coated hardware for every bolt, nut, and washer you add. Plain steel fasteners rust quickly outdoors, and rust stains spread through wood grain where cleanup becomes nearly impossible. Tighten fittings steadily, then recheck them after a few weeks of temperature changes.
Wood swells and contracts with humidity, so initial torque settings shift as seasons pass.
Never drill into structural joints or cross-braces unless the table manual explicitly allows it. Those areas carry bending loads every time someone sits down. Reinforced leg caps and designated accessory ports are safe targets; random mid-frame drilling is not.
If your table lacks built-in ports, consider clamp-on or strap-mounted options instead. Keeping the frame intact matters more than adding convenience features.
Common Setup Mistakes That Lead to Wasted Money or Unsafe Tables
Most accessory problems trace back to a handful of repeated mistakes. The biggest is assuming every table accepts every mount. Sizes vary widely, and forcing a mismatched insert cracks frames or strips threads over time.
Another frequent error is skipping sealant around drilled holes, which lets water sit inside timber and causes rot months later. Proper sealing extends accessory life far more than expensive hardware ever could.
Over-tightening bolts is surprisingly common and quietly destructive. Wood compresses, metal deforms, and plastic housings fracture when tightened past their limits. Use steady hand pressure, stop when resistance rises sharply, and rely on washers to distribute force evenly.
Loose bolts cause wobble, while over-tightened ones cause stress fractures. Both lead to replacements you didn't plan for.
Ignoring wind dynamics turns lightweight accessories into dangerous projectiles. Umbrella inserts, fan mounts, and open-side baskets catch air like sails when gusts hit. Secure heavy items directly to load-bearing points, use ballast when needed, and remove removable pieces before forecasted storms.
A $30 wind event costs far less than a broken table leg or an injured guest.
Another overlooked mistake is mixing incompatible finishes and cleaners. Harsh chemicals strip protective coatings, weaken adhesives, and accelerate UV damage on plastics. Stick to mild soap, soft brushes, and manufacturer-recommended sealants.
Keep spare grommets, washers, and replacement screws in a small kit so minor wear never stalls your projects. Small discipline now prevents costly rebuilds later.
Maintaining and Storing Accessories for Long-Term Use
Maintenance keeps your upgrades functional across multiple seasons without constant replacement. Start with a quick inspection after each heavy-use period. Check for loose fasteners, worn gaskets, cracked plastic hinges, and any signs of moisture trapped beneath cushion covers or metal brackets.
Catching small issues early stops them from becoming structural problems.
Clean accessories regularly using gentle methods that won't degrade seals or coatings. Wipe metal parts with a damp cloth, dry them completely, and apply a light protective spray if the manufacturer recommends it. Fabric cushions benefit from removable, machine-washable covers rated for outdoor use.
Store spare hardware in labeled bags so you don't lose small pieces during seasonal turnover.
Winter storage requires planning if you live where freeze-thaw cycles are common. Remove fragile inserts, foldable trays, and cushion sets before temperatures drop consistently below freezing. Clean, dry, and coat wooden contact points with a weather-resistant sealant before rehosing everything.
Proper off-season care reduces spring setup time and prevents unexpected breakage when you first reinstall parts.
Re-torque fasteners seasonally, especially after temperature swings or heavy outdoor use. Wood expands and contracts, which loosens even well-installed bolts over time. A brief monthly check during peak season catches movement before it causes rattles, misalignment, or unsafe wobble.
Consistent maintenance outperforms occasional deep repairs every single time.

Sophia Martinez is a culinary lifestyle writer and product reviewer for DiningGadgets.com. Passionate about blending style with functionality, she explores the latest dining essentials, kitchen décor, and cleaning hacks that transform everyday cooking spaces. With a background in home organization and design, Sophia brings readers expert advice on creating beautiful, practical kitchens that truly feel like the heart of the home.