How to Clean an Outdoor Serving Tray (Step-by-Step Guide)
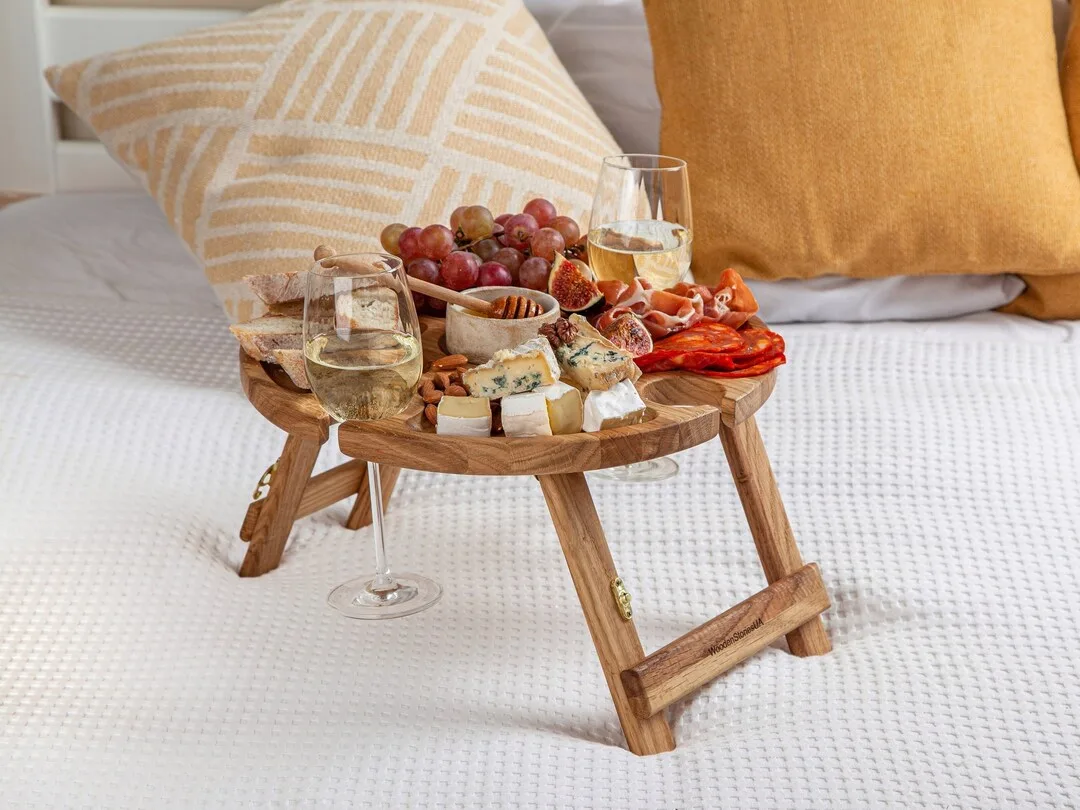
If you've ever wondered how to clean outdoor serving tray without damaging the surface, you're not alone. Water rings, mildew, and stubborn food stains love a patio table, but the solution changes completely depending on what your tray is made of.
That's why we'll start by helping you identify your material, then walk through the right process for each type. You'll also learn what most people get wrong, like soaking wood trays or using bleach on colored resin. Once you know the basics, keeping your outdoor serving ware looking fresh is straightforward.
Quick Answer
How to clean outdoor serving tray depends on the material. For wood, use mild soap and water, then dry immediately. For resin, scrub with baking soda paste and rinse.
For metal, wipe with vinegar solution and dry. Always check manufacturer care instructions before starting.
Why Treating Every Outdoor Tray the Same Is a Recipe for Ruin
You bought an outdoor serving tray to make hosting easier. Then you spilled red wine, left it out in the rain, and now you're staring at a dull, stained mess. If you try the same cleaning routine on every tray, you risk warping wood, scratching metal, or fading resin.
The biggest mistake? Assuming a universal cleaner works. In reality, wood needs nourishment, metal needs rust prevention, and stone needs pH balance.
Think of each material as having its own rulebook. If your tray is porous wood, water seeps into the grain and causes swelling. If it's aluminum, harsh acids strip the protective coating.
If it's colored resin, bleach bleaches the color entirely.
Most people ruin a tray because they skip the identification step. They grab all-purpose spray and scrub away, not realizing they're damaging the finish. We'll break down each material so you know exactly what to do.
By the end, you'll match the cleaner to the tray and keep it looking new for years.
Figuring Out What You're Actually Cleaning
Before you reach for any bottle, pause and identify your tray. The correct method hinges entirely on material, and guessing leads to costly mistakes. Let's walk through how to figure out what you're dealing with.
The Four Clues That Tell You Your Tray's Material
Look at weight, sound, texture, and label. These four clues reveal whether you're holding wood, metal, resin, or stone.
- Weight: Wood and resin feel light to medium. Metal feels substantial, often cool to the touch. Stone is heaviest.
- Sound: Tap two edges together. Wood gives a dull thud. Metal rings. Resin sounds flat.
- Texture: Run your fingers over the surface. Wood has grain. Metal feels smooth or brushed. Resin is uniform plastic.
- Label: Check for manufacturer tags, often on the underside or rim. Look for care symbols or material names.
If you still can't tell, combine clues. A lightweight tray with visible grain is almost certainly wood. A heavy tray that rings when tapped is metal.
Where to Find Manufacturer Labels and Care Tags
Check the underside, the rim, or the original packaging. Manufacturers often print material composition and care instructions there. Some labels are hidden under the lip or on the bottom edge.
If the tray came with a booklet, review it first.
No label? Search online by model number or retailer name. Use a photo search if you have the tray's design.
Many brands post care sheets on their websites. This step saves time and prevents damage from guesswork.
The Scratch and Weight Tests That Confirm It Fast
Gently scratch an inconspicuous area and compare weight to similar trays. These tests confirm your initial assessment without risking damage.
For the scratch test, use a fingernail or coin on the bottom edge. Wood leaves a faint line but doesn't chip. Metal won't mark.
Resin may show a white scuff. Stone resists scratching entirely.
For the weight test, hold the tray in one hand and compare it mentally to a known material. Aluminum feels lighter than steel. Resin feels lighter than wood of the same size.
Stone feels dense and cool.
These quick checks cost nothing and prevent wrong cleaning choices. Once you know the material, move to the right cleaning process.
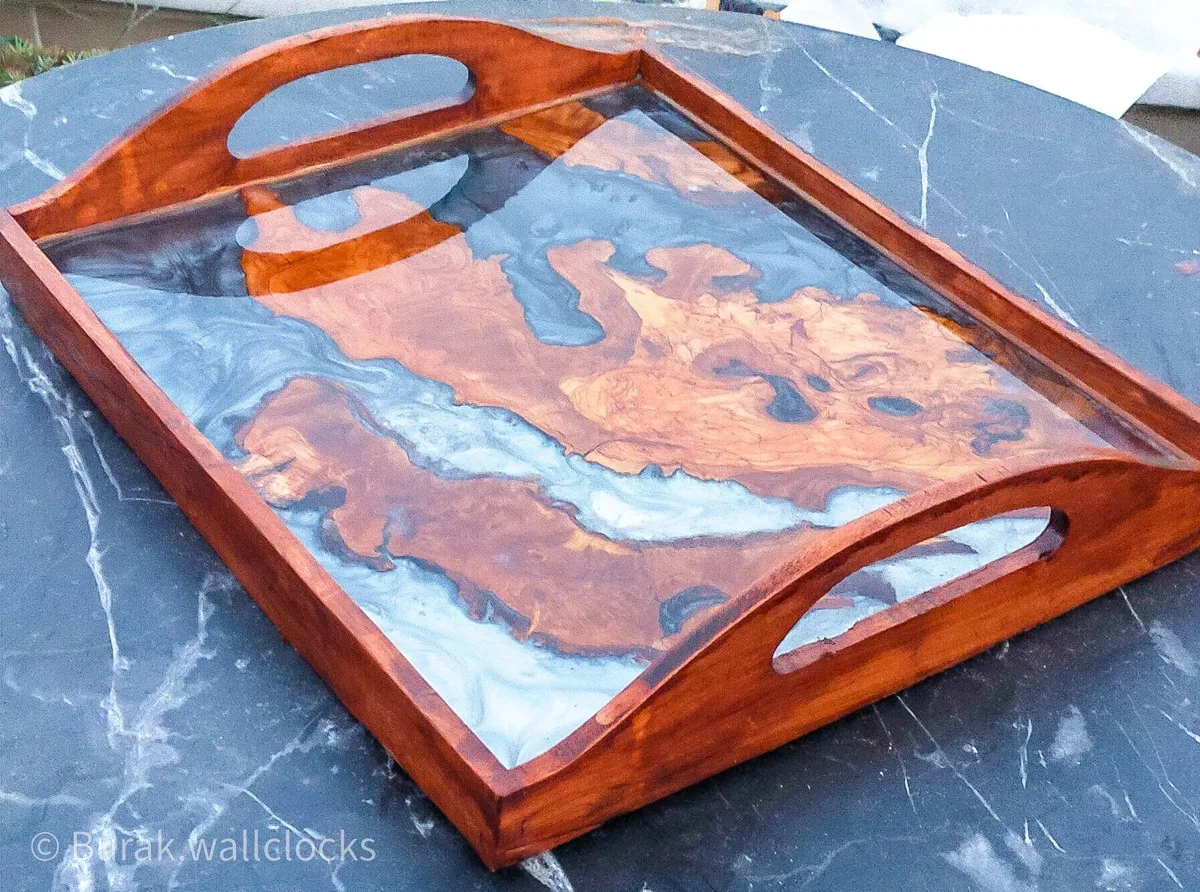
The Right Way to Clean Each Common Tray Material
Each material has a specific cleaning routine. Follow these methods to remove dirt without causing harm. Let's start with the most common types.
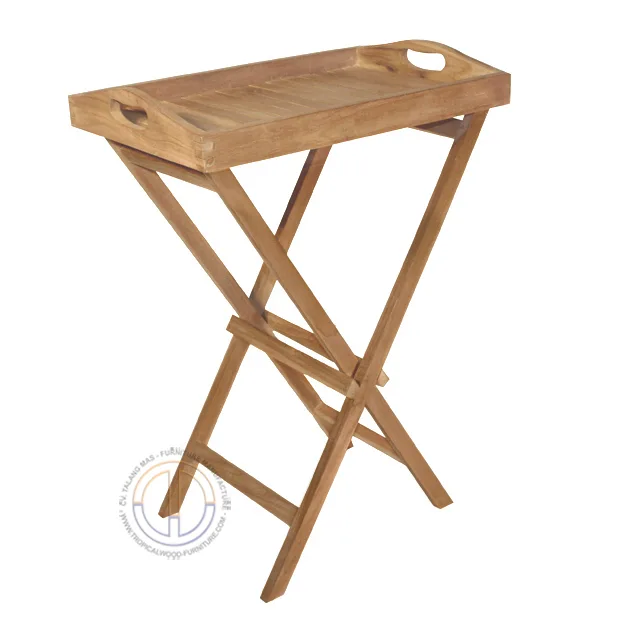
Wood Trays: Dust, Gentle Wash, and Immediate Drying
Start by dusting, then wash with mild soap and water, and dry thoroughly. Wood is porous and sensitive to moisture, so speed matters.
Step 1: Remove loose debris with a soft brush or microfiber cloth. Dust before wetting to avoid mud.
Step 2: Mix a few drops of dish soap in a bucket of warm water. Dampen a cloth, never soak the wood. Wipe along the grain.
Step 3: Rinse with a clean, damp cloth. Immediately dry with a towel. Allow to air-dry completely before using or storing.
Unsealed wood absorbs water quickly. Sealed wood has a protective coating but can still crack if soaked. Teak, acacia, and cedar vary slightly in oil needs.
Teak benefits from annual oiling, while acacia may need it less often. Cedar resists rot naturally but dries out in sun.
To re-oil, apply a thin coat of teak oil or spar urethane after cleaning. Rub in with a cloth, let sit, then buff off excess. This restores water resistance and rich color.

Metal and Wrought Iron Trays: Tackling Rust and Preventing It
Clean with a vinegar solution, dry completely, and apply a protective coating. Metal trays resist water but can rust or lose their finish if abused.
Aluminum steps: Mix equal parts white vinegar and water. Spray onto the tray, wipe with a soft cloth, then dry immediately. Avoid abrasive pads that scratch powder coatings.
Wrought iron steps: Inspect for surface rust. Apply a paste of baking soda and water to rust spots. Gently scrub with a nylon brush.
Rinse and dry thoroughly. After cleaning, apply a thin layer of metal wax or clear sealant to prevent future rust.
Never leave metal trays wet. Standing water accelerates oxidation, especially in humid climates. Store trays covered or indoors during heavy rain.
Resin and Plastic Trays: Banishing Scuffs and Stubborn Stains
Use a baking soda paste for stains, avoid pressure washing, and rinse gently. Resin is durable but can scratch and fade if treated harshly.
Cleaning steps: Sprinkle baking soda over stained areas. Add a little water to form a paste. Gently rub with a soft cloth in circular motions.
Let sit for 10 minutes, then rinse with cool water. Dry with a microfiber towel.
Avoid pressure washers. High pressure can erode the resin surface, making it look chalky and worn. Instead, use a garden hose on low setting or a damp cloth.
For grease or adhesive residue, dab a small amount of isopropyl alcohol on a cotton pad. Test on a hidden spot first to ensure colorfastness. Wipe gently, then rinse.
Glass and Stone Trays: Streak-Free Shine Without Etching
For glass, use isopropyl alcohol for sticky residue and vinegar for hard water. For stone, use pH-neutral cleaners only. Both materials require gentle handling.
Glass steps: Mix equal parts vinegar and water in a spray bottle. Spray onto the tray, wipe with a lint-free cloth, and buff to shine. For sticky spills, dampen a cloth with isopropyl alcohol and blot.
Stone steps: Choose a pH-neutral cleaner labeled safe for stone. Never use vinegar, lemon juice, or acidic cleaners on marble, granite, or travertine. These etch the surface, leaving dull spots.
Clean with a soft cloth, rinse thoroughly, and dry completely.
Stone trays benefit from annual sealing. Apply a penetrating sealant according to manufacturer instructions. This repels stains and preserves the finish.
The Five Biggest Cleaning Mistakes You Probably Make
Even careful cleaners fall into traps. Here are the top five mistakes that damage outdoor trays and how to avoid them.
- Soaking wood trays until the joints swell and crack. Wood expands when wet. Prolonged soaking loosens glued joints and causes warping. Always damp-clean, never submerge.
- Using bleach or harsh detergents on colored resin. Bleach strips color and weakens plasticizers. Stick to mild soap or baking soda for resin trays.
- Scrubbing metal with steel wool and creating scratch pits. Steel wool leaves metal particles that rust later. Use nylon brushes or soft cloths instead.
- Ignoring damp storage conditions that invite mold. Storing trays while damp traps moisture and breeds mildew. Ensure complete dryness before covering or stacking.
- Skipping the dry step and leaving water beads on surfaces. Water spots lead to mineral deposits and corrosion. Dry every tray immediately after rinsing.
Recognizing these errors helps you adjust your routine. Small changes prevent big damage over time. If you're rotating out old trays for fresh ones, knowing the best way to pack glassware safely also helps protect both trays and drinkware during seasonal swaps.
When to Step Back: Signs Your Tray Needs More Than a Clean
Sometimes cleaning isn't enough. Certain signs indicate deeper issues that require restoration or replacement. Learn when to pause and assess.
- Deep cracks or splits in wood. Cracks wider than a hairline often mean structural failure. Filling cracks may look temporary, but the tray will likely weaken further.
- Loose joints that wobble despite tightening. Glued joints that separate repeatedly suggest failed adhesion. Re-gluing can work, but consider professional repair if the tray is valuable.
- Persistent odors that won't rinse out. Mold or mildew smells trapped in porous wood or stone may require sanding and resealing. If the smell remains after thorough cleaning, replacement might be safer.
- Extensive rust penetration on metal. Surface rust can be removed, but deep orange pits weaken the metal. Sand and apply rust converter, then seal. If pits are widespread, the tray may not support weight safely.
- Stone etching that leaves dull patches. Acid spills on marble or granite create permanent dull spots. Only polishing can restore shine, which is often impractical for large trays.
When in doubt, test a small area with your chosen method first. If damage spreads or worsens, stop and seek professional advice. Knowing when to step back saves money and prevents frustration.
If you decide to replace worn trays, check out the best brands of china dinnerware for durable options that withstand outdoor use.
Outdoor Tray Care: Quick Decision Table
A fast-reference table helps you match material to method instantly. Use this cheat sheet whenever you're unsure which approach to take.
| Material | Best Cleaner | Drying Time | Frequency |
|---|---|---|---|
| Wood | Mild soap + water | 2-4 hours | After each use |
| Aluminum | Vinegar solution | 1 hour | Weekly |
| Wrought Iron | Baking soda paste | 2 hours | Monthly |
| Resin | Baking soda paste | 30 minutes | After each use |
| Glass | Vinegar solution | 15 minutes | Weekly |
| Stone/ Marble | pH-neutral cleaner | 1 hour | Monthly |
Use wood care routines when your tray has visible grain or feels warm to the touch. Choose resin methods for uniform plastic surfaces that chip easily. Pick stone protocols only if your tray is sealed and labeled acid-resistant.
Pairing the right tray with quality flatware completes the setup, consider matching your serving pieces with a best gold flatware set that complements your outdoor aesthetic.
Material × Method × Don't Do This Cheat Sheet
This simplified matrix keeps you from mixing up methods under pressure.
| Material | Do This | Never Do This |
|---|---|---|
| Wood | Dry immediately after washing | Soak, hose down, or leave wet overnight |
| Aluminum | Wipe dry with microfiber cloth | Use steel wool or acidic cleaners |
| Wrought Iron | Apply protective wax post-clean | Leave outdoors uncovered year-round |
| Resin | Spot-treat stains with baking soda | Pressure wash or use bleach |
| Glass | Buff with vinegar solution | Scrub with abrasive pads |
| Stone | Seal annually and clean gently | Use vinegar, lemon, or ammonia |
Follow the "do this" column for every cleaning session. Break the "never do this" rules and you risk irreversible damage. Read more about the best 18/0 stainless steel flatware to find pieces that pair well with cleaned outdoor trays.
How Often to Clean, Dry, and Treat Each Surface Type
Frequency depends on usage and climate. Heavy entertaining demands more frequent attention than casual weekend use.
- After every party: Wipe down all trays, regardless of material. Remove food residue before it sets.
- Weekly: Deep clean high-use resin and aluminum trays in busy households.
- Monthly: Inspect and treat wood and stone trays with oil or sealant.
- Seasonally: Before summer, wash all trays thoroughly. Before winter, store indoors or cover completely.
Climate accelerates wear. Coastal salt air corrodes metal faster. Desert sun fades resin and cracks unsealed wood.
Humid regions breed mold on porous surfaces. Adjust your schedule based on local conditions rather than a fixed calendar.
If you're rotating out old trays for fresh ones, knowing the best place to sell glassware for top value can help offset replacement costs while keeping unwanted items out of landfills.
Outdoor Serving Tray Care: FAQs Answered
Here are the most common questions we see about maintaining outdoor serving trays. These answers address real concerns readers bring up after trying different methods.
Can I Put My Outdoor Tray in the Dishwasher?
No. Dishwashers expose trays to extreme heat and high-pressure water that most outdoor materials can't handle. Wood warps, resin cracks, and metal finishes degrade.
Hand washing remains the only safe option for every tray type listed here.
What's the Safest Cleaner for a Wooden Tray Used for Cheese and Wine?
A mixture of mild dish soap and warm water is safest for food-contact wood surfaces. Rinse thoroughly and dry completely before serving. Avoid vinegar, baking soda, or commercial cleaners on raw wood meant for direct food contact unless the manufacturer confirms they're food-safe.
How Do I Remove Red Wine Stains from a White Resin Tray?
Apply a thick baking soda paste directly to the stain. Let it sit for 15 minutes, then gently rub with a soft cloth. Rinse and repeat if the stain persists.
Most white resin trays respond well to this method without discoloration, provided you don't scrub too hard.
Should I Cover My Tray When It's Not in Use?
Yes. UV rays fade colors on resin and strip oils from wood. Rain introduces moisture that causes warping and mold.
A breathable cover protects against both without trapping condensation underneath. Store covered trays in a dry shed or garage during off-season months.
How Do I Store Trays Over Winter Without Trapping Moisture?
Clean and dry every tray completely before storage. Stack them in a dry, ventilated space like a garage or basement. Place silica gel packets between layers to absorb residual humidity.
Never store trays in a damp basement corner or sealed plastic bin without airflow.
What's the Difference Between Sealing and Oiling a Wood Tray?
Sealing creates a hard, waterproof barrier on the surface using products like spar urethane. Oiling nourishes the wood fibers and enhances grain color using natural oils like teak or linseed. Sealed trays resist spills better.
Oiled trays look richer but need more frequent reapplication. Many owners combine both: oil first, then seal for maximum protection.
When Should I Replace My Outdoor Serving Tray Rather Than Repair It?
Replace when structural integrity is compromised, such as deep cracks in wood, extensive rust through metal, or irreversible etching on stone. Repair works for surface-level issues like minor scratches, light rust spots, or faded finishes. If cleaning restores appearance, keep it.
If damage affects function or safety, replace it.

Sophia Martinez is a culinary lifestyle writer and product reviewer for DiningGadgets.com. Passionate about blending style with functionality, she explores the latest dining essentials, kitchen décor, and cleaning hacks that transform everyday cooking spaces. With a background in home organization and design, Sophia brings readers expert advice on creating beautiful, practical kitchens that truly feel like the heart of the home.