How to Clean Grease off Kitchen Walls before Painting: Easy Steps
Stubborn kitchen grease is the silent enemy of a flawless paint job. Aerosolized cooking oil, stovetop splatters, and daily hand traffic leave a hydrophobic, oily residue on walls that prevents paint from adhering properly. If you skip thorough grease removal before painting, you’ll be dealing with peeling, bubbling, and unsightly yellowing in as little as 6 months—wasting the time and money you invested in your kitchen refresh. This 2026 updated guide walks you through easy, proven steps to clean every trace of grease off your kitchen walls, so your new paint job stays smooth and fresh for years.
Why Proper Grease Removal Matters Before Painting
Grease buildup in kitchens is far more pervasive than most homeowners realize. It doesn’t just come from obvious stovetop splatters: aerosolized oil from frying, steam carrying fine grease particles, and even skin oils from touching light switches and cabinet edges all settle on walls over time. On glossy semi-gloss kitchen walls (the most common kitchen paint finish for their moisture resistance), grease binds tightly to the smooth surface and seeps into porous drywall or plaster underneath. For more on this, see our guide on how to clean kitchen grease off painted walls. Even if you can’t see visible stains, this invisible grease layer creates a barrier that stops primer and paint from bonding. The result is peeling, uneven coverage, and yellowing that shows through light paint colors within a year of application. Taking 30 minutes to properly clean and prep your walls before painting will save you from costly repaints and touch-ups down the line.
Pre-Clean Prep: Protect Your Kitchen and Gather Supplies
Proper setup cuts down on cleanup time and prevents accidental damage to your kitchen fixtures and finishes. If you’re also planning to update your kitchen hardware during this refresh, our guide to removing a wall-mounted kitchen faucet walks you through that process without harming your prepped walls. For more on this, see our guide on how to clean kitchen grease off walls.
Clear the Space
Start by removing all items from the work area: take down wall art, clocks, and shelving, unscrew outlet and light switch covers, and move all countertop items at least 2 feet away from the walls. If possible, shift small appliances and movable furniture out of the room entirely to avoid tripping hazards and splatter damage.
Gather Your Tools
Having all supplies on hand before you start will help you work efficiently without interruptions. You’ll need:
- Drop cloths or plastic sheeting
- Painter’s tape
- Warm water
- Your chosen cleaner (degreaser, vinegar solution, or TSP)
- Sponge, soft microfiber cloths, and a soft-bristle brush (for textured walls)
- 120-grit sandpaper
- Rubber gloves (and eye protection for heavy-duty cleaners)
- Clean rags for drying
- Optional: handheld steamer for heavy baked-on grease
Protect Surrounding Surfaces
Lay drop cloths or plastic sheeting over countertops, cabinets, and flooring, and secure the edges with painter’s tape to prevent cleaning solution from seeping under. Tape over electrical outlets and switches to avoid water damage. If your home was built before 1978, it may contain lead-based paint: follow the EPA’s lead-safe renovation guidelines to avoid disturbing hazardous lead dust during your project.
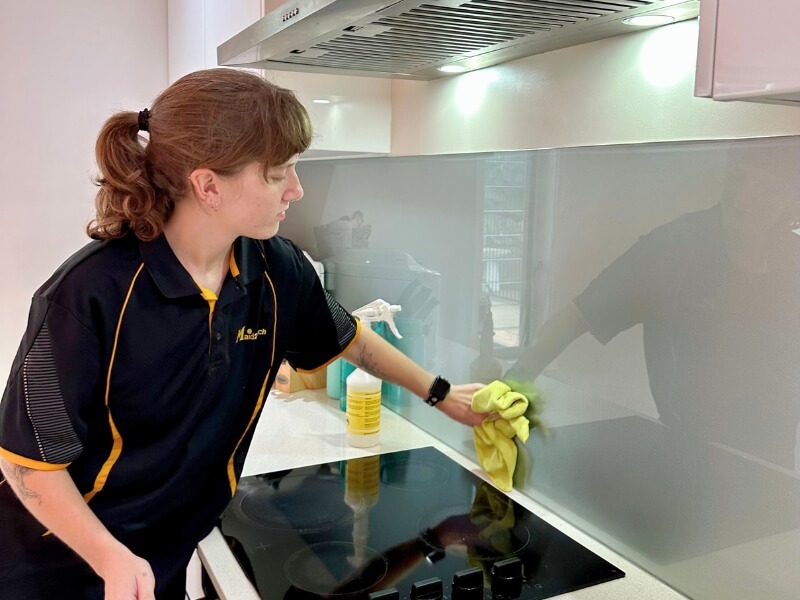 Start cleaning at the top of the wall to prevent greasy drips from re-soiling lower areas
Choose the Right Cleaner for Your Wall Type
Not all cleaners are created equal for kitchen grease removal, and using the wrong product can damage your paint or drywall. The best option depends on how much buildup you’re working with and your wall’s finish. Use the table below to pick the right cleaner for your space:
| Cleaner Type | Best For | Pros | Cons | Wall Compatibility |
|---|---|---|---|---|
| All-purpose degreaser (e.g., Krud Kutter, Zep) | Heavy, baked-on grease above stovetops and range hoods | Cuts through thick grease in 1-2 minutes, minimal scrubbing required | Often contains harsh chemicals, requires ventilation | Safe for painted drywall, plaster, and tile backsplashes |
| Vinegar + dish soap solution | Light to moderate surface grease across entire wall | Non-toxic, budget-friendly, leaves no residue | Requires more scrubbing for heavy buildup | Safe for all painted wall types, test first on wallpaper |
| Baking soda paste | Small, stubborn localized stains | Gentle, non-abrasive, deodorizes | Slow-acting (needs 10-15 minute dwell time) | Safe for all surfaces, including matte and eggshell paint |
| Trisodium phosphate (TSP) | Extreme, years of built-up grease on unglazed surfaces | Most powerful option for hydrophobic grease, available at most hardware stores | Requires PPE, can damage unsealed drywall and wallpaper | Safe only for sealed painted drywall, plaster, and tile |
| For glossy semi-gloss walls, avoid natural vinegar solutions alone: the oil-resistant finish traps grease that requires a stronger degreaser to break down. |
Step-by-Step Grease Cleaning Process
Follow this process to remove all grease without damaging your wall’s paint or surface:
Test Your Cleaner First
Before applying any cleaner to the full wall, test it in an inconspicuous spot (like behind a cabinet edge or in a closet) and wait 5 minutes. Check for paint discoloration, peeling, or surface damage. If the cleaner causes any issues, switch to a milder option.
Clean From Top to Bottom
Start at the top of the wall and work your way down in 3×3 foot sections. This prevents dirty, greasy water from dripping onto already cleaned areas, which would re-deposit oil and undo your work. Apply cleaner with a sponge or spray bottle, focusing extra attention on high-grease zones: the 2-foot area above your stovetop, around your range hood, and near your kitchen sink.
Scrub Gently
Use soft, circular motions to lift grease without scratching the paint. For textured walls (orange peel, knockdown), use a soft-bristle brush to work cleaner into the grooves, which a standard sponge can’t reach. A common mistake homeowners make is scrubbing aggressively: this will wear down paint and gouge drywall, leading to more repair work before painting. If grease isn’t lifting, let the cleaner sit for 2-3 minutes to break down the oil before scrubbing again.
Rinse and Dry
After scrubbing each section, wipe the wall with a clean, damp microfiber cloth to remove all cleaner and grease residue. Leftover soap or degreaser creates an invisible barrier that blocks primer from bonding, leading to peeling paint just 6 months after application. Dry the wall immediately with a clean towel to avoid water damage to drywall.
Tackling Stubborn, Baked-On Grease Stains
For grease that’s been building up for years, or thick splatters above your stovetop, follow these targeted methods:
Baking Soda Paste
Mix 2 parts baking soda with 1 part warm water to form a thick paste. Apply the paste directly to the stain, let it sit for 15 minutes to break down the oil, then scrub gently with a soft sponge. Wipe clean with a damp cloth and dry. This method is ideal for small, localized stains and is safe for all paint finishes.
Magic Eraser Method
Dampen a melamine foam (Magic Eraser) with water (don’t soak it, as excess water can damage drywall). Rub the greasy spot in small circular motions, applying light pressure to avoid scuffing paint. Wipe the area with a damp cloth to remove any leftover residue from the eraser.
Steam Cleaning for Heavy Buildup
If you have a handheld garment steamer, hold it 6 inches from the wall and apply steam to the greasy area for 30 seconds. The heat loosens baked-on grease without scrubbing, making it perfect for old, set-in stains on unglazed surfaces. Wipe the loosened grease away with a clean microfiber cloth once cooled.
Final Wall Prep Before Painting
Cleaning is only the first step to a long-lasting paint job. Proper post-cleaning prep ensures your primer and paint adhere evenly and stay fresh for years. For evidence-based best practices on wall preparation, the University of Minnesota Extension recommends prioritizing stain-blocking primer for kitchen spaces with a history of grease buildup.
Inspect for Remaining Grease
Perform a water test to confirm all grease is removed: sprinkle a few drops of water on the wall. If the water beads up, there’s still grease residue—clean that area again. If the water soaks into the wall evenly, you’re ready for the next step.
Sand the Surface
Use 120-grit sandpaper to lightly scuff the entire wall, especially glossy areas, to create a rough texture for primer to bond to. Wipe away all sanding dust with a damp cloth once finished.
Fill Imperfections
Use a putty knife to apply spackle to any nail holes, cracks, or gouges in the drywall. Let the spackle dry completely per the manufacturer’s instructions, then sand smooth to blend with the surrounding wall.
Apply Primer
Use a shellac-based stain-blocking primer (not standard latex primer) for greasy kitchen walls: shellac seals in any remaining trace grease and prevents it from bleeding through your topcoat paint. Apply a thin, even coat with a roller, and let it dry fully (usually 1-2 hours) before painting.
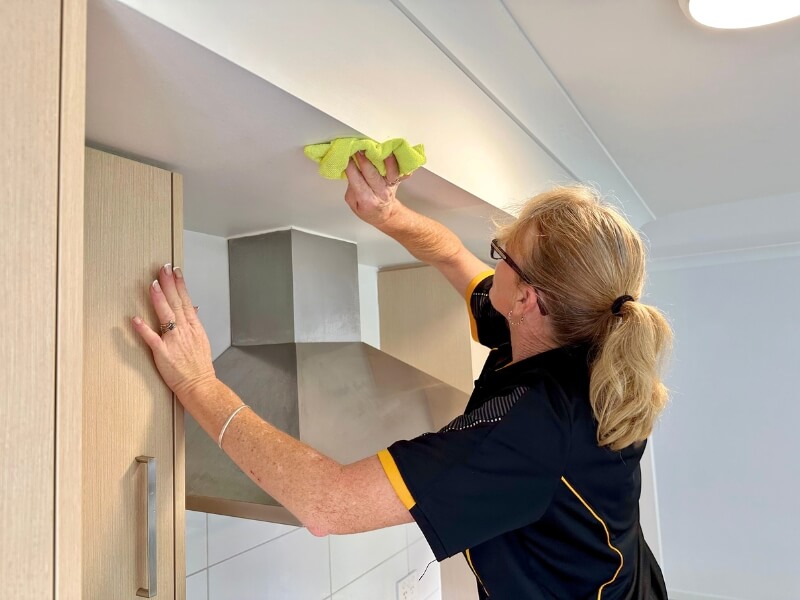 Use a soft-bristle brush for textured walls to lift grease from crevices without scratching paint
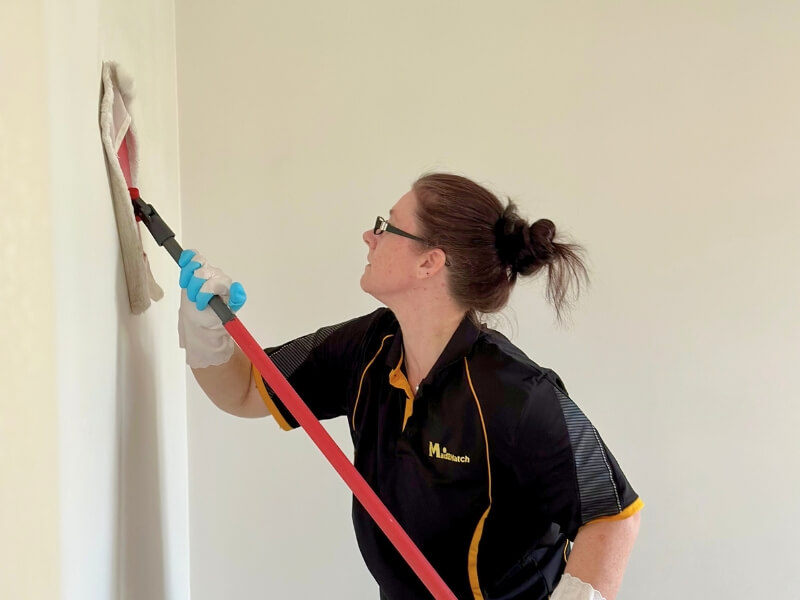 A flat microfiber mop covers large wall areas faster than hand scrubbing for full-wall cleaning
Frequently Asked Questions
How long do walls need to dry after cleaning before painting?
Wait for walls to dry completely to the touch, which takes 1-2 hours in normal conditions, or up to 4 hours in humid kitchens. If you’re unsure, wait 24 hours to avoid trapping moisture under the paint, which can cause bubbling and mold growth.
Can I use TSP to clean grease off kitchen walls?
Yes, TSP is highly effective for heavy, years of built-up grease, but it requires strict safety precautions: wear rubber gloves, eye protection, and work in a well-ventilated area. It is not safe for unsealed drywall, wallpaper, or matte paint, so test a small area first and rinse thoroughly after use.
Will vinegar damage painted kitchen walls?
No, diluted white vinegar (equal parts vinegar and water) is safe for all standard painted wall finishes when used as directed. Avoid using undiluted vinegar, which can dull matte and eggshell paint over time.
Do I need to prime kitchen walls after cleaning grease?
Yes, absolutely. Even after thorough cleaning, trace amounts of grease can remain in porous drywall. A shellac-based stain-blocking primer seals the surface and prevents grease from bleeding through your topcoat paint, ensuring a long-lasting, even finish.
How do I remove grease from textured kitchen walls?
Use a soft-bristle brush to work cleaner into the grooves of orange peel or knockdown textured walls, then wipe clean with a damp microfiber cloth. Avoid using abrasive scrubbers, which will damage the texture and scratch paint.
Conclusion
Cleaning grease off kitchen walls before painting is a small, time-consuming step that delivers huge long-term returns. By choosing the right cleaner for your wall type, working from top to bottom, and using a stain-blocking primer, you’ll avoid peeling, bubbling, and yellowing that would otherwise ruin your paint job in a matter of months. If you’re still deciding on a paint color for your freshly prepped walls, check out our guide to wall colors for green cabinets for a cohesive, modern look that complements your kitchen’s style, or our guide to wall shades for brown cabinetry for warm, inviting tones that pair with traditional and contemporary designs.