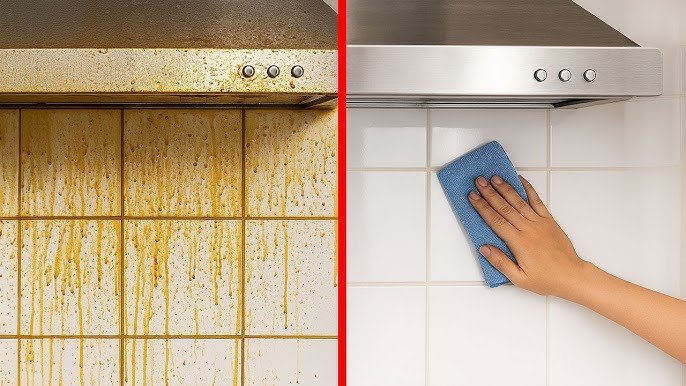
How to Get Old Grease off Kitchen Walls: Easy & Effective Tips
Stubborn old grease on kitchen walls is one of the most frustrating, overlooked cleaning challenges homeowners face. It doesn’t just make your cooking space look dingy and unkempt—over time, caked-on grease can degrade paint finishes, attract dust and bacteria, and even cause unpleasant stale cooking odors that linger no matter how much you air out the room. If you’ve tried scrubbing with standard all-purpose cleaner only to end up with smeared, streaky grease that seems to come back overnight, you’re not alone: most standard cleaners aren’t formulated to break down the tough, polymerized oil bonds that make old kitchen grease so hard to remove. This guide shares easy, effective, paint-safe tips to lift even years-old grease stains from every type of kitchen wall, plus simple habits to stop buildup from coming back. You don’t need harsh chemicals or professional cleaning services to get spotless, fresh-looking walls—just the right supplies and techniques.
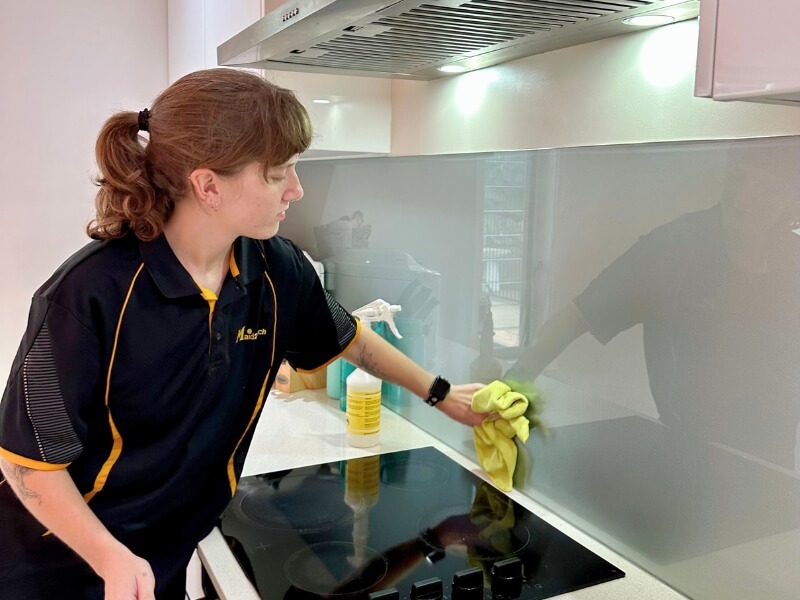 Wiping greasy walls with a soft cloth after applying cleaner prevents smearing and residue
Credit: www.maid2match.com.au
Wiping greasy walls with a soft cloth after applying cleaner prevents smearing and residue
Credit: www.maid2match.com.au
What Causes Stubborn Old Grease on Kitchen Walls?
Understanding where kitchen grease comes from and why it gets harder to remove over time will help you choose the right cleaning approach and prevent future buildup.
Common Grease Sources in the Kitchen
When you cook, high heat causes cooking oils and fats to vaporize into tiny airborne particles that settle on nearby walls, ceilings, and cabinet fronts within 2-3 feet of the cooktop. The U.S. Environmental Protection Agency notes that cooking is a leading source of indoor air pollution, with grease particles making up a large portion of the pollutants released during high-heat cooking methods like frying, searing, and broiling. Common culprits for excess grease buildup include frying breaded foods, grilling indoors, cooking fatty cuts of meat, and using your oven’s broiler without proper ventilation. Cooking without lids or splatter guards dramatically increases the amount of grease released into the air, and if your range hood only recirculates air instead of venting it outside, nearly all of that grease will end up settling on your walls instead of being exhausted from your home.
Why Grease Gets Harder to Remove Over Time
Fresh grease is relatively easy to wipe away with soap and water, but old grease undergoes a process called polymerization: when it’s exposed to repeated heat and oxygen, the oil molecules bond together and harden onto wall surfaces. Each new layer of grease also traps dust, pollen, and cooking debris, creating a sticky, grimy layer that resists standard cleaners. Over time, this buildup can also oxidize and turn yellow or brown, leaving discoloration even after the grease itself is removed.
How Wall Finish Impacts Grease Buildup
The type of finish on your kitchen walls plays a huge role in how much grease accumulates and how hard it is to remove. Gloss and semi-gloss paint have a smooth, non-porous surface that repels grease and is easy to wipe clean, while matte and flat paint have a porous texture that absorbs grease particles over time, leading to stubborn, discolored stains. Unsealed wallpaper is even more vulnerable: it will absorb grease quickly, leading to yellowing, peeling, and permanent damage if cleaned with liquid products. Grease buildup is also more noticeable on light-colored walls, as the oils oxidize and turn yellow or brown over time, leaving unsightly stains even after the grease is removed.
Pre-Cleaning Prep: Protect Your Space for Better Results
A few minutes of prep before you start scrubbing will protect your walls and make the cleaning process far more effective. The biggest mistake homeowners make when tackling grease stains is skipping prep: scrubbing dirty walls with cleaner just mixes dust and grease into a muddy paste that smears the stain further and creates more work later.
Identify Your Wall Type First
Start by confirming what kind of finish your kitchen walls have. If you have matte, flat, or unsealed wallpaper, avoid saturating the surface with liquid, as excess moisture can cause water stains, peeling, or warping. Test any cleaning solution in an inconspicuous spot (like behind the fridge or inside a cabinet) first: apply the cleaner, let it sit for 10 minutes, wipe it away, and check for discoloration or damage before proceeding to the rest of the wall.
Gather the Right Supplies
Collect all your tools before you start to avoid interruptions mid-clean:
- Dedicated grease-cutting cleaning solution (homemade or commercial, formulated for your wall type)
- Baking soda and white distilled vinegar for homemade treatments
- Soft non-abrasive sponges or microfiber cloths (avoid steel wool or scouring pads)
- Soft bristle brush for textured walls or stubborn spot stains
- Rubber gloves and eye protection if using chemical cleaners
- Drop cloths or old towels, painter’s tape, and a spray bottle
Protect Surrounding Areas
Cover countertops, backsplains, and floors with drop cloths or old towels to catch drips and splatters. Tape over light switch plates and electrical outlets to avoid getting water or cleaner into electrical components. Move any wall decor or items on nearby shelves out of the way to prevent accidental damage.
Best Cleaning Solutions for Old, Set-In Grease
Not all cleaning products work equally well on old kitchen grease, which is made of polymerized oil bonds that bond to wall surfaces over time. Choosing the right solution for your wall type and the severity of the grease will save you time and avoid damaging your finishes.
Homemade Non-Toxic Options
Simple household ingredients are effective for light to medium grease buildup, and are safe for most wall types:
- Warm dish soap and vinegar solution: Mix 2 cups warm water, 1 tablespoon clear grease-cutting dish soap (like Dawn), and 1 cup white distilled vinegar in a spray bottle. The vinegar dissolves grease bonds, while the dish soap lifts oils off the surface. This is the safest option for most painted walls. Spray directly on the grease, let sit 5-10 minutes, then wipe away.
- Baking soda paste: Mix 3 parts baking soda with 1 part warm water to form a thick paste. For spot-treating stubborn stains, apply the paste with a soft cloth or soft bristle brush, let sit 10-15 minutes, then scrub gently. The mild abrasive action lifts grease without scratching paint or tile, making it ideal for glossy finishes and sealed backsplashes.
- Lemon juice and baking soda scrub: For greasy stains that also have a stale, cooked-oil smell, mix lemon juice (citric acid breaks down grease and neutralizes odors) with enough baking soda to form a fizzing paste. Apply to the stain, let sit 5 minutes, scrub gently, then rinse. This works well for medium-severity stains on glossy painted walls and tile.
- Dry grease sponge: For unsealed wallpaper or delicate wall surfaces that can’t handle liquid, use a dry grease-cutting sponge (available at most hardware stores) to lift surface grease without saturating the paper.
Commercial Cleaners for Heavy, Years-Old Buildup
If homemade solutions don’t lift grease that’s been set in for a year or more, opt for a paint-safe commercial degreaser formulated for kitchen use. Look for products labeled safe for painted surfaces (like Krud Kutter Original or Zep Heavy-Duty Degreaser) to avoid stripping your wall finish. Spray degreasers work well for large areas, while foam degreasers cling to vertical surfaces to avoid drips, making them ideal for walls above the stove. Always follow the product’s instructions for sit time, wear rubber gloves, and ventilate the area well while using chemical cleaners. Avoid abrasive cleaners like scouring powder, steel wool, or ammonia-based products, as they will scratch paint, discolor finishes, and release harmful fumes.

Use this quick reference table to pick the right solution for your needs:
| Cleaning Solution | Best For | Safe For Wall Types | Grease Severity |
|---|---|---|---|
| Dish soap + vinegar spray | Most general use | Painted (all finishes), sealed tile | Light to medium |
| Baking soda paste | Stubborn spot stains | Painted (semi-gloss/gloss), tile, sealed stone | Medium to heavy |
| Lemon juice + baking soda scrub | Stained, odorous grease | Glossy painted, tile, laminate | Medium to heavy |
| Heavy-duty degreaser (paint-safe) | Years-old, caked-on grease | Painted (semi-gloss/gloss only) | Heavy |
| Dry grease sponge | Unsealed wallpaper, delicate surfaces | Unsealed wallpaper, drywall | Light to medium |
Step-by-Step Grease Removal Process (No Damage, No Smears)
Once you have your supplies and solution ready, follow this process to remove old grease without damaging your walls or smearing the stain around:
Step 1: Dry Prep to Avoid Smearing
Use a dry microfiber cloth to wipe away all loose dust, food crumbs, and surface grime from the greasy area. This prevents you from spreading grease around while cleaning. For textured walls or corners where dust accumulates, use a soft bristle brush to loosen debris first.
Step 2: Apply Cleaner and Let It Sit
Spray or dab your chosen solution directly onto the greasy spot, avoiding over-saturating the wall (especially for matte paint or drywall—excess moisture can cause water stains or peeling). Let it sit for 5-15 minutes depending on how old the grease is: older, thicker grease needs more time to break down grease bonds. A common mistake is rinsing cleaner off too early, which leaves grease residue behind and forces you to repeat the process.
Step 3: Gentle Scrubbing Techniques
Use a soft non-abrasive sponge or microfiber cloth to scrub in small circular motions, working from the top of the stain down to avoid drips running down onto clean wall. For textured walls, use a soft bristle brush to get into crevices. Avoid pressing too hard, as that can damage paint. If the grease is still lifting after scrubbing, reapply cleaner and let sit another 5 minutes before scrubbing again.
 Gentle circular scrubbing motions lift grease without damaging painted wall finishes
Credit: www.youtube.com
Gentle circular scrubbing motions lift grease without damaging painted wall finishes
Credit: www.youtube.com
Step 4: Rinse and Dry Properly
Wipe the area with a clean, damp microfiber cloth to remove any leftover cleaner or dissolved grease. Then immediately dry with a dry microfiber cloth to prevent water spots. For extra shine on glossy walls, buff with a clean dry cloth. Open a window or run your range hood while cleaning to ventilate the area, especially if you’re using vinegar or commercial cleaners.
How to Remove Extremely Stubborn, Years-Old Grease Stains
If you’ve followed the step-by-step process above and still have visible grease after two attempts, you’re likely dealing with extremely old, polymerized grease that has bonded to the wall surface. Try these targeted solutions for tough stains:
For Glossy Painted Walls and Tile
Use a barely damp melamine foam (Magic Eraser) to gently scrub the stain in circular motions. The mild abrasive action lifts set-in grease without scratching glossy finishes. Important: Do not use melamine foam on matte, eggshell, or flat paint, as it will dull the finish permanently. Test in a hidden spot first, and avoid saturating the foam, as excess water can damage drywall.
For Stains That Won’t Budge
Make a paste of 3 tablespoons baking soda, 1 tablespoon 3% hydrogen peroxide (the kind sold at drugstores), and 1 drop of dish soap. Apply to the stain, let sit 10 minutes, then scrub gently with a soft cloth. The mild bleaching action of the hydrogen peroxide will break down oxidized grease bonds without damaging most paint. Test this on a hidden spot first if you have light-colored walls, as hydrogen peroxide can subtly lighten some paint finishes.
When to Spot-Repair Instead of Scrubbing
If the grease has caused paint to peel, bubble, or discolor permanently, stop scrubbing to avoid further damaging the drywall underneath. Gently scrape off any loose paint with a putty knife, sand the area smooth, apply a thin layer of primer, and repaint with a matching paint sample to blend the repair into the rest of the wall. This is far less work than trying to scrub away grease that has already damaged the paint binder.
Prevent Future Grease Buildup for Good
The easiest way to deal with old kitchen grease is to stop it from building up in the first place. A few simple habits and upgrades will cut down on your cleaning time drastically.
Optimize Your Kitchen Ventilation
Use your range hood every time you cook, and make sure it is vented to the outside of your home rather than just recirculating air. Recirculating hoods trap some grease in filters, but vented hoods exhaust 90% of airborne grease and cooking pollutants outside, per EPA guidance. Clean your range hood filter every 1-2 months: soak it in hot soapy water or run it through the dishwasher if it is dishwasher-safe to maintain maximum airflow. If you don’t have a range hood, keep a window open while cooking to improve airflow and reduce grease settling on walls.
Add Simple Cleaning Habits to Your Routine
Wipe down the area around your stove and backsplash with a damp cloth and a drop of dish soap after every heavy cooking session, before grease has time to set in. For light, fresh grease, a quick spritz of vinegar-water spray and wipe will prevent stains from forming. Add a monthly wall wipe-down to your cleaning schedule to catch any buildup before it becomes stubborn. If you’re a home cook who also enjoys experimenting with homemade fruit wine, a well-ventilated kitchen works double duty to keep cooking grease out and your brews contaminant-free. For beginner-friendly supplies to get started fermenting at home, see our fruit wine making kits roundup.
Choose Low-Maintenance Wall Finishes for Remodels
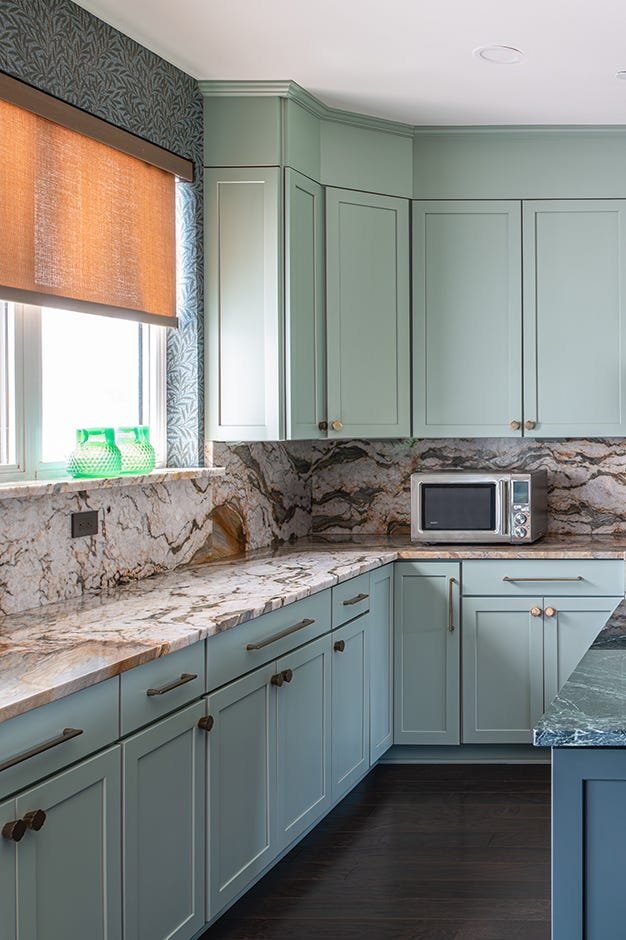
If you’re remodeling your kitchen, opting for a washable semi-gloss paint or a tile, glass, or stainless steel backsplash paired with low-maintenance wall colors can drastically reduce how often you need to tackle grease stains. For inspiration on finishes that hold up to heavy cooking, see our guide to coordinating wall colors for green kitchen cabinets — the same durable paint recommendations apply to brown cabinet setups too, which we cover in our wall color ideas for brown kitchen cabinets guide. For more advanced home fermenters, our guide to commercial-grade winemaking equipment breaks down durable options for frequent batches. Whether you’re whipping up weeknight dinners or testing out fermented beverage recipes, keeping your kitchen walls grease-free is key to maintaining a space that feels welcoming and functional. For entry-level supplies to get started, see our picks for beginner winemaking kits. While you’re deep cleaning your kitchen space, don’t forget to check your faucet for buildup — our guide to removing a wall-mounted kitchen faucet makes replacing an outdated or grimy fixture straightforward.
Frequently Asked Questions
Can I use bleach to remove grease from kitchen walls?
No, bleach is not effective at breaking down grease oils, and it can discolor paint, damage unsealed wallpaper, and release harmful fumes when mixed with other cleaning products. Stick to degreasers, vinegar, or dish soap solutions for safe, effective results.
Will vinegar damage painted kitchen walls?
Diluted white vinegar (1 part vinegar to 2 parts water) is safe for most painted walls, but always test it in an inconspicuous area first. Avoid using full-strength vinegar on matte or eggshell paint, as the high acidity can cause subtle discoloration over time with repeated use.
How do I remove grease from kitchen wallpaper?
For vinyl, washable wallpaper, use a barely damp cloth with a drop of mild dish soap, wiping gently to avoid saturating the paper. For unsealed paper wallpaper, avoid liquid cleaners entirely—use a dry grease-cutting sponge or a small amount of baking soda on a dry cloth to lift surface grease without causing peeling.
Why does grease keep coming back after I clean my walls?
This usually happens if the grease wasn’t fully broken down and rinsed off during cleaning, or if you don’t address the source of the grease. Make sure you’re using a dedicated degreaser (not just all-purpose cleaner), letting it sit long enough to dissolve the grease, and rinsing thoroughly. Also, improve ventilation and wipe walls regularly after heavy cooking to prevent new buildup.
Can I use a Magic Eraser on greasy kitchen walls?
Melamine foam (Magic Eraser) works well for glossy painted walls, tile, and laminate surfaces, as its mild abrasive action lifts set-in grease without scratching. Do not use it on matte, eggshell, or flat paint, as it will dull the finish permanently. Always test in a hidden spot first, and use it damp, not soaking wet, to avoid water damage.
Final Thoughts
Old, set-in grease on kitchen walls doesn’t have to be a permanent eyesore. By matching your cleaning solution to your wall type, prepping properly, and using gentle but effective techniques, you can lift even years-old stains without damaging your paint or finishes. For ongoing maintenance, a quick weekly wipe with a vinegar-water spray and consistent use of your range hood will stop grease from building up in the first place, saving you hours of scrubbing later. If you do encounter peeling or discoloration from long-term grease damage, spot-repairing with matching paint is a simple fix to restore your kitchen’s bright, fresh look. With these tips, you can keep your kitchen walls looking clean and inviting no matter how often you cook at home.