How to Get Grease off Painted Kitchen Wall: Quick & Easy Tips
Staring at a sticky, yellowed grease splatter on your freshly painted kitchen wall is one of the most frustrating small home headaches — especially if you’ve already ruined a sponge or two scrubbing too hard. Unlike stains on tile or a backsplash, grease on painted drywall requires a delicate touch: harsh abrasives or corrosive chemicals will dull your paint finish, cause peeling, or leave permanent discoloration in minutes. The good news? Most grease stains can be fully removed with gentle, paint-safe methods you likely already have in your kitchen, no professional cleaning required. This guide walks you through step-by-step, paint-protective tips to lift fresh and set-in grease, plus simple habits to stop stains from coming back.
First: Identify the Type of Grease on Your Wall
Before you reach for a cleaner, identifying what kind of grease you’re dealing with will save you time and protect your paint. Different grease compositions react to different cleaning agents, and using the wrong formula can dissolve the binder in your paint, causing long-term damage. In practice, the fastest way to narrow down the grease type is to assess its texture, smell, and origin.
Common Grease Types in Kitchens
Cooking Oil & Food Splatter Grease
This is the most common kitchen wall grease, caused by frying oil, simmering sauce splatter, or airborne grease particles from stovetop cooking. It typically appears as a shiny, slightly sticky film, often with a faint food smell, and is most common behind stovetops, above sinks, and around range hoods. Fresh stains are usually less than 24 hours old and easiest to remove.
Soot & Smoke-Residue Grease
If you regularly use a gas stove, wood-fired oven, or candles in your kitchen, this type of grease may be mixed with fine soot and smoke particles. It appears as a dull, matte dark film, often with a powdery or dry texture, and is most common in corners, above vents, or around fireplaces. This type of grease is harder to remove, as the soot particles can bond to paint pores.
Petroleum-Based Grease
This rare kitchen grease comes from transferring automotive oil, mechanical lubricant, or other petroleum products from your hands or tools to the wall. It appears as a thick, oily, translucent stain with a strong chemical odor, and is most common in garages or workshop-adjacent kitchens. This grease requires a solvent-based cleaner, but only if your paint is confirmed to be solvent-resistant.
How to Test Grease Type Quickly Without Scrubbing
- Touch test: Run a clean finger lightly over the stain. Sticky, tacky texture points to food grease; dry, powdery texture points to soot; thick, oily texture points to petroleum-based grease.
- Smell test: Hold the stain a few inches from your nose. Food-scented grease is cooking-related; smoky or burnt smells point to soot; strong chemical odors point to petroleum grease.
- Origin check: Note where the stain is located. Stains behind the stovetop or sink are almost always cooking-related; stains in corners near vents are often soot-based; stains near garage entryways are likely petroleum-based.
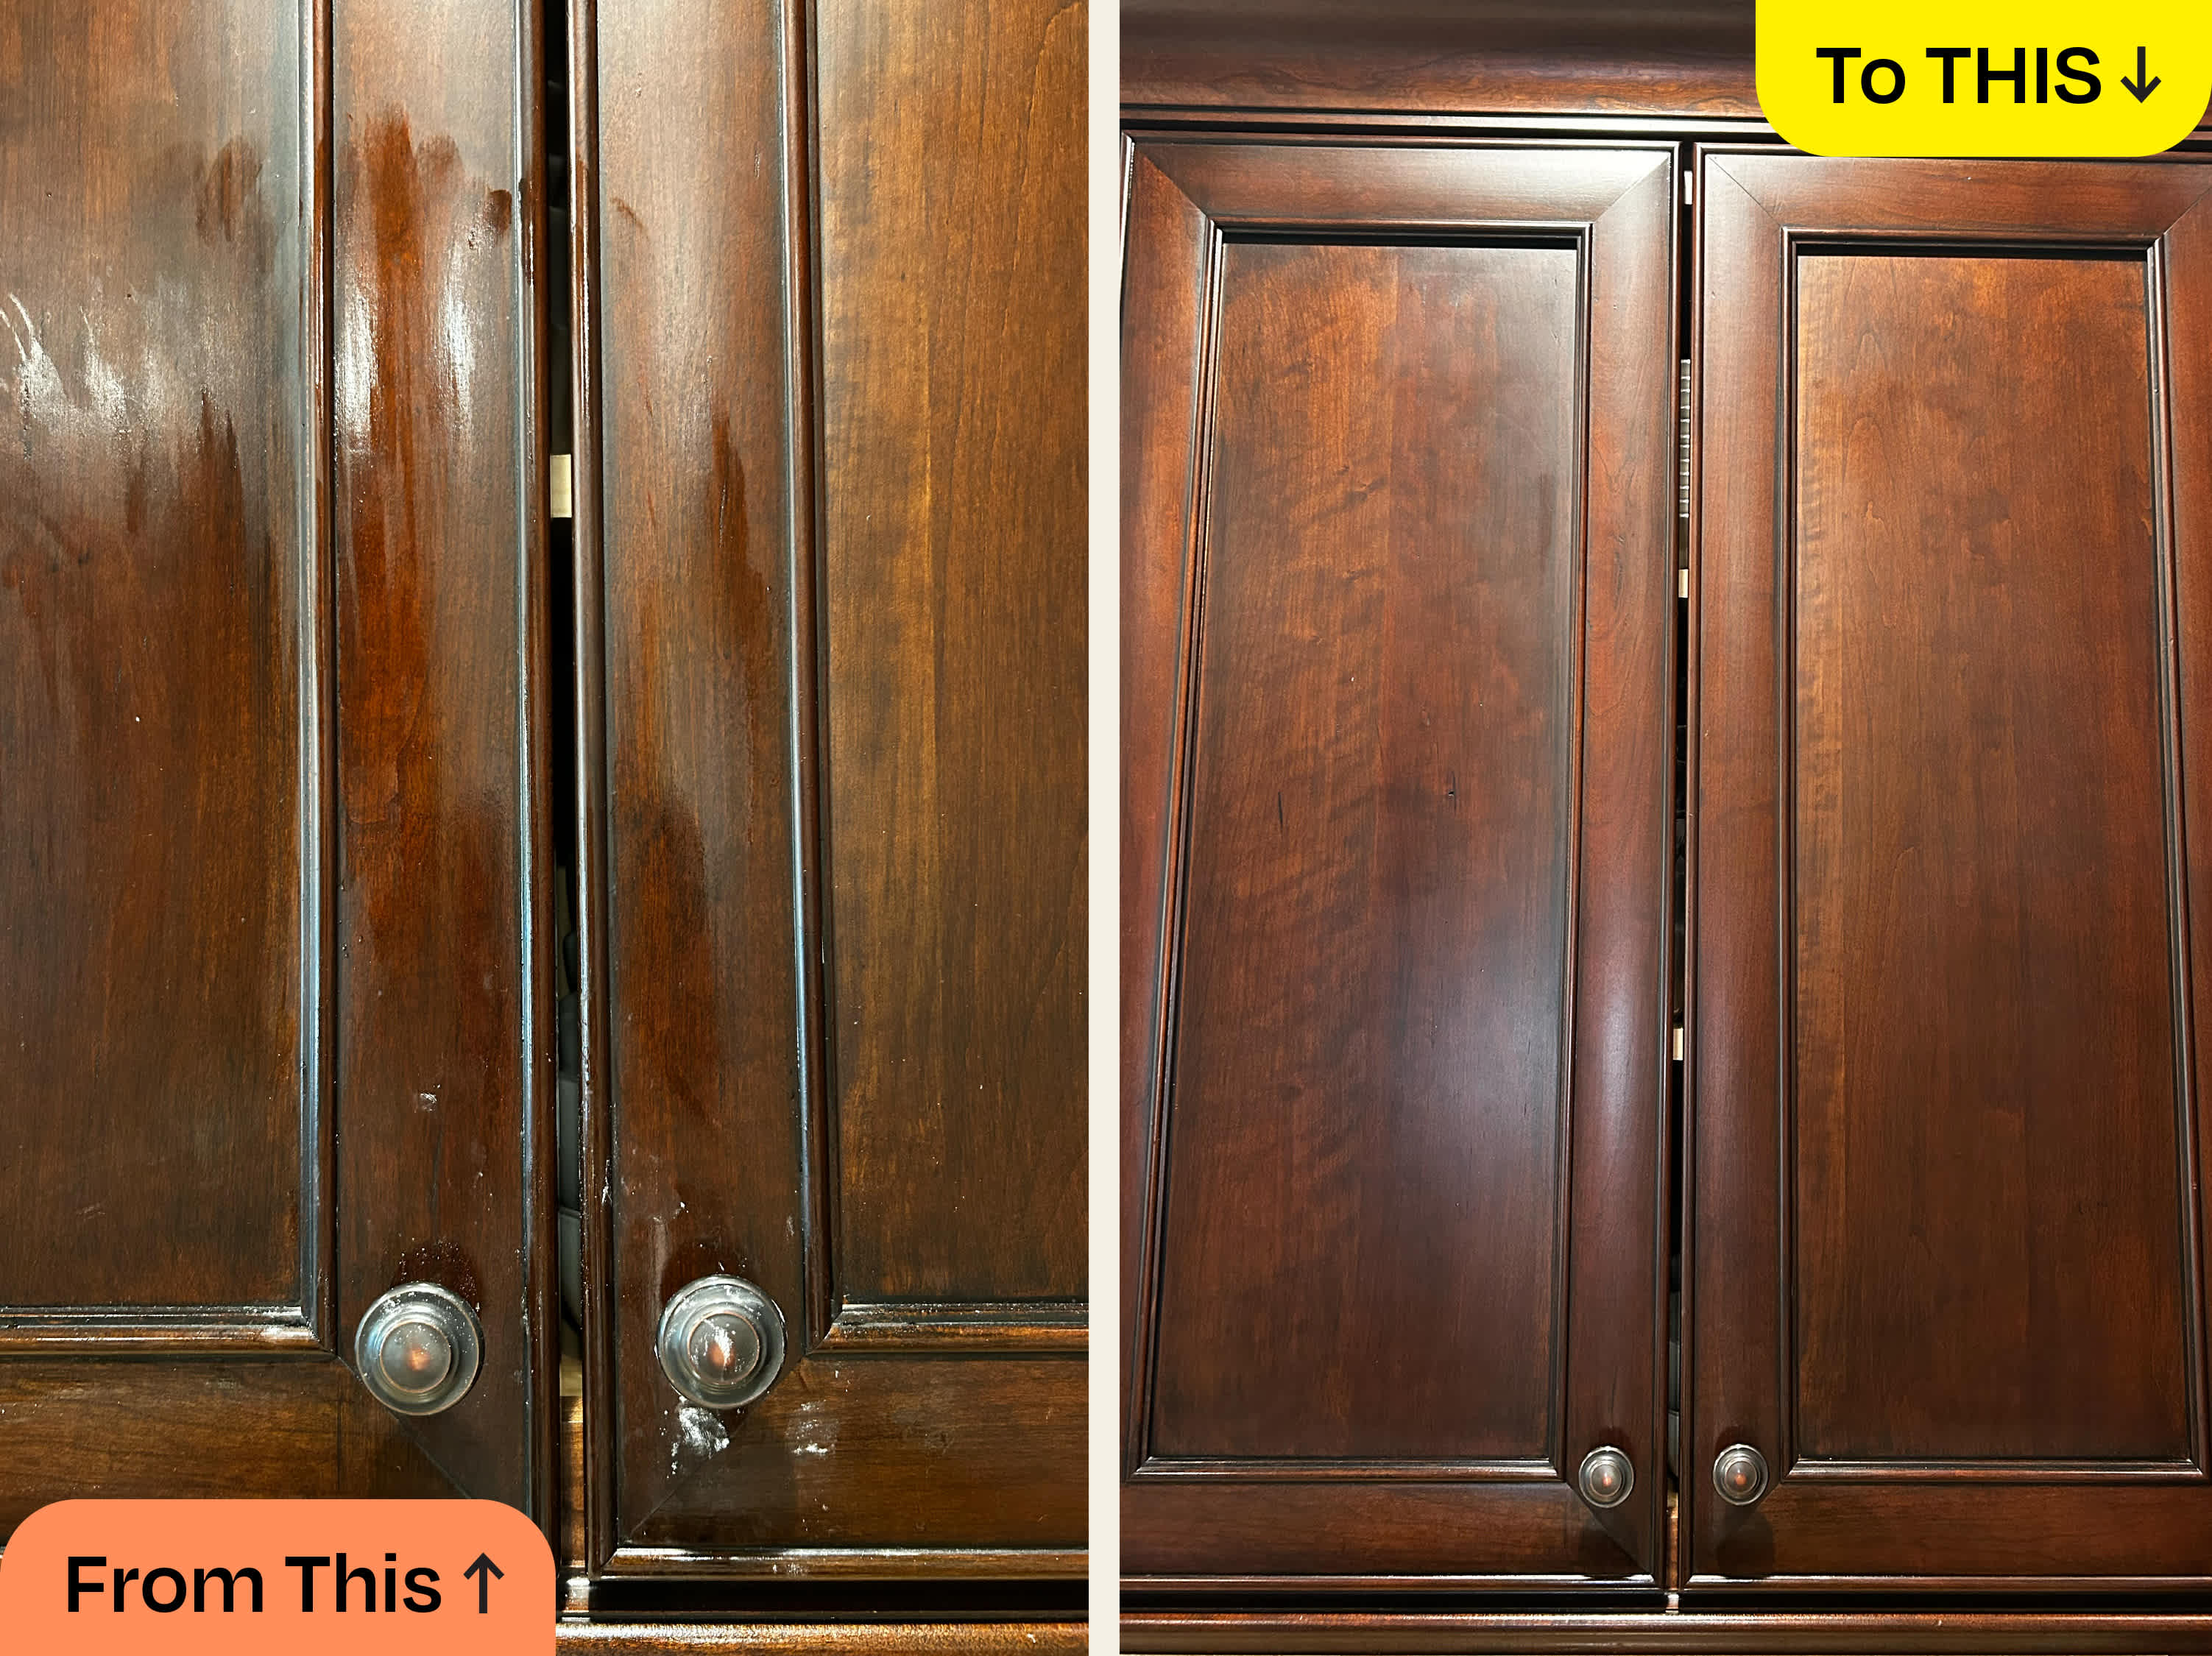 Soft microfiber cloths trap grease without scratching paint finishes.
Image source: www.thekitchn.com
Soft microfiber cloths trap grease without scratching paint finishes.
Image source: www.thekitchn.com
Gather Paint-Safe Cleaning Supplies (Skip Abrasives)
Using the right tools is half the battle when removing grease from painted walls. Abrasive supplies will scratch or dull your paint, while gentle, absorbent tools will lift grease without damaging the finish. Gather these supplies before you start cleaning to avoid mid-job trips to the store.
What You’ll Need
- Microfiber cloths with a 300+ GSM rating (thicker cloths trap grease more effectively)
- Unscented, dye-free mild dish soap (avoid colored soaps that can stain light paint)
- A soft-bristled nylon brush (for spot-treating set-in stains)
- A spray bottle (for even, controlled application of cleaning solutions)
- Two clean buckets (one for soapy water, one for rinsing)
- Clean, dry cotton towels (for drying walls post-cleaning)
What to Avoid (To Protect Your Paint Finish)
Never use steel wool, scouring pads, stiff-bristled brushes, bleach, ammonia, or undiluted citrus degreasers on painted kitchen walls. These products will scratch paint, break down the paint binder, or cause permanent discoloration, especially on matte and flat paint finishes. When selecting cleaning products, refer to the EPA’s Safer Choice program to identify formulas free of harsh chemicals that can damage paint or release harmful VOCs EPA Safer Cleaning Product Guidance.
Test All Cleaning Solutions First (Non-Negotiable Step)
Even gentle, paint-safe cleaners can react poorly with certain paint types or finishes, so a patch test is required before cleaning any visible area. For evidence-based guidance on protecting painted surfaces during cleaning, the University of Minnesota Extension recommends always testing cleaning solutions in an inconspicuous spot first to avoid discoloration or paint peeling University of Minnesota Extension painted wall cleaning guide.
How to Do a Proper Patch Test
- Choose a hidden 2×2 inch spot, such as behind a light switch plate, under an upper cabinet, or in a corner behind an appliance.
- Dampen a cotton swab or small corner of a microfiber cloth with your chosen cleaning solution, and dab it lightly on the test spot. Do not soak the area.
- Wait 15 minutes, then check for signs of damage: fading, bubbling, peeling, or texture changes.
- If the paint looks unchanged, the solution is safe to use. If you notice any damage, switch to a milder formula, such as diluted dish soap only.
Gentle Cleaning Methods for Fresh to Set-In Grease Stains
These paint-safe methods work for most grease stains, from fresh splatter to stains that have set for a few weeks. Always follow the patch test step before using any method on a visible area.
Dish Soap & Warm Water (Best for Fresh Stains <24 Hours Old)
Dish soap is formulated to break down oil and grease, and when diluted properly, it is completely safe for all interior paint finishes. This method works best on fresh, sticky grease that hasn’t yet bonded to the paint.
- Mix 1 teaspoon of unscented, dye-free dish soap with 2 cups of warm water in a bucket, stirring gently to create light suds.
- Dampen a microfiber cloth with the solution, wringing it out thoroughly so it is damp, not dripping. Excess moisture can seep into drywall and cause mold growth.
- Wipe the grease stain in slow, overlapping vertical strokes, not circular motions. A common mistake is wiping in circles, which pushes grease to the edges of the stain and makes it larger.
- Rinse the cloth in clean warm water, wring out excess, and wipe the area again to remove soap residue.
- Pat the wall dry with a clean cotton towel, and let it air dry fully for 1 hour before assessing if the stain is gone.
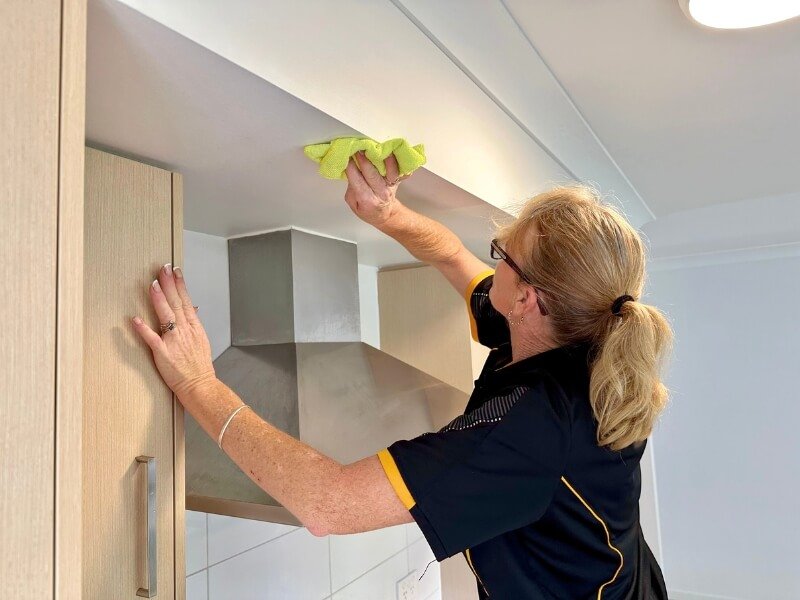
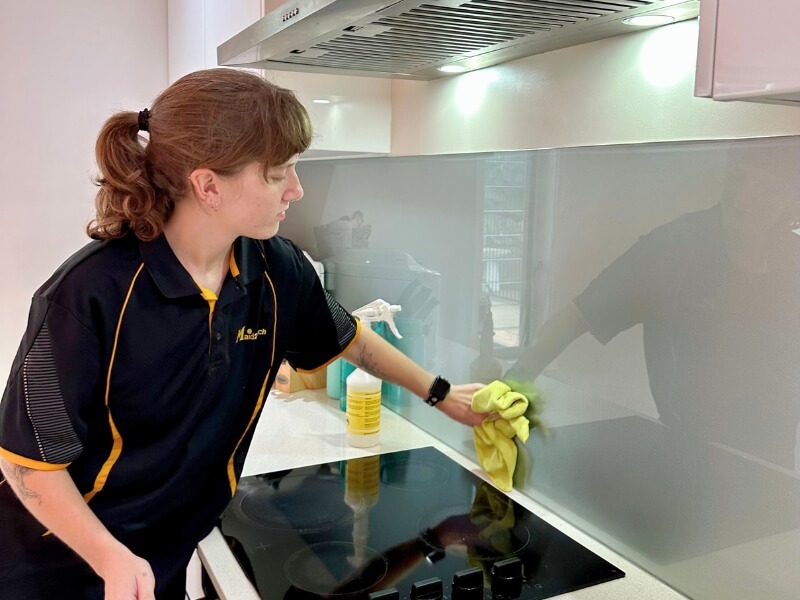 Wiping walls within 10 minutes of cooking stops grease from hardening and staining paint.
Image source: www.maid2match.com.au
Wiping walls within 10 minutes of cooking stops grease from hardening and staining paint.
Image source: www.maid2match.com.au
Baking Soda Paste (Best for Yellowed, Set-In Stains)
Baking soda’s mild abrasiveness lifts set-in grease without scrubbing, and its alkaline properties break down oil bonds without damaging paint. This method works best on stains that have been on the wall for 1-4 weeks and have started to yellow.
- Mix 3 parts baking soda with 1 part warm water in a small bowl to form a thick, spreadable paste.
- Dab a small amount of paste directly onto the grease stain using your finger or a soft cloth, spreading it only over the stained area (not the surrounding wall).
- Let the paste sit for 10 minutes maximum. Leaving it on longer can cause mild alkali damage to glossy paint finishes.
- Wipe the paste away with a damp microfiber cloth, rinsing the cloth frequently to avoid spreading residue.
- Pat the wall dry, and repeat once if the stain is still visible. Do not apply more than two treatments to the same spot in one day to avoid wearing down the paint.
White Vinegar Solution (Best for Grease Mixed with Light Grime)
Diluted white vinegar’s mild acidity cuts through light grease and dissolves grime that has bonded to grease, making it ideal for stains that feel slightly gritty or have dust stuck to them. When used properly, it is safe for all interior paint finishes.
- Mix equal parts white vinegar and warm water in a spray bottle, shaking gently to combine.
- Spray the solution directly onto a microfiber cloth, not onto the wall, to avoid excess moisture seeping into drywall.
- Let the solution sit on the stain for 2 minutes to loosen grease and grime.
- Wipe the area with a clean damp cloth to remove residue, then pat dry with a cotton towel. Note: Never use undiluted vinegar on painted walls, as its high acidity can etch glossy paint finishes over time with repeated use.
Remove Deep-Set, Stubborn Grease Stains
If gentle methods don’t fully lift a stain after two attempts, you can use these stronger, still paint-safe options for set-in grease that has bonded to the paint.
Paint-Safe Commercial Degreasers
Most interior kitchen walls use water-based latex paint, so look for commercial degreasers labeled "safe for latex paint" or "safe for painted drywall" to avoid damaging your finish. Avoid oil-based solvent degreasers unless you have confirmed your paint is oil-based.
- Apply the degreaser directly to the stain according to the product instructions, usually letting it sit for 3-5 minutes to break down grease.
- Wipe the area gently with a soft microfiber cloth, using light pressure to avoid scrubbing off paint.
- Rinse the area with a damp cloth to remove degreaser residue, then pat dry.
- Test the degreaser in a hidden spot first, as some formulas can cause discoloration on light paint.
Magic Erasers (Used Correctly)
Magic erasers use a mildly abrasive foam to physically lift grease from surfaces, and they work well on stubborn stains when used correctly. A common mistake is using them on all paint types, which can cause permanent dulling.
- Dampen the magic eraser with warm water, wringing out excess so it is barely moist.
- Rub the stain in gentle, vertical strokes, using very light pressure. Do not scrub hard, as this will wear down the paint layer.
- Wipe the area with a clean damp cloth to remove any residue, then pat dry. Note: Magic erasers are only safe for satin, semi-gloss, and gloss paint finishes. Do not use them on matte or flat paint, as their mild abrasiveness will permanently dull the finish. Always test in a hidden spot first.
When to Stop Scrubbing and Call a Professional
If you notice paint peeling, chipping, or the stain is still visible after three gentle cleaning attempts, stop scrubbing immediately. Continued scrubbing will damage the underlying drywall, requiring costly repairs. A professional painter can spot-touch the area or repaint just the stained section for a fraction of the cost of a full wall repaint.
Prevent Future Grease Buildup on Painted Kitchen Walls
The easiest way to remove grease is to stop it from sticking to your walls in the first place. These simple, low-effort habits will keep your kitchen walls clean for months between deep cleans.
Wipe Down Walls Immediately After Cooking
Keep a small spray bottle of your dish soap cleaning solution and a microfiber cloth under your kitchen sink. Wipe down the wall behind your stovetop and sink within 10 minutes of cooking, before grease cools and hardens to the paint. Quick, daily wipe-downs take less than 2 minutes and eliminate 90% of kitchen wall grease stains.
Install a Protective Kitchen Backsplash
A washable backsplash behind your cooking and sink areas acts as a barrier, catching grease splatter before it reaches your painted walls. Options range from low-cost peel-and-stick vinyl (perfect for renters) to durable tile, stainless steel, or acrylic panels that match your kitchen decor. Wipe down the backsplash with dish soap and warm water once a week to keep it clean, and you’ll never have to scrub grease off your paint again. Pair your clean painted walls with complementary decor, like shades that pair with brown kitchen cabinets for a cohesive, polished kitchen look that makes cooking and hosting more enjoyable.
Improve Kitchen Ventilation
Airborne grease particles are a major cause of wall stains, even if you don’t see splatter. Run your range hood on its highest setting for 10-15 minutes after every cooking session to capture these particles before they settle on walls. If you don’t have a range hood, open a window or use a portable air purifier with a HEPA filter to reduce airborne grease in your kitchen.
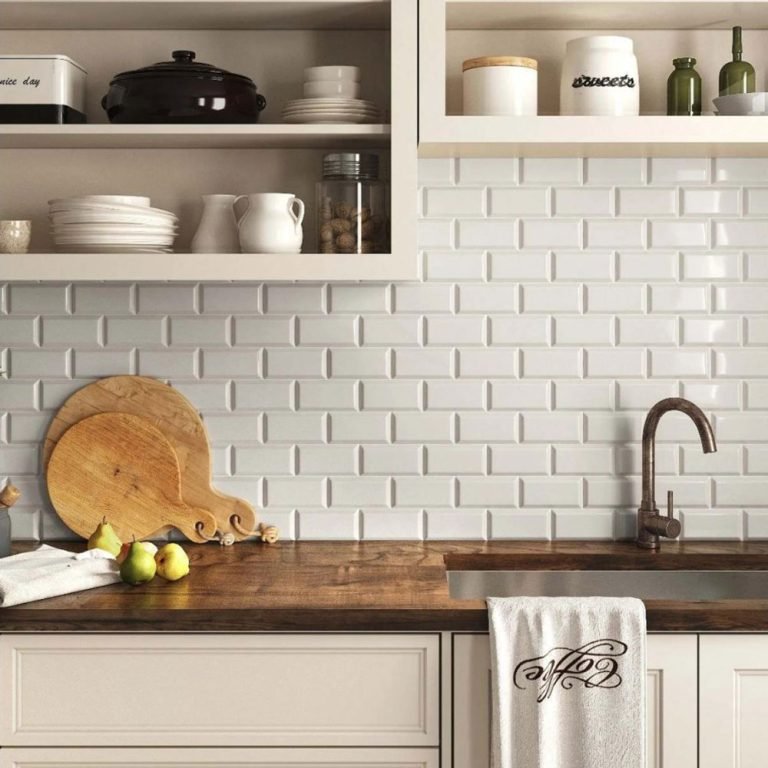
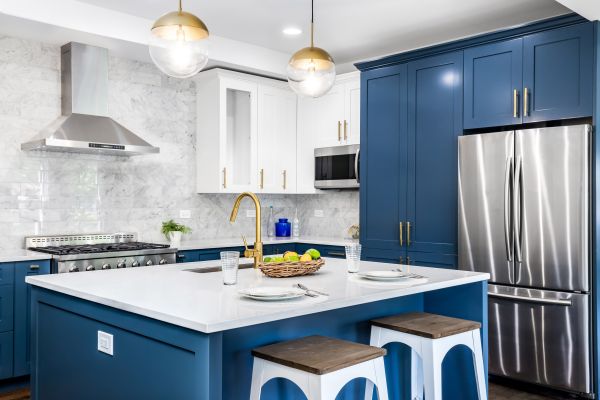 A washable backsplash behind cooking areas prevents grease from reaching painted walls.
Image source: www.houselogic.com
A washable backsplash behind cooking areas prevents grease from reaching painted walls.
Image source: www.houselogic.com
Extra Tips to Preserve Your Painted Wall Finish
Long-term use of harsh cleaners or excess moisture can wear down your wall’s paint over time, even if you remove grease successfully. Follow these tips to keep your walls looking fresh for years:
- Avoid using bleach, ammonia, or abrasive scrubbers for regular cleaning, as these break down the paint binder over time, causing fading and peeling.
- If you notice minor paint wear or small chips after cleaning a stain, use a small touch-up brush with matching paint to cover the area. This prevents moisture from seeping into the underlying drywall and causing mold or water damage.
- When selecting new paint for kitchen walls, opt for a satin or semi-gloss finish in high-traffic cooking areas, as these are more resistant to grease and easier to clean than matte or flat finishes. Regular small cleaning tasks, like wiping walls after cooking, add up to less work over time, just like routine wine accessory upkeep keeps your home brewing setup running smoothly for years with minimal effort.
Frequently Asked Questions
How long does it take to get grease off a painted kitchen wall?
For fresh grease stains, removal takes 5-10 minutes with a dish soap and warm water solution. For set-in stains that have been on the wall for weeks or months, removal takes 15-30 minutes with baking soda paste or a paint-safe degreaser. Always allow the wall to dry completely for 1 hour before assessing if the stain is fully gone.
Will vinegar damage painted kitchen walls?
No — when diluted 1:1 with warm water and applied to a cloth (not directly sprayed on the wall), white vinegar is safe for all latex and oil-based interior paints. Always test in an inconspicuous spot first, and avoid using undiluted vinegar, which can etch glossy paint finishes over time with repeated use.
Can I use a magic eraser on all painted kitchen walls?
No — magic erasers are mildly abrasive and will permanently dull matte and flat paint finishes with repeated use. They are safe for satin, semi-gloss, and gloss paint, but always test in a hidden spot first, and use only light, gentle pressure to avoid wearing down the paint layer.
How do I get old, yellowed grease stains off painted walls?
For stains that have set for months or years, start with a baking soda paste, letting it sit for 10 minutes before gently wiping. If that doesn’t fully lift the stain, use a paint-safe commercial degreaser following the product instructions. If the paint remains discolored after cleaning, a small spot-touch up with matching paint will restore the finish without a full repaint.
Do I need to repaint my kitchen wall after removing grease?
Only if the paint has peeled, chipped, or is permanently discolored after cleaning. Most grease stains can be fully removed without repainting, especially if you address them within a few weeks of appearing, before they penetrate the paint layer.
How can I stop grease from sticking to my kitchen walls in the first place?
Wipe down walls within 10 minutes of cooking, install a washable backsplash behind your stove and sink, and run your range hood for 10-15 minutes after cooking to capture airborne grease particles before they settle on walls.
Conclusion
Removing grease from painted kitchen walls doesn’t require harsh scrubbing or expensive repainting — you just need the right gentle cleaner and a little patience to lift stains without damaging your paint. Start by identifying your grease type, test all solutions in a hidden spot first, and address fresh stains within 24 hours for the easiest removal. For long-term wall protection, wipe down cooking area walls within 10 minutes of use, and consider a washable backsplash to catch splatters before they reach your paint. A spotless wall is the perfect backdrop for hosting dinner parties, and if you enjoy making your own beverages, you can explore beginner wine making kits to elevate your next gathering. Once your walls are spotless, you might consider adding small decorative touches, or investing in sturdy wine bottles for homemade batches if you enjoy hosting wine tastings for friends and family. If you’re planning other kitchen upgrade projects while you’re at it, our step-by-step guide to upgrading your sink hardware will help you complete the project without damaging your walls or fixtures.