Serving Platter Guide: How to Use & Style It Like a Pro
Figuring out how to use serving platter arrangements the right way makes the difference between a display that looks curated and one that looks like someone dumped snacks on a board mid-party. The secret isn't any special skill. It is matching your approach to the actual food you are serving.
The FDA food safety guidelines note that perishable foods left above 40 degrees Fahrenheit for more than two hours enter the danger zone, so planning your setup sequence matters as much as the visual result. Let us walk through everything you need to know.
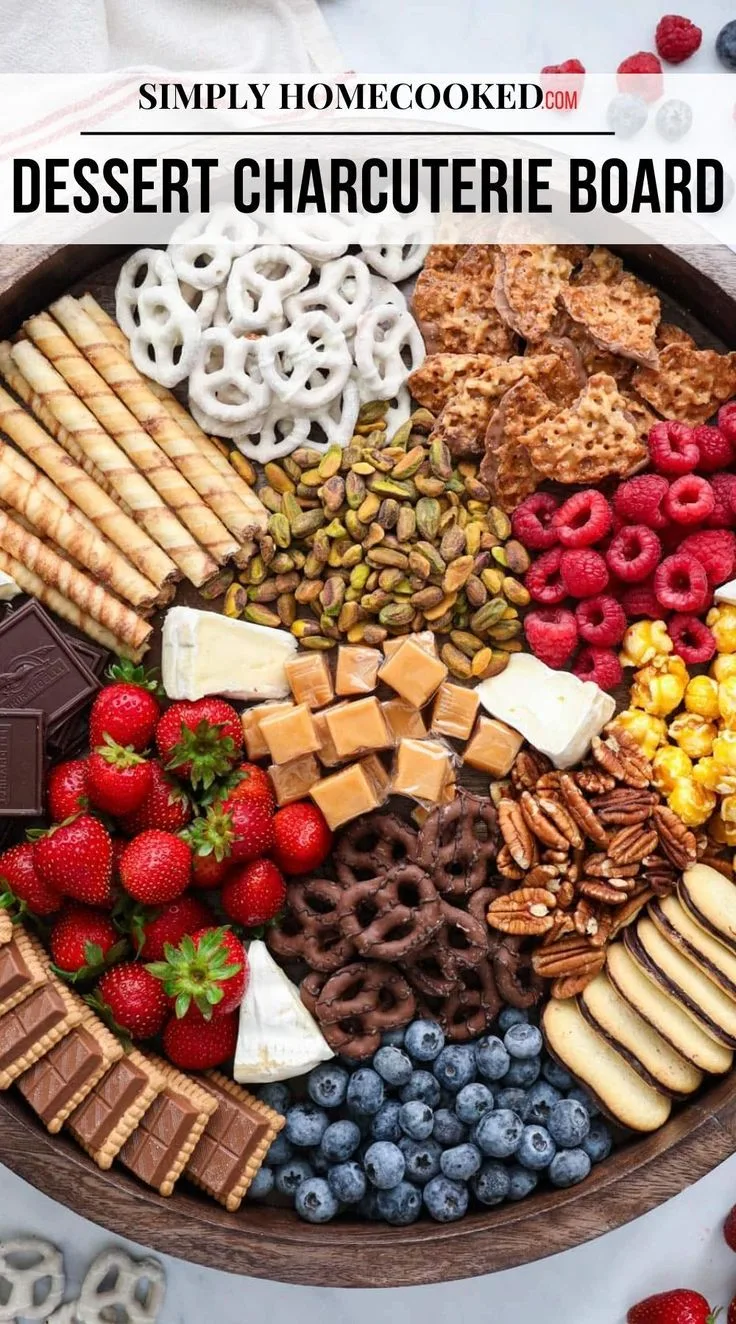
Image source: Web (Bing) / pinterest.com (Web image (fair-use with source credit))
Quick Answer
How to use serving platter well starts with matching the board to your food. Cheese and meats need clustered groupings. Finger sandwiches require neat rows that fill every gap.
Appetizers call for spaced-out placement with room between pieces. Always set up food before guests arrive. Nothing should exceed the two-hour safety window per FDA guidance.
Why Most Serving Platter Displays Look Like an Afterthought
You walk into a gathering and spot that beautiful board on the table. It has three crackers leaning against a sad wedge of cheese and a tiny pile of almonds in the corner. It looks rushed.
That is because most people skip the planning stage entirely. They grab whatever food is closest and scatter it without thinking about flow or balance.
The result is visual noise. No clear focal point. No rhythm to the eye.
Just a random assortment that screams I did not think this through.
Good platter design follows the same principles as interior decorating. You need a focal point. You need grouping.
You need negative space that lets each item breathe. Skip any of those and your display collapses into chaos.
The fix is simple. Decide on a structure before you put anything down. That structure comes from knowing exactly what category your food falls into.
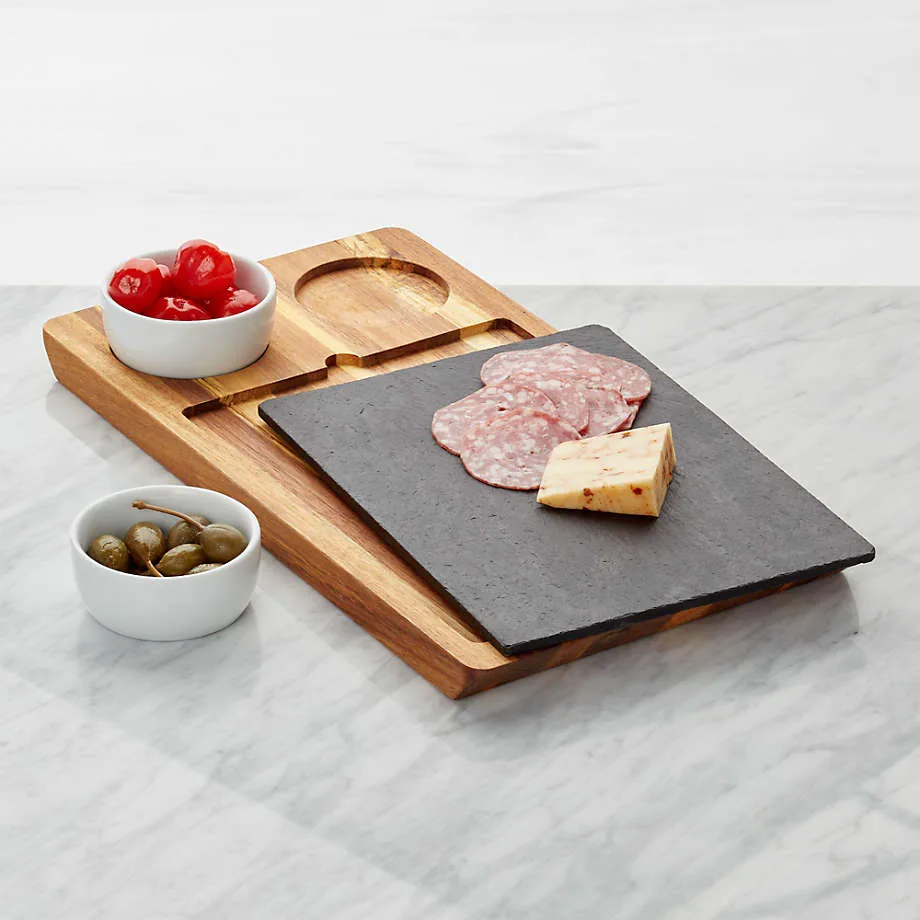
Image source: Bing (Web (fair-use with source credit))
The One Rule That Determines Every Decision
Here is the single most important thing to understand about using a serving platter: the food category dictates the arrangement method. Everything else flows from that decision.
Cheese and charcuterie need clustering. You want organic groupings that invite guests to explore. Space between clusters creates breathing room.
Small dishes for spreads and dips prevent cross-contamination and keep things tidy.
Finger sandwiches demand grid logic. Uniform shapes in tight rows. Fill every gap.
This is about abundance and order, not artistic flair.
Appetizers and canapés call for spacing. Each piece should sit alone with room around it. Crowding turns an elegant bite into a jumbled mess.
Guests should not have to reach past three items to grab one.
Grazing boards take a middle path. Think of it as creating islands of food on a landscape. Clusters of crackers here.
A mound of olives there. Open spaces that guide the eye naturally across the surface.
Once you lock in the category, the rest becomes straightforward. Material choice, size selection, even labeling all depend on what type of food you are presenting. Get this wrong and nothing else matters.
Which Platter Style Fits What You Are Serving
The board you choose changes the game. A marble slab behaves completely differently than a live-edge walnut board. Here is how to match them correctly.
| Platter Type | Best For | Key Strength | Care Level |
|---|---|---|---|
| Wooden board (olive, acacia) | Cheese, charcuterie, rustic spreads | Absorbs minor moisture, adds warmth | High. Hand wash and oil regularly |
| Slate or stone | Hard cheeses, crackers, cold items | Holds temperature, dramatic contrast | Medium. Hand wash and dry thoroughly |
| Ceramic or stoneware | Saucy items, wet appetizers, dips | Easy cleaning, works in dishwasher | Low. Simplest maintenance |
| Tiered stand | Small bites, mixed appetizers | Maximizes vertical space | Medium. Multiple surfaces to clean |
| Large rectangular tray | Sandwiches, finger foods | Fills tables elegantly, easy transport | Low depending on material |
Wooden boards deserve special attention. When you are serving a full grazing spread, a quality board becomes a centerpiece worth protecting. Think of it like caring for fine wooden outdoor furniture.
Regular oiling keeps it from drying out and cracking over time. For regular maintenance routines, similar principles of gentle cleaning and proper storage apply to wooden serving pieces as well.
Marble and slate work beautifully when you want something low-maintenance. These materials do not absorb spills. They are ideal for humid environments where wood might warp.
But they look cold next to warm artisanal breads and golden crackers.
Tiered stands solve a specific problem. When your table space is limited but you have many different items, vertical stacking keeps everything visible. However, they require more assembly and cleanup.
Factor that in before committing.
How to Build Each Type of Display
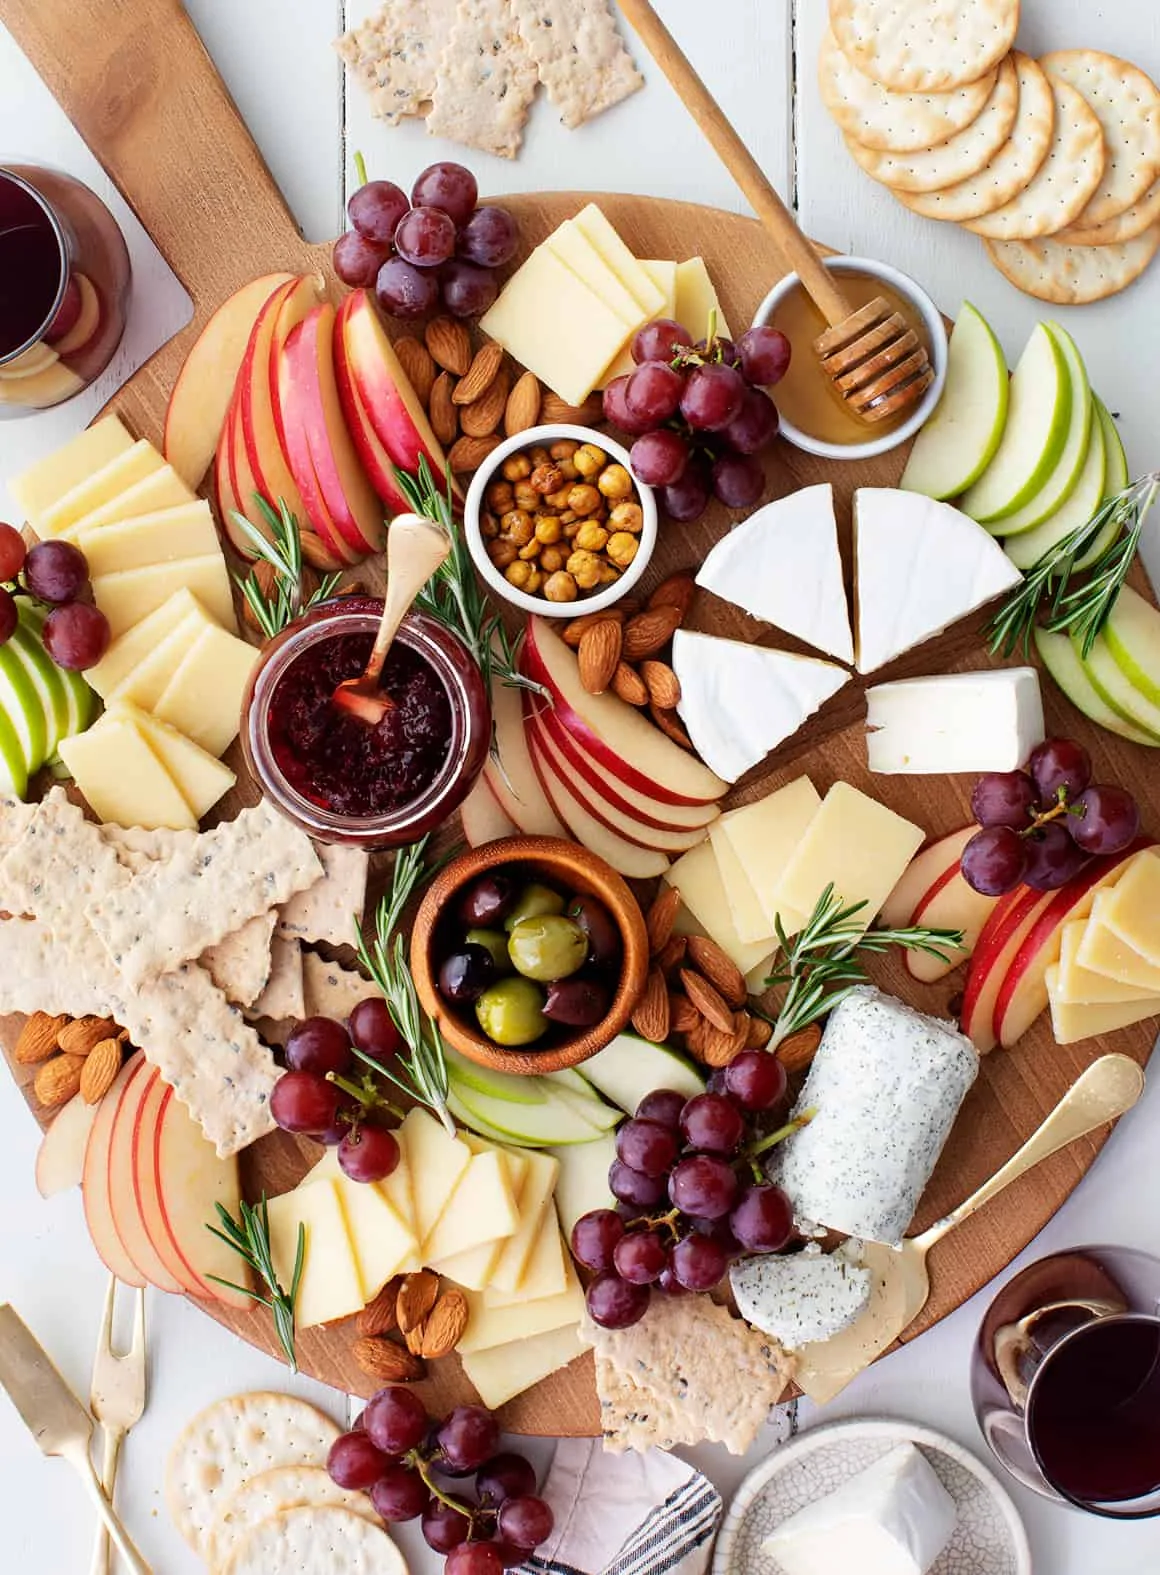
Image source: Bing (Web (fair-use with source credit))
Building a great platter follows the same basic workflow no matter the food type. Here is the sequence that works consistently.
Cheese and Charcuterie Boards
- Place the boldest cheese first. This becomes your anchor point, usually slightly off-center.
- Arrange milder cheeses around it, working outward by intensity.
- Fold cured meats instead of laying them flat. Folds create height and visual interest.
- Add crackers in clusters near each cheese type. Match texture intentionally.
- Nestle small bowls for spreads, olives, and pickles into gaps between larger items.
- Finish with nuts, fresh fruit, or honey near the edges for color pops.
Finger Sandwich Tray
- Cut crusts from all bread slices. Use a sharp knife for clean edges.
- Cut into uniform shapes. Triangles, rectangles, or pinwheels work best.
- Arrange in tight parallel rows. Rotate alternating rows for visual rhythm.
- Fill every available space. Gaps signal emptiness to guests.
- Garnish sparingly with a single herb sprig per cluster.
Canapé and Hors d'oeuvre Spread
- Pre-arrange items on a separate tray or plate before transferring.
- Place each piece with generous spacing between them.
- Group similar items together rather than scattering randomly.
- Position wetter items toward the back if guests will reach across.
- Keep cocktail picks or toothpicks in a small separate container.
When hosting outdoors or on a patio, consider how practical design features like weather resistance and easy cleaning become just as important as aesthetics. A good serving platter handles both indoor elegance and casual outdoor gatherings without missing a beat.
Common Mistakes That Undermine Your Effort
Even experienced hosts make these errors. Spotting them early saves embarrassment and wasted food.
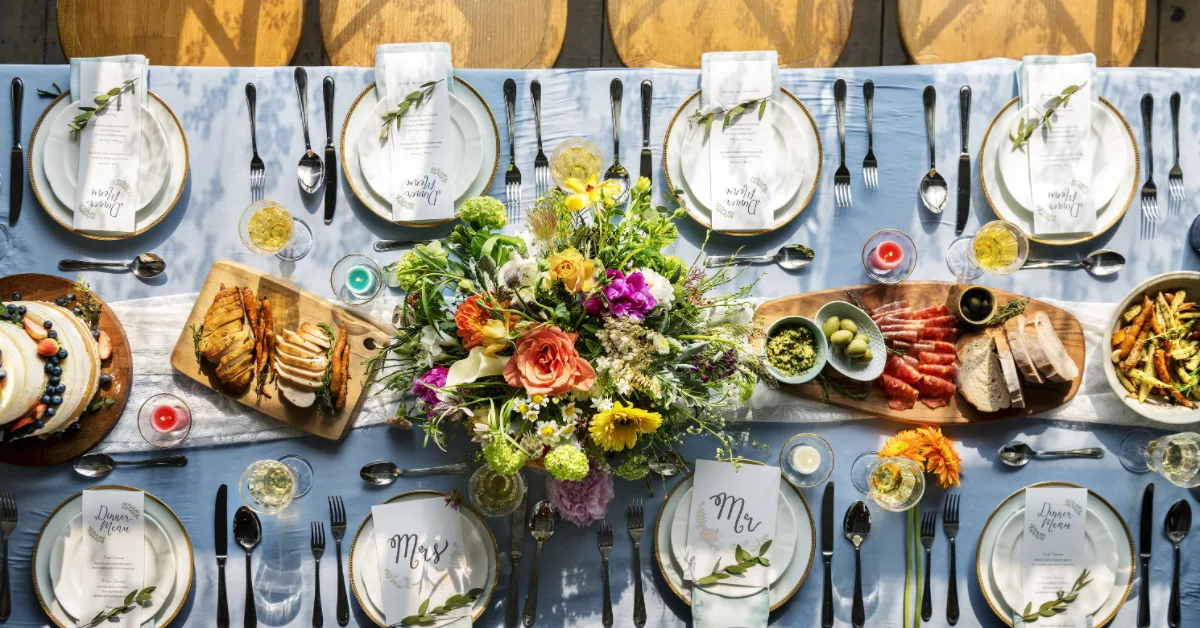
Image source: Web (Bing) / lepetiteplates.com (Web image (fair-use with source credit))
Overcrowding everything. A packed board feels stressful to look at. Guests instinctively hesitate to touch anything. Leave breathing room between clusters.
Empty space reads as intentional, not lacking.
Mixing food categories without zones. Sauces touching crackers overnight turns them soggy. Wet dips next to dry nuts creates moisture migration problems. Keep wet and dry items separated, even on the same board.
Ignoring the two-hour rule. Perishable foods sitting out past two hours risk bacterial growth. This applies to cheese, cured meats, dairy-based dips, and anything with protein. When serving outdoors on a hot day, cut that window to one hour per USDA food safety recommendations.
Choosing the wrong board for the food. Putting saucy items on unfinished wood stains the surface permanently. Using a tiny board for twelve guests guarantees overflow and awkward stacking. Size matters as much as style.
Skipping labels at complex gatherings. When guests have dietary restrictions, guessing what is what causes anxiety. Small tent cards identifying each item take thirty seconds and prevent awkward conversations at the table.
Arranging after guests arrive. Food starts losing freshness the moment it hits room temperature. Set up everything beforehand and only bring the board out right before serving begins. This keeps ingredients at their peak texture and flavor.
Pro Tips That Separate Experts From Beginners
Most hosts get the basics right but miss the subtle details that elevate a display from decent to memorable. These refinements take practice but pay off immediately.
Temperature control makes everything taste better. Cold cheese tastes bland at room temperature. Pull your cheeses out thirty minutes before arranging. Cured meats benefit from the same treatment.
If you are serving something warm like baked brie, pre-warm your platter in a low oven first.
Knife strategy prevents cross-flavor contamination. Give guests separate knives for strong blue cheese versus mild brie. A single knife transfers flavors and ruins the experience. Small spreader knives work perfectly for soft cheeses and dips.
Strategic placement guides guest behavior. Put the most popular items where they are easiest to reach. Place high-demand foods near the center or front edge. Position less appealing items toward the back where they will not be rushed.
Recovery tricks save your display mid-event. Running low on crackers? Tuck in some fruit or nuts to fill gaps seamlessly. Spilled dip?
Have a small bowl ready to transfer remaining product without touching the main board. Missing labels? Handwrite quick notes on napkins and fold them into small tents.
Thoughtful add-ons elevate the whole experience. Include a mix of textures intentionally. Crunchy crackers next to creamy cheese. Chewy meat beside crisp pickles.
Sweet fruit balancing salty prosciutto. Each bite should offer contrast rather than repetition.
These adjustments do not require extra time. They simply build on the foundation you have already established. The difference shows in how guests interact with your display and how much gets eaten before the party ends.
FAQs About Serving Platters
How far in advance can I prepare a serving platter?
You can prep most components up to twenty-four hours ahead. Cut cheeses, fold meats, and portion crackers into containers. Assemble the final display two to three hours before guests arrive.
This timing keeps perishable items within safe temperature ranges while maintaining fresh appearance and texture.
Can I use the same platter for sweet and savory foods?
Swap platters whenever possible to avoid flavor transfer. If you must use one board, serve sweet items first then clean and re-oil before adding savory foods. Wooden boards absorb flavors deeply and do not release them easily.
Ceramic or slate surfaces wash clean more effectively for mixed use.
What is the best way to transport a loaded platter?
Use both hands and keep the board level at all times. Place a folded towel underneath for grip and stability. For heavier setups, transfer items to the table first, then carry the empty board separately.
Never balance a full tray while walking through doorways or across uneven surfaces.
How do I keep food fresh during a long party?
Rotate your display throughout the event. Pull spare stock from the refrigerator and refresh the board in stages. This technique maintains abundance visually while keeping temperatures safe.
Discard any perishable items sitting out beyond the recommended two-hour window regardless of appearance.
What size platter should I buy for regular entertaining?
A medium rectangular board measuring roughly sixteen by twelve inches handles six to eight guests comfortably. Keep a smaller board on hand for intimate gatherings of two to four people. Investing in multiple sizes gives you flexibility without overbuying.
Start with one versatile board and expand your collection as your hosting needs grow.