How to Use a Travel Mug: The Ultimate Beginner Guide
Figuring out how to use travel mug accessories properly is simpler than most people think. A vacuum-insulated stainless steel cup keeps your coffee hot for hours, if you know what you're doing. Most spills, bad tastes, and ruined insulation come from one mistake: ignoring the basics.
Manufacturer specifications confirm that a well-sealed double-wall vacuum mug retains heat for four to twelve hours depending on capacity and lid type. That said, getting the most out of yours starts with understanding how the pieces fit together. Here's what actually matters.
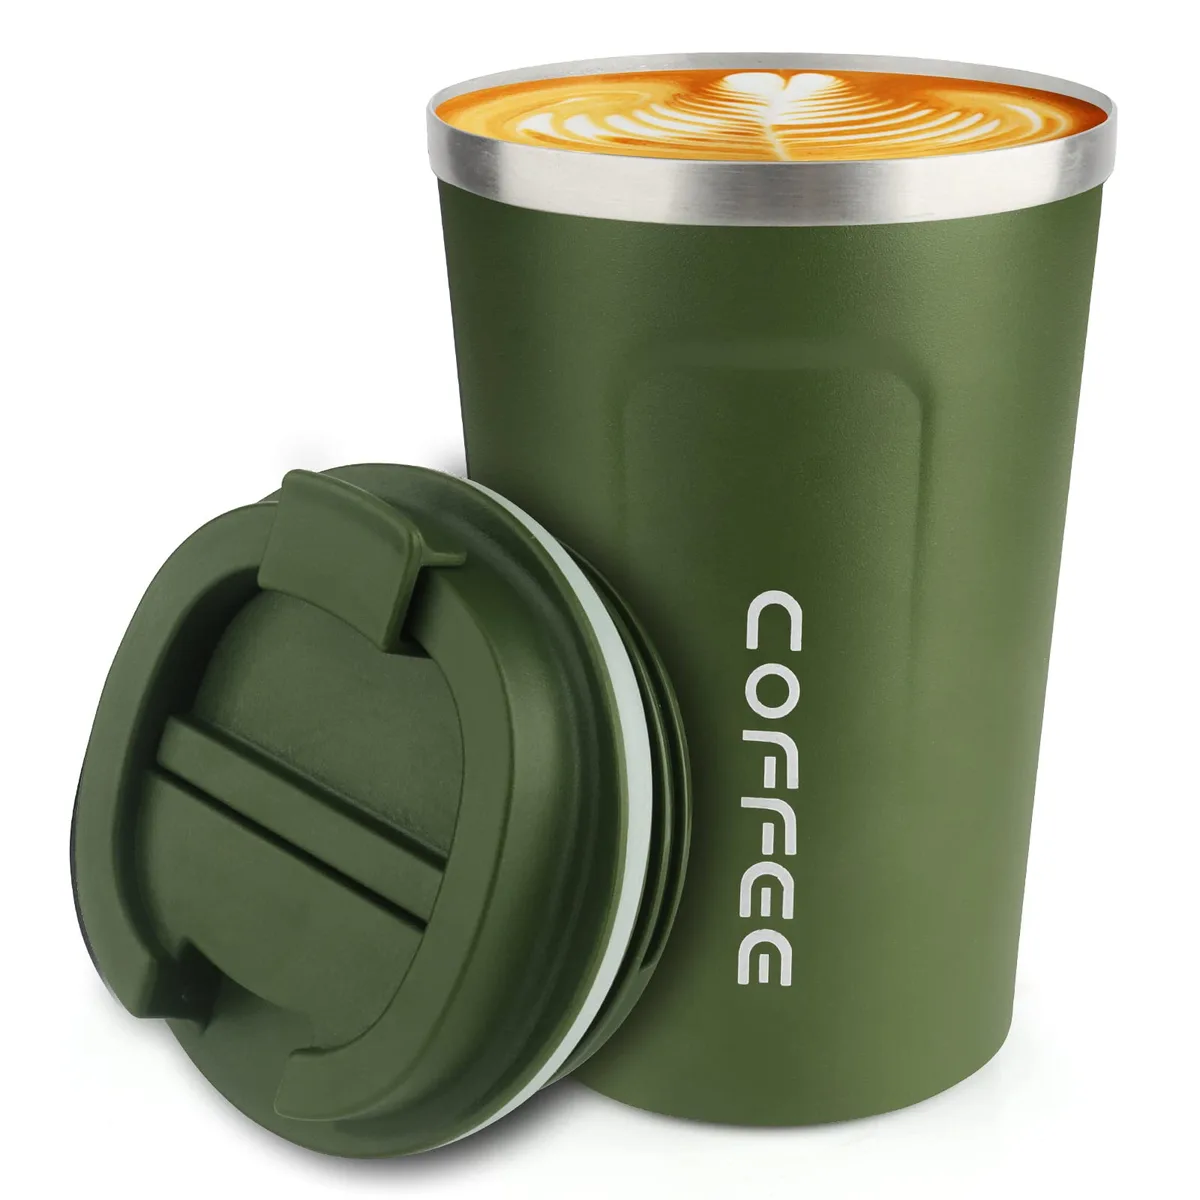
Image source: Web (Bing) / ar.inspiredpencil.com (Web image (fair-use with source credit))
Quick Answer
Fill to marked line, secure lid tightly, carry upright. Never microwave metal-lined mugs. Clean lid daily, descale monthly.
Vacuum mugs retain heat 4, 12 hours or cold 12, 24 hours when used properly.
Quick Start: How Travel Mugs Keep Drinks Hot or Cold
A vacuum-insulated travel mug works through the same principle as a classic Thermos bottle. Two walls of stainless steel surround an empty space with almost no air inside. Heat cannot cross a vacuum, so your drink stays hot or cold for hours instead of cooling down in twenty minutes.
Per FDA guidance on food-contact surfaces, the inner chamber should be lined with 18/8 or 18/0 food-grade stainless steel. That material resists rust, does not leach chemicals, and will not tint your coffee with a metallic aftertaste. Lower-grade steel sometimes causes that sour flavor, especially with acidic drinks like orange juice or black tea.
A quality mug relies on three things to perform well. The vacuum seal between the walls does the heavy lifting. A hard drop can crack that seal and ruin insulation forever.
The silicone gasket in the lid also matters. Over time heat escapes through a compressed or cracked ring. Finally, the outside coating affects grip and condensation.
Textured powder coat stays dry and secure even with wet palms.
Most dependable models as of 2026 hold between twelve and twenty ounces. That size sits comfortably in standard car cup holders. Larger twenty-four ounce versions sometimes overhang and tip easily.
Always measure your holder before upgrading capacity. You can also explore stainless steel grade comparisons to understand why 18/10 construction appears across both premium drinkware and cutlery.
Choosing the Right Lid for Your Daily Routine
Your lid choice matters more than most people realize. The same mug with different tops performs completely differently depending on whether you sip slowly or chug quickly. Pick the wrong style and you will deal with spills, stale coffee, or a lid that refuses to stay closed.
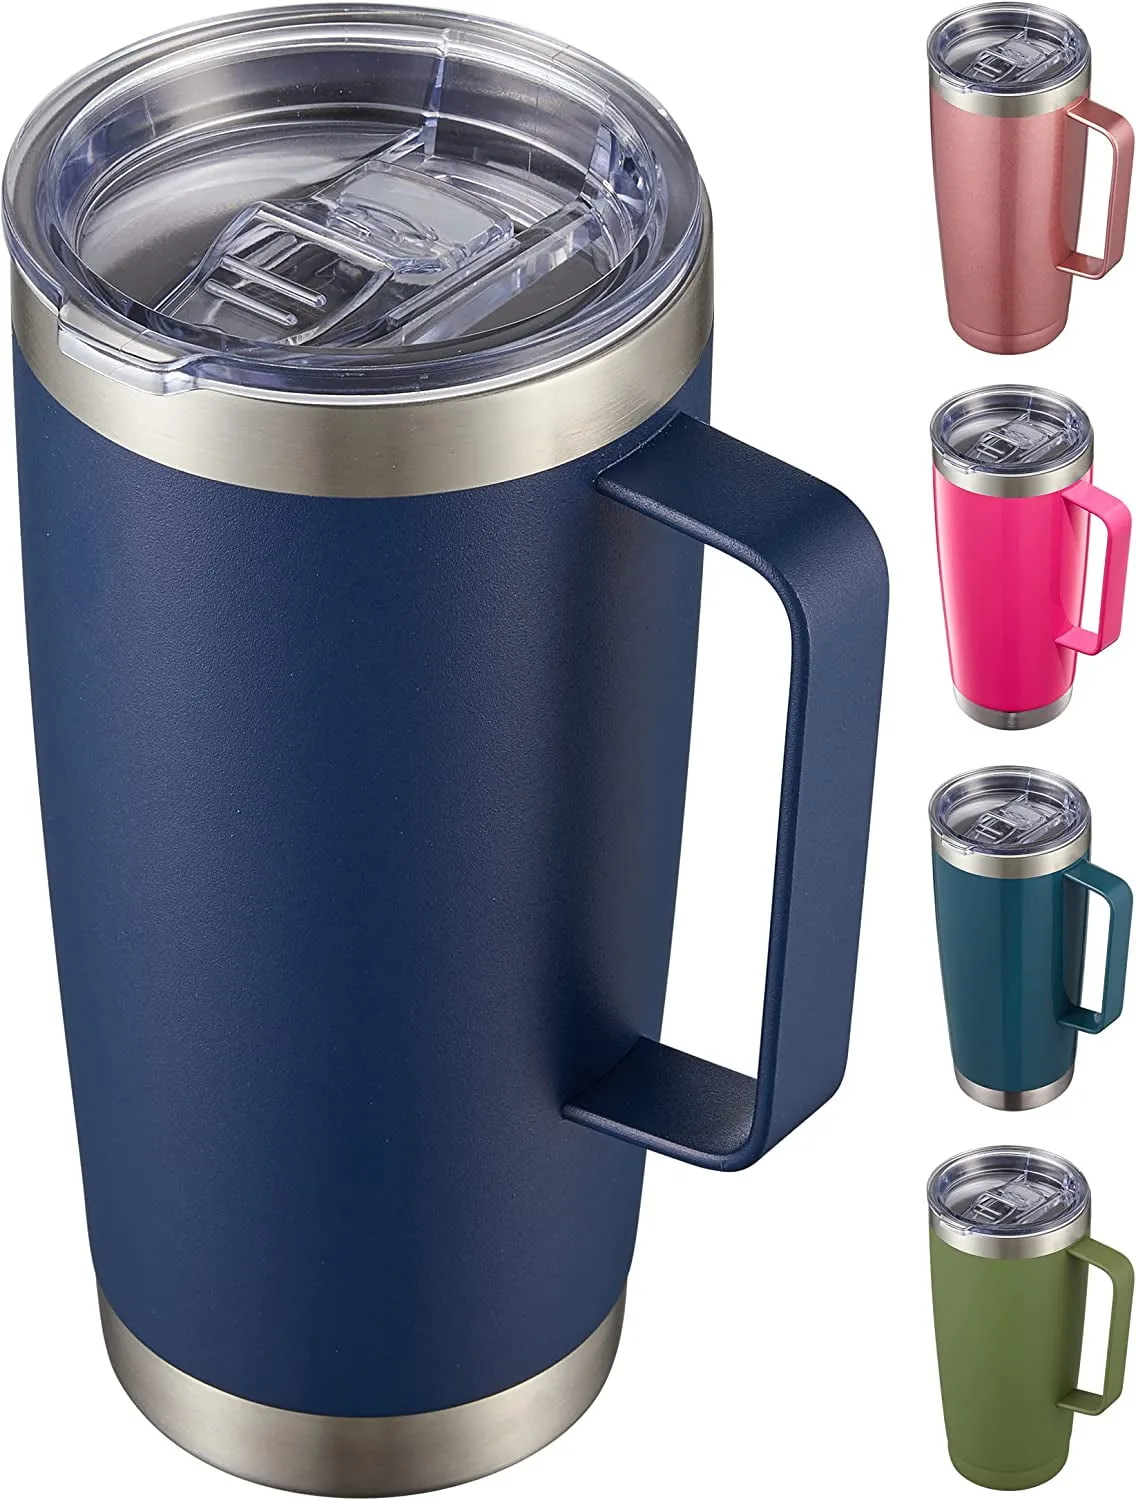
Image source: Web (Bing) / walmart.com (Web image (fair-use with source credit))
The flip-top lid is the most common style. You press a button or slide a lever to open a small spout. It works well for hot coffee because the opening is narrow enough to control flow.
The trade-off is that thick beverages like smoothies struggle to pass through.
Straw lids feature a built-in tube that lets you drink without tilting the mug. Great for cold drinks and lazy desk sessions. Not ideal for hot liquids since steam builds up inside the straw and can scald your lips.
Many straw lids also develop mold inside the tube if you do not clean them weekly.
Chug lids have a wide opening that pours fast. Perfect for water during a workout or commute. Terrible for hot coffee unless you are careful.
The large opening lets heat escape rapidly and makes spills likely if you set the mug down too hard.
Screw-on caps with a drinking hole sit somewhere in between. They seal the tightest and work with any temperature. The downside is that you must unscrew the whole top to drink, which is inconvenient while driving.
Some users prefer a separate portable drinking solution when on-the-go convenience matters most.
Filling, Sealing, and Carrying Without Spills
Getting the fill level right is the single biggest factor in preventing leaks. Every travel mug has a maximum fill line marked inside or on the label. Fill past that point and liquid touches the seal when you close the lid.
Pressure forces it out every time you tilt the mug.
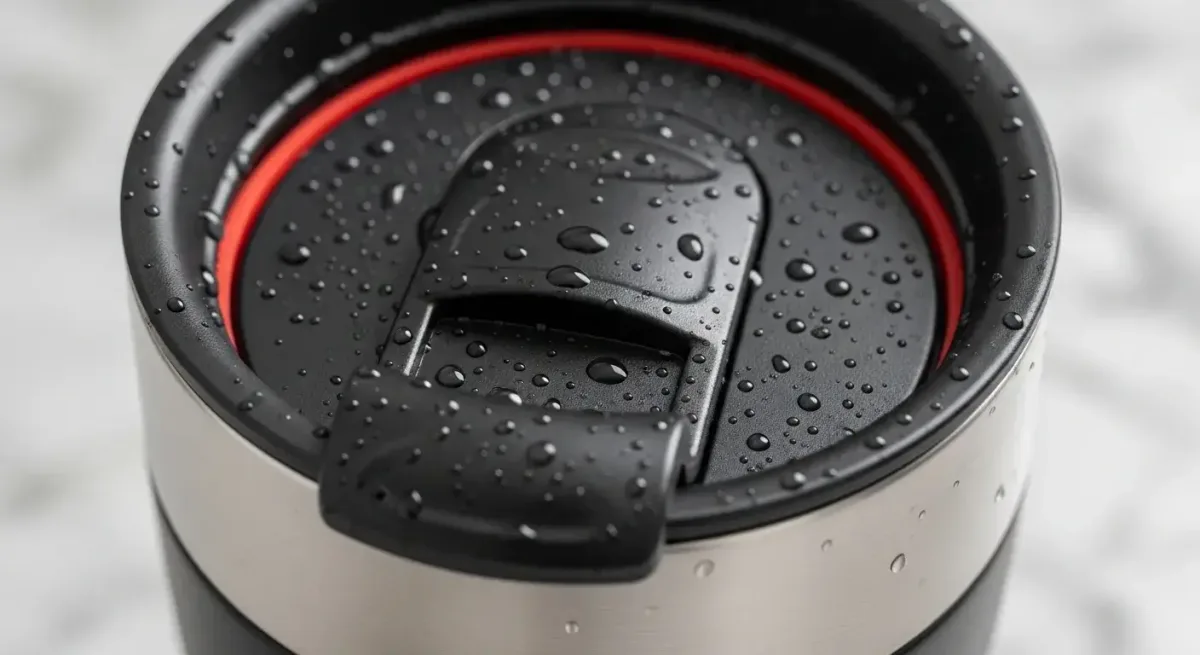
Image source: Bing (Web (fair-use with source credit))
Here is the correct sequence. Pour your beverage up to the line. Wipe the rim with a paper towel to remove any drips.
Place the lid straight on and screw or click it into place. You should hear or feel a firm snap. Pull the lid back slightly to confirm the latch engages.
If it pops open when you tug, it is not locked.
When carrying the mug in a bag, always position it upright. The seal relies on gravity to stay seated. Lay it on its side and liquid pushes against one spot on the gasket until it finds a weak point.
Most leak-proof claims assume upright transport. Sideways testing is rare and usually fails within minutes.
For car cup holders, make sure the base sits flush. A tapered bottom helps stability. A wide flat base tips easier on bumpy roads.
Check that your lid latches before putting the mug in the holder. An unlocked lid will flip open the moment you accelerate.
The silicone gasket deserves a second look. Remove it periodically and check for cracks or permanent flattening. A degraded seal is the number one cause of unexpected leaks.
Replacement rings cost a few dollars and take thirty seconds to install.
Cleaning That Actually Works (Without Destroying the Mug)
Daily cleaning takes two minutes. Empty the mug, rinse with warm water, and shake in a drop of dish soap. Swirl it around and rinse thoroughly.
Let it air dry upside down with the lid off. That routine prevents most odor and stain problems before they start.
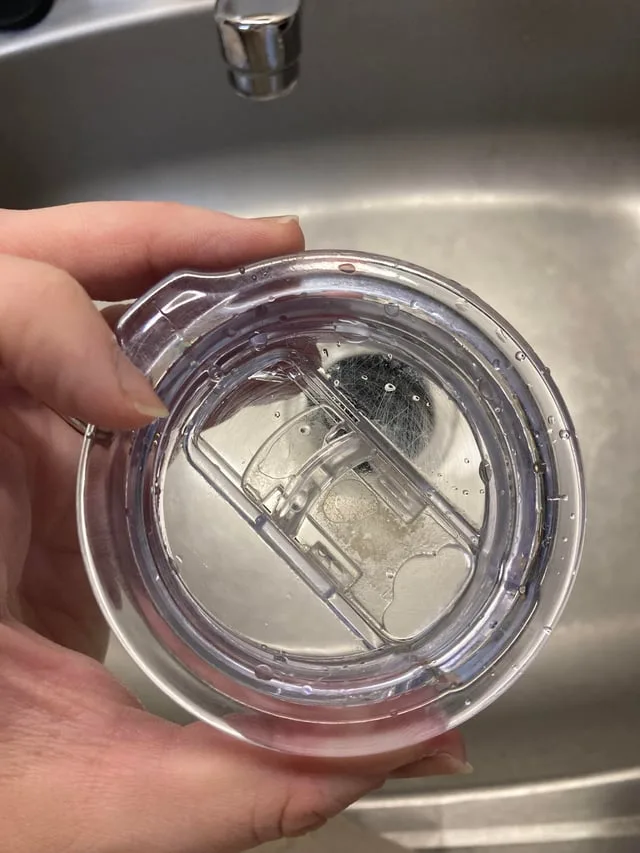
Image source: Web (Bing) / reddit.com (Web image (fair-use with source credit))
Weekly deep cleaning is where most people cut corners. Disassemble the lid completely. Remove the silicone ring, the flip mechanism, and any straw or spout cover.
Soak all parts in warm soapy water for ten minutes. Use a small brush or cotton swab to scrub threads and crevices where coffee residue hides.
Coffee stains inside the mug respond well to a paste of baking soda and water. Apply it with a soft sponge, let it sit for fifteen minutes, then rinse. For mineral buildup from hard water, fill the mug with equal parts white vinegar and warm water.
Let it sit overnight. Rinse thoroughly the next morning.
Never use steel wool or abrasive pads on the interior. They scratch the stainless steel and create tiny grooves where bacteria and stains settle permanently. A soft brush or nylon sponge is all you need.
Dishwasher safety varies by model. Many lid components are top-rack dishwasher safe, but the mug body itself often suffers. High heat and harsh detergent break down the vacuum seal over time.
Hand washing the body extends the mug lifespan significantly. If you want to understand how material choices affect cleaning longevity, reviewing premium steel options shows why 18/10 steel resists staining better than lower grades.
Mistakes That Shorten Your Mug's Life
The fastest way to kill a travel mug is throwing it in the microwave. Metal-lined insulated mugs spark in microwaves. The electromagnetic waves cannot penetrate stainless steel, creating arcs that damage the interior lining and potentially ruin your appliance.
Even microwave-safe labels on some plastic lids refer only to the lid component, never the metal body.
Dropping the mug on a hard surface is the second most common killer. A solid impact can deform the base or crack the vacuum seal between walls. Once that seal breaches, insulation drops from twelve hours to under one.
You will notice it immediately when your coffee goes lukewarm within thirty minutes instead of staying hot for hours.
Abrasive cleaners scratch the interior surface over time. Those micro-scratches become traps for coffee oils and minerals. The mug starts smelling stale no matter how thoroughly you wash it.
Stick to soft sponges and gentle detergents. For tough stains, the baking soda paste method works without damaging the steel.
Storing the mug wet with the lid sealed creates a breeding ground for mold and mildew. Moisture trapped inside the lid cavity and under the silicone gasket develops an unpleasant smell within days. Always dry every component completely before reassembling and storing.
Leave the lid loose on top instead of screwed tight during long-term storage.
Avoid using bleach or chlorine-based cleaners inside the mug. They corrode stainless steel and degrade silicone seals faster than normal use. A diluted vinegar soak achieves the same disinfecting result without the chemical damage.
Many of these mistakes trace back to unclear product labels. Checking FDA food-safety guidelines on food-contact materials can help you understand which cleaning methods are actually safe for stainless steel drinkware.
Maintenance Schedule for Year-Round Performance
A simple monthly inspection keeps your mug performing like new. Set aside ten minutes on the first day of each month to check the gasket, latch, and interior. This habit catches small problems before they become expensive replacements.
Inspect the silicone seal first. Look for cracks, tears, or permanent flat spots. Press it gently with your thumb.
If it does not spring back to its original shape, water will find a way out. Replace worn rings immediately. They cost under five dollars and take seconds to install.
Check the latch mechanism for stiffness or debris. Food particles and dried coffee can jam the flip hinge over time. Rinse it under warm water and work the lever open and closed until it moves freely.
A smooth action prevents accidental openings in your bag.
Examine the mug interior for dull spots or scratches. Those marks are where stains hide and odors linger. If the surface feels rough to the touch, switch to a gentler cleaning method.
Baking soda paste is safe for scratched interiors because it does not abrade the steel further.
Store the mug completely dry between uses. Moisture trapped inside accelerates mold growth and leaves mineral deposits. Leave both the mug and lid upside down on a drying rack.
Never cap a wet mug and set it aside for days.
You should also replace lid components every six to twelve months with heavy daily use. Silicone degrades from heat and sunlight. Plastic latches crack from repeated opening.
Keeping spare parts on hand means you never have to buy a whole new mug just because one piece failed.
Notice these signs that your vacuum insulation is failing. Your drink cools in under an hour instead of staying hot for four plus hours. Condensation forms heavily on the outside during hot beverage use.
The mug feels warm along the lower third instead of staying cool to the touch. When any of those happen, the vacuum seal has broken. No amount of cleaning will restore performance.
Replacement is your only option.
Frequently Asked Questions
Can I put my travel mug in the freezer?
Yes, but only for liquids, never for sealed containers. Freeze water or broth first, then transfer it to the mug. An empty sealed mug may warp from temperature shock.
Never place the entire mug in the freezer with liquid inside. Expansion can crack the lid or push the seal loose, causing leaks once it thaws.
Why does my mug sweat on the outside?
Sweating happens when the vacuum seal fails or when you use a single-walled mug. Proper double-wall insulation prevents condensation by keeping the outer surface near room temperature. If your formerly dry mug suddenly feels damp, the insulation is likely compromised.
Check for impacts or drops that may have damaged the inner seal.
Are travel mugs safe for acidic drinks like coffee?
Food-grade stainless steel handles acidity without leaching metals or affecting flavor. Coffee, tea, and orange juice are all safe in a quality 18/8 or 18/10 mug. Avoid storing acidic liquids for more than twelve hours because prolonged contact can deepen metallic aftertastes in lower-quality steel.
Empty and rinse the mug soon after drinking highly acidic beverages.
How do I remove a stuck lid?
Tap the rim gently with a wooden spoon handle while twisting. The vibration often breaks the suction seal. Run warm water over the lid area for thirty seconds to expand the metal slightly.
Never use excessive force or metal tools that can dent the threading. If the lid remains stuck, soak the junction in warm soapy water for ten minutes before trying again.
Bottom Line: Pick Your Setup Based on Your Commute
Your ideal travel mug depends on how you use it most. Drivers benefit from a narrow sip lid with a secure locking latch. Office workers prefer a wider opening for easy cleaning and ice access.
Outdoor enthusiasts should prioritize impact resistance and a chug-friendly top.
Capacity matters less than you might think. Twelve to sixteen ounces fits most cup holders and daily caffeine needs. Twenty ounce mugs hold more but stick out awkwardly in cars and bags.
Match the size to your typical drink volume rather than assuming bigger is always better.
Material choice follows temperature priority. Stainless steel handles both hot and cold equally well. Glass interiors preserve pure taste but add weight and fragility.
Plastic is lightweight but prone to staining and odors over time. For most people, stainless steel offers the best balance of durability and performance.
A final checklist before your next purchase. Verify the lid locks firmly with one hand. Confirm the base fits your car cup holder.
Read recent reviews about seal longevity. Check whether replacement parts are available from the manufacturer. Spend a few extra minutes on research now and enjoy years of leak-free, temperature-stable drinks later.

Sophia Martinez is a culinary lifestyle writer and product reviewer for DiningGadgets.com. Passionate about blending style with functionality, she explores the latest dining essentials, kitchen décor, and cleaning hacks that transform everyday cooking spaces. With a background in home organization and design, Sophia brings readers expert advice on creating beautiful, practical kitchens that truly feel like the heart of the home.