How to Clean a Travel Mug (Step-by-Step Guide)
You pour out the last sip and think you're done. But residue stays behind. Coffee oils coat the steel.
Tea tannins stain the walls. Protein shakes leave a slippery film. That gunk sits in places you can't see.
The silicone gasket traps moisture and particles. The lid hinge hides crumbs. The straw channel becomes a tiny swamp.
Bacteria feed on that leftover matter. They produce sour and musty compounds. The result is a smell that no amount of rinsing removes.
You need to pull the seal out. You need to soak the hidden parts. You need a brush that reaches the bottom.
Simple surface washing misses the real problem. That's why your water tastes like yesterday's espresso even after a quick rinse.
When Cleaning Goes Wrong — Fast
Some approaches cause more harm than good. Mixing bleach with vinegar creates toxic chlorine gas. That's a serious safety risk.
Skipping the dry-down step traps moisture in the seal. Damp silicone grows mold within days. Using steel wool scratches stainless steel.
Those micro-scratches hold bacteria next time. Putting a non-dishwasher-safe lid in the hot cycle warps the rubber. Warped seals leak and lose their grip.
Harsh cleaners can degrade plastic components over time. Manufacturer warranties often void if you ignore care labels. The fix is straightforward: match the cleaner to the material, disassemble fully, and let everything dry completely before storing.
How to Compare the Main Cleaning Methods (So You Pick Right)
Choosing a method means weighing effectiveness against effort and cost. Some solutions tackle stains fast. Others are gentler on seals.
A few require special tools. Let's break down the most common options.
| Method | Best For | Effort | Cost | Risk to Mug |
|---|---|---|---|---|
| Baking soda soak | Daily odors, light stains | Low | Very low | None |
| White vinegar soak | Hard water scale, mineral deposits | Low | Very low | Low (avoid on aluminum) |
| Denture tablets | Quick odor refresh, no scrubbing | Very low | Medium | None |
| Dedicated cleaning tablets | Heavy coffee/oil buildup | Low | Medium | Low |
| Hand wash with brush | Routine maintenance | Medium | Low | Low if soft brush used |
| Dishwasher (top rack) | Convenience for dishwasher-safe mugs | Very low | Varies | High if lid not rated |
| Paste scrub (baking soda + water) | Stubborn stained interiors | Medium | Very low | Low if non-abrasive |
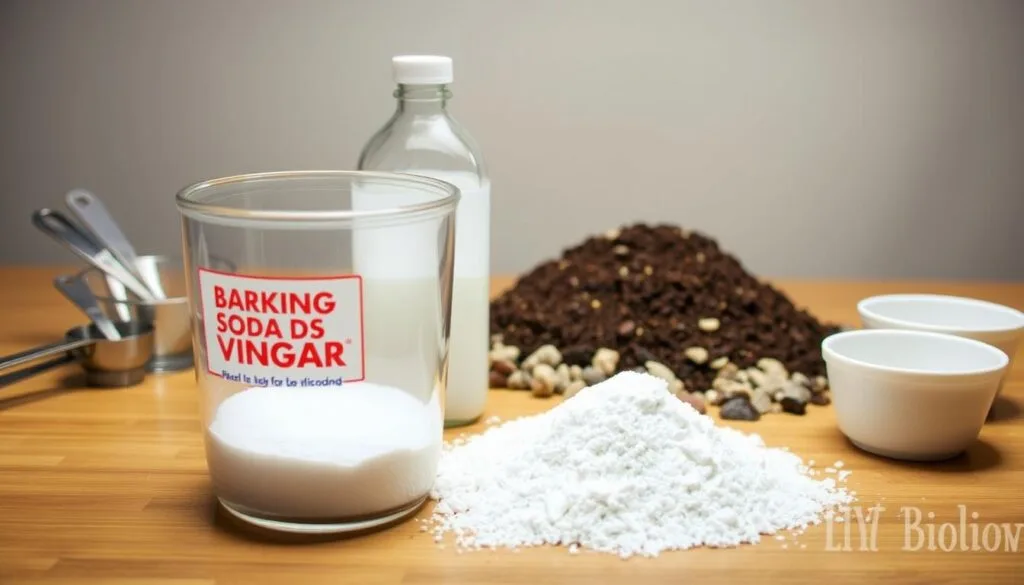
Baking soda and vinegar are pantry staples. They work well for regular upkeep. Denture tablets fizz away grime without scrubbing.
Commercial tablets target baked-on coffee rings. Hand washing with a proper brush gives you control. Dishwashers save time but can damage seals over years.
The paste method lifts tough stains but needs elbow grease.
Pick based on your main complaint. Light smell? Try baking soda.
Visible scale? Reach for vinegar. Heavy daily use?
Consider tablets plus weekly brushing. Want minimum effort and your mug is dishwasher-safe? Top-rack cycles work.
Always check the manufacturer's care guide first.
Which Method Fits Your Specific Situation?
Different habits create different problems. Match your symptom to the right approach.
Coffee oils and tannin stains
If you drink coffee daily, brown residue builds up quickly. Baking soda paste left for an hour lifts stains effectively. A dedicated cleaning tablet works faster for old rings.
Vinegar alone won't remove oil; it tackles mineral deposits better.
Protein shake film and odor buildup
Powdered supplements leave a slick coating that water can't rinse away. Denture tablets dissolve the film overnight. A small bottle brush scrubs the interior the next day.
Regular hand washing with warm soapy water prevents buildup between deep cleans.
Mold, biofilm, and musty seals
A sour smell means microbes are thriving in damp crevices. Disassemble everything. Soak silicone parts in a one-part vinegar to two-part water solution for 30 minutes.
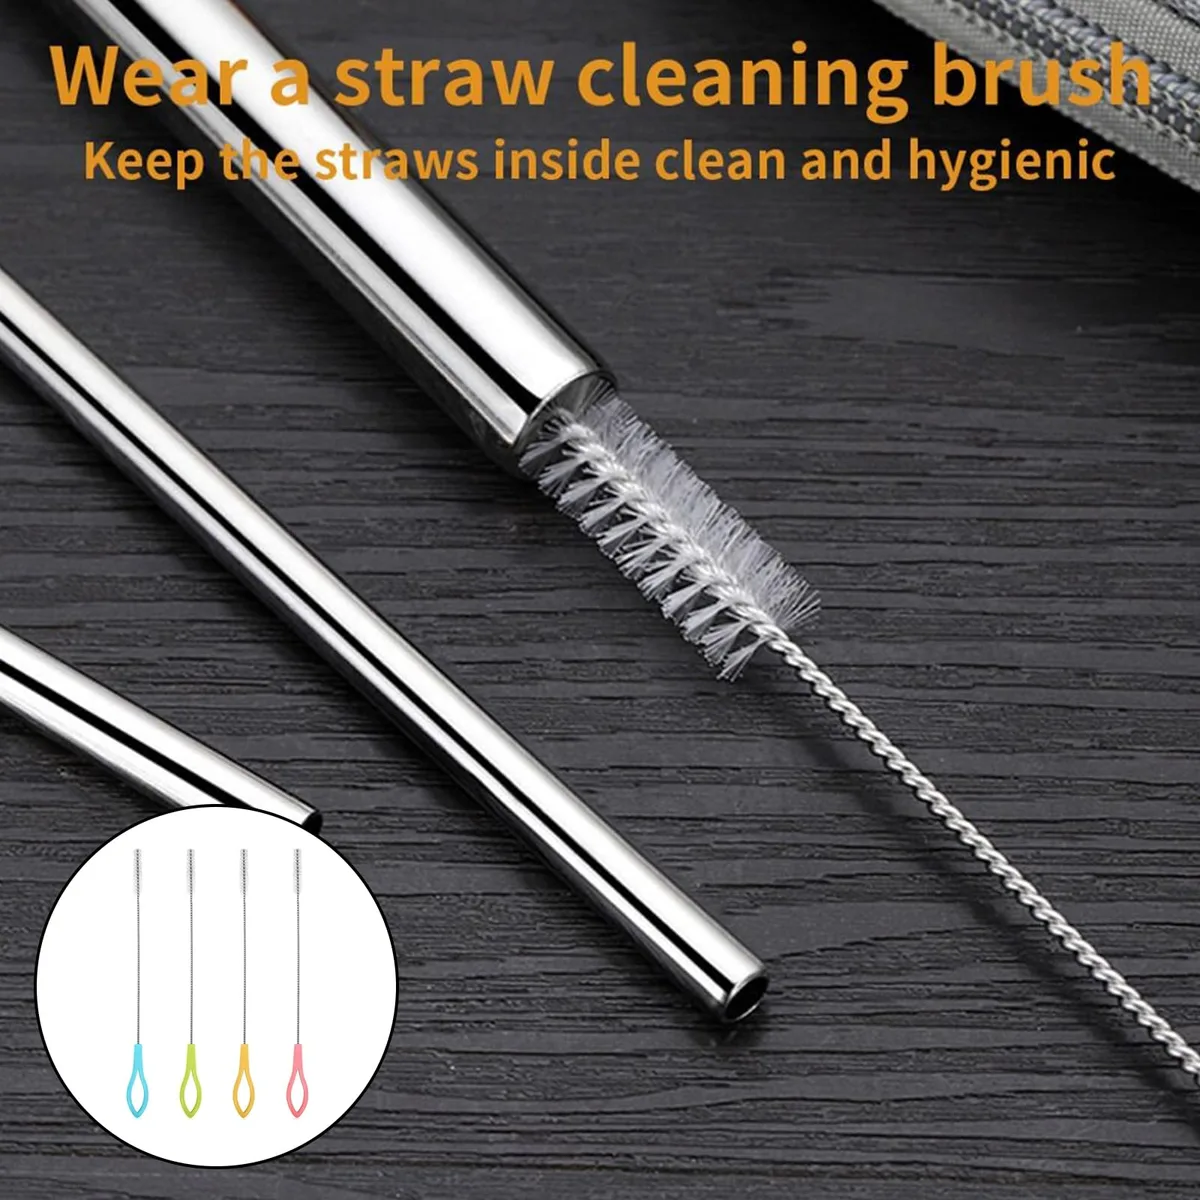
Use a straw brush to clean channels. Dry completely before reassembling. Replace seals that stay discolored after cleaning.
Hard water scale and mineral deposits
White crust inside the mouthpiece points to minerals. Soak the affected parts in undiluted white vinegar for an hour. Rinse thoroughly.
Repeat monthly if your water is very hard. Avoid abrasive scrapers that scratch the surface.
Everyday maintenance vs. deep refresh
For daily care, a quick warm soapy wash and thorough drying prevents most issues. Schedule a deeper clean weekly using baking soda or tablets. Reserve full disassembly and vinegar soaks for monthly maintenance or when odors return.
Step-by-Step: Safe Cleaning for Different Mug Types
Getting the steps right depends on what you're holding. Stainless steel, plastic, and hybrid mugs each have quirks. Lids with moving parts need extra attention.
Stainless Steel Tumblers and Bottles
Start by removing the lid and any detachable seals. Fill the mug halfway with warm water. Add one tablespoon of baking soda.
Swirl to coat the interior. Let it sit for at least 30 minutes. Use a long bottle brush to scrub the sides and bottom.
Rinse until the water runs clear and no soda taste remains. Dry with a clean towel or air dry upside down.
Plastic and Hybrid-Liner Mugs
Plastic absorbs odors more easily than steel. Soak the entire mug in a solution of one part white vinegar to three parts warm water for two hours. This breaks down oils and neutralizes smells.
Gently scrub with a soft brush. Rinse thoroughly. Avoid abrasive pads that scratch plastic and create hiding spots for bacteria.
Lids with Complex Mechanisms and Straws
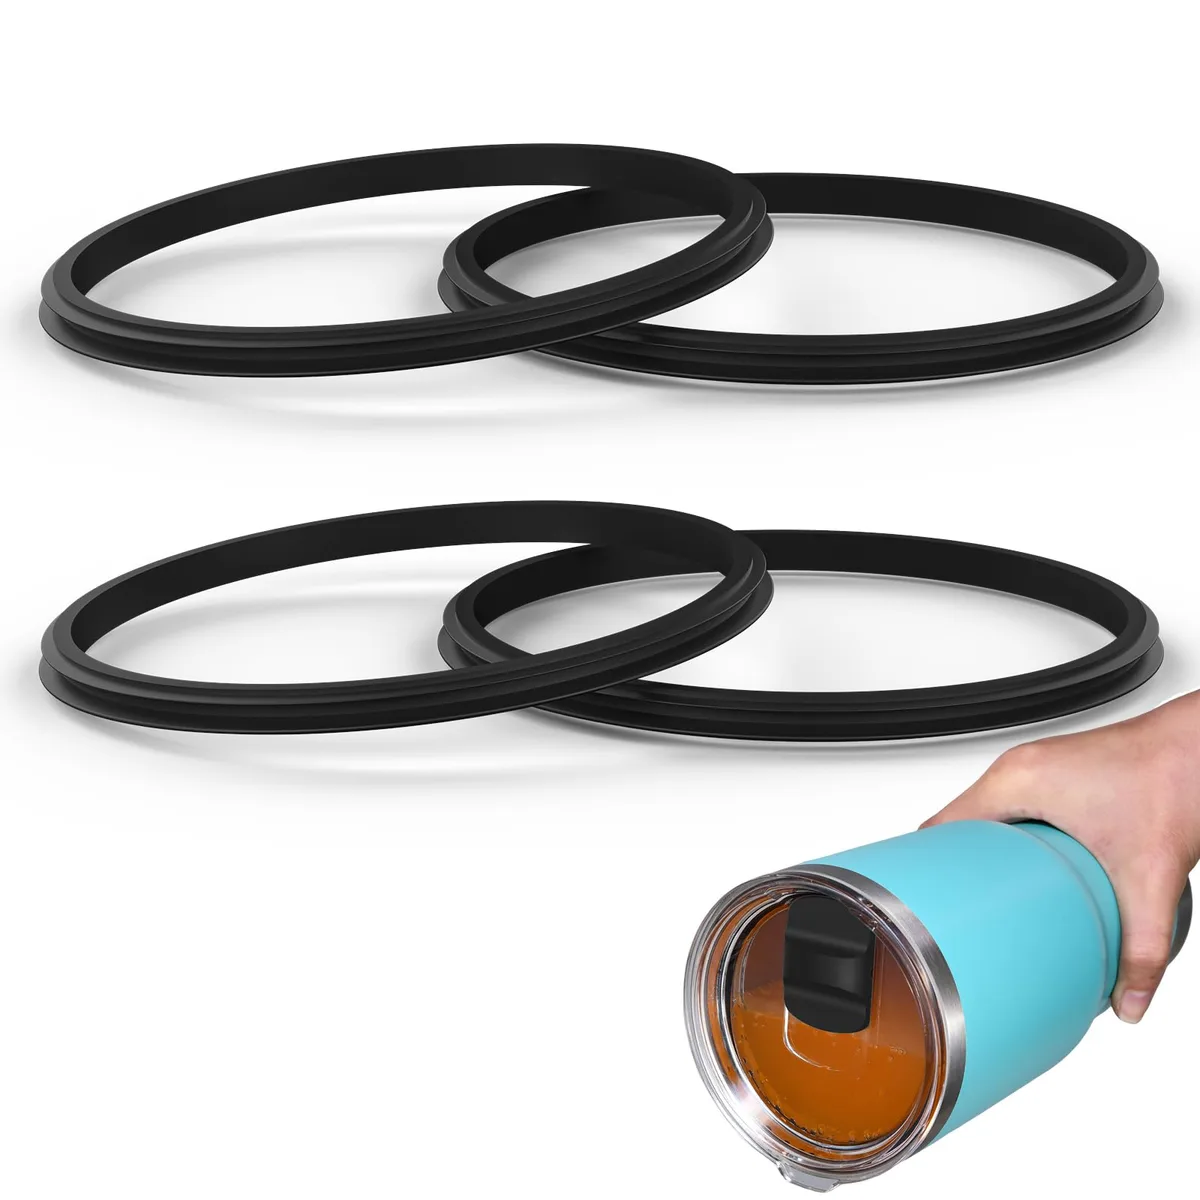
Take apart every removable piece. Pop out silicone rings and wash them separately. Use a small brush or pipe cleaner to run through straw openings.
Soak the lid base in warm soapy water for 15 minutes. Rinse each component. Check that seals sit flat and haven't twisted.
A misaligned ring causes leaks and traps moisture.
Reassembling Without Losing Parts
Lay out all pieces on a clean towel before disassembly. Take a photo with your phone if needed. This makes reassembly straightforward.
Ensure each silicone gasket is seated evenly in its groove. Click the lid pieces back together until they snap securely. Test by filling with water and shaking gently to check for leaks.
Mistakes That Damage Your Mug or Void Warranties
Even well-intentioned cleaning can shorten your mug's life. Watch out for these common pitfalls.
Bleach and acid clashes
Never mix bleach with vinegar or other acidic cleaners. The chemical reaction produces toxic chlorine gas. This is a serious health hazard.
Stick to one cleaning agent at a time. For disinfecting, dilute bleach according to package directions and rinse extremely well.
Dishwasher damage you didn't see coming
High heat and aggressive detergents degrade silicone seals over time. They can cloud plastic and warp lid components. Even if a mug claims dishwasher safety, the top rack is safer.
Place lids face down so water drains. Remove seals periodically and hand wash them.
Rough pads and wrong brush shapes
Steel wool and harsh scouring pads scratch stainless steel and plastic. Scratches become breeding grounds for bacteria. Use nylon brushes with firm bristles.
For narrow openings, opt for flexible bottle brushes or clean straws as makeshift tools.
Skipping the dry-down step
Leaving the mug assembled while damp traps moisture inside. That environment encourages mold and mildew. After washing, wipe interiors with a towel.
Leave lids and seals off while air drying. Store only when completely dry.
Using cleaners beyond manufacturer guidelines
Some brands warn against bleach, abrasive powders, or certain solvents. Ignoring those instructions may void your warranty. Check the care label or official website before trying a new product.
When in doubt, stick to baking soda, vinegar, or manufacturer-recommended cleaners.
Maintenance Routines That Keep Smells Away Long-Term
The 5-Minute Daily Rinse Habit
Prevention beats deep cleaning every time. Empty your mug after each use. Rinse with warm water immediately.
A quick swirl dislodges most residue before it dries and sticks. Add a drop of dish soap once a day if you drink coffee or protein shakes. This tiny habit stops buildup from ever becoming a problem.
Weekly Lid Care
Set aside five minutes each week to tackle the lid. Pop out silicone seals and inspect them for discoloration. Soak them in warm soapy water while you wash the mug body.
Use a straw brush on any removable channels. Dry everything completely before putting it back together. A moist seal is an invitation for mold.
Monthly Deep-Clean Scheduling
Once a month, run a full maintenance cycle. Fill the mug with baking soda and hot water. Let it sit overnight for stubborn cases.
Scrub the interior the next morning. Clean the lid components separately with vinegar if you have hard water deposits. Rinse everything twice to remove any cleaning residue.
When to Replace Silicone Seals Instead of Cleaning Them
Seals wear out. If a gasket stays discolored after multiple deep cleans, it has likely absorbed odors permanently. Cracks or loss of elasticity mean it's time for a replacement.
Many brands sell spare seal kits. Installing a new ring takes under a minute and restores leak-free performance. Don't keep cleaning a dead seal.
Swap it out and move on.
FAQs About Travel Mug Cleaning
Can I Use Dishwasher Detergent Pods in My Mug?
Yes, but only if your mug and lid are dishwasher-safe. Drop a pod into the bottom of the empty mug. Run a short cycle on the top rack.
This works well for routine cleaning between deeper washes. Avoid pods with bleach additives if your manufacturer warns against chlorine. Rinse the lid separately by hand to extend seal life.
Is Hydrogen Peroxide Safe for Insulated Mugs?
Food-grade hydrogen peroxide at 3 percent concentration is safe for stainless steel interiors. It disinfects without leaving toxic residues. Soak the affected area for 15 minutes, then rinse thoroughly.
Do not use it on aluminum components or colored plastic lids, as it may cause discoloration. Always dilute higher concentrations before contact with drinkware surfaces.
How Do I Remove Stains From the Inside Without a Brush?
Fill the mug with warm water and two tablespoons of baking soda. Let it sit for several hours or overnight. The solution loosens stains enough that swirling the liquid removes most residue.
For tougher rings, add a denture tablet to the soak. The fizzing action helps lift deposits without scrubbing.
Why Does My Mug Still Smell After Cleaning?
Persistent odors usually mean mold or biofilm has colonized hidden spots. Check the silicone gasket groove and the underside of the lid. These areas trap moisture even after drying.
Soak removed seals in vinegar for an hour. If the smell lingers after repeated cleaning, the seal itself may need replacement. worn silicone holds odors permanently.
Are Mug Cleaning Tablets Worth the Money?
They work well for busy people who want minimum effort. One tablet dropped into warm water fizzes away stains and odors in under an hour. They cost more per use than baking soda or vinegar.
But they save time and handle heavy coffee buildup effectively. If you drink multiple coffees daily, the convenience justifies the price for many users.
What's the Difference Between Baking Soda and Vinegar for Cleaning?
Baking soda tackles odors and lifts organic stains like coffee oils. Vinegar breaks down mineral deposits and hard water scale. They serve different purposes.
Never mix them together in the same solution, as they neutralize each other. Use baking soda for daily refresh and vinegar monthly for descaling.
The key takeaway is simplicity. Disassemble fully, choose the right cleaner for your specific problem, and let everything dry before reassembly. A few minutes of weekly care prevents the musty smells that plague neglected mugs.
Match your method to your habit, stick with consistent maintenance, and your travel mug will stay fresh through years of daily use.

Sophia Martinez is a culinary lifestyle writer and product reviewer for DiningGadgets.com. Passionate about blending style with functionality, she explores the latest dining essentials, kitchen décor, and cleaning hacks that transform everyday cooking spaces. With a background in home organization and design, Sophia brings readers expert advice on creating beautiful, practical kitchens that truly feel like the heart of the home.