Outdoor Serving Tray Problems (and How to Fix Them)
Outdoor serving tray problems and solutions often trace back to one overlooked detail: your tray's material meeting its environment. A warped wood tray in a humid coastal breeze needs a different fix than a rusting aluminum cart on a desert patio. Getting the right outcome starts with identifying what's breaking down before you reach for sandpaper or sealant.
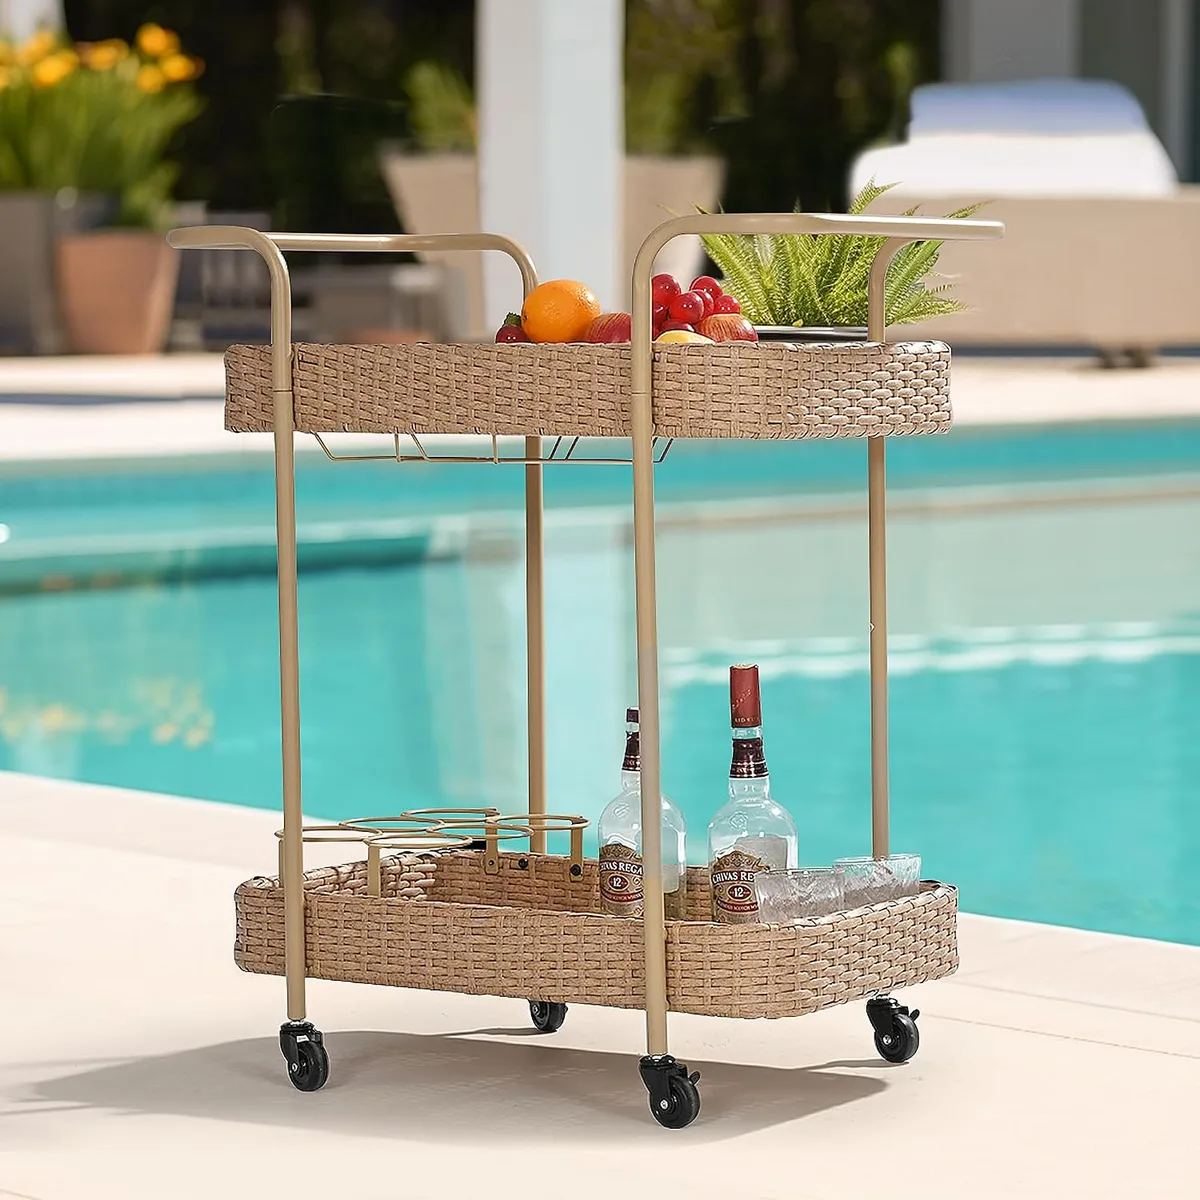
Most standard outdoor trays weigh between 8 and 15 pounds when empty and support 20 to 50 pounds of loaded dishes. That means condensation, summer heat, and winter moisture can take a toll on anything left exposed. Let's walk through how to spot the issue, match the repair, and keep your serving station rolling smoothly.
Credit: Web (Bing) / amazon.com (Web image (fair-use with source credit))
Quick Answer
Fix depends on material and climate. Wood warps; metal rusts; resin cracks. Identify root cause first.
Apply targeted maintenance after. Use proper sealants and hardware. Store trays indoors during off-seasons.
This extends lifespan significantly.
Diagnosing Outdoor Serving Tray Problems: What's Your Material?
Spotting the Signs: Warping, Rust, Cracking, and Mold
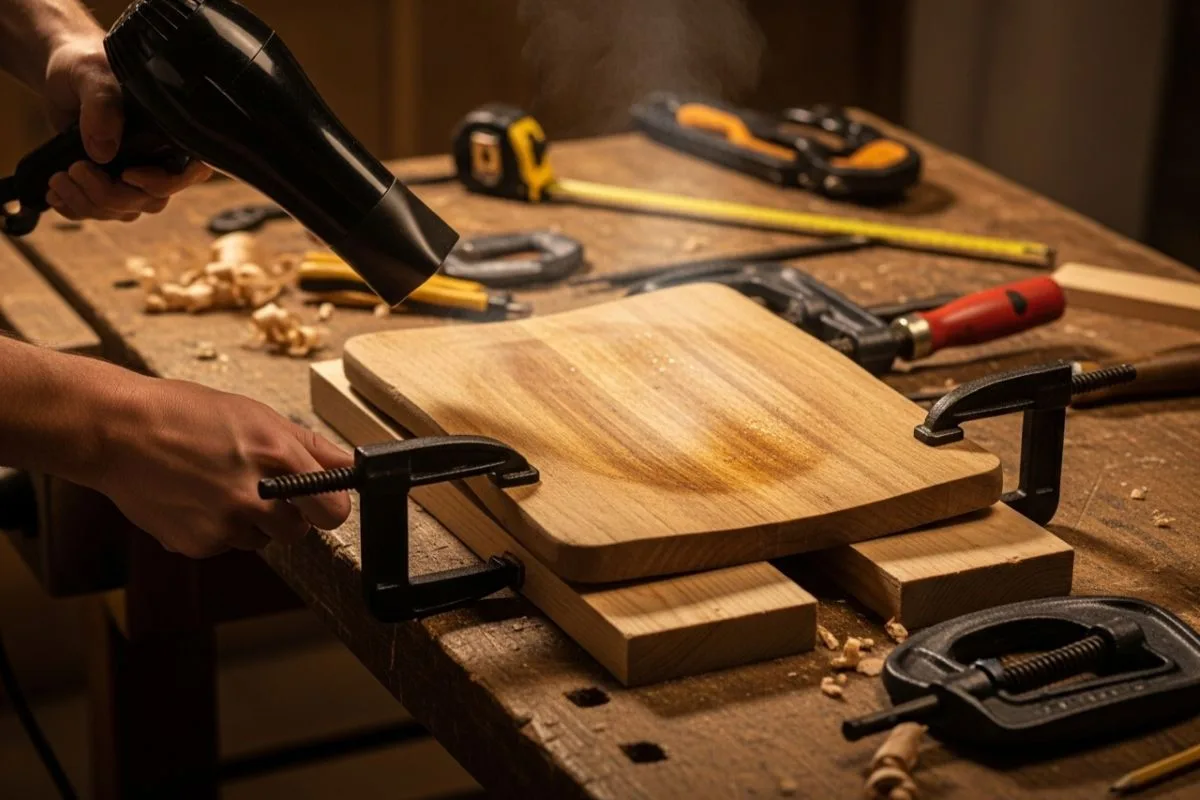
Each material fails in predictable ways. Wood absorbs moisture and swells, then cracks as it dries unevenly. Metal develops surface oxidation, especially at welds and bolt holes.
Resin becomes brittle and fades under prolonged UV exposure. Wicker traps dampness inside its weave, leading to mildew and fraying. Glass tops suffer from thermal shock when hot dishes meet cold condensation rings.
Credit: Web (Bing) / koppenhouse.com (Web image (fair-use with source credit))
Look for these red flags early. Grain raising on wood means water sitting on the surface. White chalky residue on metal often signals salt air corrosion.
Cracks spreading from wheel mounts point to stress fatigue. Soft spots in wicker suggest internal rot that cleaning won't fix. Addressing signs within weeks prevents costly replacements later.
The Role of Climate: Coastal Humidity vs. Arid Sun vs. Freeze-Thaw
Your geography writes the wear schedule. Coastal zones accelerate corrosion and fungal growth. Arid regions dry out wood joints and fade pigments faster.
Areas with freeze-thaw cycles stress sealants and cause micro-fractures in composite materials. A tray rated for indoor use may not survive a single wet winter outdoors.
Per manufacturer testing guidelines, exterior-grade finishes must withstand at least 1,000 hours of UV exposure without chalking. Powder-coated aluminum typically outperforms bare steel in humid climates. Selecting a material matched to your local weather cuts repair frequency by half or more.
Usage Patterns That Stress Trays Different Ways
How you use the tray matters as much as where it sits. Rolling carts endure vibration and impact from casters hitting thresholds. Static console trays face constant sun and rain exposure.
Heavy loading during large gatherings stresses joints and shelf connections. Spilling acidic drinks like citrus juice or wine leaves stains that etch finishes if not wiped promptly.
Catering and event pros often rotate trays through indoor and outdoor spaces. That mixed use demands harder-wearing construction than a balcony-only piece. Even small habits like leaving a cold pitcher on an unprotected wooden surface speed up finish breakdown.
Quick Self-Assessment: Which Problem Are You Facing?
Answer three questions to pinpoint your repair path. First, what's the primary material? Check labels or manufacturer specs.
Second, where do you store it? Indoor garage, covered porch, or fully exposed deck changes maintenance needs. Third, what's the visible damage?
List any warping, rust spots, loose wheels, or stains.
Matching your answers to the material-specific branches below gives you a clear next step. No need to guess which product to buy. Simple observation guides you to the right fix every time.
Branching Fixes: Material-Specific Solutions for Warping, Rust, and More
Wood Trays: Sanding, Re‐Sealing, and Re-Oiling to Stop Warping
Wood responds to moisture by expanding and contracting. When that movement repeats seasonally, boards warp and joints loosen. The fix starts with removing the old finish.
Use 80-grit sandpaper to strip flaking sealant, then progress to 120-grit for smoothness. Always sand with the grain to avoid scratches that trap water.
After sanding, clean the surface with a damp cloth and let it dry completely. Apply a penetrating oil or exterior-grade sealer according to product directions. Teak oil works well for dense hardwoods, while spar urethane suits softer woods.
Two thin coats beat one thick coat, which tends to peel. This process restores stability and brings back a fresh appearance.
Metal Trays: Rust Removal, Primer Touch‐Ups, and Hardware Swaps
Surface rust on powder-coated aluminum or steel is common but manageable. Start by scrubbing affected areas with a stiff brush and warm soapy water. For heavier corrosion, use a wire brush or sandpaper to remove loose flakes.
Rinse and dry thoroughly before applying primer.
Choose an exterior metal primer rated for the specific alloy. Spray primers adhere better to curved surfaces, while brush-on formulas suit detailed touch-ups. Once primer cures, apply a matching topcoat.
Replace any stripped screws with stainless-steel equivalents to prevent future loosening. Keeping hardware tight stops wobble and extends caster life.
Resin & Plastic Trays: Combating Brittleness and UV Discoloration
UV radiation breaks down polymer chains in resin trays, causing fading and brittleness. Once cracks appear, repair options are limited. Prevention focuses on shading and cleaning.
Store trays under a cover when not in use, or keep them in a garage during winter months.
Clean faded trays with a mixture of white vinegar and water to restore some color. Avoid abrasive cleaners that scratch the surface and accelerate cracking. If the tray still feels flexible and intact, apply a UV-protectant spray designed for outdoor plastics.
These products create a barrier that slows further degradation for one season at a time.
Wicker/Rattan Trays: Mildew Treatment and Weave Repair
Wicker traps moisture inside its woven structure, leading to mildew and soft spots. Begin by brushing away loose debris with a soft-bristle brush. Mix a solution of one part household bleach to three parts water, then dab it onto affected areas using a sponge.
Never soak the material, as excess water worsens internal rot.
Allow the tray to air dry completely in indirect sunlight. Once dry, reinforce weak weaves with exterior-rated adhesive applied carefully with a toothpick. For severe damage, consider replacing the entire tray rather than patching multiple failures.
Proper sealing after cleaning can extend service life by several years.
Glass‐Top Trays: Preventing Temperature Shock and Managing Cracks
Glass surfaces crack when subjected to rapid temperature changes. Never place a hot pan directly onto a chilled glass top. Use trivets or heat-resistant pads as a buffer.
If a crack does appear, stop using the tray immediately to avoid injury from sharp edges.
Minor surface scratches can be polished out with a non-gel toothpaste and a soft cloth. For deep cracks, replacement is the only safe option. Look for tempered glass inserts rated for outdoor use, as they resist thermal shock better than regular glass.
Step‐by‐Step Repair Workflows for Common Failures
Tightening Loose Joints, Legs, and Handle Brackets
Loose connections cause wobbling and instability. Identify which fasteners have backed out over time. Use the correct screwdriver or Allen wrench size to avoid stripping heads.
Turn clockwise until snug, but do not overtighten, as this can crack wood or strip threads.
If original holes are enlarged, fill them with exterior wood filler or epoxy, then drill new pilot holes. For metal brackets, apply thread-locking compound to prevent future loosening from vibration. Regular inspection every few months catches issues before they worsen.
Replacing Worn Caster Wheels and Locking Mechanisms
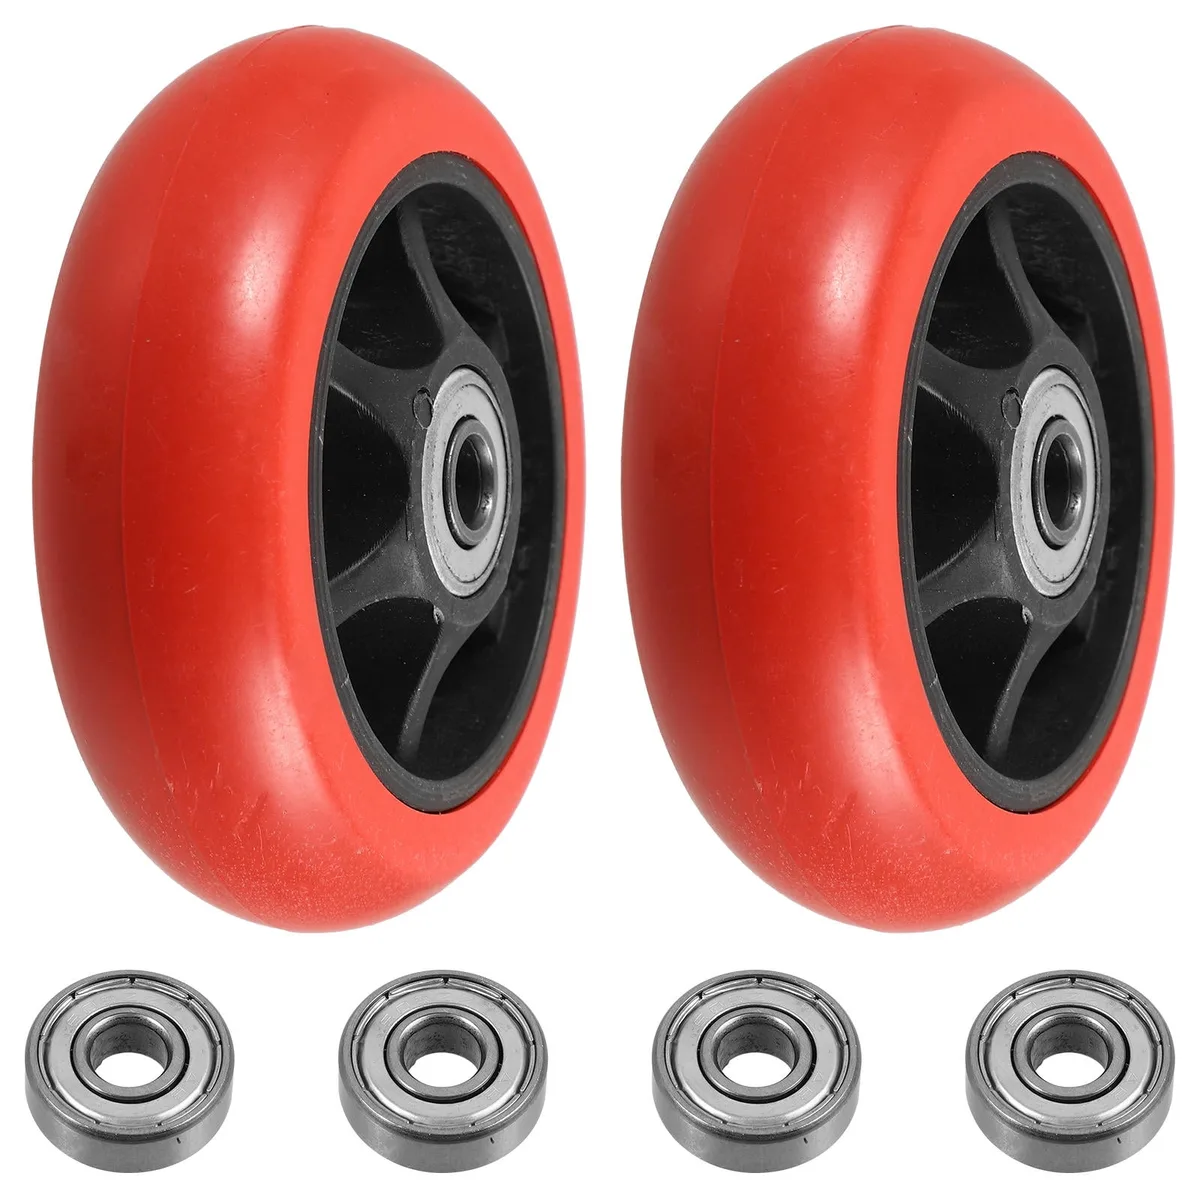
Casters wear out from friction and debris buildup. Remove each wheel by pressing the retaining clip or unscrewing the mounting bolt. Measure the stem diameter and wheel size before purchasing replacements.
Standard sizes range from 1 to 2 inches in diameter.
Credit: Bing (Web (fair-use with source credit))
Install new wheels and test roll movement. Lubricate axles with a silicone-based spray to ensure smooth rotation. If locking mechanisms stick, clean internal components with compressed air and apply a light grease.
Proper wheel maintenance reduces strain on tray frames and improves maneuverability.
Cleaning Hard Water Stains, Food Spills, and Grease Marks
Different stains require different cleaners. Hard water deposits respond well to diluted white vinegar. Food spills should be wiped immediately to prevent staining.
Grease buildup on metal surfaces benefits from a degreaser applied with a non-abrasive pad.
Rinse all cleaned areas thoroughly with clean water and dry with a soft cloth. Avoid harsh chemicals like bleach on colored finishes, as they can cause discoloration. Routine cleaning after each use keeps surfaces looking new and prevents permanent damage.
Re‐Finishing Peeling Powder Coating or Sealant
Peeling coating exposes underlying material to the elements. Start by removing loose flakes with a scraper or wire brush. Sand the edges smooth to create a blending surface.
Clean the area with a degreaser to remove oils and dust.
Apply a primer compatible with the base material. Once dry, spray or brush on a matching exterior paint or sealant. Two light coats provide better coverage and durability than one heavy coat.
Allow proper curing time before returning the tray to service.
Shimming and Leveling on Uneven Deck or Patio Surfaces
Trays rock on uneven ground, spilling contents and stressing joints. Place adjustable shims under low legs until the tray sits level. Use a bubble level to verify alignment.
Secure shims with adhesive if they tend to shift.
For permanent solutions, install self-leveling feet available at hardware stores. These compensate for surface irregularities and keep the tray stable. Regularly check levelness, especially after seasonal ground movement.
Mistakes That Turn Small Tray Issues Into Big Headaches
Using the Wrong Cleaner on the Wrong Material
Aerosol cleaners designed for glass may damage wood finishes. Abrasive scrubs scratch powder coating, exposing metal to rust. Always check manufacturer recommendations before choosing a cleaning product.
When in doubt, test a small hidden area first.
Skipping Surface Preparation Before Painting or Sealing
Paint adheres poorly to dirty or glossy surfaces. Sanding creates a mechanical bond for new coatings. Cleaning removes oils and contaminants that cause peeling.
Taking time here ensures longer-lasting results.
Ignoring Wheel Maintenance Until Rolling Fails
Debris accumulation jams caster bearings. Lack of lubrication accelerates wear. Inspect and clean wheels monthly during peak use seasons.
Replace worn bearings promptly to avoid frame damage.
Storing Trays Improperly During Off-Season
Leaving trays exposed to winter elements invites rot and corrosion. Stack them upside down to shed rain. Cover with breathable tarps instead of plastic, which traps moisture.
Indoor storage in a dry garage is ideal.
Overloading Beyond Rated Weight Capacity
Exceeding weight limits stresses joints and causes collapse. Distribute load evenly across shelves. Never stand or sit on serving trays.
Follow published weight ratings to ensure safety and longevity.
Choosing the Right Outdoor Serving Tray for Your Climate and Lifestyle
Credit: Web (Bing) / jati.co.uk (Web image (fair-use with source credit))
Best Materials for Coastal, Humid, Arid, and Cold-Climate Regions
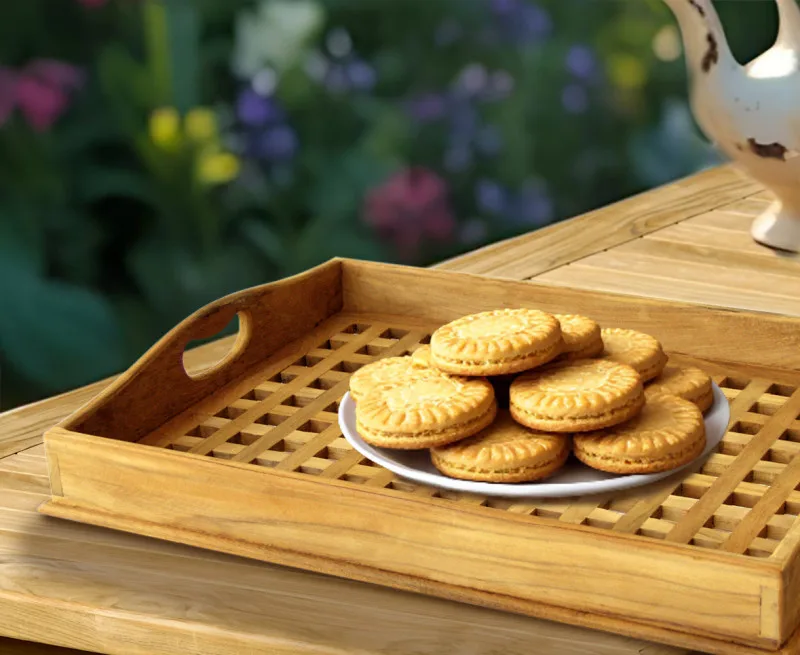
Coastal areas demand rust-resistant metals like stainless steel or aluminum. Humid climates benefit from treated teak or synthetic wicker that resists mold. Arid zones tolerate most materials but favor UV-stable resins.
Cold regions require flexible finishes that withstand freeze-thaw cycles without cracking.
Mobility Needs: Rolling Beverage Carts vs. Fixed Serving Shelves
Rolling carts offer flexibility for large gatherings and uneven terrain. Fixed shelves provide stability for permanent outdoor kitchens. Assess how often you move the tray and where it will primarily sit.
Choose accordingly.
Budget Tiers: What to Expect at $50, $150, and $400+
Budget trays under $50 often use lower-grade resins or thin metals. Mid-range options around $150 feature better coatings and sturdier construction. Premium trays above $400 typically use solid hardwoods, marine-grade hardware, and superior finishes.
Invest based on expected usage intensity.
Key Questions to Ask Before Buying
Check weight capacity per shelf. Verify warranty coverage for fading and structural defects. Confirm assembly requirements and tool needs.
Read reviews focusing on long-term durability in climates similar to yours. These steps prevent costly regrets.
FAQs
Can I Leave My Outdoor Serving Tray Outside Year-Round?
Yes, if it's made from weather-resistant materials like teak, aluminum, or high-density polyethylene. However, covering it or storing it indoors during extreme seasons extends lifespan significantly. Always follow manufacturer care instructions for continuous outdoor exposure.
How Do I Remove Rust From a Metal Tray Without Damaging the Finish?
Gently scrub affected areas with a soft brush and mild detergent. For stubborn rust, use a paste of baking soda and water, then rinse thoroughly. Touch up with rust-inhibiting primer and matching paint.
Avoid steel wool, which can embed particles and cause further corrosion.
What's the Best Way to Clean and Maintain a Teak Tray?
Clean with a solution of warm water and mild soap using a soft brush. Rinse completely and allow to air dry. Apply teak oil or sealant every six to twelve months to maintain color and prevent drying.
Avoid pressure washers, which can damage the wood grain.
Why Does My Wooden Tray Keep Warping Even After I've Sealed It?
Warping often results from uneven moisture absorption on both sides of the board. Ensure the sealant covers all edges and surfaces completely. Store the tray flat when not in use, and avoid placing it in direct sunlight or damp areas that promote one-sided drying.
Are Rolling Casters on Outdoor Carts Replaceable?
Yes, most caster wheels are interchangeable. Measure the stem diameter, wheel size, and mounting hole pattern before purchasing replacements. Universal adapters are available for mismatched configurations.
Regular cleaning and lubrication prevent premature wear.
Final Recommendation: Keeping Your Outdoor Serving Tray in Top Shape
Build a Simple Maintenance Schedule
Set calendar reminders for seasonal care tasks. Spring means cleaning and inspecting for winter damage. Fall calls for sealing wood, lubricating casters, and storing if needed.
A quick 10-minute check each month prevents major issues down the line.
Track what works for your specific tray and climate. Notes on past repairs help you repeat successful fixes. Over time, you'll develop a routine that keeps your serving station looking great with minimal effort.
When to Repair vs. Replace
Most problems can be fixed for under $30 in materials. Sanding and resealing a warped wood tray costs about $15. Replacing caster wheels runs $10 to $25 for a set of four.
Touch-up paint and primer cost roughly $12. These investments stretch the life of your tray by years.
Consider replacement when structural damage is extensive. Cracked load-bearing joints, severe rot through multiple boards, or broken glass tops that can't be sourced make repair uneconomical. If a tray costs less than $50 and needs $40 in repairs, buying new may be smarter.
Long-Term Care Payoffs
A well-maintained outdoor serving tray lasts 10 years or more. Teak trays with annual oiling easily reach two decades. Aluminum carts with proper storage avoid rust entirely.
Resin trays protected from direct sun stay flexible and colorful for five to seven years.
The ROI comes from avoiding premature replacement and maintaining presentation quality. Guests notice stained, wobbly, or rusted serving pieces. A clean, stable tray elevates your outdoor entertaining without drawing attention to wear and tear.
Quick Reference Checklist
- Inspect monthly during active season
- Clean after each use with appropriate cleaner
- Dry thoroughly before covering or storing
- Lubricate moving parts quarterly
- Apply fresh sealant or oil annually to wood
- Store indoors or under cover during harsh weather
- Tighten hardware as needed
- Replace worn casters promptly
Following this checklist turns maintenance into a habit rather than a chore. Your outdoor serving tray will reward you with reliable performance season after season.

Sophia Martinez is a culinary lifestyle writer and product reviewer for DiningGadgets.com. Passionate about blending style with functionality, she explores the latest dining essentials, kitchen décor, and cleaning hacks that transform everyday cooking spaces. With a background in home organization and design, Sophia brings readers expert advice on creating beautiful, practical kitchens that truly feel like the heart of the home.