How to Use an Outdoor Pizza Oven: A Complete Beginner’s
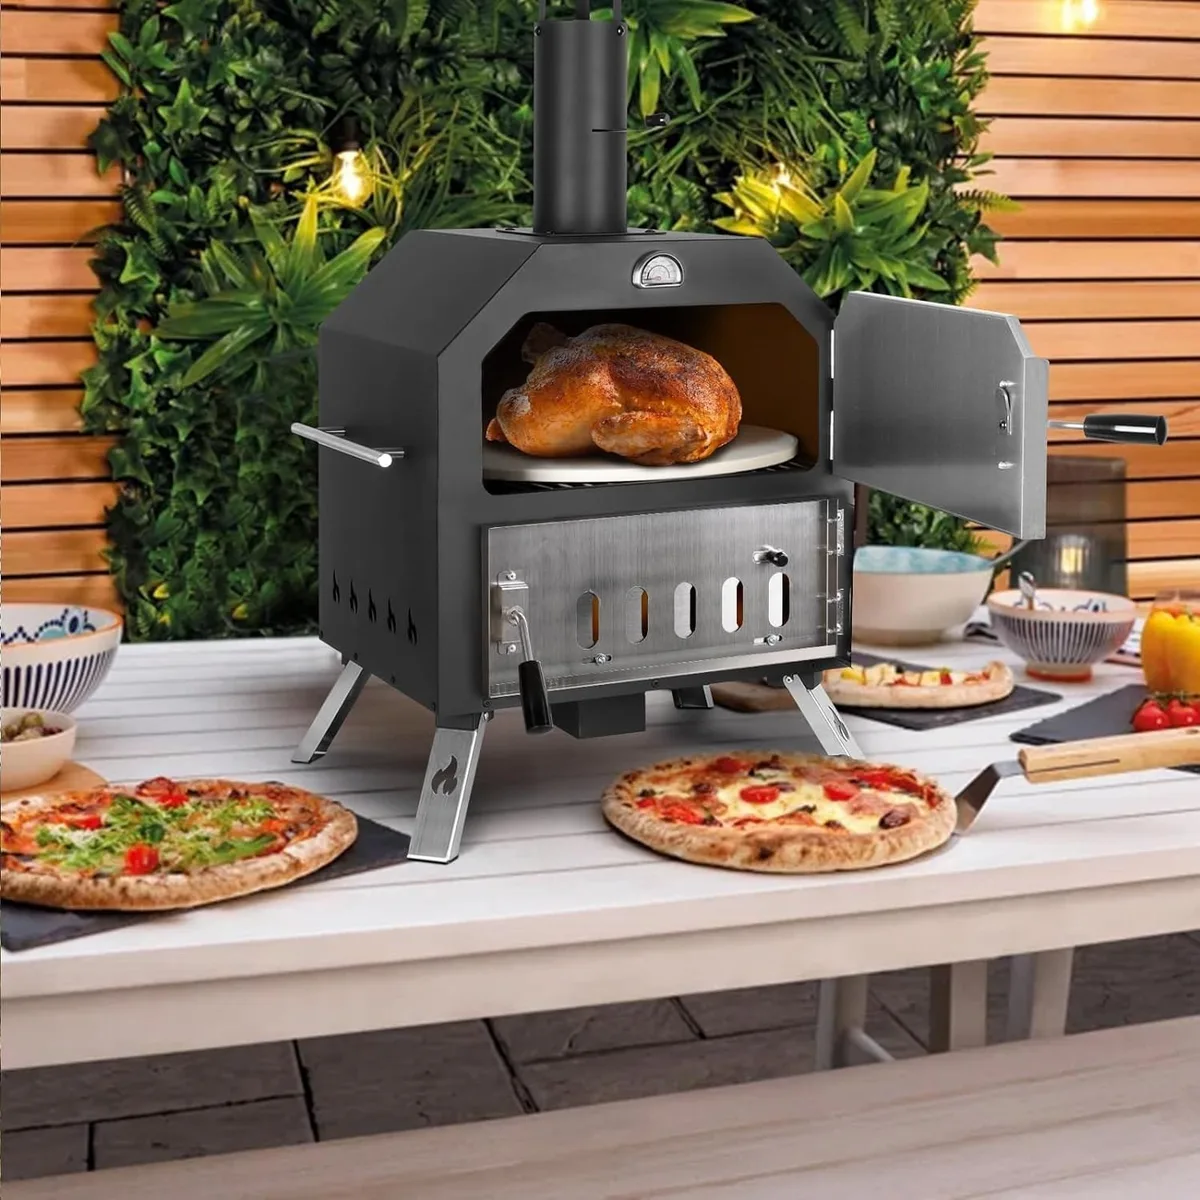
Image source: Web (Bing) / cookingapplianceworld.com (Web image (fair-use with source credit))
Learning how to use outdoor pizza oven equipment safely requires understanding extreme heat management, proper airflow, and risk awareness before you ever fire up the appliance. Manufacturer specifications indicate that most outdoor pizza ovens reach 700 to 900 degrees Fahrenheit during normal operation. That kind of heat demands respect and careful preparation.
Here is what you need to know to get it right.
Quick Answer: The One Thing You Must Get Right
How to use outdoor pizza oven equipment comes down to one principle: verify dome temperature before cooking. A properly preheated oven at 800 degrees Fahrenheit cooks a Neapolitan-style pizza in 60 to 90 seconds with a blistered crust and fully set center. If your dome reads below 700 degrees, expect uneven cooking and potential food safety issues from undercooked dough.
Never rely solely on built-in thermometers, which often lag behind actual surface conditions.
Test readiness by scattering flour on the hearth. If it chars within 10 seconds, the oven is ready. If it takes longer than 30 seconds, continue preheating.
Keep a Class ABC fire extinguisher within arm's reach at all times, and maintain at least 3 feet of clearance from any combustible surface.
How Outdoor Pizza Ovens Work (And Why It Changes Everything)
Outdoor pizza ovens generate heat through two distinct mechanisms: radiant heat rising from the hot floor and convective heat circulating from the dome. Understanding both helps you predict cooking results and avoid common failures. Most well-built models combine refractory brick floors with insulated metal domes to balance these heat transfer methods effectively.
Heat Types By Fuel Source
Different fuel sources deliver heat profiles that affect cooking outcomes significantly. Wood-fired ovens produce intense radiant heat from the fire bed along with smoky convective flow from burning gases. Gas models offer steady convection with minimal flare-up risk when properly vented.
Pellet ovens sit somewhere in between, delivering consistent heat with mild smoke infusion.
The Dome Is Your Thermal Regulator
The dome controls how quickly your oven reaches and holds peak temperature. Opening the door releases heat rapidly and invites oxygen that can trigger flare-ups. Closed-door cooking maintains stable temperatures and reduces grease fires.
Vent positioning matters equally. Top vents exhaust hot air while bottom vents draw in fresh oxygen. Adjust both to manage burn intensity without constant refueling.
Thermal Mass Determines Heat Retention
Refractory brick floors absorb and radiate heat slowly, providing even cooking over extended sessions. Thin steel or aluminum floors heat faster but lose temperature quickly when you open the door. Thicker insulation around the dome cavity retains heat better during cool evenings or windy conditions.
Choose your oven material based on how often and how long you plan to cook.
Safe Setup & Preheating: What To Do Before You Light the Fire
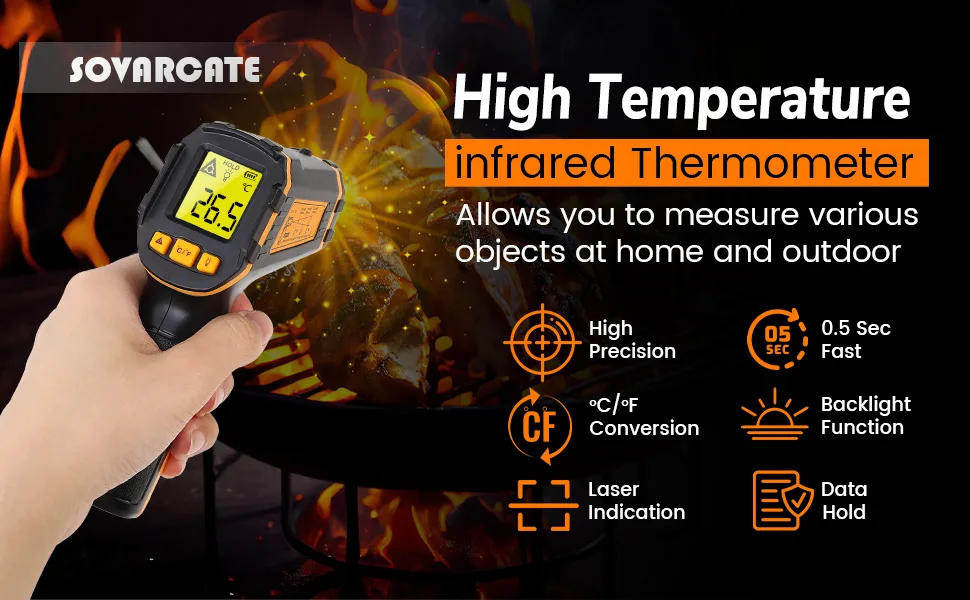
Image source: Web (Bing) / amazon.com.au (Web image (fair-use with source credit))
Setting up an outdoor pizza oven correctly prevents dangerous mistakes before they happen. Site selection forms the foundation of safe operation. Place your oven on a level, non-combustible surface such as concrete pavers or a certified outdoor kitchen pad.
Maintain minimum clearance of 3 feet from deck railings, siding, and overhead structures as recommended by fire safety standards from the National Fire Protection Association.
First Use Seasoning Matters
New wood-fired and refractory brick ovens require a proper seasoning cycle before their first pizza. The manufacturing process leaves residual moisture and compounds trapped inside the brick. A gradual heating sequence over three to four sessions drives out moisture safely and prevents thermal shock cracking.
Begin with small fires lasting 30 minutes, then progressively increase duration and intensity across subsequent uses. Gas ovens typically need only a brief burn-off to clear factory oils from interior surfaces.
Proper Ignition Techniques
Never use charcoal lighter fluid or gasoline to start a wood fire. These accelerants create dangerous flare-ups and leave harmful chemical residues that contaminate food. Instead, use newspaper balls, natural fire starters, or a propane torch positioned at the base of kindling.
Build a small fire first, then gradually add larger pieces as flames establish. For gas models, follow the manufacturer lighting sequence precisely. Crack open all vents before igniting, then adjust gradually after the flame stabilizes.
Testing Readiness Without Guessing
Built-in dome thermometers frequently read 50 to 100 degrees lower than actual surface temperatures due to placement away from direct heat. An infrared thermometer gun aimed at the dome center provides accurate readings when used correctly. The flour test remains the most reliable practical method however.
Sprinkle a thin layer of flour across the hearth floor using a fine mesh sieve. Watch the reaction closely. Golden brown bubbling within 10 to 15 seconds signals optimal cooking temperature.
Dark black charring means the floor is too hot and you should ventilate slightly before proceeding.
Launching, Cooking & Turning: The High-Risk Moves
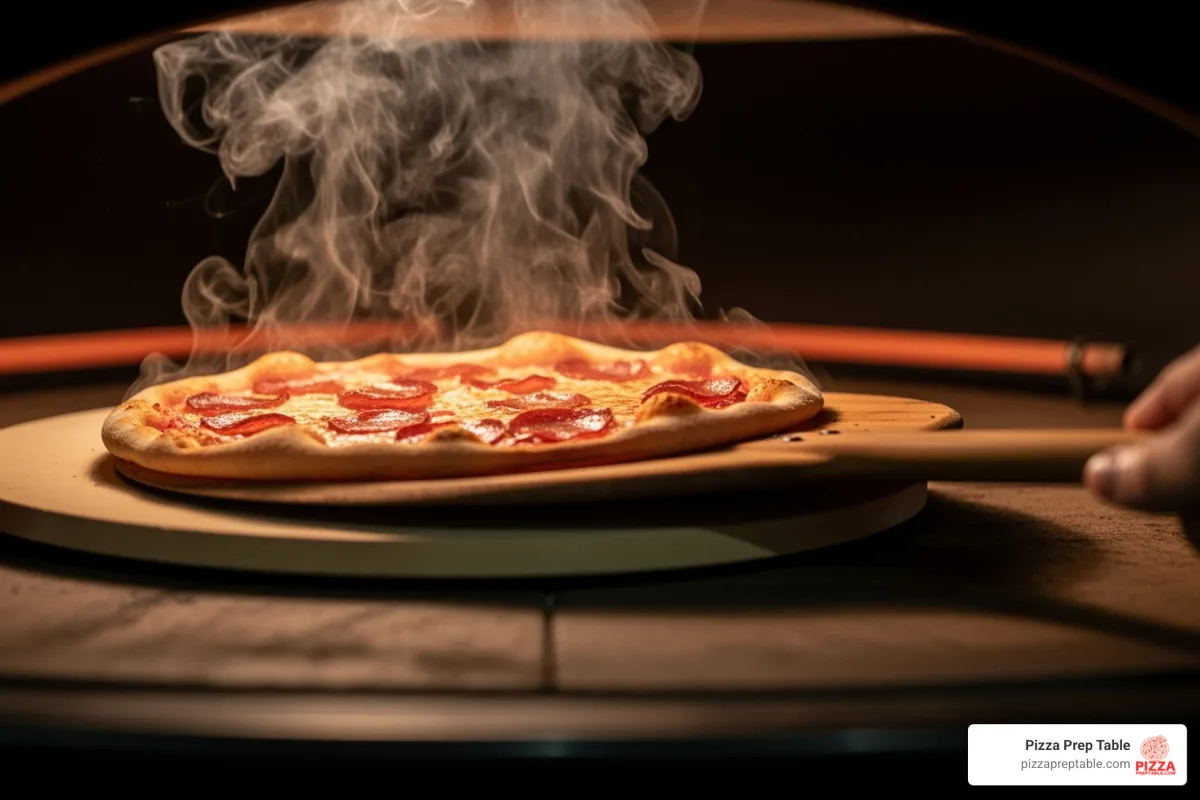
Image source: Web (Bing) / pizzapreptable.com (Web image (fair-use with source credit))
This phase carries the highest injury and food safety risk. Proper technique protects both you and your pizza. Master these movements deliberately rather than rushing through them.
Peeling Technique Prevents Sticking
Dust your peel generously with semolina or coarse cornmeal before loading dough. Both create a temporary barrier between the raw crust and metal surface. Slide the loaded peel under the pizza at a confident angle, then give a quick forward push followed by a sharp backward tug.
Hesitation causes sticking and tearing. Practice this motion several times with plain dough balls before adding toppings.
Dome Position During Cooking
Keep the dome closed throughout the cooking cycle whenever possible. Each opening drops internal temperature by 50 to 100 degrees and introduces oxygen that feeds flare-ups from dripping cheese or oil. Monitor progress through the dome window if your model has one.
Some cooks prop the door slightly open on gas ovens to control flame height, but wood-fired ovens perform best with the door fully closed after initial ignition.
Turning Mid Cook
Rotate the pizza halfway through cooking using your turning peel. Slide the turning peel underneath the uncooked side, lift gently, and flip the pizza 180 degrees. This compensates for hot spots common in all outdoor pizza ovens.
Watch for leopard spotting on the crust edges, which indicates proper char development. If the bottom browns too quickly while the top remains pale, move the pizza farther from the direct flame zone or lower the dome temperature slightly.
Handling Extreme Heat Safely
Always wear leather or Kevlar gloves rated for high temperatures when operating your oven. Use long-handled tools, never reaching over open flames or placing hands near hot surfaces. Keep children and pets at least 6 feet away during active cooking.
Have your fire extinguisher positioned and ready before lighting anything. If a grease fire starts inside the dome, close all vents and the door immediately to smother the oxygen supply. Do not spray water on a grease fire.
Emergency Response Basics
Known scenarios demand specific responses rather than panic reactions. A stuck pizza slides free with a firm shake and additional semolina underneath. A cracked dome means cease operation and allow complete cool-down before inspection.
Burning fingers require immediate cold water immersion for 10 to 15 minutes, not butter or ointment application. Serious burns warrant emergency medical attention without delay.
Cool-Down, Cleanup & Long-Term Safety
Proper shutdown preserves your oven and prevents next-day fires. Follow these steps consistently after every cooking session.
Natural Cooling Beats Forced Ventilation
Allow the oven to cool naturally with vents partially open. Closing all vents traps heat and moisture inside the cavity, promoting rust and damaging refractory materials over time. Never pour water on a hot oven to speed cooling.
Thermal shock from rapid temperature change cracks brick and warps metal domes. Expect a full cool-down period of 2 to 4 hours depending on ambient conditions and fuel type.
Ash Management for Wood and Pellet Ovens
Remove ashes only when completely cold to the touch, usually the following day. Use a metal ash shovel and dispose of residue in a sealed metal container stored outdoors away from structures. Damp ash compaction creates hazardous methane gas and can spontaneously reignite if packed wet into trash bags.
Keep ash buildup below 1 inch deep on the firebox floor to maintain proper airflow during future fires.
Cleaning the Hearth Surface
Once the oven reaches room temperature, scrape the hearth with a dedicated pizza oven brush or stiff bristle tool. Remove carbonized debris and food residue thoroughly. Avoid harsh chemicals or abrasive pads on refractory brick surfaces.
A light damp wipe with a cloth works for light maintenance between deep cleans. Never soak the brick floor or allow standing water to pool on any interior surface.
Covering and Weather Protection
Use a fitted waterproof cover designed specifically for your oven model. Loose tarps trap moisture against warm surfaces and create mold risks during storage. Store covers in a dry location when not in use.
Keep the oven area free of fallen leaves, pine needles, and other combustible debris that wind can carry onto warm surfaces days after use.
Seasonal Maintenance Checklist
Before each cooking season, inspect propane hoses for cracks and replace if worn. Check damper movement and vent operation for smooth function. Examine the dome exterior for rust spots requiring touch-up paint.
Verify that your fire extinguisher remains charged and accessible. Clean the infrared thermometer lens if your model uses one for temperature verification as of 2026.
Wood-Fired vs. Gas vs. Pellet: Picking the Right Oven For Your Situation
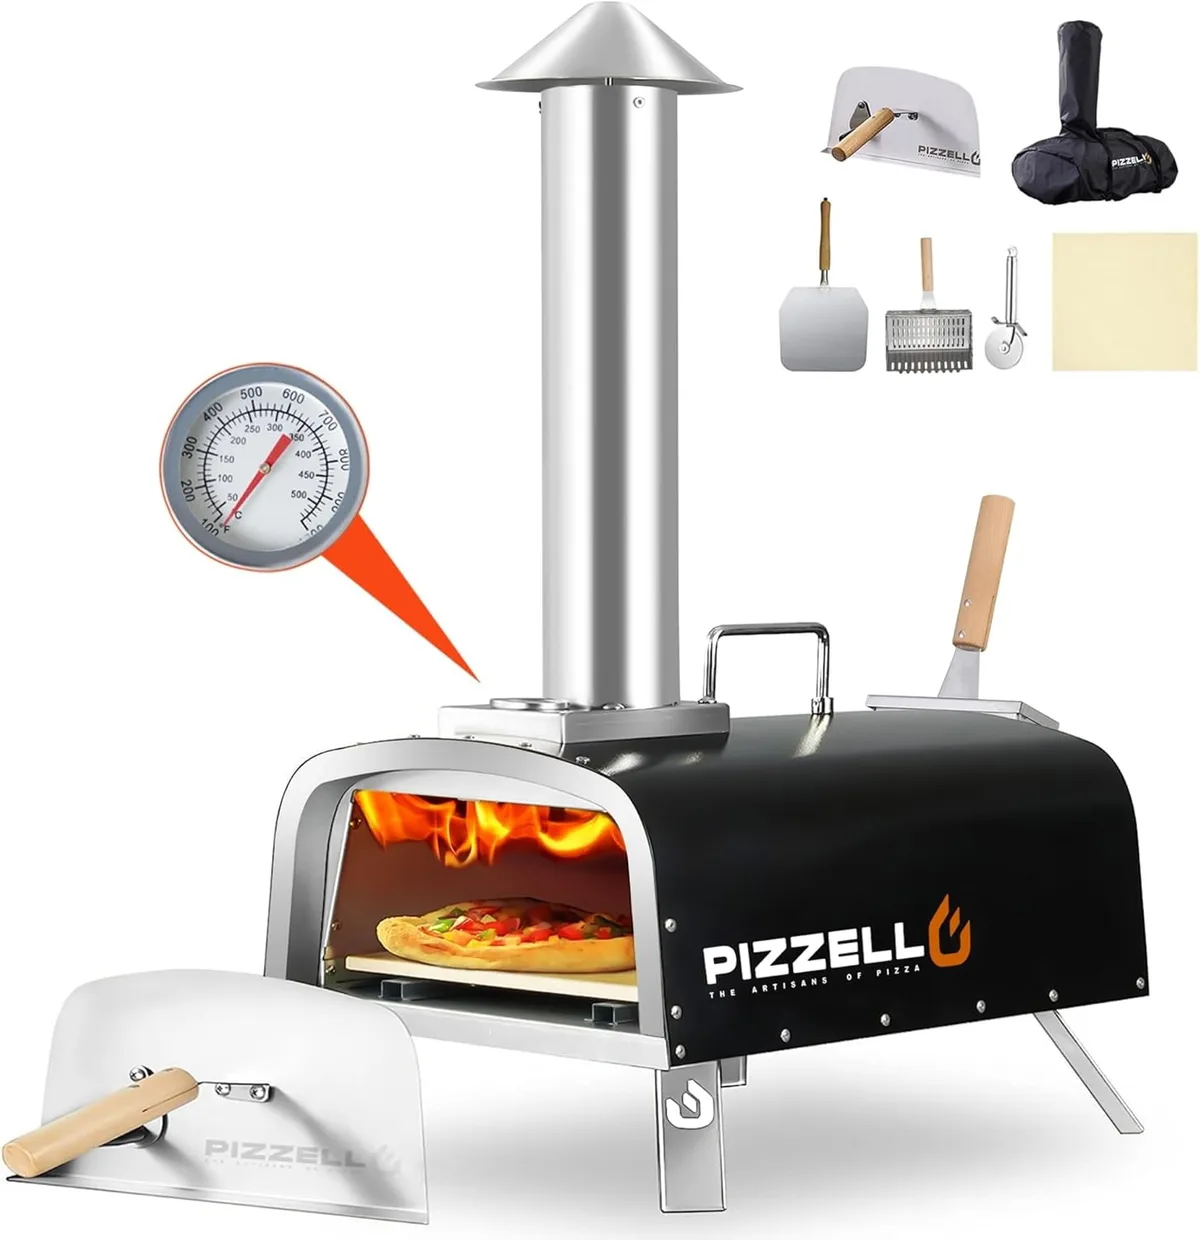
Image source: Bing (Web (fair-use with source credit))
Choosing between fuel types determines your cooking experience significantly. Each option offers distinct advantages and trade-offs that affect skill requirements, cost, flavor, and convenience. Understanding these differences helps you select the right oven for how often you plan to cook and what results you expect.
Wood-Fired Ovens: Maximum Flavor, Maximum Skill
Wood-fired ovens deliver the most authentic Neapolitan character with smoky depth and irregular char patterns that define traditional pizza. They require active management throughout cooking: building fires, positioning coals, and adjusting vents based on dome temperature readings. Operating costs vary widely depending on whether you source free fallen branches or purchase seasoned hardwood bags.
Expect to spend $20 to $40 per cooking session for quality oak or fruitwood.
These ovens suit experienced cooks who enjoy the ritual of fire management and prioritize flavor over convenience. They demand more physical effort and attention during operation. Beginners often struggle with temperature consistency until they develop feel for the equipment through repeated use.
Gas Ovens: Convenience and Consistency
Gas models eliminate fuel preparation entirely. Propane tanks last 15 to 20 hours of continuous cooking depending on burner output. Natural gas hookups offer unlimited supply without refilling.
Temperature control happens through dial adjustments rather than airflow management, making these ovens far more forgiving for beginners. Most quality gas pizza ovens reach 800 degrees Fahrenheit within 20 minutes.
The trade-off involves reduced smoke flavor and higher ongoing propane costs compared to free wood. Gas ovens excel for frequent weekend cooks who want reliable results without fire-building skills. They also meet stricter local fire codes in urban areas where open flames face restrictions.
Pellet Ovens: Balanced Middle Ground
Pellet ovens combine automated fuel feeding with wood smoke flavor infusion. Electronic controllers maintain consistent temperatures between 500 and 700 degrees Fahrenheit, lower than ideal Neapolitan ranges but perfect for New York-style or thick-crust pizzas. Pellet consumption averages 1 to 2 pounds per hour during active cooking.
These models suit casual entertainers who want wood flavor without managing live flames. They cost more upfront than basic gas units but less than premium wood-fired systems. Pellet availability varies by region, and some users report inconsistent feed mechanics in freezing temperatures.
FAQs: Common Questions About Outdoor Pizza Oven Safety & Performance
How long does preheat really take?
Preheating typically requires 20 to 45 minutes depending on fuel type, oven size, and ambient temperature. Gas ovens heat faster due to direct flame contact. Wood-fired models need additional time to build proper coal beds before the dome reaches target temperature.
Always verify readiness with the flour test rather than trusting elapsed time alone.
Can I use a digital thermometer instead of the flour test?
Yes, infrared thermometer guns provide accurate dome surface readings when aimed correctly. However, built-in oven thermometers often lag 50 to 100 degrees behind actual conditions. Use the digital thermometer to confirm the flour test result, not replace it.
Floor temperature matters more for pizza cooking than dome air temperature alone.
Is leaving the oven unattended safe?
Never leave an active outdoor pizza oven unattended. Grease flare-ups develop within seconds and can escalate to dome fires quickly. Maintain constant visual monitoring during all cooking sessions.
Keep children and pets at least 6 feet away throughout the entire process. If you must step away temporarily, close all vents and the dome door to reduce oxygen supply.
What dough thickness works best for high heat?
Thin-crust Neapolitan style dough, rolled to 8 to 10 inches wide and no thicker than 1/4 inch at the center, handles 800-degree heat optimally. Thicker crusts require lower temperatures and longer cook times, increasing burn risk while producing uneven results. Standard pizza dough recipes work perfectly when stretched thin enough to transmit heat rapidly through the center.
Can I cook other foods besides pizza?
Absolutely. These ovens handle bread baking, roasted vegetables, seared meats, and even chocolate desserts effectively. Adjust cooking temperatures downward for items requiring longer times.
Bread benefits from 500 to 600 degree dome ranges with steam injection. Meats sear beautifully at peak temperatures when cooked quickly on indirect heat zones created by moving coals aside.
Final Checklist: Safe Use From Ignition to Cover-Up
Follow this systematic checklist before, during, and after every cooking session to maintain safety standards and extend oven lifespan consistently.
Pre-Cook Preparation
Clear your cooking zone completely, removing chairs, tablecloths, and flammable materials from the immediate area. Position your fire extinguisher within arm's reach before lighting anything. Verify propane connections show no hissing sounds or visible hose damage.
Ensure your peel, turning tool, and thermometer sit ready on a stable surface nearby.
During Active Cooking
Monitor dome temperature continuously, adjusting vents rather than opening the door frequently. Watch for flare-ups originating from dripping fats and respond immediately by closing vents if flames exceed 6 inches. Keep your body positioned to the side of the oven opening when launching or retrieving pizzas.
Never reach across open flames or place hands near hot surfaces unprotected.
Post-Cook Shutdown
Allow natural cool-down with vents partially open for 2 to 4 hours minimum. Remove ashes only after complete cold verification the following day. Scrape hearth surfaces thoroughly and wipe exterior domes with dry cloth.
Apply fitted waterproof cover designed for your specific oven model. Store cover separately in dry conditions during extended wet weather periods.
Warning Signs Requiring Immediate Action
Stop operation and inspect thoroughly if you notice cracking sounds during heating, persistent gas odor after shutdown, extreme wind gusts exceeding 30 miles per hour, or any structural instability during placement. Address these issues completely before resuming cooking activities. Your safety depends on recognizing problems early rather than pushing through dangerous conditions.

Sophia Martinez is a culinary lifestyle writer and product reviewer for DiningGadgets.com. Passionate about blending style with functionality, she explores the latest dining essentials, kitchen décor, and cleaning hacks that transform everyday cooking spaces. With a background in home organization and design, Sophia brings readers expert advice on creating beautiful, practical kitchens that truly feel like the heart of the home.