How to Clean a Camping Coffee Maker: Easy Step-by-Step
You already know how to clean camping coffee maker depends on what kind of brewer you packed. A glass French press and a steel percolator face totally different problems. Coffee oils turn rancid fast when left sitting in a warm carafe.
Mineral scale builds up quickly with hard campwater, and skipping the routine makes your next cup taste bitter and metallic. Per the Specialty Coffee Association standards, proper cleaning extends gear life and keeps brews safe to drink. Let's walk through each type.
Quick Answer
To clean a camping coffee maker, take it apart after every brew. Rinse with warm water, then soak in white vinegar or castille soap depending on the residue type. Scrub mesh filters with a small brush, air-dry all pieces completely, and store them loose so moisture never traps inside.
Why Camping Coffee Gear Turns Into a Biohazard (And Why It Matters)
In our research as of 2026, manufacturer guidelines and outdoor sanitation standards all point to the same core principle: coffee residue becomes a problem fast when you are away from a kitchen sink.
Coffee oils are the real culprit. Those golden compounds that give your morning brew body coat every surface inside your filter and chamber. Within hours at camp, those oils oxidize and turn rancid.
The taste shifts from rich to sour almost overnight.
Mineral scale is the second problem. Campwater often comes from lakes, wells, or stored jugs with high calcium and magnesium content. Each brew leaves behind a thin crust inside the carafe, on the mesh, and around the gasket.
Over a weekend trip, that buildup thickens enough to clog flow passages and alter your brew ratio.
Moisture trapped in closed containers creates mold risk. Silicone seals especially love damp dark spaces. Pack a slightly damp AeroPress into your bag and you will wake up to black specks on the filter plate.
The Specialty Coffee Association notes that microbial growth on brewing equipment directly affects both flavor and safety.
Leaving dirty gear in a stuffy tent or vehicle accelerates everything. Heat speeds up oil rancidity and spore growth. Cold overnight temperatures do not solve the problem either.
Standing water inside a percolator can freeze and crack glass or stress solder joints on steel units.
Fixing this takes less than fifteen minutes per brewer. A quick rinse plus a proper soak every couple of days keeps everything tasting clean throughout the trip.
Identify Your Brewer: French Press, AeroPress, Percolator, Moka Pot, or Pour-Over?
Different brewers carry different traps for gunk. Knowing what you packed tells you exactly where to focus your attention.
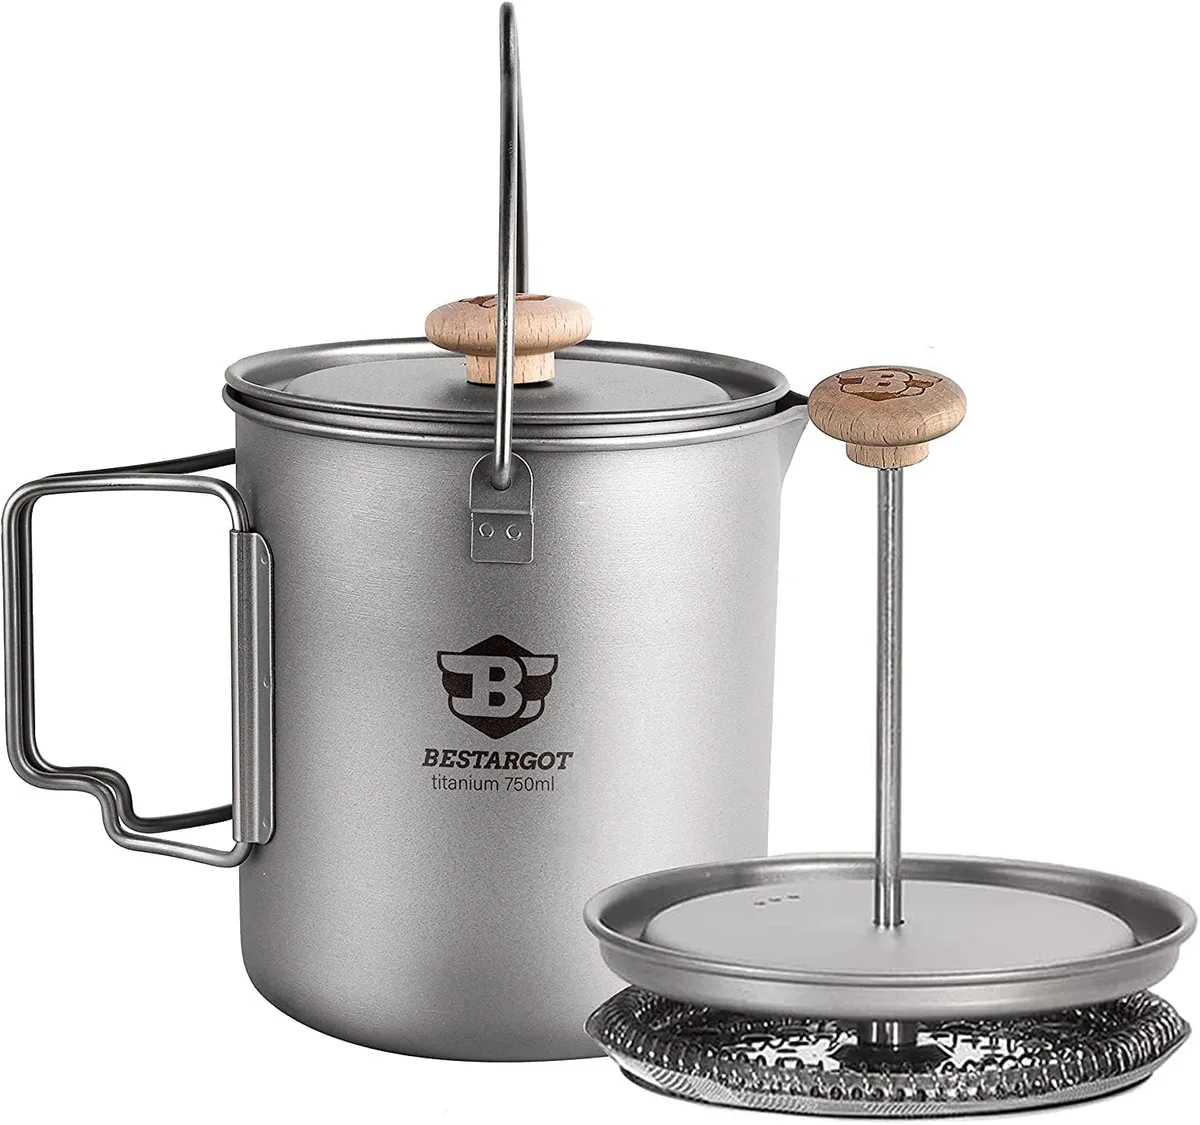
French presses rely on a metal mesh plunger and a glass or steel carafe. The mesh is where grounds hide most stubbornly. Glass carafes stain from oils and crack from temperature shock.
Steel versions dent but survive drops.
AeroPress units use a porous plastic chamber with a detachable filter cap. The rubber plunger seal collects fine sediment. Paper filters stay clean by design but the chamber walls still hold sticky residue.
Percolators are built for open flames and camp stoves. Their tubes and baskets trap the most scale. A full teardown means removing the stem, basket, and knob from the lid.
Stainless steel tolerates boiling water descaling without worry.
Moka pots brew under pressure through a metal filter disc. Coffee oils build up in the gasket and safety valve area. Aluminum models pit over time if you skip drying completely.
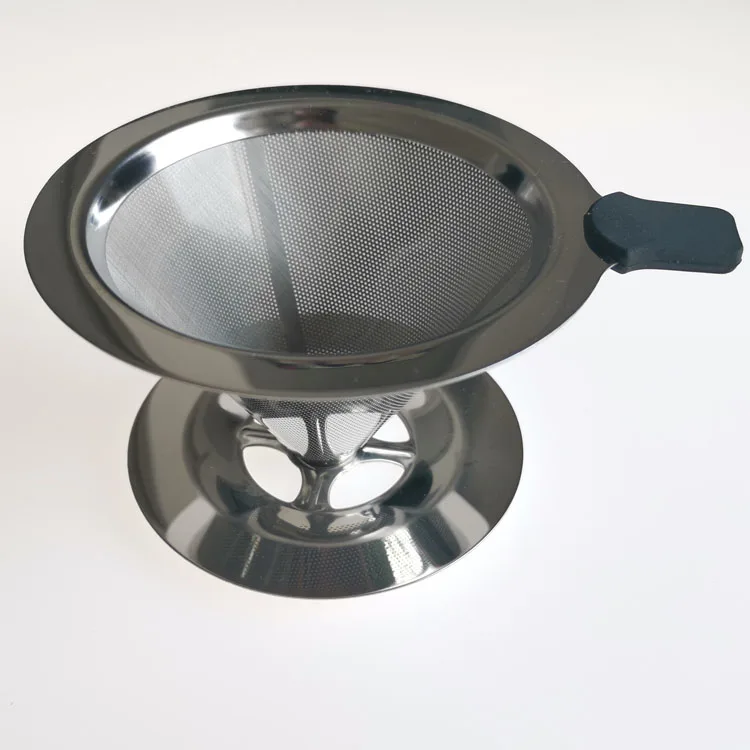
Pour-over cones range from collapsible silicone to rigid plastic. Silicone folds trap sediment in the ridges. Paper filters simplify cleanup but the cone itself needs brushing.
Each type follows the same basic rule though. Disassemble everything you can. Rinse immediately after use.
Soak when you spot buildup. Dry fully before packing it away.

The Cleaning Workflow for Each Major Type (Step-by-Step Branches)
Every brewer shares a core routine. The steps shift slightly based on what you are cleaning.
Start by discarding all grounds into a trash bag or compost pile. Never pour coffee waste down a stream or into a fire pit. It attracts animals and pollutes nearby water sources.
Rinse every part with warm water immediately after pouring your last cup. Warm water lifts oils better than cold. If you have a collapsible sink or two-bucket system, use one bucket for soapy wash and one for rinsing.
Next, identify what kind of buildup you are dealing with. Oily film calls for a drop of dish soap and a soft brush. Mineral scale requires acid.
White vinegar works for most situations. For heavy scale, mix equal parts vinegar and warm water. Soak for thirty minutes before scrubbing.
Brush the mesh filter gently in both directions. Run a toothpick or thin brush through any small holes in the plunger assembly. Coffee oils hide in those tiny channels.
Clean the silicone gasket by pulling it off and wiping both sides. If it smells sour after washing, soak it separately in clean water with a teaspoon of baking soda for ten minutes.
Air-dry all components on a clean towel or camp grate. Do not reassemble while damp. Moisture sealed inside a closed brewer is a mold playground.
Store with the lid off or loosely placed.
For multi-day trips, do a quick rinse after each brew and a deeper clean every forty-eight hours. That rhythm prevents the worst buildup without eating into your morning coffee time.
When to Descale vs. Just Deep-Clean (Decision Guide)
Not every cleaning session needs the same intensity. Knowing when to scale back versus going deep saves time and protects your gear.
Look for these signs that descaling is overdue: slow water flow, visible white crust inside the carafe, chalky taste in the brew, or a percolator that gurgles instead of cycling cleanly. Hard water regions and well water campsites hit hardest. If you camp there regularly, descale every two to three brews.
For routine maintenance between descaling sessions, a warm water soak with a splash of mild soap handles most oil buildup. Baking soda paste works well for stained interiors. Mix one tablespoon of baking soda with enough water to form a thick paste.
Scrub gently, rinse twice, and you are done.
Commercial cleaning tablets like BTTW or CafIZA offer a middle ground. They tackle both oils and light scale without the vinegar smell. One tablet in twelve ounces of warm water for twenty minutes covers most needs.
Here is a quick reference for choosing your approach:
| Buildup Type | Signs | Best Solution | Soak Time |
|---|---|---|---|
| Light oil film | Dull sheen on surfaces | Warm water plus soap | 10 minutes |
| Heavy oil residue | Sticky feel, dark stains | Baking soda paste | 15 minutes |
| Mineral scale | White crust, slow flow | White vinegar 1:1 | 30 minutes |
| Severe scale | Crusty deposits, gurgling flow | Vinegar soak repeated | 60 minutes |
| Combined oils and scale | Both symptoms present | BTTW tablet | 20 minutes |
Skip the deep clean only if you rinsed thoroughly after every single use and stored everything dry. Even then, a monthly refresh keeps things running smoothly through the season.
The Five Cleaning Mistakes That Ruin Gear and Taste
Making these errors is easier than you might think. Most campers repeat them without realizing the damage.
Rinsing with cold water instead of warm. Cold water solidifies coffee oils rather than lifting them. That thin film sticks to the mesh and interior walls where scrubbing cannot reach.
Always reach for the warmest water your camp setup allows.
Ignoring the gasket and seal areas. Those silicone rings collect the most rancid oil because nobody thinks to remove them. Pull the seal off during every cleaning cycle.
Wipe both sides and let it dry completely before snapping it back.
Soaking plastic parts in boiling water. Some manufacturers warn against this. Thermal stress cracks plastic chambers and warps filter caps.
Stick to warm or hot tap water unless the manual specifically says boiling is safe.
Packing gear damp into a stuff sack. This is the fastest route to mold and unpleasant odors. Even a slightly moist filter or gasket will grow bacteria inside a closed bag overnight.
Lay everything out in the sun or hang it from a bear line before packing.
Using harsh scrubbers on glass or coated surfaces. Steel wool scratches glass carafes and creates tiny grooves where oils hide forever. A soft sponge or silicone brush does the job without damaging the surface.
Avoiding soap entirely to save water. A few drops of unscented dish soap rinsed thoroughly leaves zero residue but removes oils far better than water alone. The EPA recommends minimal soap use near water sources, but a well-rinsed brewer poses no contamination risk when cleaned properly at camp.
That said, if you are in a sensitive alpine environment, consider a no-soap approach with thorough rinsing and a final vinegar rinse to neutralize any remaining film.
Pro Tips for Multi-Day Trips and Post-Trip Restoration
Keeping your brewer clean over several days requires a simple rhythm that doesn't steal from your morning coffee ritual.
The Two-Part Daily Routine
Each morning after your last cup, perform a quick field rinse. Dump grounds, swirl warm water through every chamber, and let it air-dry in the sun before packing. This prevents fresh residue from bonding to yesterday's oils.
Evening brings the deeper clean. Empty the sink bucket, wash all parts with soapy water, scrub mesh filters, and rinse until water runs clear. Dry everything completely before stowing.
That evening habit protects your gear for the next brew cycle and stops mold from establishing itself in damp corners.
Post-Trip Restoration Steps
Once home, give every component a thorough overhaul. Soak disassembled parts in a vinegar solution for an hour to dissolve any lingering mineral film. Use a soft brush on the gasket grooves and plunger threads where grime accumulates.
Dry each piece on a towel for twenty-four hours in a well-ventilated area. Reassemble only when completely moisture-free. Store the coffee maker with the lid loose or removed to allow airflow and prevent musty odors from forming during long-term storage.
Long-Term Storage Advice
Keep your cleaned brewer in a dry place away from direct sunlight, which can degrade silicone seals over time. A fabric bag or dedicated shelf in your gear closet works well. Avoid sealed plastic containers that trap humidity.
Inspect silicone gaskets annually for cracks or stiffness. Replace worn seals immediately to maintain a proper brew and prevent leaks. With a little seasonal attention, your camping coffee maker will stay reliable for years of trail mornings ahead.
FAQs: Quick Answers to the Questions Campers Actually Ask
How often should I deep-clean my camping coffee maker?
Deep-clean every two to three days on longer trips, or once a week for casual weekend use. If you notice slow flow, white scale buildup, or off-flavors, clean immediately regardless of schedule.
Can I use dish soap near a campwater source?
Yes, but follow Leave No Trace principles. Use biodegradable soap sparingly, strain soapy water through a filter bag, and carry it at least two hundred feet away from lakes or streams. Never dump soapy water directly into natural water bodies.
What's the best descaling solution for hard campwater?
White vinegar mixed equal parts with warm water handles most mineral scale safely. For heavy buildup, let the mixture soak for thirty minutes before scrubbing. Citric acid powder dissolved in warm water is another effective option that leaves no vinegar taste behind.
How do I remove stubborn coffee stains from a glass carafe?
Create a paste from baking soda and water, apply it to stained areas, and let it sit for fifteen minutes before gently scrubbing with a soft sponge. For persistent stains, fill the carafe with hot water plus a tablespoon of dishwasher detergent and soak overnight.
Is it safe to put a camping French press in the dishwasher?
Check the manufacturer's instructions first. Many stainless steel French presses are dishwasher-safe, but glass carafes risk thermal shock and cracking. Silicone gaskets can degrade faster in high heat.
Hand-washing remains the safest method for preserving your brewer's lifespan.

Sophia Martinez is a culinary lifestyle writer and product reviewer for DiningGadgets.com. Passionate about blending style with functionality, she explores the latest dining essentials, kitchen décor, and cleaning hacks that transform everyday cooking spaces. With a background in home organization and design, Sophia brings readers expert advice on creating beautiful, practical kitchens that truly feel like the heart of the home.